Earlier this week, I stepped into my new vegetable garden and was pleasantly surprised to discover that my bush beans were ready to be picked.
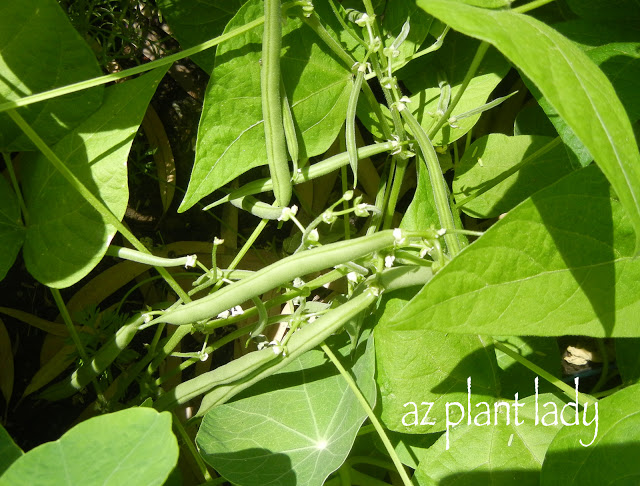
I was so excited.
You really have to look underneath the leaves to see the beans.
So, I ran into the house for a basket and got to work, picking beans.
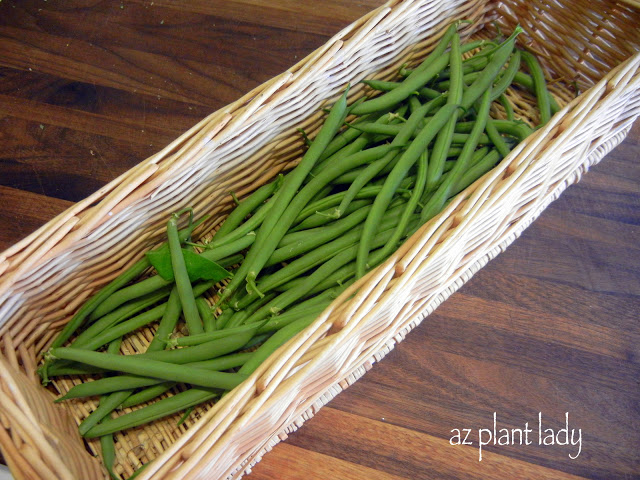
This will be enough for my family for dinner.
But, instead of eating them now – I decided to blanch them and freeze them.
Why? Well, so I could show you how to do it 🙂
You may wonder what ‘blanching’ is?
‘Blanching’ is the process of submerging your vegetables in boiling water for a short period of time.
This is important to do before freezing your vegetables because:
– it halts enzymes, which decreases the flavor and texture of your vegetables.
– it cleans the surface of your vegetables and kills any germs.
– it improves the color of your vegetables.
– it helps to retain vitamins.
So, how do you blanch vegetables?
Well, the process is pretty much the same for most vegetables with the only difference being the amount of time they need to be submerged in boiling water.
To blanch green beans:
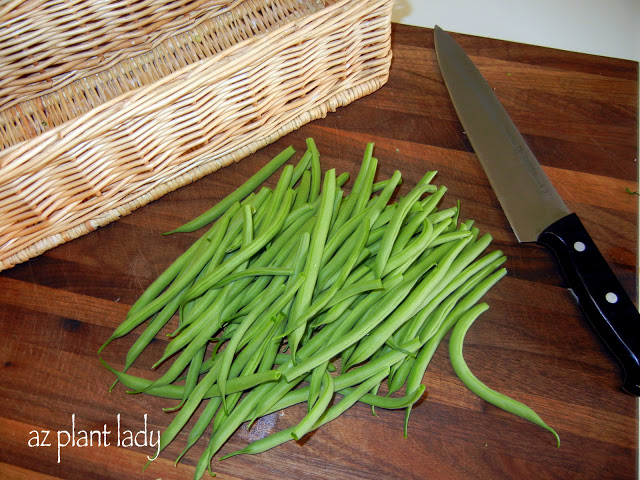
Cut off the stem ends.

Add to a pot of boiling water and boil for 3 minutes. This step varies depending on the type of vegetable (check here for more info).

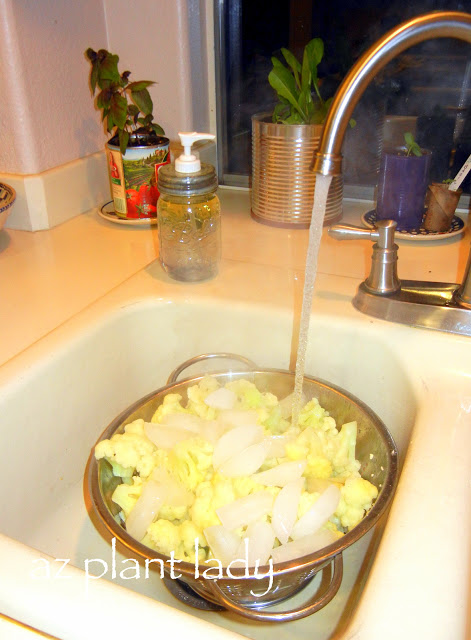
Immediately scoop out your beans and submerge in ice water.
Keep in the water for 3 minutes until the beans have thoroughly cooled.
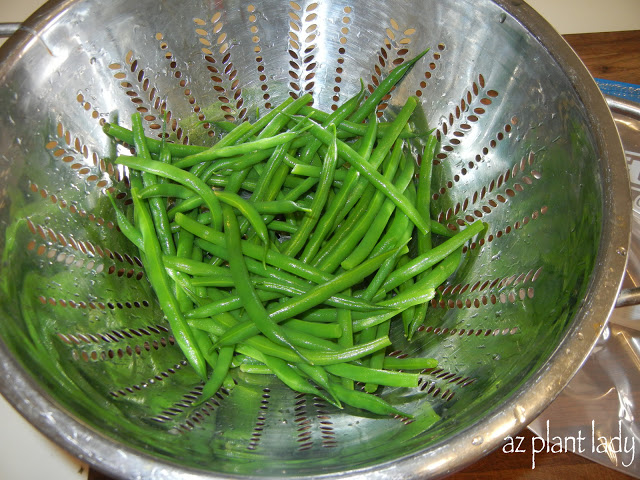
Drain off the water.
Aren’t they a pretty green color?
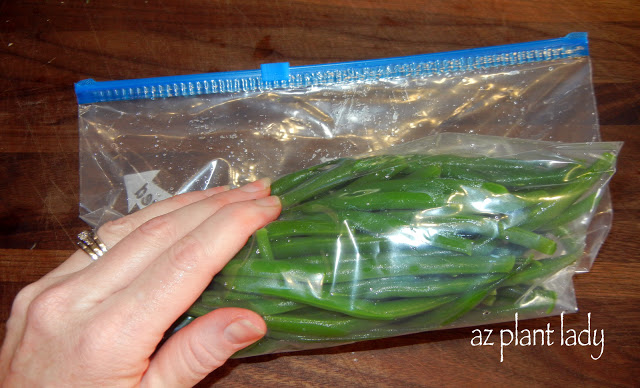
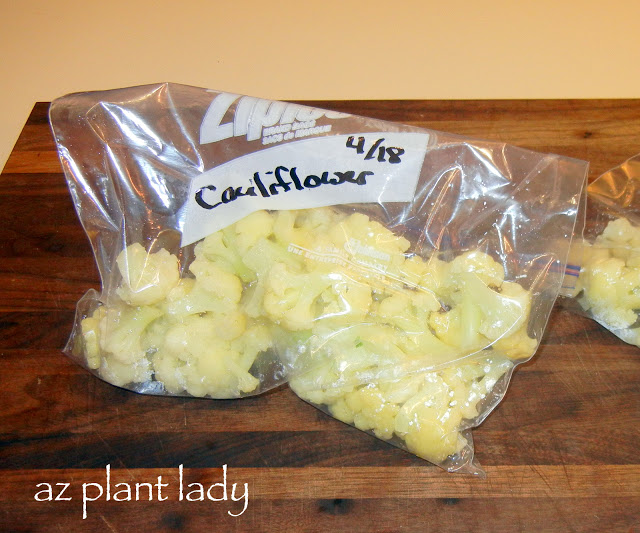
Pack into a vacuum-sealed bag or put them in a plastic freezer bag.
It is very important to remove all the air, or your vegetables will get freezer burn.
To do this, close the zipper more then halfway and then carefully ‘roll’ your beans up, pushing out all the air and then seal the bag completely.
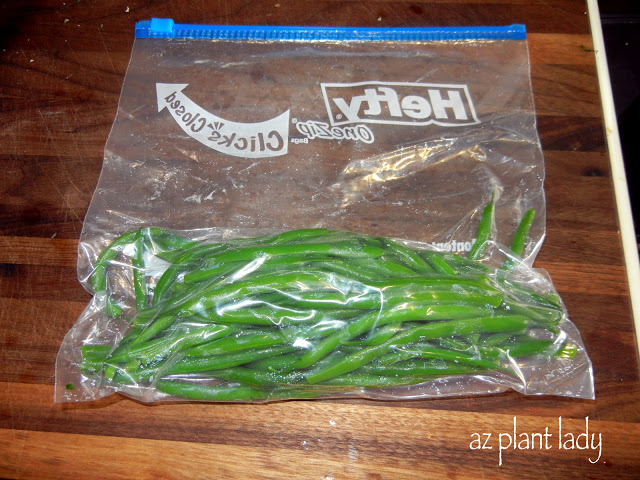
You can see all the air is gone and now my blanched beans are ready for the freezer.
They will last up to 9 months in the freezer. But I’m so excited about my first harvest this year that I think I will serve them to my mother on Mother’s Day.
To cook, I will simply add my frozen beans to boiling water (the same way I cook frozen beans from the grocery store).
I grew Bush Blue Lake 47 Beans. I bought the seeds from Burpee. I planted them in late February, although you can plant them through March in our area.
***********************************************
Guess what??
Only 6 days to go before my road trip with my mother.
I’ll share our destinations next time 🙂