*This post contains affiliate links for a product that I have used. If you click on the affiliate link and buy the product, I will receive a small commission at no additional cost to you. Affiliate links help to support this site. Thank you for supporting Ramblings From a Desert Garden.
The Christmas season is in full swing and if you are like me, you are busy shopping for the perfect gift for that special somebody in your life. My gift list is rather long with five kids, three grandchildren, my husband, siblings, nieces, nephews, and my mother. As a result, quick trips to the store have been inserted into my busy schedule. This includes dropping by the store on date nights with my husband.
Whittling down my Christmas list online has become my favorite way of finding special items for loved ones. Just a few minutes sitting at the computer (or on your phone) and you’re done. It turns out that you can buy just about anything online and that is certainly true of items for gardeners in your life.
As a horticulturist and garden writer, I get to see a lot of products with a garden theme. So, in anticipation of Christmas and to help you with your shopping list, I am going to feature creative gift ideas, for the next few weeks, for those in your life who like to grow things.
The folks at Dryden Trading Company asked me to try their Vintage Wooden Window Garden Planter Box Kit and sent me one free of charge for me to review.
Indoor Herb Kit
VINTAGE HERB KITS
I’m particularly excited about this gift idea as I enjoy growing herbs throughout the year. I grow herbs outdoors all year in my Arizona garden, but I’ve also grown them indoors on my kitchen windowsill, which is why I was excited to try this all-in-one indoor herb kit.
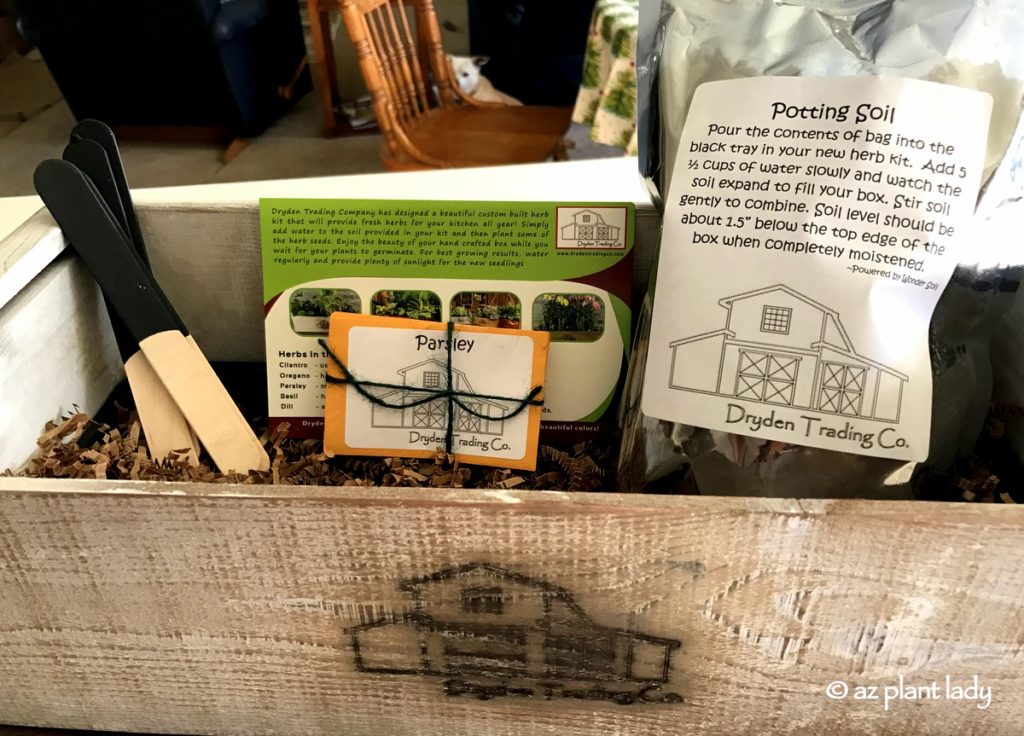
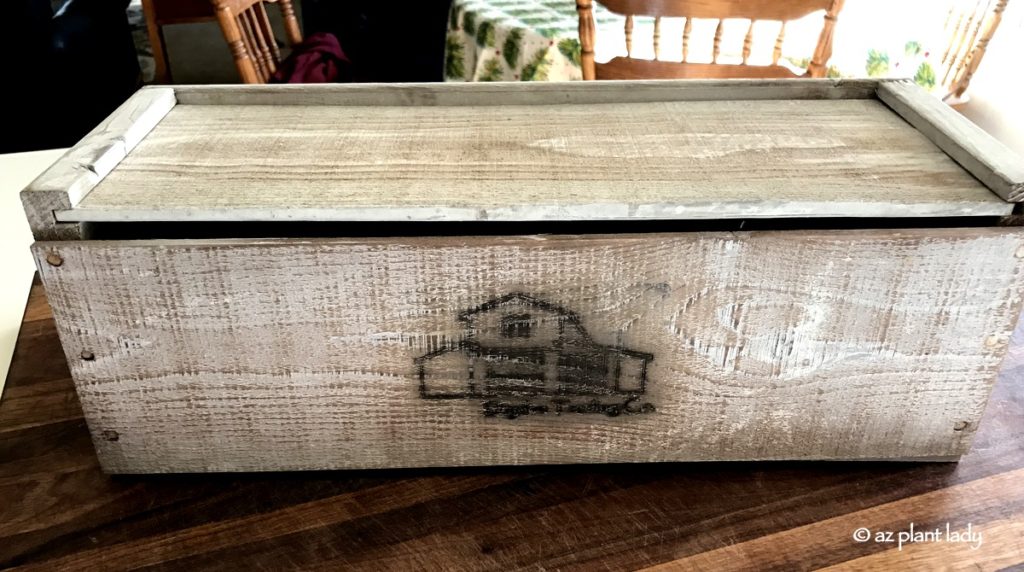
The kit arrives in a very nice rustic, wooden box complete with lid. There are several colors available and I chose the white one. Everything you need is inside the box – plastic planting tray, soil, seeds, plant markers, chalk, and instructions. All you need to supply is water.
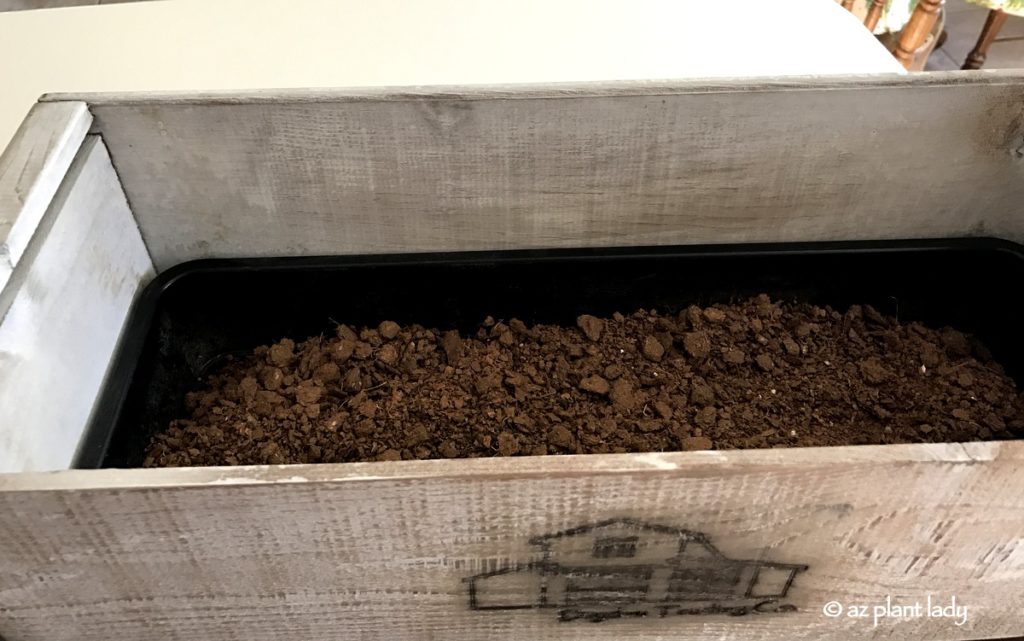
1. Add soil to the plastic planting tray. The soil doesn’t completely fill the tray – but not to worry, this is Wonder Soil.
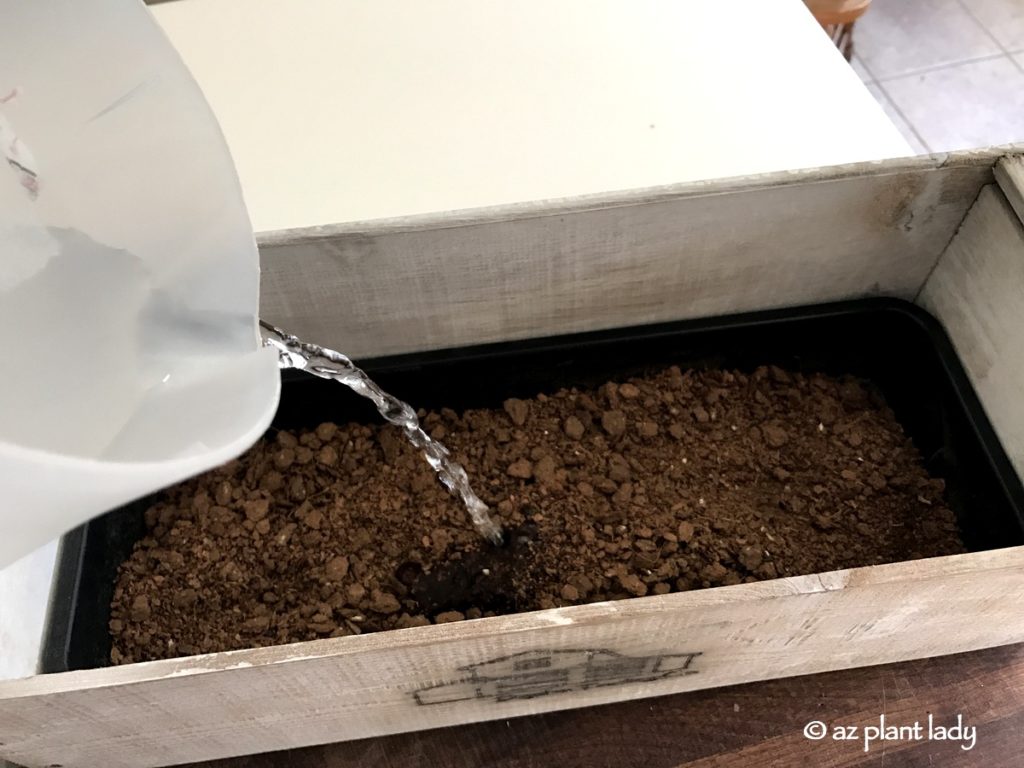
2. Add water to the soil. Immediately, the soil began to expand making sounds like those you hear when you add milk to Rice Krispy cereal – kids would love to watch this stage.
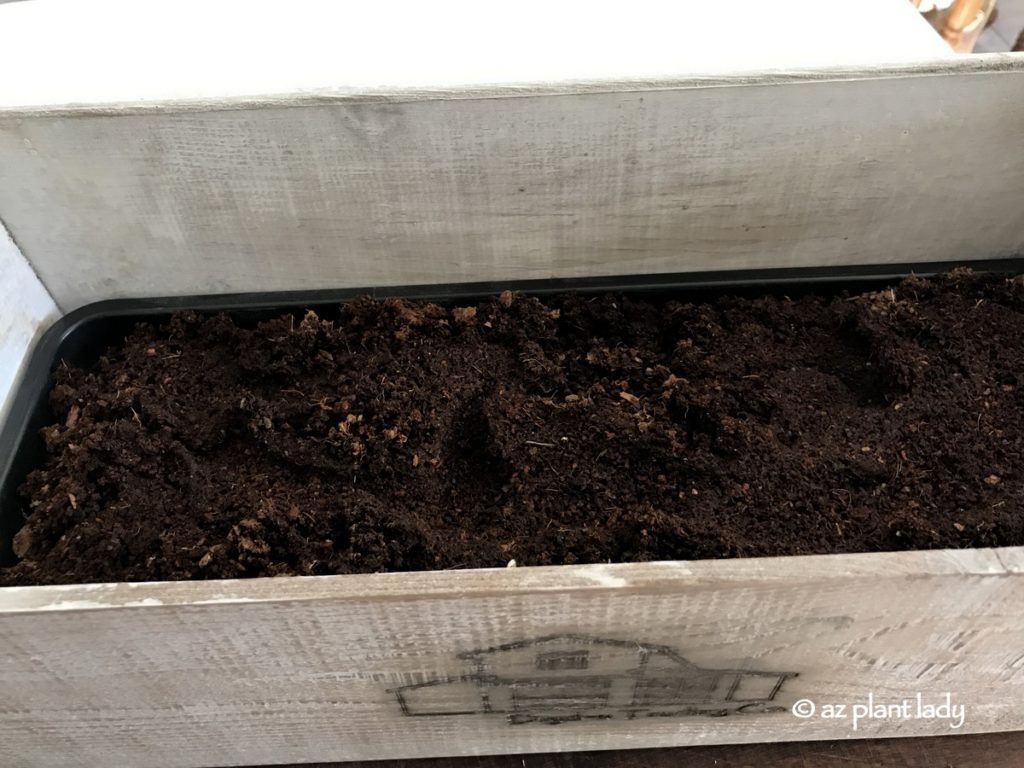
As you can see, the soil now reaches to the top of the plastic tray.
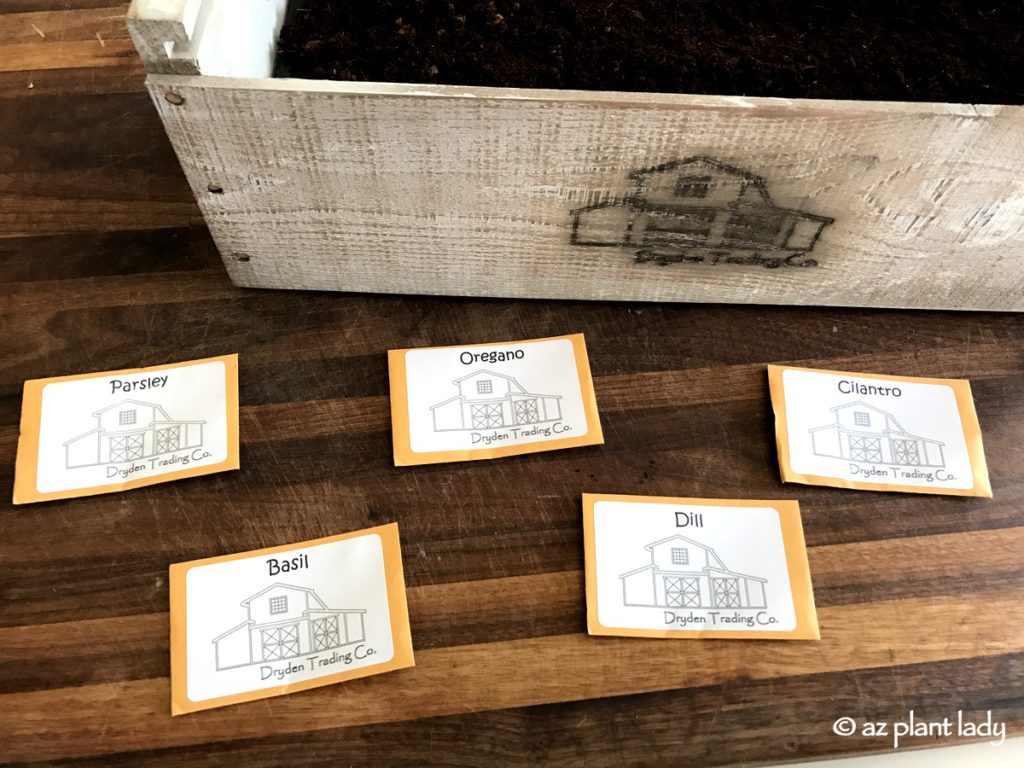
3. Plant herb seeds. The kit comes with five packages of herb seeds with enough seeds left over to plant a second crop. You can always plant your own seeds as well. I planted all five varieties of herb seeds, although I must admit that I don’t like cilantro. However, people in my family do, so I planted it.
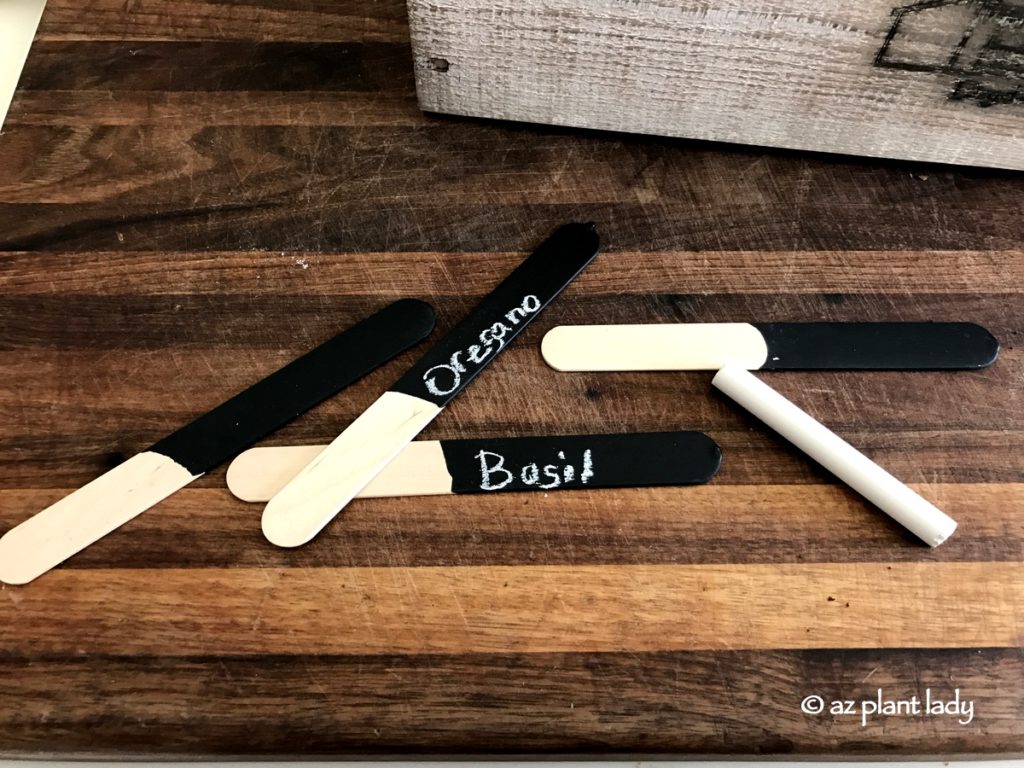
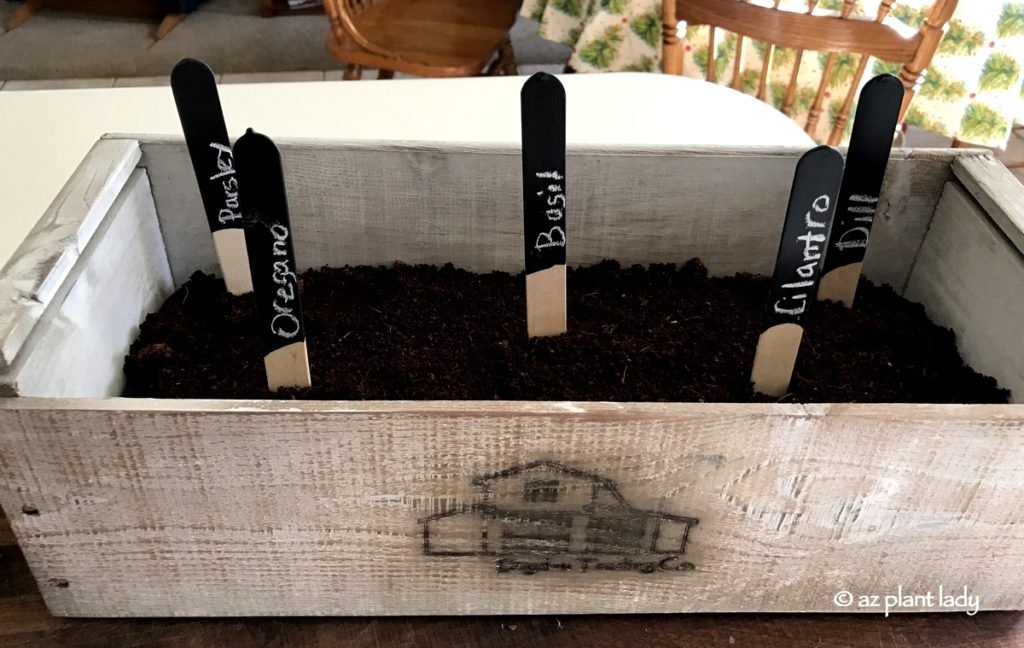
4. Add plant markers. Popsicle sticks with blackboard paint are a very cute way to identify the newly planted herbs. As I mentioned before, the vintage herb kit includes everything you need, even a stick of chalk.
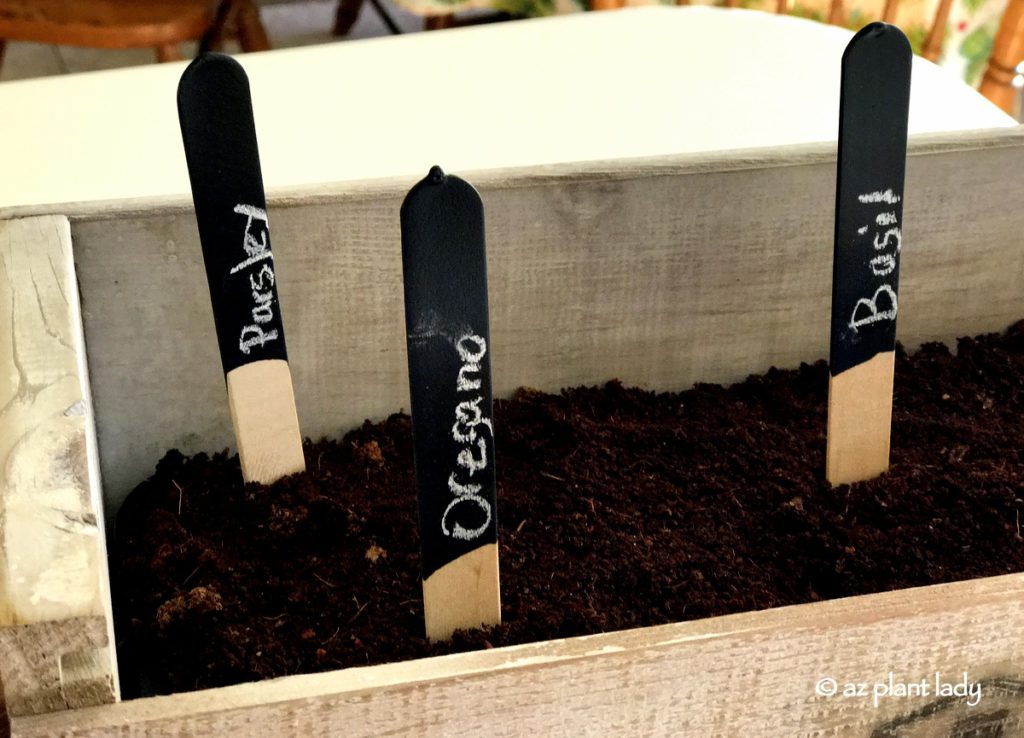
Seeds are planted, plant markers are in, and now it’s time to find the right spot for my new planter.
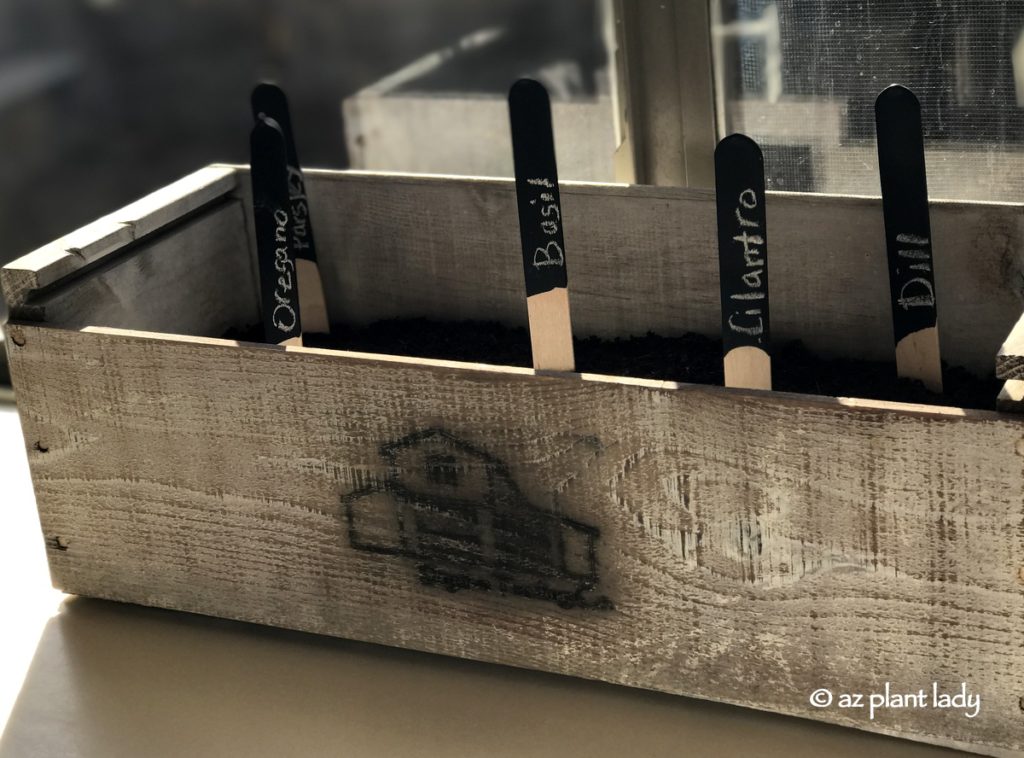
5. Place in an area where the herbs will receive at least 6 hours of sun. I have a sunny kitchen window which works perfectly.
I am looking forward to seeing little green herbs poke up through the soil. Better yet, I can hardly wait to use them to flavor my favorite dishes.
If you have someone on your Christmas list who likes to garden or cook with fresh herbs, this would be an excellent gift idea. You can visit their website to see the different options for ordering a vintage herb garden for a loved one or yourself.
**Come back soon for more gift ideas for those who love to garden.

