Tag Archive for: tomatoes

One of the benefits of growing vegetables in zone 9 is that we are able to grow vegetables all year long.  

warm-season vegetables

However, despite our relatively mild winters, warm-season vegetables such as  peppers and tomatoes can’t handle temperatures when they dip below freezing.  So just before freezing temperatures hit, I run out to the garden and pick off all our tomatoes and peppers before pulling out the plants.

Of course, there is nothing wrong with doing this – I’ve done it for years.

green tomatoes

I allow my green tomatoes to ripen indoors – click here to see how.

overwinter my tomato and pepper plants

I then dice my green peppers, place them in a freezer bag and keep them in the freezer where I can use them whenever I make my kid’s favorite Mexican rice for dinner.

A few years ago, I decided to try to overwinter my tomato and pepper plants instead of pulling them out. 

overwinter my tomato and pepper plants

This is what my tomatoes looked like with no frost protection.  That was no surprise.

But the next year, I decided to protect my tomatoes & peppers by covering them with old sheets when temperatures dipped below 32 degrees.

I even went one step further and hung an outdoor light underneath the sheets.

To my surprise, both my tomato and pepper plants came through the winter just fine, with a small amount of frost damage, and I had an early start to the growing season.

It was a lot of work though – having to cover them and uncover them whenever temperatures dipped below freezing.

Also, that winter was a relatively mild one and temperatures never strayed below the upper 20’s.  However, we do occasionally experience temperatures that dip in to the low 20’s and in that case, protection or not, the peppers and tomatoes would most likely die whether or not they were protected.

So, do I still try to overwinter my tomato and pepper ?

The answer is “yes”and “no”.

overwinter my tomato and pepper plants

I do throw sheets over my peppers, but not my tomatoes.  The reason is that tomatoes are slightly more sensitive to the cold.

If we were to experience temperatures in the low 20’s, my 2-year old pepper plants would most likely not survive.  But, that is what it is like to grow vegetables – you try your best, but sometimes it’s not enough.

**Have you ever successfully overwintered a warm-season vegetable?**  

Does the fact that Christmas is fast approaching make you think of growing tomatoes?

Of course not.  Our thoughts are focused on making sure our homes are decorated for Christmas, looking for the perfect gift for that special someone and hopefully some holiday baking.

But, I am going to tell you why you should also be thinking about growing tomatoes this time of year.

growing tomatoes

But, did you know that December is the best time to start growing your tomatoes from seed indoors?

For those of you who have grown tomatoes in the arid desert, know that our tomato growing season occurs in spring and fall.

Oh, your tomatoes will live through the summer with a little shade – but they will stop producing new tomatoes once temperatures hit the 90’s because their pollen is not viable.

growing tomatoes

The other limiting factor is that you can’t set out tomato plants into the garden until the danger of frost is past, which is usually around the beginning of March in the Phoenix metro area.

So, to get the most tomatoes, you want to plant the largest (oldest) tomato plant you can in early March.

Many nursery greenhouses are starting their tomato plants from seed right now where they will grow, protected from the elements until March arrives when you will find them on the shelves of your nursery.

You may be wondering why you should start your own tomato plants instead of buying them at nursery?

Well the problem with purchasing your tomato plants from the nursery is that they have a very limited selection of tomato varieties. And, they may not have the variety you want, or it is sold out.

**Right now, many seed companies are having Christmas sales on their seeds including Burpee and Botanical Interests.

Growing your own tomatoes from seed is very easy and rewarding.

Here is how I have done it…

seedling containers

I like to use Starbucks coffee sleeves or toilet paper rolls, cut in half as my seedling containers.

seedling containers

Grab some seed starting mix from your local nursery or big box store.  Some seed mixes have fertilizer already added.  If not, then I recommend adding a slow-release fertilizer to your potting mix.

Wet the soil before adding to your containers.

Fill your recycled containers with the seed mix and add your seeds.

seedling containers

Place your newly planted seeds in a warm area, such as the top of your refrigerator.  The heat will help them to germinate.

**Use a spray bottle to keep them moist.  Don’t allow the soil to dry out.

Once the seeds begin to sprout, put them in front of a sunny window.

growing tomatoes

In just a few weeks, you’ll be surprised at how quickly your tomato plants will have grown.

During warm winter days, you can place them outdoors to get a little extra – but be sure to bring them indoors at night until the danger of frost is over.

As your tomato seedlings grow, you can transfer them to larger containers until you are ready to put them out in the garden.

*For more information on seed starting, click here.

It may be awfully hot outside, but my garden is awash in brightly colored flowers from my single bougainvillea, Arizona yellow bells and ‘Rio Bravo’ sage, which shrug off the summer heat.

Summer Edible Garden

Last year, we decided to create an edible garden along the side of our house.

This was a large underused area that we look out at from our kitchen, family room and bedrooms.

To get it ready for planting, we had our ghost gum eucalyptus tree removed.  It was a beautiful tree, but was quickly outgrowing this area with its overhanging limbs.

The next step involved pulling out some of the flowering shrubs along the back wall and along the side of the house.  We kept the flowering shrubs along the side wall, because they add beauty and help to break up the bare expanse of the wall.

This is what the side garden looks like today…

Summer Edible Garden

The centerpiece of the edible garden is the vegetable garden.  Right now, it is filled with corn, zucchini, tomatoes, cucumbers and sunflowers.

In front, is my colorful container filled with a variety of herbs including basil, parsley, sage and thyme.  I bought an inexpensive plastic container and spray painted it a bright blue.  The container is connected to the drip system of the vegetable garden.

Arizona sweet orange tree

In the foreground (not pictured) is our new Arizona sweet orange tree.  We planted it last year and are excited to have three oranges growing on it.

You may be thinking that three oranges is not much to be excited about, but the first couple of years after a citrus tree is planted – you are lucky to get any fruit at all.

Newly planted citrus trees shouldn’t be fertilized during the first year, because you want them to focus on root growth, not upper growth when there is not a substantial root system for them to rely on.  Since it has been a year since we have planted it, we will fertilize this year.  

new peach tree

In front of the vegetable garden are a pair of new peach trees.

I love peaches and have enjoyed the fruit from my mother’s peach trees for years.  I finally decided that I wanted to grow my own.

We got 18 peaches this year, which is a lot considering that we planted them in January.

Notice the green plant at the base of the peach tree?  It is a gourd plant that will quickly grow and cover the ground.  This will serve as a ‘living mulch’ and help to prevent weeds and shade the roots of my peach trees.

sunflower

Inside the vegetable garden, sunflower seeds are beginning to form.  It is so fun to see the birds hanging upside down trying to get to the seeds.

You can allow the birds to eat the seeds or if you want to save them for yourself, simply tie a paper bag around the flower to keep the birds away.

I’ll probably save some flowers for ourselves and let the birds enjoy the seeds of a couple of unprotected sunflowers.

zucchini plant

A large zucchini plant is growing in the background and as anyone who has grown zucchini will tell you, it is prolific.

The slightly wilting plant in the foreground is a pumpkin plant.  If you want a pumpkin for fall, then June is when you want to plant them.

It is normal for the leaves to wilt slightly during the heat of the day.  They will return to normal later in the day.

zucchini plant

Zucchini can hide underneath the large leaves of the zucchini plant.  I’m going to use this one to make my chocolate chip zucchini bread.  It’s delicious and your kids will never know there is zucchini in it 😉

I found the recipe on Pinterest and have already made it once.  My family keeps bugging me to make more.  Here is the link to the recipe, if you are interested – Chocolate Zucchini Bread

Summer Edible Garden

My tomatoes are flourishing in the natural shade provided by my sunflowers.

cherry tomato plants

One of my cherry tomato plants has even decided to expand a bit outside of the garden.

two apple trees

Behind the vegetable garden are my two apple trees, planted this January.  One is a Anna apple tree and the other is a Dorsett Golden. These apple trees do well in the desert and although they will produce apples if planted alone – they will produce more apples because they will cross pollinate each other.

It will take a few years for any apples to appear, but the blossoms in spring are just lovely.

Summer Edible Garden

Behind the apple trees are six blackberry bushes.  This year, we enjoyed the berries so much and are hoping for even more next year as they grow larger.

Blackberries won’t produce the first year after planting because the berries appear on 1-year odd canes.

Did you know that there are now thornless varieties of blackberries available?  I have one….I only wish that the other five were thornless 😉

Well, that is what I have growing in my side edible garden.

Tomorrow, I’ll share what is growing in my original vegetable garden.

What do you have growing in your garden right now?

A Summer Edible Garden: Part 2

Earlier this week, I shared with you the first garden on the Arcadia Edible Tour.  It was just wonderful to see the Sweet Life Garden in person.

However, we had to tear ourselves away from the first garden because there were more to see…

Micro Farm

We stopped by Larry’s “Living the Dream Micro Farm”.  

Arcadia Edible Tour

Like many of the gardens we visited, Larry had chickens.

But, what really caught my attention was his row of trash can compost bins.  

trash cans

Each trash can was filled with compost in a different stage.  The trash cans are re-purposed by the City of Phoenix and are available to their residents for $5 a bin.   Other cities offer free or inexpensive trash cans or compost bins.  Check your local city’s website under waste management to see what they offer.

Larry loved talking about his composting.  He primarily uses chicken manure, coffee ground and leaves.  It takes approximately 2 1/2 months from start to finish according to Larry.

tomato plants

Larry had huge tomato plants growing, heavily laden with fruit (yes, tomatoes are technically a fruit).

Bird Cage

After leaving Larry’s garden, my mother asked to stop by Baker’s Nursery, which is her favorite place to buy vegetables.  Baker’s is the favorite nursery of locals and is located on 40th Street, South of Indian School Rd.

Arcadia Edible Tour

The problem with me going to a nursery as nice as Baker’s, is that I become like a child in a candy store.

Arcadia Edible Tour

I always come home with plants and seeds.  In this case, I bought more bush beans for my garden along with some perennial flowers and Angelita Daisy.

Back on tour, we saw some great examples of vegetables being grown.

Eggplant

Eggplant.

Arcadia Edible Tour

Aren’t these cucumber vines impressive?  The trellis is made up of rebar and wire mesh.

cucumber flowers

I think cucumber flowers are so pretty, don’t you?

vegetable garden

I do love the bright colors of blanket flower, which attract pollinators to the vegetable garden.

Arcadia Edible Tour

I think vegetables are beautiful.

Arcadia Edible Tour

This may look like a green tomato – but it isn’t.  It’s a tomatillo.

Arcadia Edible Tour

Zucchini is so impressive in the vegetable garden. They grow so quickly and get so big.  I have them growing my garden too.  Now, I just have to get a recipe for chocolate zucchini cake so my kids will eat it 😉

Arcadia Edible Tour
Arcadia Edible Tour

I haven’t grown strawberries in my garden, although they are my favorite fruit. I spent time in Germany as a child with my grandparents who had a huge strawberry garden and one of my favorite memories is chasing the rabbits away.

I may have to try growing some next year.

In addition to fruit and vegetables, we did see a beautiful lily pond…  

Arcadia Edible Tour

And something quite unexpected…

Arcadia Edible Tour

That’s the thing with garden tours, you never know what you will see…

As you can tell, we were enjoying ourselves very much.

There was so much to see, that I still have one more post showing you some of our favorite parts of a few more gardens.

So come on back….you hear?

About this time of the year, I am busy helping my vegetable gardens transition into summer.  

That means pulling any remaining leaf lettuce.  Yes, it hurts to know that I now have to buy lettuce until next fall when I can grow it again.

Even though not all of my lettuce had bolted, none of it was edible.  Once the temperatures get up to 90 degrees, the lettuce turns bitter.

vegetable garden transition

vegetable garden transition

For the past 4 months, I have been harvesting a few carrots every few nights to include in salads or soups.

Now that it is getting hotter and some of the carrots are beginning to flower, it was time to harvest the rest of the remaining carrots.

I didn’t use the carrots that had flowered, since they had become woody inside.

vegetable garden transition

vegetable garden transition

You know, one of the things that I like about gardening is how unpredictable it can be.  The two carrots, above, were growing just 1 ft. away from each other.

The garlic was already harvested and I concentrated on pulling out cool-season annuals that were serving as companion plants.

I love my crocs

I love my crocs!

These nasturtiums were still blooming, so I will leave them until they begin to fade.

vegetable garden transition

vegetable garden transition

A quick check of my warm-season vegetables showed that my zucchini plant has its first fruit (yes, zucchini is technically a ‘fruit’).

You really have to check carefully for zucchini because they can be hard to spot.

I will have to get my mother’s famous zucchini bread recipe.

Tomatoes

Tomatoes are hanging from the vine and will soon be turning red.

In my side garden, I have two new peach trees growing.

peaches

This one has 18 peaches on it.

I planted this peach tree in January.  Now, normally, you would want to ‘thin’ fruit so that there is only one fruit every 6 inches – this creates larger fruit.  But, I was so happy to see so much fruit on my new tree, that I just left them.

Since I won’t have enough to make peach jam, this year, I will use them to make peach vinegar.

I don’t just have peaches growing in my side garden…

blackberries

My blackberry bush has ripe blackberries!

Originally, I hadn’t planned on growing blackberries in my garden, but my mother had an extra blackberry plant that she gave me last year, so I planted one.

I decided to go ahead and add more this year and planted 5 more bushes.

I only have the original blackberry bush covered in fruit because blackberries form on 1-year old growth.

blackberries

My family wants me to use some of our blackberries to serve over ice cream.

I was thinking of using them for making blackberry vinegar, which I’ll use to make salad dressing.

What do you think?  Ice cream topping or fruit-flavored vinegar?

Summer is officially here.  To be honest, I think it is funny that summer ‘starts’ on June 20th when we have already had temperatures above 100 degrees for weeks.

It may be hot, but my vegetable garden is thriving. 

Here is a snapshot of the past week in my garden:

 newest vegetable garden

 My newest vegetable garden is doing very well.  Actually, it is doing better then I had even hoped.  The reason for this is that it receives filtered shade in both the morning and afternoon.  

 newest vegetable garden

The result is that my marigolds and nasturtiums are still thriving even though they normally die off by the end of May.

I am a thrifty person by nature and like to save money when I can in the garden, so I collect the seeds from dried flowers in order to plant them again the following season:

Hollyhock seeds

Hollyhock seeds

Marigold seeds

Marigold seeds

I save the seeds in regular envelopes.

Snapshot of a Summer Week in the Garden

About 3 weeks ago, I cut back my spent hollyhocks and have been pleasantly surprised to see them come back.

Snapshot of a Summer Week in the Garden

My vegetable gardens continue to produce corn, tomatoes, string beans, sweet bell peppers, cucumbers and herbs.

Before you see the following picture, I need to remind you that I am far from a perfect gardener…

corn

 This is what happens when you are out of town and don’t get to harvest your corn.

You can see that the kernels are sunken and even dried out.

Now if you grew an heirloom variety of corn, you can save the dried kernels for planting next year.

(Heirloom varieties of vegetables aren’t hybrids and will grow the exactly the same as the parent plant).

OR, you can allow the corn cobs to dry out completely and set them out for the birds, which is what I plant to do since I planted a hybrid type of corn.

(The seeds from hybrids won’t produce the same plant).

 Basil, Thyme, Sage, Rosemary and Purple Basil.

Clockwise from top: Basil, Thyme, Sage, Rosemary and Purple Basil.

I normally dry my herbs in bunches, hanging upside down.  But my sister has done it by drying them on cookie sheets.  Because we live in a desert, this is a viable option. I must admit that I haven’t tried this before, so I’m anxious to see how it works.  I set the cookie sheets out in my garage, covered with a dish cloth.

We’ll see how it works.

newest vegetable garden

Lastly, I have planted some vegetable seeds outside of my garden.  More about that later….

As for the rest of the week – I will be spending much of my time indoors in air-conditioned comfort, viewing my garden from indoors 😉

****************

How about you?

What are you doing in the garden this week?

My Newest Favorite Thing…..Vegetable Gardening!

I always think of the week of Memorial Day as the first ‘unofficial’ week of summer.  The weather is getting hot, the kids have their last day of school and it is also a time of harvest.

Memorial Day

For the past few weeks, my tomato and bush bean plants have been fruitful.

Every week, I blanch my tomatoes by putting them in boiling water for 45 seconds, which makes peeling them easier.

Then I remove the green part of the stem and then ‘squish’ the tomatoes to get rid of the seeds and excess liquid.

What remains the tomato, is the delicious part and I put it in a plastic freezer bag (making sure to get all the air out).  Then I freeze it until I am ready to use them to make sauce.

*My tomatoes aren’t flowering any longer, because of the hot weather – but the tomatoes are ripening.  By mid-May, you should put some sort of shade cloth protection for your tomatoes.

I am thrilled with how well my bush beans are producing.  I have six plants and they produce enough for us to eat for dinner once a week.  I take the extra and blanch them for 3 minutes and then place them in ice water before freezing them as well.

The end of May is also time that I start canning.

Memorial Day

The peaches at Double S Farms (my mother & sister’s family residence) are heavy with sweet fruit.

The trees are so generous that my other sister and I have plenty to make into jam, even after my mother has made hers.

I made three batches so far and have also tried my hand at making ‘Peach Cider Vinegar’, which I will share later.

Memorial Day

Soon, the plums at Double S Farms will ripen and then the apples, which I will can as well 🙂

Last Sunday was my son, Kai’s 10th birthday.  We had a family celebration with his grandmothers, aunts, uncles and cousins present along with his best friend.

Monday morning, Kai went on a flight in a two-seat airplane based at our local airport.

Memorial Day

Kai was excited, but also a little nervous.

His best-friend’s father was the pilot.

 two-seat airplane

Kai was strapped in and all ready to go.

 two-seat airplane

Up in the air and having a great time!

After his flight, we headed to Target with along with his best friend so he could use his gift cards.

Pokemon cards

Not surprisingly, he used them all to buy more Pokemon cards….his friend also bought some too.

Kai had the best day organizing his cards and trading with his friends.

********************

I hope you all are having a great week!

Snapshot of a Summer Week in the Garden

Freshly Grown Tomato

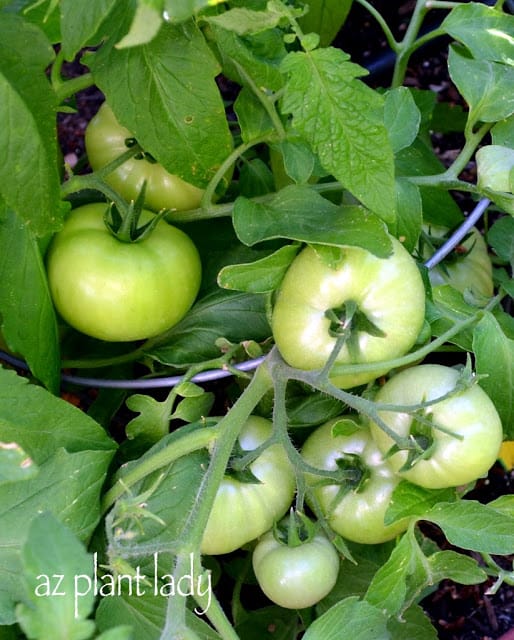
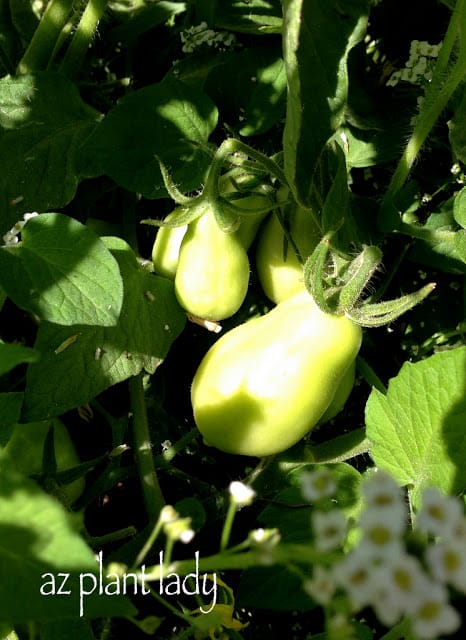
I think that there are few plants that gardeners get more excited about than growing tomatoes. There is just something so rewarding about biting into a juicy, flavorful tomato.

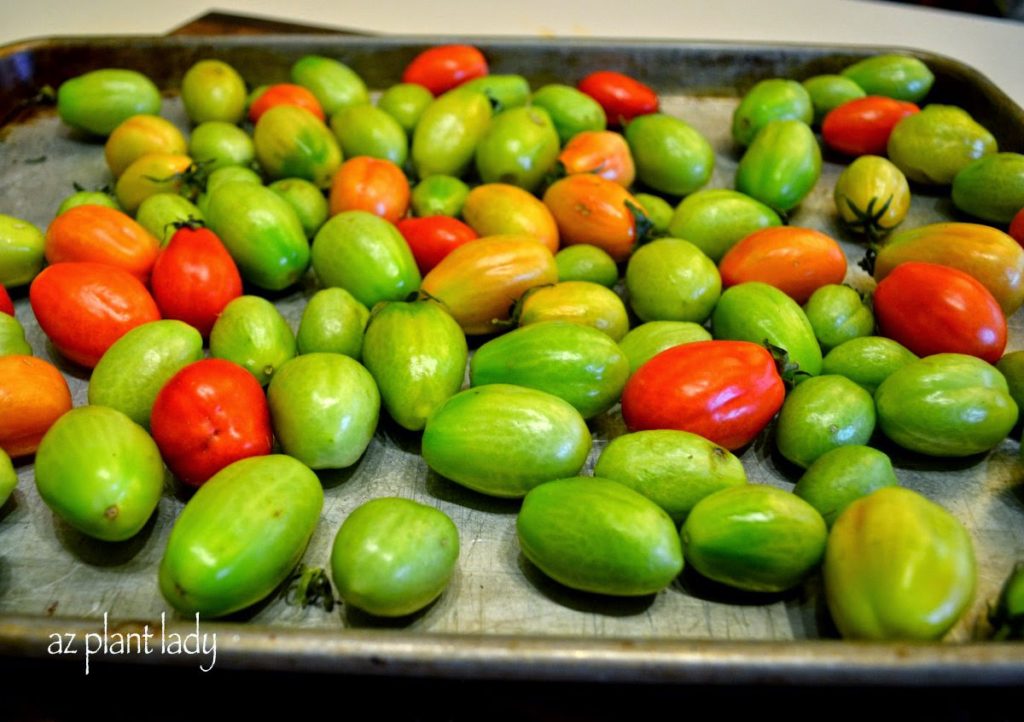
For those of you who have tasted a freshly grown tomato, you know that store-bought tomatoes do not even begin to compare in both taste and texture. There are a few reasons for this. First, the varieties grown commercially are bred to have tougher skins, so that they can make the trip to the grocery store with few blemishes. Another reason is that commercial tomatoes are picked when they are still green and then treated with ethylene gas to make them turn red.

So, maybe you have decided to try growing tomatoes this year. Or, perhaps you have tried and have not had a whole lot of success. Well, I would like to give you some helpful tips that may help you to grow beautiful tomatoes.

Now, most gardeners who grow tomatoes have their list of tips for producing the best tomatoes, and many have differing opinions on the best way. But like growing many things, there is often more than one right way to grow things.

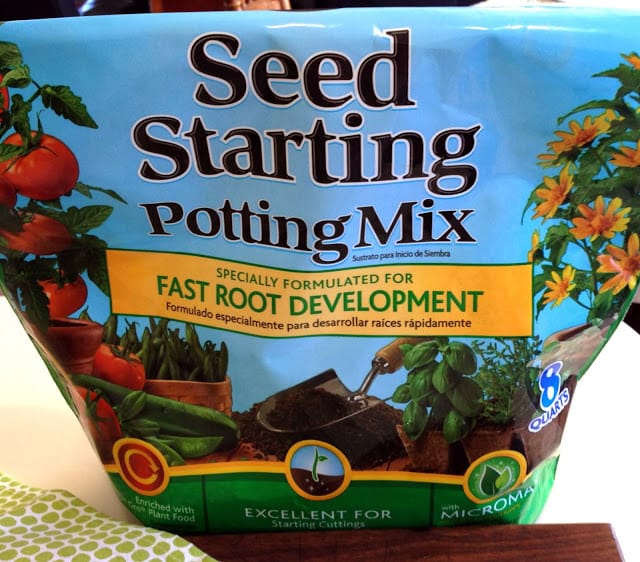
Since I have only grown tomato transplants, that is what I will talk about. Although someday, I would like to start them from seed.

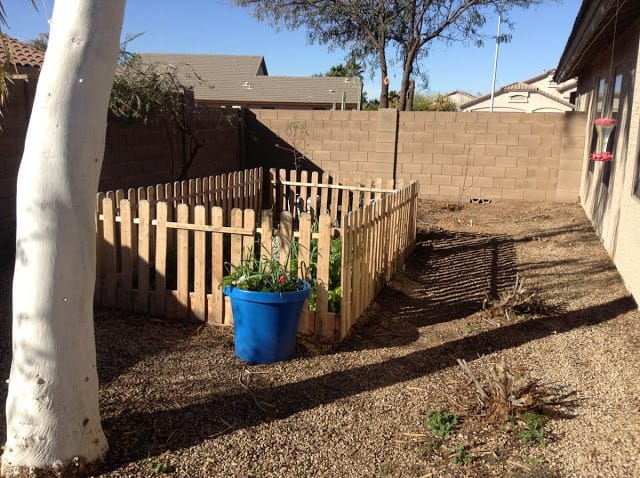
Decide where to plant your tomatoes. 

Tomatoes transplants can be planted once the threat of frost is over. Place them in an area that receives about 6 hours of sunlight a day. They will require shade once the fruit begins to form, which can be done by creating a portable shade structure. I use 30 – 50% shade cloth, putting it over my tomato support.

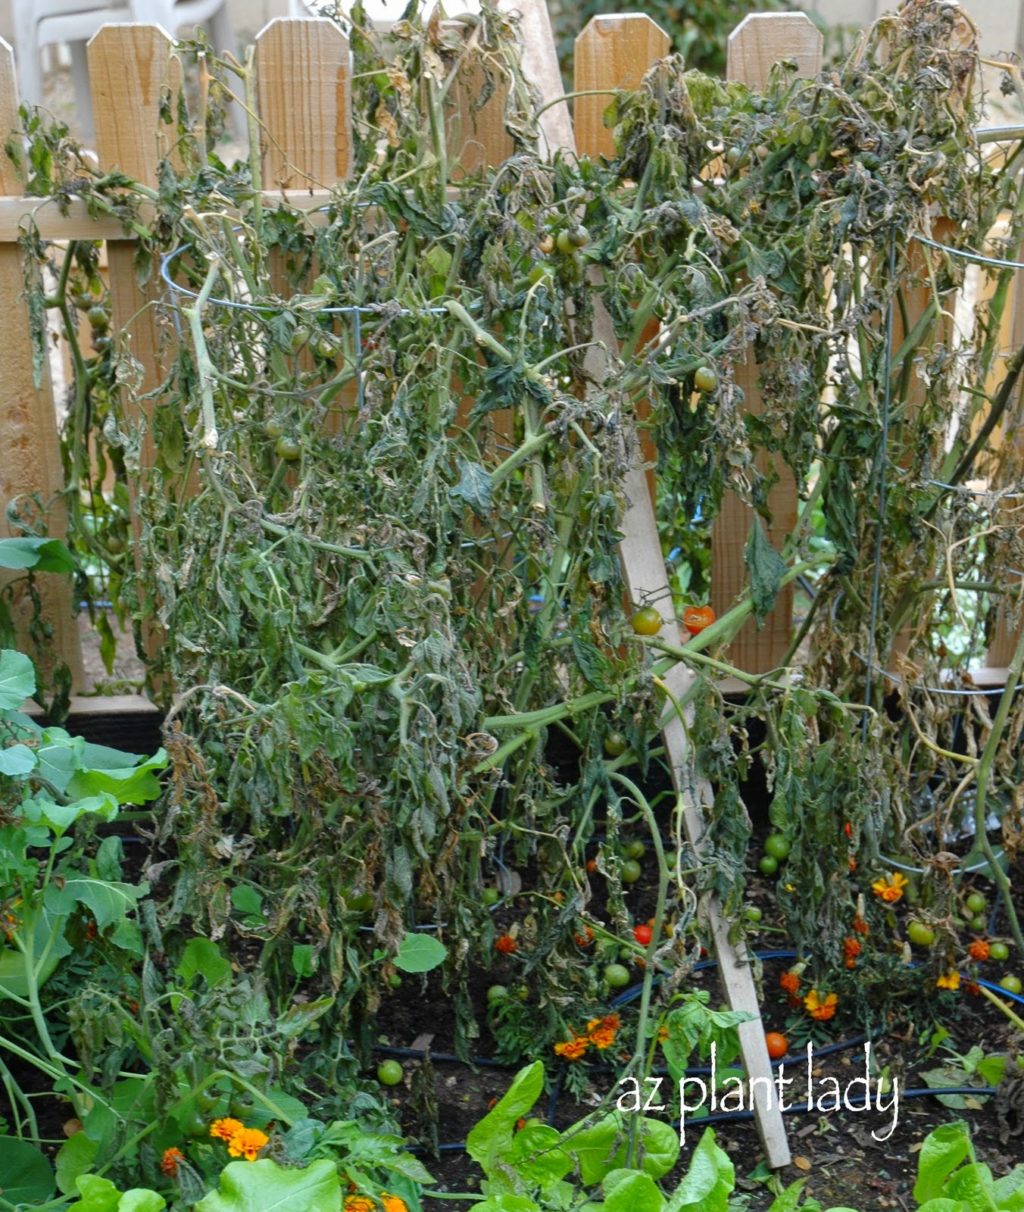
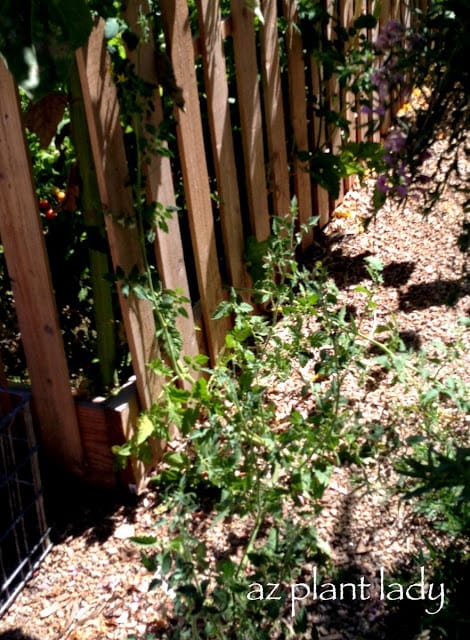
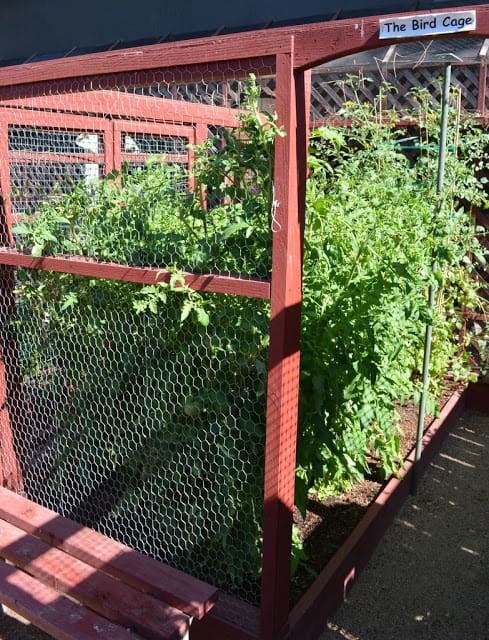
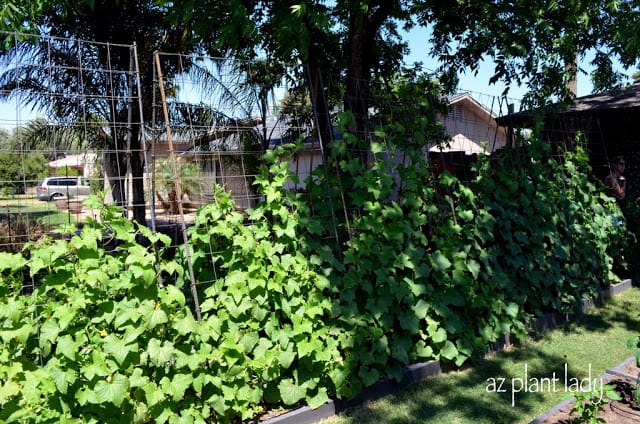
By the way, tomato plants can grow up to 6 ft. tall, so they do need a support system. Tomato cages or stakes are available. Because I plant my tomatoes next to the fence of my vegetable garden, I use a combination of a tomato cage and my fence for staking my tomato plants.

*Tomatoes really don’t do great when planted in containers, unless you decide to plant a determinate variety (bloom and produce tomatoes just once). Roma tomatoes are determinate and would be a good selection for pots. Other types of tomatoes are indeterminate, which means that they produce tomatoes over a long period and the tomato plants get too large to do well in a container, and their roots get quite hot as well.

Prepare your soil.

Add aged compost, bone meal (source of phosphorus), blood meal (source of nitrogen), and aged (composted) steer or chicken manure and mix with your existing soil. Read the labels of your blood & bone meal for how much to add. Compost should make up at least 2/3 of your planting mixture. Let your prepared soil rest for 1 week before planting.

Select your tomatoes – this is the fun part.

Decide what uses you will put your tomatoes too. Do you want tomatoes for slicing, salads, cooking, or cherry tomatoes?  

*You may also be wondering what all the fuss is about heirloom tomatoes and how are they different from hybrid tomatoes? Well, basically, heirloom tomatoes are non-hybrid tomatoes and can be open-pollinated. Heirloom tomatoes are said to possess the ‘old-fashioned’ flavor that many people love in tomatoes and are grown from seed.

As a gardener, you can grow either heirloom or regular hybrid tomatoes. It is your choice.

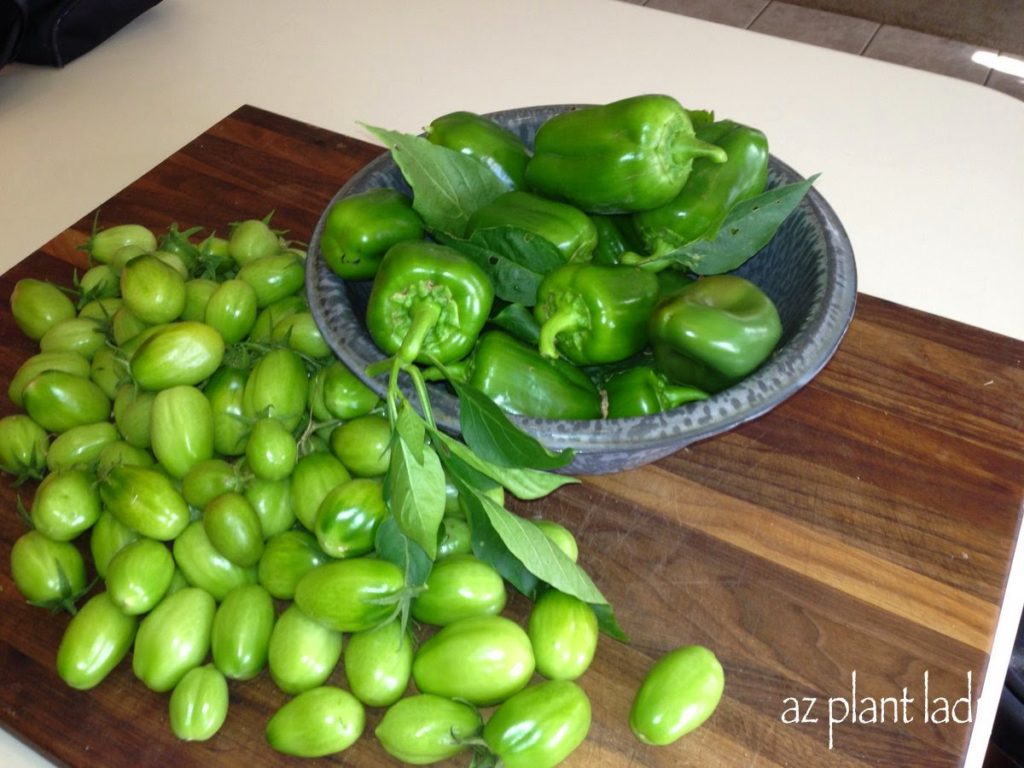
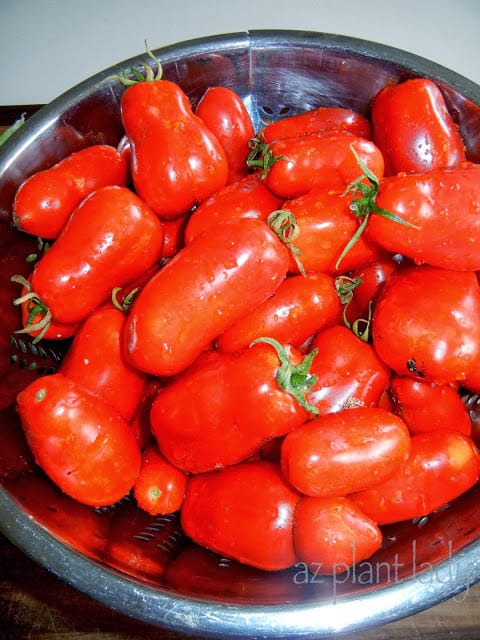
A good beginner tomato to start out with are cherry tomatoes. In my garden, I have used a variety that is great for making sauces – San Marzano (heirloom), although Roma (heirloom) tomatoes are good for cooking and preserving as well.

Many people are very passionate about which type of tomato varieties that they like to grow. In addition to the cooking tomato varieties listed above, here are just a few suggestions for other types of tomatoes:

‘Celebrity’ (hybrid) and ‘Brandywine’ (heirloom), are good sliced tomato varieties.

‘Stupice’ (heirloom) and ‘Early Girl’ (hybrid) are great varieties for using in salads.

‘Gardener’s Delight’ (heirloom) and ‘Beam’s Yellow Pear’ (heirloom) are good cherry tomato varieties.

Freshly Grown Tomato

Dig a hole that is four times deeper and four times wider than the root ball of your tomato plant. 

Sprinkle about 1/2 a cup of bone meal in the bottom of the hole, which will aid in rooting (some tomato experts say you can add 1 cup of bone meal to each hole).

Freshly Grown Tomato

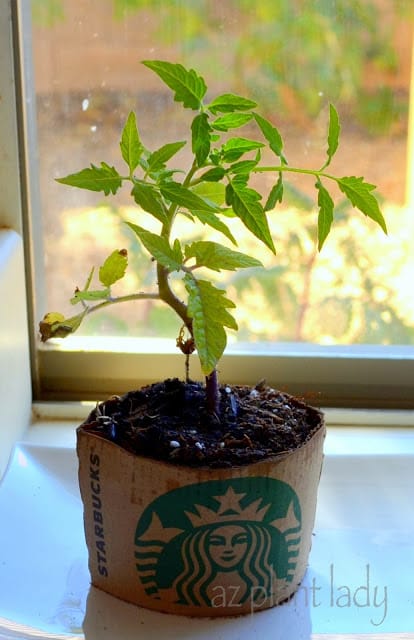
Take your tomato plant and remove the bottom three sets of leaves.  Believe it or not, your tomatoes will root out where you remove the leaves. More roots equal more water and nutrients that your tomato plant can take up.

Freshly Grown Tomato

Remove the little container and plant it. Cover with soil so that the soil level sits just beneath the lowest leaf.

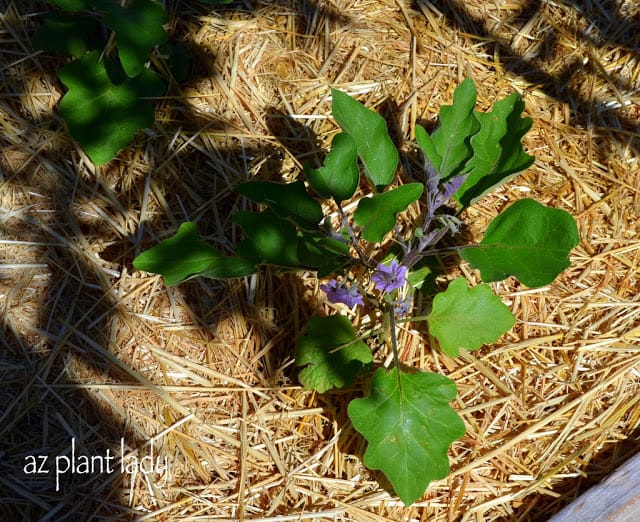
Build a small basin around your tomato plants and cover with mulch.    

Water in your newly-planted tomatoes. Fill the basin with water. Your tomatoes like for their soil to be moist, but not soggy. 

Many problems with tomatoes arise from improper or irregular watering. Water deeply (their roots grow 3 ft. deep), and regularly.  Because irrigation systems are so different and there are so many variables, there is no way to tell you exactly how much and how long to water. So, it is important to observe your tomatoes and monitor their soil moisture.

Drip irrigation works well and can hook up to your hose bib, with a battery-operated irrigation controller. Use at least two emitters for each tomato plant. Bubblers work very well for tomatoes. You can always use a watering can, but avoid getting dirt splashed upon the leaves.

Fertilize your tomatoes monthly

Fertilize your tomatoes monthly.

Now you can use either organic fertilizers or inorganic. The choice is yours. Add fertilizer during the cool part of the day and water in well after you apply.

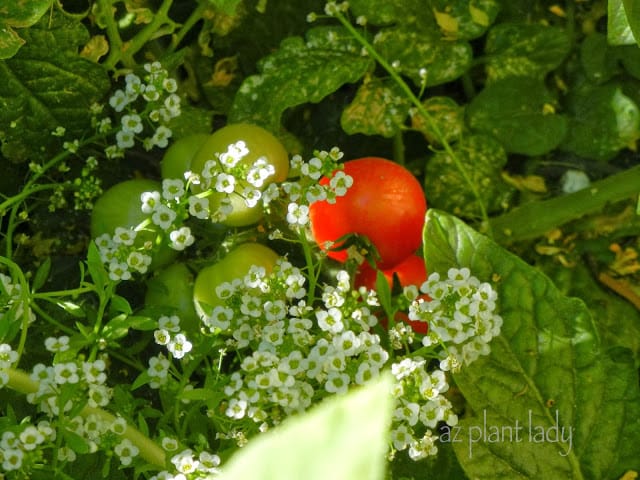
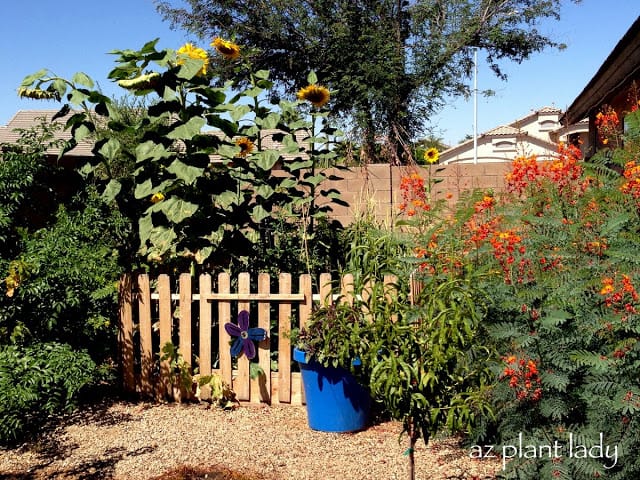
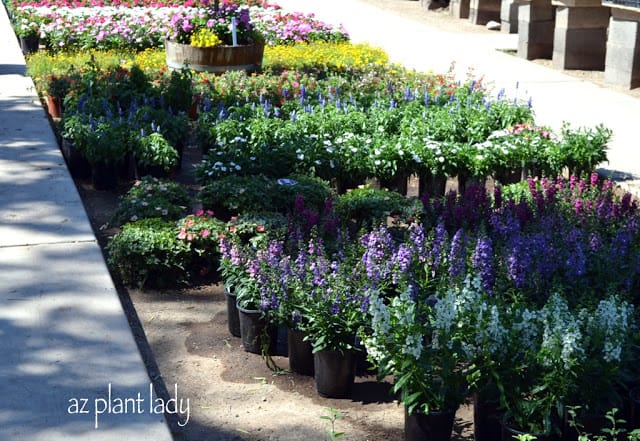
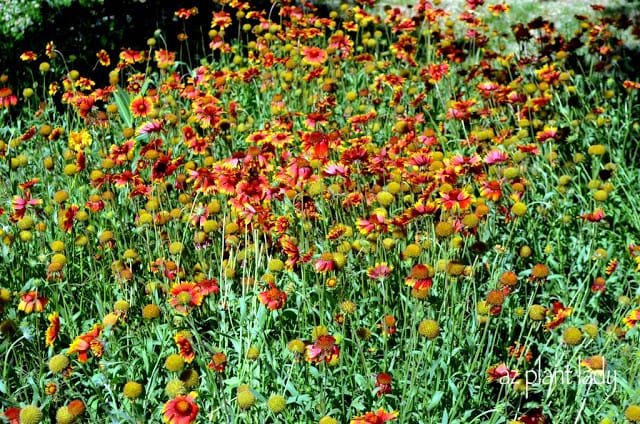
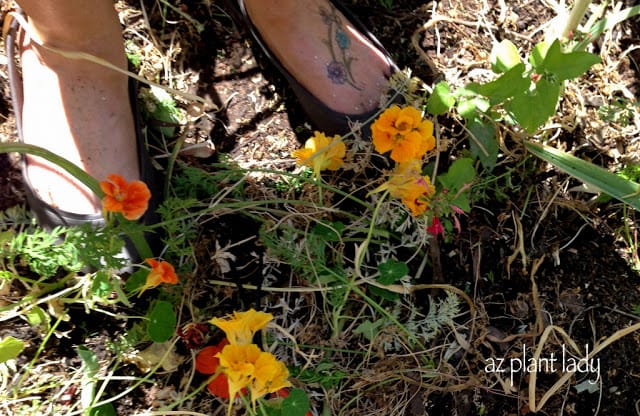
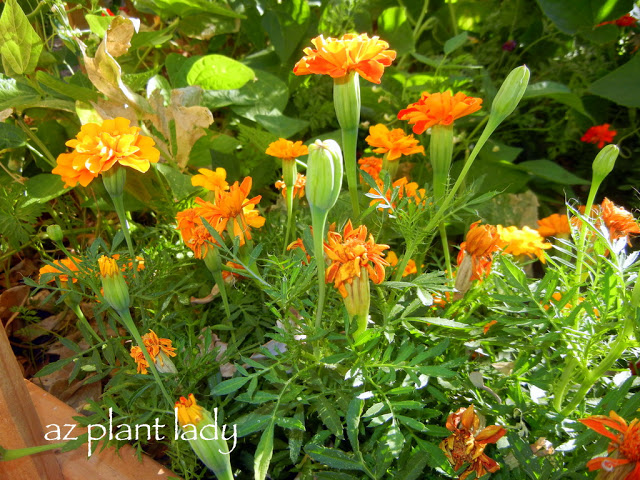
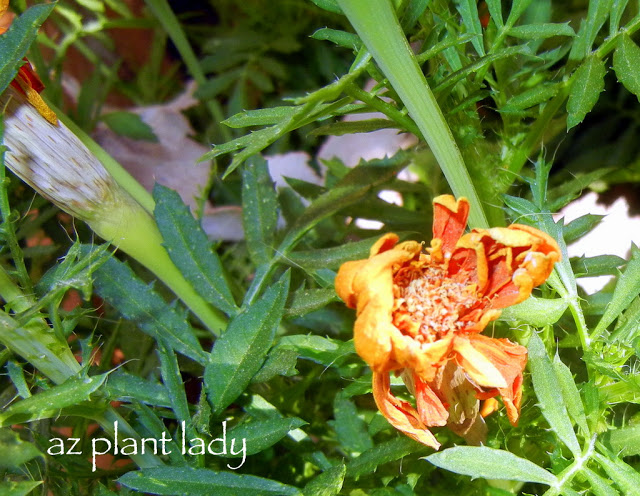
Help to attract pollinators and keep damaging insects away by planting companion plants.

I have used both alyssum and marigolds this spring, although they will die off once summer comes.

hot desert climates

Towards the end of July, tomatoes often stop producing fruit in many, hot desert climates.

The reason for this is that tomato pollen is most viable when nighttime temperatures are within 60 – 90 degrees F. So, don’t worry if your tomato plant stops producing in the summer. Keep the shade cloth on and water well. When temperatures begin to drop in the fall, you can often enjoy seeing tomatoes on the same plant.

Watch closely for pests.

Watch for caterpillars and pluck them off.  (I confess that I wear gloves for this job because I am a bit squeamish about handling a live caterpillar).

Aphids are generally not a huge problem and usually go away on their own.

Whitefiles and spider mites are treated using insecticidal soap or neem oil on the bottom of their leaves.

If birds are a problem, use bird netting.

I hope that you will find some of the information helpful in growing your own tomatoes.

For more information on growing tomatoes in the desert Southwest, check out the following link.

Harvest, Canning and a Flight