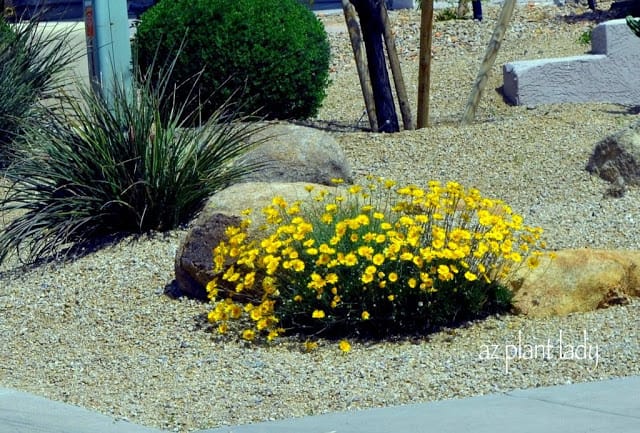
decorative garden

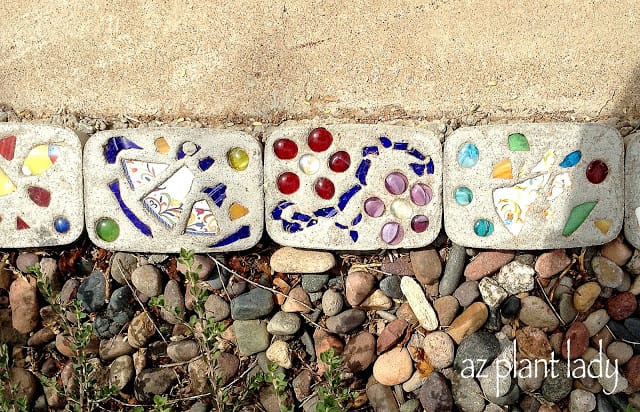
Earlier this month, I was visiting the garden of a homeowner while doing a consultation.  The landscape was in great shape with healthy shrubs and trees.  But, what kept catching my attention were the beautifully decorated blocks that made up the border.

decorative garden

The entire front landscape was bordered with uniquely decorated cement block, decorated with pieces of dishes, glass beads and more.

Every block was a unique creation.

While admiring the border, the homeowner told me that his wife had made this beautiful border using everyday items such as plastic food containers and cooking spray.

He offered to introduce her to me, so we headed into the house where I was greeted by more of her beautiful creations.
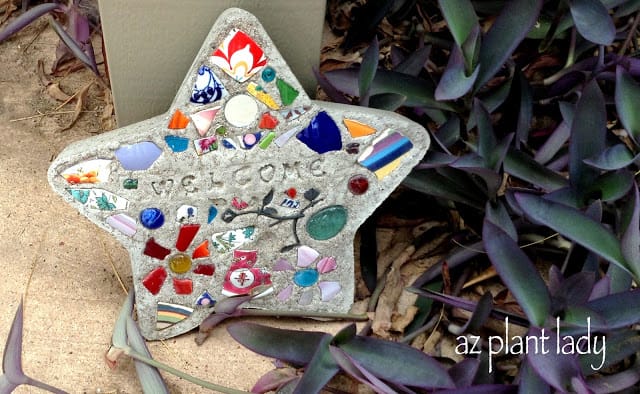
decorative garden

I love this welcome stone, don’t you?

Here is another decorated step stone…
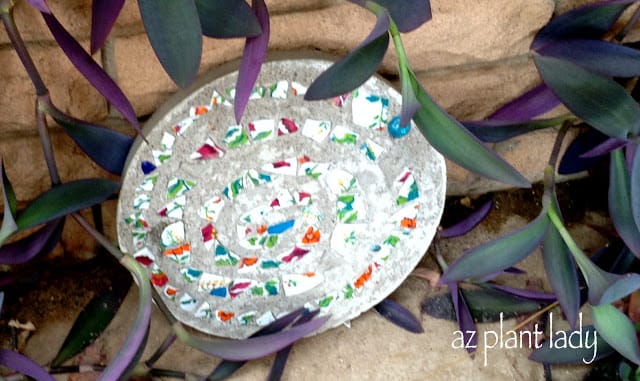
decorative garden

I love the spiral pattern.

workshop

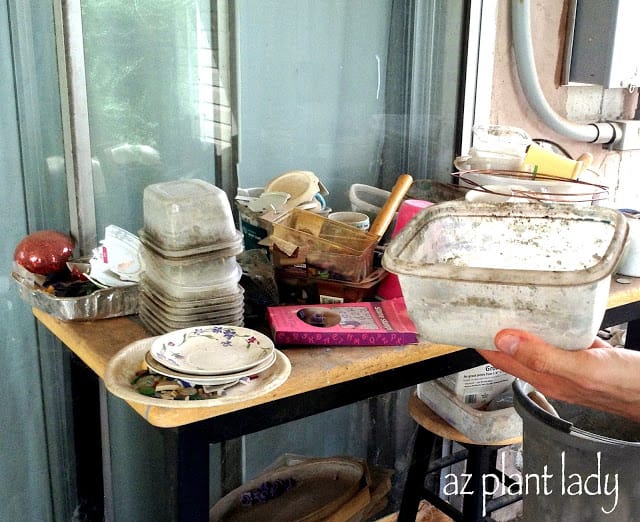
I was shown her workshop where she creates her works of art.  You can see the plastic food containers and some dishes ready to be broken into small pieces.
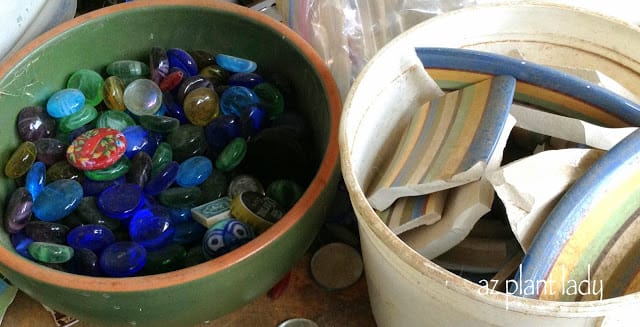
glass beads

The dishes were purchased at the local dollar store and the glass beads came from the craft store.

I asked her how she made them, so that I could share it with you.
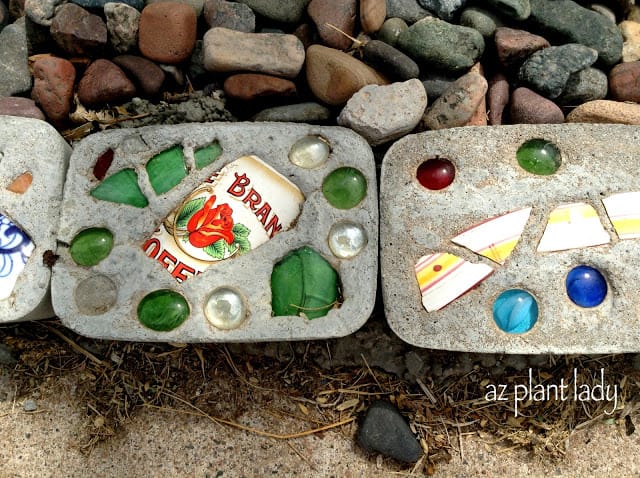
DIY Stepping Stones and Border

Supplies: Mortar mix, a bucket, a trowel, plastic food container in desired size, cooking spray, broken pieces of dishes and glass beads.
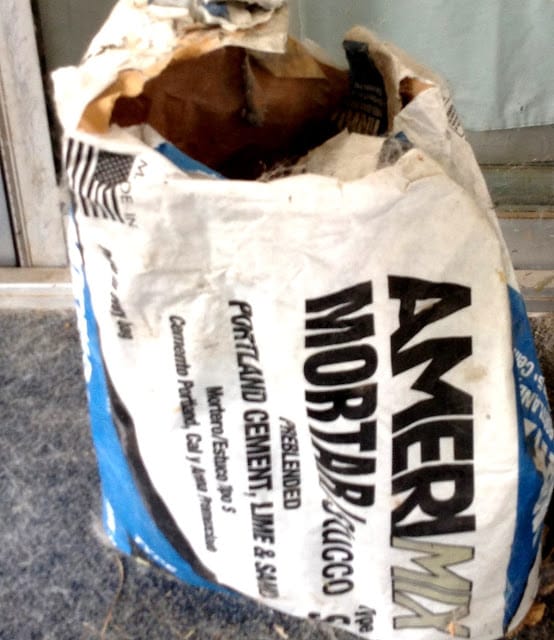
DIY Stepping Stones and Border

1. Mix the mortar mix in a bucket with water until you have the consistency of brownie batter.

2. Spray the food container with cooking spray.

3. Add the cement mixture to the container to the top and smooth out with the trowel.
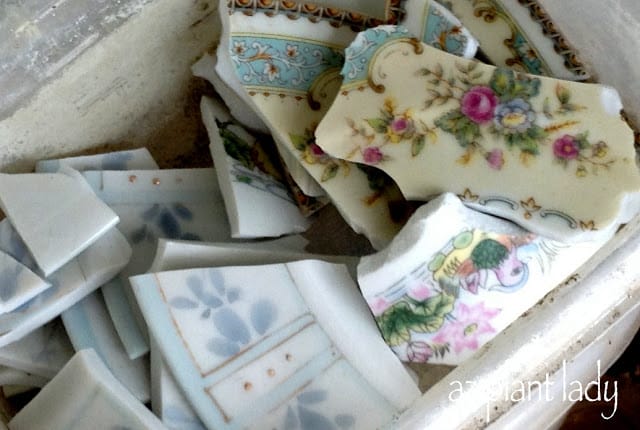
DIY Stepping Stones and Border

4. Now for the fun part – add pieces of dishes and/or beads to create your design.  You could even use small pieces to spell out words.

5. Allow to dry for 48 hours.

6. Pop out and place in your garden!
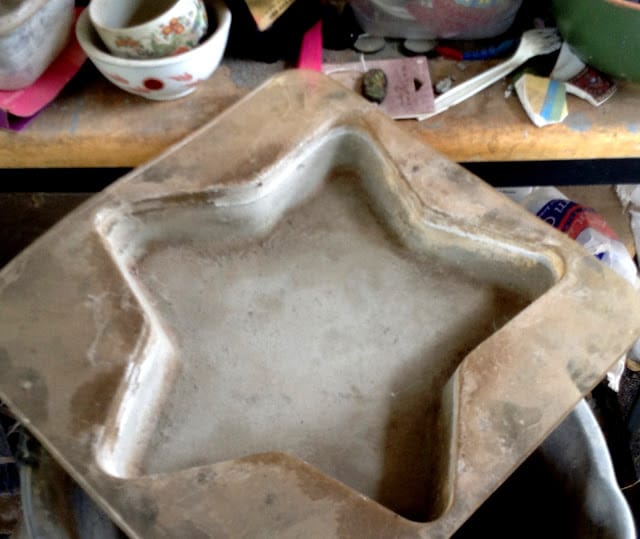
DIY Stepping Stones and Border

You can buy plastic forms at your local craft store to create stepping stones, following the same steps above.

I thought it would be a fun way to create plant markers for the garden by using small food containers as forms.
DIY Stepping Stones and Border

I will undoubtedly be trying this in my own garden.

How about you?  Have you ever created your own step stones or border?

**************************

I have two exciting new items to share with you…

The first is that my daughter, Rachele, graduated from her Navy Seabee school today.

She texted me a photo of her wearing her “Seabee Greens” for the first time.  The Navy camouflage uniform is gray and blue, but when you are a “Seabee” you get to wear green.

I shared it on my facebook page if you would like to see it.

Rachele is coming home this weekend after 5 months away of training.  Then she will be off to Mississippi for a month for more schooling (Expeditionary Combat Skills).

The best news is that she is going to be stationed in CA, just a 1/2 hour away from where I grew up!

For my second bit of news, I will share with you next time, but I’ll give you a hint – it involves television cameras…  

Favorite DIY Posts – Day 3: Stepping Stones and Border

This past week, I have been sharing with you my latest landscape project that is located next to a golf course.

I shared with you the tree and shrubs that I had chosen and not it’s time to show you what perennials and succulents that will be going in.

*All the following perennials are drought tolerant and require full sun with well-drained soil.

Perennials and Succulents

Perennials and Succulents

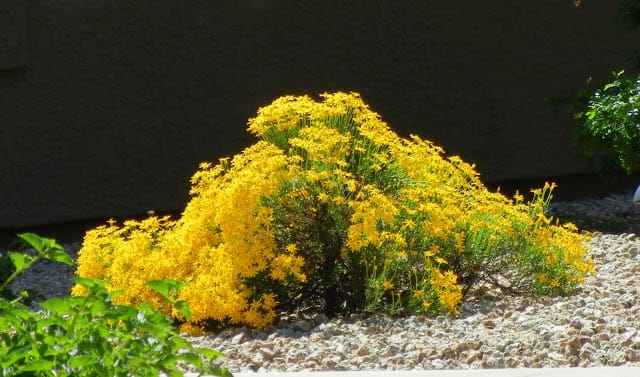
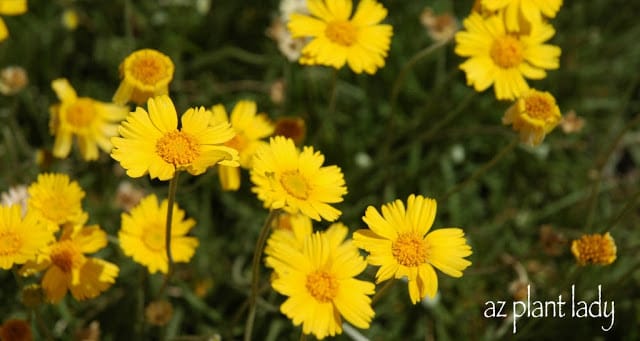
Damianita(Chrysactinia mexicana) is a fabulous flowering ground cover.

It thrives in locations with hot, reflected heat and handles cold temperatures (down to 0 degrees F) just as well.

In spring and again in fall, masses of bright yellow flowers cover this low-growing perennial.  When not in bloom, it has dark green needle-like foliage.

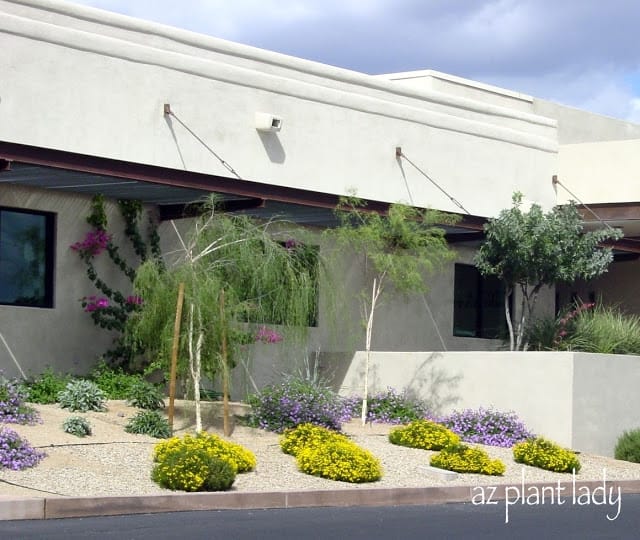
Newly planted landscape with Purple Trailing Lantana, Parry's Penstemon, Desert Spoon, Palo Blanco trees and Damianita

Newly planted landscape with Purple Trailing Lantana, Parry’s Penstemon, Desert Spoon, Palo Blanco trees and Damianita.

I have used Damianita in other landscapes that I have designed in the past (shown above), with great results.

*The trick to keeping Damianita looking great is to shear it back in late spring.

Perennials and Succulents

Perennials and Succulents

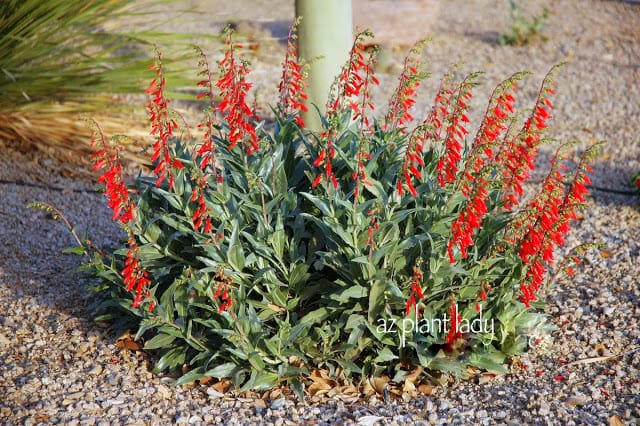
Firecracker Penstemon(Penstemon eatoni) is my favorite flowering perennial.  The one pictured above, is in my own garden.

I am often asked about this brilliantly colored plant in spring when it is in bloom.

One of the reasons that I love this Penstemon is that is begins flowering in winter, in zone 9b and continues on into spring.  In cooler zones, it begins flowering in spring and lasts into summer.  It handles cold temperatures easily and is hardy to zone 5.

Hummingbirds find the flowers irresistible.  To prolong bloom, prune off the flowering stalks once the flowers begin to fade and you will be rewarded with another flush of bloom.

Perennials and Succulents

Perennials and Succulents

Angelita Daisies(Tetraneuris acaulis formerly, Hymenoxys acaulis) are what you could call one of my ‘signature’ plants, because I use them often, like the landscape I designed, above.

I find them invaluable in the landscape because they flower off and on throughout the year, with the heaviest bloom occurring in spring.

Perennials and Succulents

They easily handle full sun and reflected heat and look great in pots.  I like to plant them next to boulders in groups of 3 or 5 for best effect.   Cold temperatures are no problem either because they are hardy to zone 5.

Maintenance is easy – simply shear the flowers every 8 weeks or so.

Now, so far I have shown you the trees, shrubs and perennials planned for this area.  But, I want to add succulent plants, which are also used as accent plants.  These types of plants add texture to the landscape because their unique shapes contrast well with the softer, more rounded shapes of the shrubs and perennials.

Perennials and Succulents

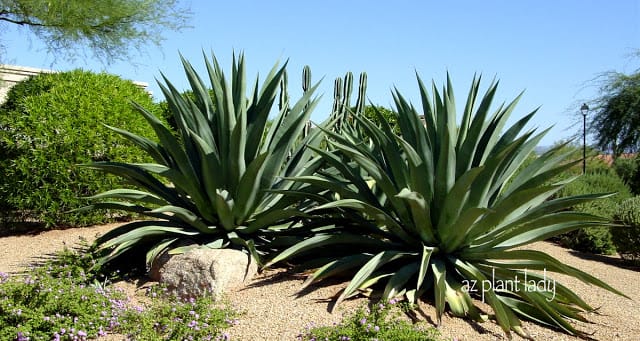
Weber’s Agave(Agave weberi) is a large agave that can grow 5 to 6 ft. high and up to 8 ft. wide.

In large landscape areas, I don’t want to use small succulents because it will be hard to see them unless you mass a lot of them together.  My budget won’t allow for that with this project.

I love how this large agave can stand up on its own.  I like to plant flowering ground covers underneath them.

Plant in full sun or light shade.  Weber’s Agave is hardy to zone 7.  *Agave need supplemental water in our climate to look their best.  I recommend watering twice a month in summer and once a month in spring and fall.  

Purple Prickly Pear

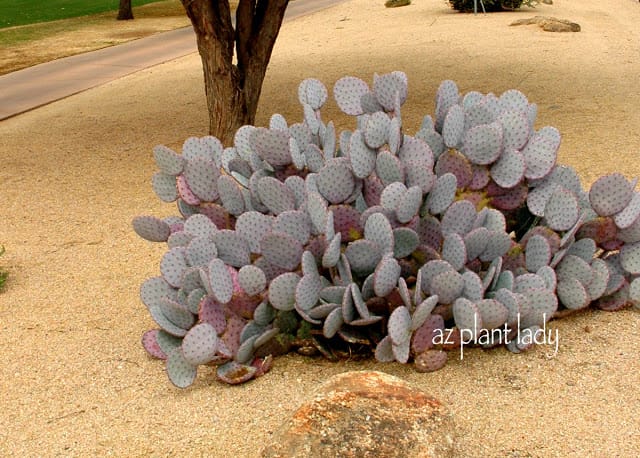
You can’t get much more unique in shape and coloring then Purple Prickly Pear(Opuntia santa-rita).

I love the gray pads with shades of purple.

The purple color deepens in cold temperatures or in times of drought.  

Purple Prickly Pear

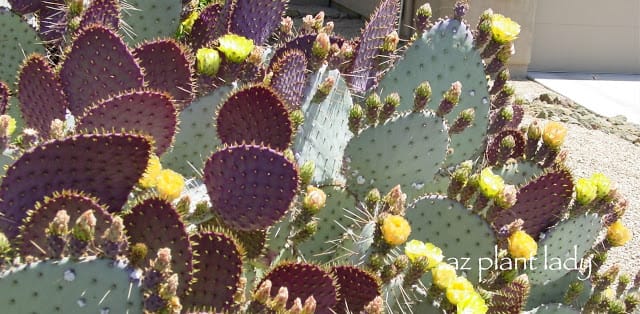
In spring, yellow flowers cover this beautiful cactus.

Hardy to zone 8, plant in full sun and well-drained soil.

**If you notice white cottony masses on your prickly pear, simply spray it off with a hose.  They are caused by an insect.

Okay, are you ready for my last plant selection for this new project?

Red Yucca(Hesperaloe parviflora)

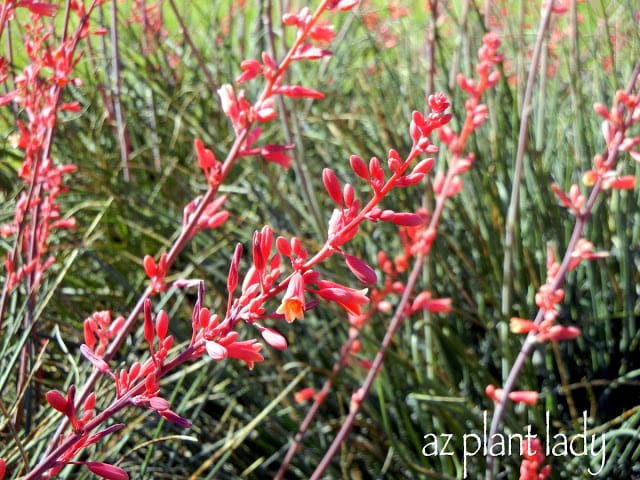
It is hard to find a succulent that works harder then Red Yucca(Hesperaloe parviflora).  Despite their common name, they aren’t a yucca.
The lower, succulent leaves resemble ornamental grasses.  In spring coral-colored flowers are borne above the grass-like foliage.

Perennials and Succulents

Hardy to zone 7, Red Yucca thrives in full sun.  While drought-tolerant, they do best with supplemental water.

Maintenance is easy – just remove the flowering stalks as they begin to fade.

*There is a common mistake that landscapers often make with this succulent plant.  To make sure this doesn’t happen to you, check out my previous post, “Do This NOT That”.

The last element for my newest project isn’t a plant at all, but it adds height and texture to the landscape without requiring any water or pruning…

Boulders

Boulders!

I will use boulders interspersed throughout this flat area to add height.  The boulders will have either a succulent and/or flowering perennials planted next to them.

Well, I must say that I am excited to get started on this project.  We will wait until this fall for the planting.

I’ll be sure to take you all along as it progresses.

***************************

7 days until my daughter, Rachele, comes home from the Navy!!!  

Trees and Shrubs for a Neglected Area

In my last post “A Long Forgotten Area Ready for Transformation”, I told you that I would share what plants I was going to have put in this neglected area.

Criteria for Plant Selection

The selection of these plants has been guided by specific criteria:

  1. Personal Experience: Many of these plants have thrived in my own home garden or in landscapes I’ve overseen.
  2. Low Maintenance: I’ve opted for varieties that require minimal upkeep.
  3. Drought Resistance: These plants are well-suited to dry conditions.
  4. Year-round Beauty: The chosen plant palette guarantees a vibrant display of colors throughout the year, with at least one plant in bloom at any given time.

Trees for the Area

So are you ready to see what I chose?

Let’s start with the trees…

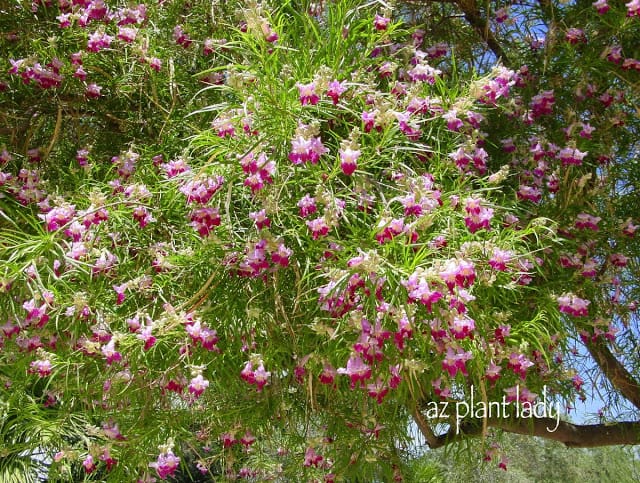
Desert Willow (Chilopsis linearis)

The area has two large Foothills Palo Verde trees along with a Wolfberry tree, so I chose one other type of tree to add.

Desert Willow

Desert Willow (Chilopsis linearis) is one of my favorite desert trees.  It is not a true willow, but is named for the fact that its leaves are willow-shaped.

Colorful flowers appear throughout the summer that add a vibrant punch of color to the landscape.

Hardy to zone 6, Desert Willow requires well-drained soil and full sun or filtered shade.

Shrubs for the Area

Now for the shrubs…

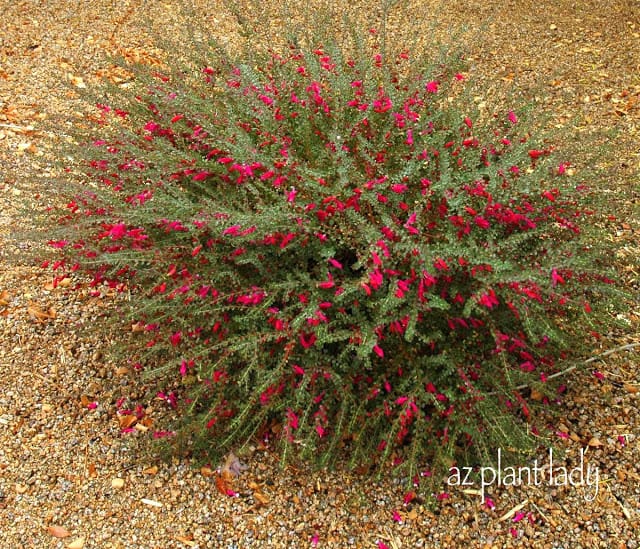
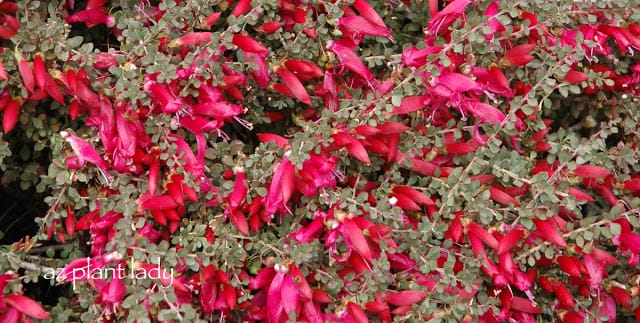
Valentine Bush (Eremophila maculata ‘Valentine’)

Valentine Bush

Valentine Bush (Eremophila maculata ‘Valentine’) is my favorite shrub of all time. I will never forget the day when I was first introduced to this red-flowering shrub, by Mountain States Wholesale Nursery.  It was 1999 and I was a horticulturist fresh out of college.

I was given 2 Valentine shrubs from Mountain States to plant in the landscape area I managed.  Ever since then, I have been hooked.

Trees and Shrubs

Red flowers appear on this shrub, beginning in January and lasting until April.  If you haven’t noticed it before, there isn’t much blooming in winter, which is one of the reasons I love Valentine.

The foliage is evergreen and Valentine are hardy to zone 8.  Better yet, they only need to be pruned once a year – in spring after flowering.

Plant in full sun and well-drained soil.

For more information about Valentine, check out my post about this great plant.

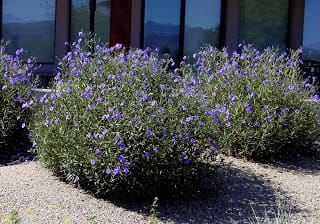
Baja Ruellia (Ruellia peninsularis)

Baja Ruellia

My second choice for shrubs is Baja Ruellia (Ruellia peninsularis).

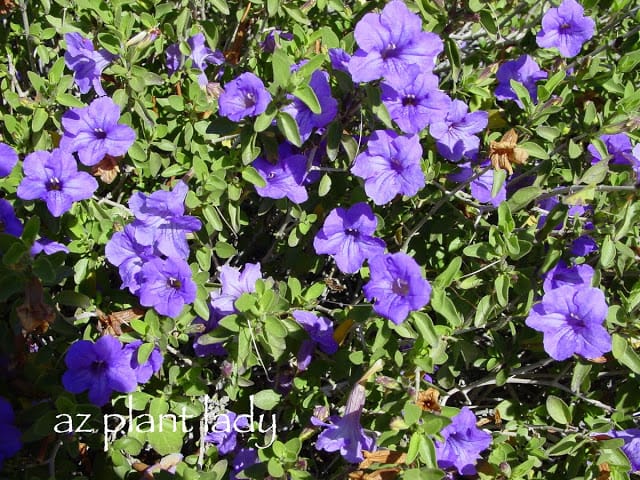
Now, this isn’t its rather invasive cousin Ruellia (Ruellia brittoniana), pictured below…

Trees and Shrubs

Baja Ruellia is what I like to think of as a smaller version of Texas Sage species (Leucophyllum sp).  It doesn’t get as large and has a longer flowering season then Leucophyllum.

Trees and Shrubs

The flowers of Baja Ruellia are tubular and appear spring through fall, with the heaviest bloom occurring in spring.

The foliage is light green and rarely suffers frost damage in our zone 9b climate.  Hardy to zone 9, Baja Ruellia should be planted in full sun and well-drained soil.

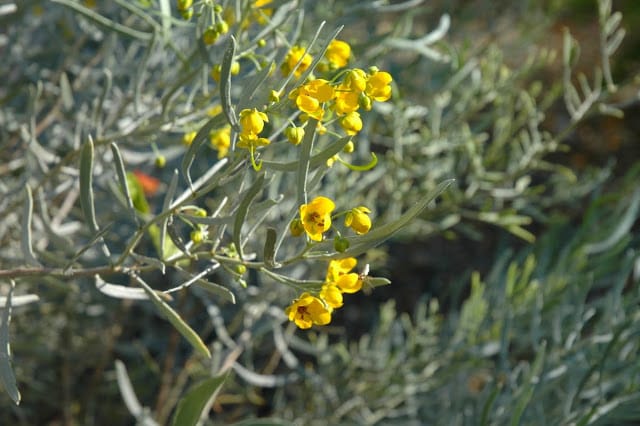
Silvery Cassia (Senna phyllodenia)

Silvery Cassia

The third shrub for this area will be Silvery Cassia (Senna phyllodenia).  This Australian native does very well in arid landscapes.

The silvery foliage will provide contrast to the darker greens present in the landscape.  Evergreen to 20 degrees, this shrub flourishes in zone 9 landscapes.

Yellow flowers appear in late winter and into spring.  Pruning is needed after flowering, to remove seed pods in managed landscapes.

Like the other shrubs, Silvery Cassia enjoys full sun and well-drained soil.

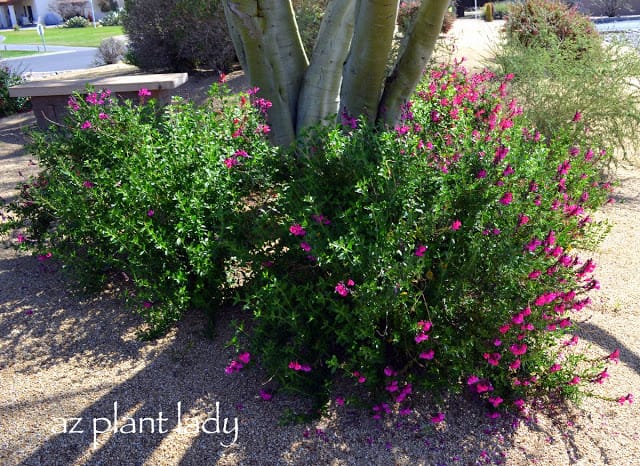
Autumn Sage (Salvia greggii)

Autumn Sage

The smallest shrub for this area will be Autumn Sage (Salvia greggii).  This plant is hard to zone 7, so remains evergreen during winter here.

Flowers appear fall through spring in the low desert.  The most common colors are red or pink, although there are other colors such as white, lavender and peach. 
I like to use Autumn Sage around trees like Palo Verde, where the filtered shade shelters it from the intense summer sun.  I first saw them planted around a tree at the Desert Botanical Garden and I really liked the way it looked, so I have repeated this design in many of my landscapes.
The Autumn Sage above, was planted by me around a Foothills Palo Verde about 12 years ago and they are still going strong.

I still have perennials and accent plants to show you that I have included in the design and I’ll share them with you next time.

*********************************

An Update on my Family

Life around our household has been busy lately….
School is back in session (for which I am extremely grateful for 😉

My son Kai, has ditched his wheelchair for a walker and will soon be able to walk without it.

AND

My daughter, will soon come home after leaving 5 months ago for the Navy.  She is graduating from her Equipment Operator School next week and will be an official ‘SeaBee’.  She will be on leave for 2 weeks before she reports for combat training in Mississippi, where she will be stationed for a month.

The BEST news is that her permanent base will be in Port Hueneme, which is where she wanted to be.  What is even better for us, is that it is in Southern California, just 7 hours from home!!!

We are getting ready to celebrate her homecoming, which I will share with all of you 🙂

If someone asked you what your favorite food was, what would you tell them?

My daughter, Gracie, would answer by saying “anything chocolate”.

My husband would say “pizza”.

But my favorite food is a warm slice of sourdough bread with melted butter.  My idea of heaven is being surrounded with loaves of French bread and plenty of Irish butter without the carbs or calories 😉

Because I like to make things using produce from my garden, I decided to try making herb butter using the herbs that I grew and dried earlier this summer.

heavy whipping cream

Just for fun, I decided to make my own butter using some leftover heavy whipping cream (did you know that if you beat heavy whipping cream long enough that you will get butter)?

When we were kids, my mom would teach us how to make butter this way using her antique butter churn.  It was a lot of work, but it was fun.

Most of the time, I just use regular butter to make herb butter.

making your own herb butter

I beat the whip cream until it became thick and continued until it looked like this…

making your own herb butter

Your butter will start to solidify with a little buttermilk liquid left.

making your own herb butter

Drain the buttermilk and you are left with butter!  You can salt it to your taste at this point.

1. You will need a 1/2 cup of softened butter. (Store bought works just as well as butter you made yourself).

2. Add a 1/2 teaspoon of your favorite herb.  Dried basil, chives, dill, oregano, rosemary, sage or thyme work well for herb butter.  You can also use a 1/2 teaspoon of poultry or Italian seasoning instead if you like.

3. I also added 2 cloves of minced garlic, also from my garden, to the herb butter.

4. Mix it all together using a rubber spatula.

making your own herb butter

5. Place your butter mixture onto wax paper and begin to form it into a roll by folding over the wax paper and using your hands to mold the herb butter.

making your own herb butter

6. Twist the ends of the wax paper and place your herb butter into a plastic freezer bag.

preserve

7. Freeze until 2 hours before using.  You don’t have to use it all at once.  Simply cut off a few sections at a time.

You can freeze herb butter up to 6 months.

So, get started now and preserve the taste of your summer herbs by making your own herb butter.

Make some for yourself and give some away to friends.

I must say, that I was going to take a picture of my herb butter melting over a hot slice of sourdough bread.

But, I ate it before I remembered to take the picture…

**You can use your own herbs that you have dried or you can use herbs from the grocery store.

To learn how to dry herbs, check out my earlier post – “How to Grow and Dry Your Own Herbs”

What herb(s) would you add to herb butter?

Last year, my mother gave me a blackberry plant.

She had planned on using it herself, but then gave it to me instead.

To be honest, I hadn’t really thought seriously about growing berries in my garden.  But, as a child, we had quite a few blackberry bushes in our backyard and I remember eating blackberries over vanilla ice cream.  

So, I planted my single blackberry bush in my edible side garden where one of my vegetable gardens is located along with my fruit tree.

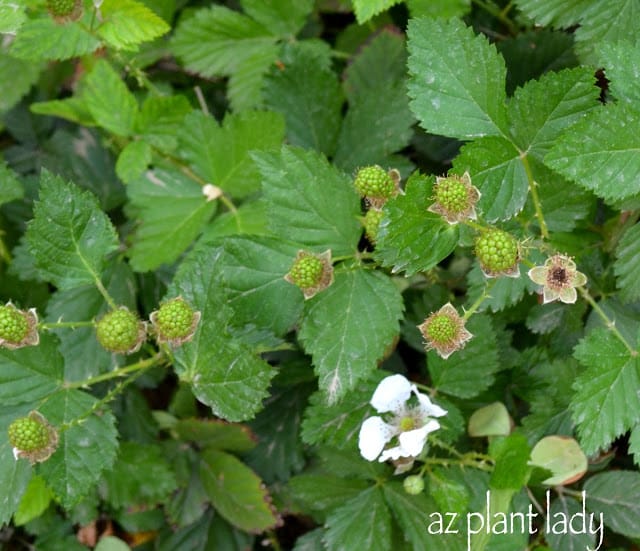
This spring, I was delighted to find the beginnings of little blackberry flowers…

blackberry bush

Soon, I had tiny, green berries covering my blackberry bush…

Blackberry plant

Blackberry plant

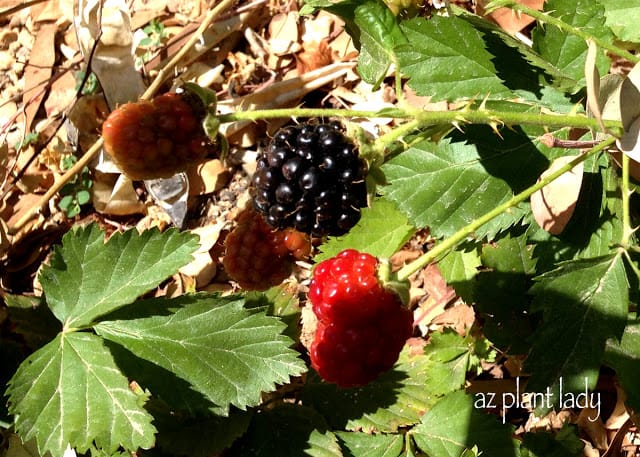
I could hardly wait until they ripened.

From Humble Beginnings To A Sweet Finish

Every few days, my son, Kai, would run outside to check on how they were ripening.  He would always come in with a few ripe ones.

berries

I froze the berries in batches since they did not all ripen at the same time.

Then I stored them away in the freezer until a special occasion in which to serve them.

BUT, you know what happened?

I forgot about them until the other day when I was rummaging about in my freezer.

blackberry

So I brought them out and prepared to make a blackberry topping for my homemade angel food cake.

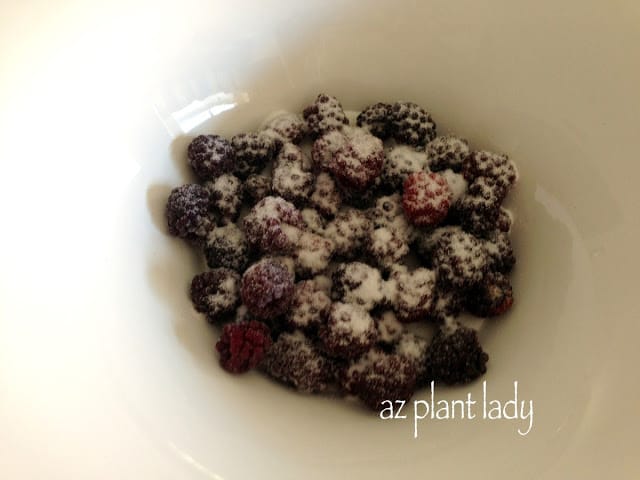
blackberry

I added sugar to the berries, which helps them to release their delicious juices.

A couple of hours later, I mashed them and served them over cake…

homemade dessert

They were so sweet and delicious.

It was fun to surprise my family with this truly homemade dessert.

**Last winter, I planted 6 additional blackberry bushes.  I can’t wait to harvest berries next year!

What is your favorite type of berry to eat?

Do you grow any berries?

What kinds?

Did you have the opportunity to get away for awhile this summer?

Our summer has been a bit tough this year.  The reason is that my son, Kai, had hip surgery (his 5th) and was confined to a wheelchair this summer.  He was in quite a lot of pain for the first few weeks, which thankfully subsided in July.

We were blessed to go on a family vacation toward the end of July before school started.  Every year, we go on a trip with my mother, my siblings and their families.  This year, we decided to go to Pinetop, Arizona.

Salt River Canyon

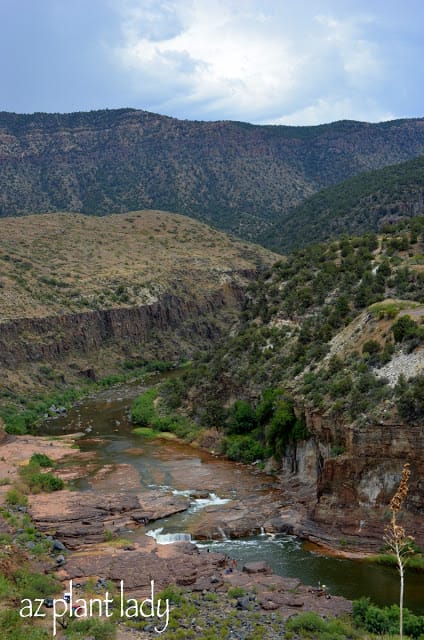
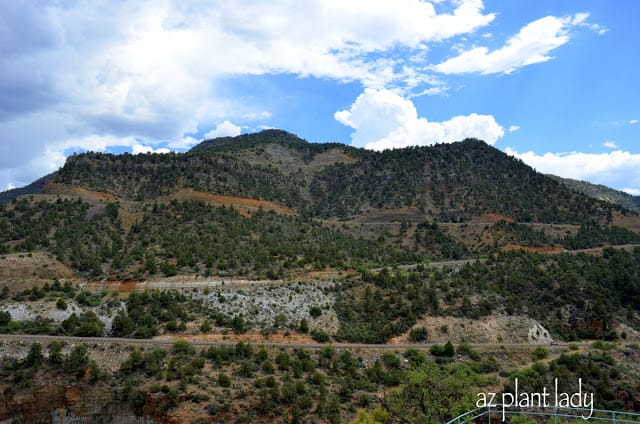
We got on the road and started heading east from Phoenix.  The mountains of the high desert were beautiful along Salt River Canyon and we could see swimmers below.

Believe it or not, I have never been to the Eastern part of our state even though I have lived here for over 27 years.

Getting Away From It All

Parts of the highway wound back and forth.

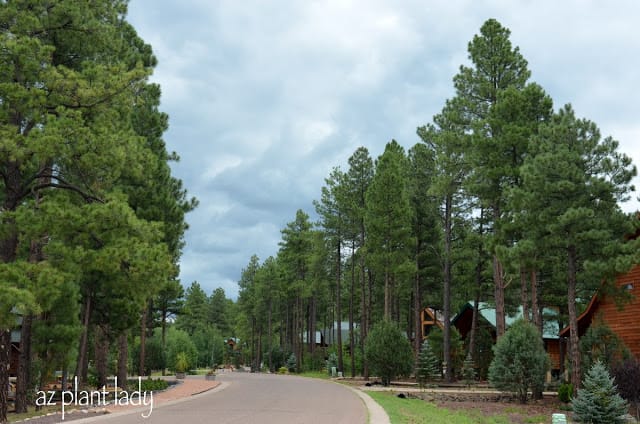
As we neared our destination, I began to see the pine trees that promised cooler weather.

Arizona

Pinetop, Arizona

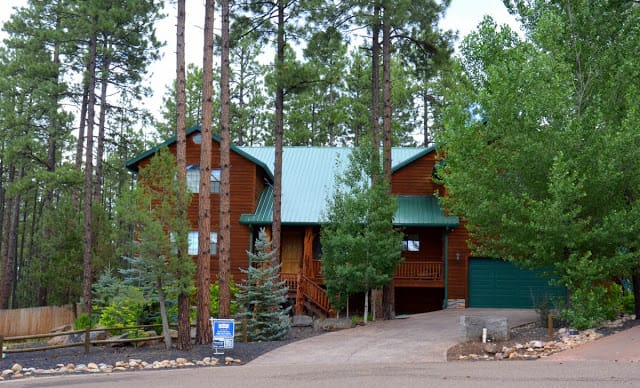
We finally arrived at the cabin that my mother had rented for us all to stay in.

It was quite big – 7 bedrooms and plenty of bathrooms to go around for 5 individual families.

We stayed on the bottom floor so that Kai could get around easily.

Arizona

Pinetop, Arizona

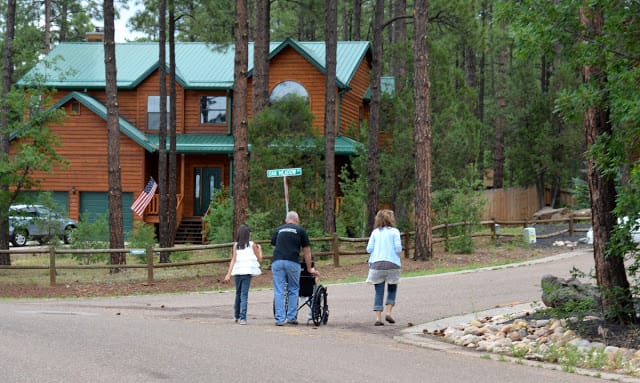
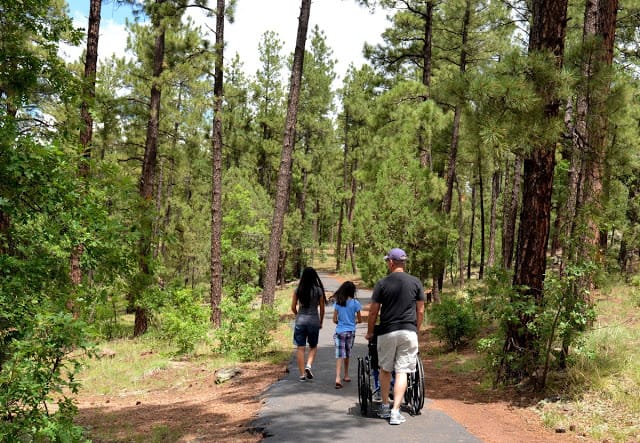
A few of our mornings were spent going for walks.

Arizona

Pinetop, Arizona

We love to walk outdoors, but in the summer it is tough because of the heat.  So this was a real treat for us.

If I were at home, I would be busy writing, gardening, managing the kids and/or consulting instead of taking a walk outdoors on a beautiful morning.  Pure heaven!

Arizona

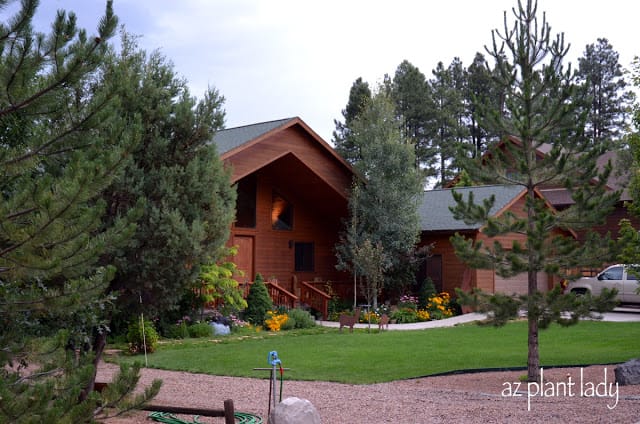
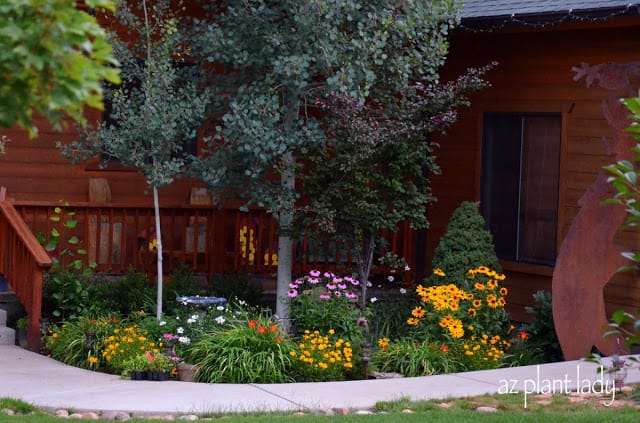
There were some beautiful gardens in the surrounding neighborhood.

Pinetop, Arizona

This was my favorite garden.

Did you know that you can grow these flowering perennials in the desert?  It’s true.  The only difference is that they will bloom in spring rather then in summer.

friendly cat

We didn’t see any wild animals, but did pet a friendly cat and saw a horse getting new shoes.

Pinetop, Arizona

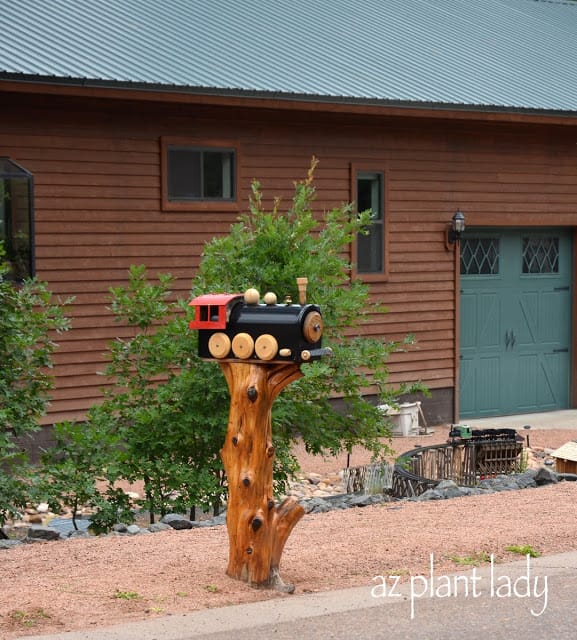
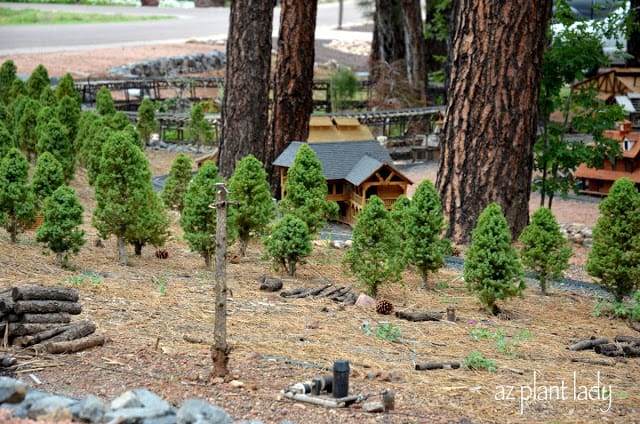
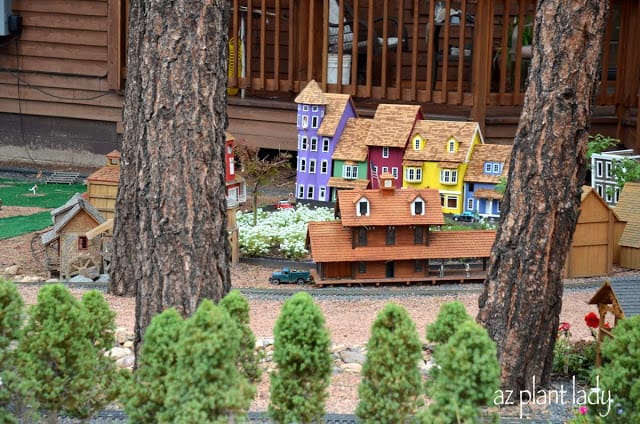
This kids favorite house had a model train track set up throughout the entire front yard.

Pinetop, Arizona

The kids were interested in the model trains and small buildings while I like to observe the miniature landscape plants.

Pinetop, Arizona
Pinetop, Arizona

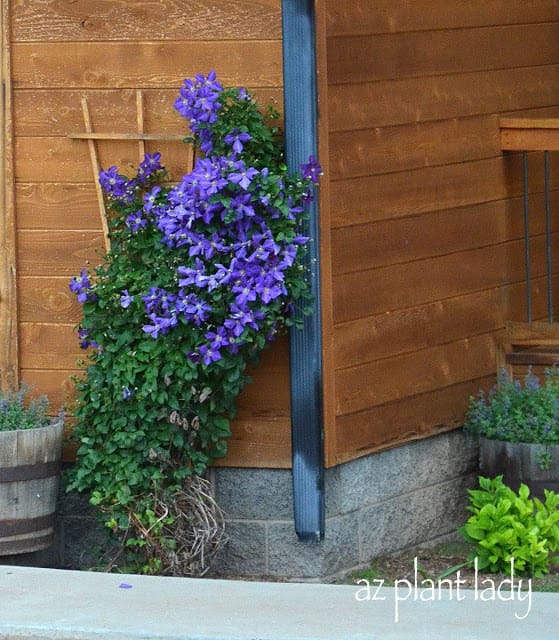
This is one vine that you probably will not find growing in the low desert.  This is a lovely Clematis vine and I have grown one before years ago when we lived in Phoenix.  The problem was – it never flowered because it was too hot.

I haven’t grown one since.  

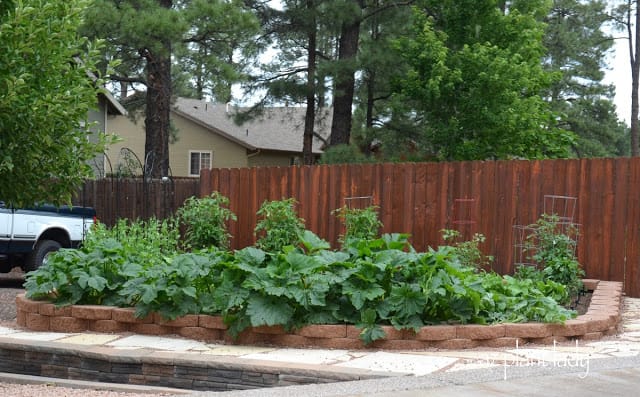
bountiful vegetable garden

We passed this bountiful vegetable garden.

Pinetop, Arizona

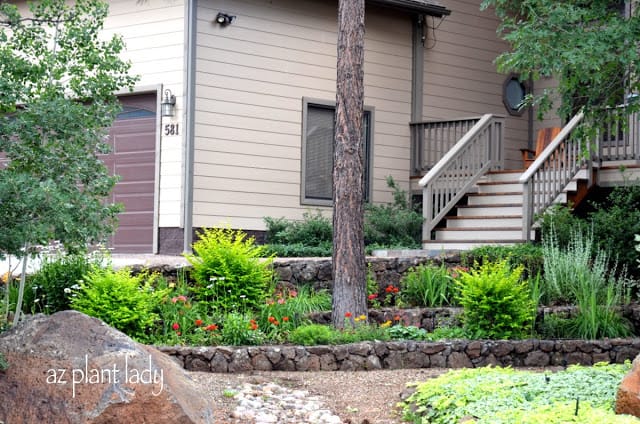
I love this terraced garden, don’t you?

landscape

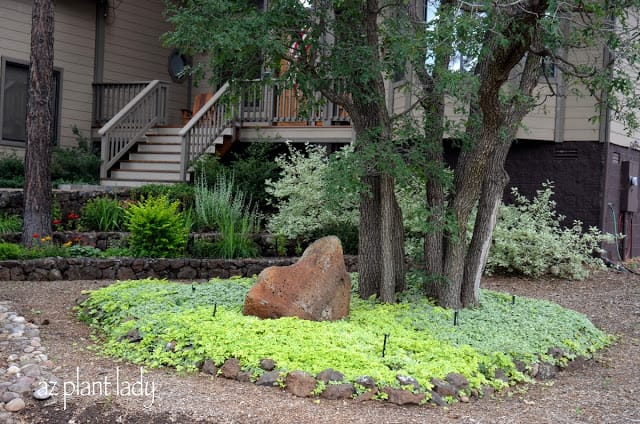
You don’t have to rely solely on flowers for color in the landscape.  I love the trailing ivy underneath these oak trees.

Besides our walks, there was fun to be had back at the cabin…

Pinetop, Arizona

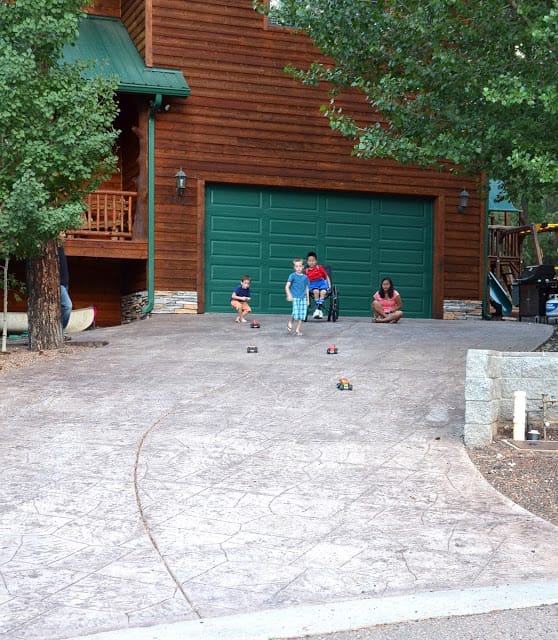
The kids had fun racing monster trucks down the driveway every evening after dinner.

It was nice for Kai to be able to participate in racing without having to run.

Gracie

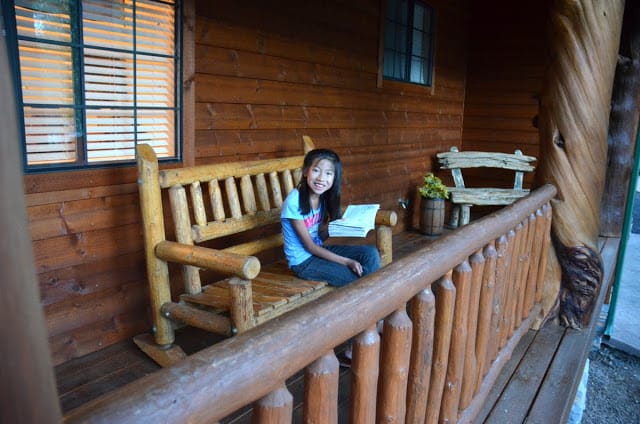
Gracie enjoyed sitting on the porch and reading her favorite book.

grandma

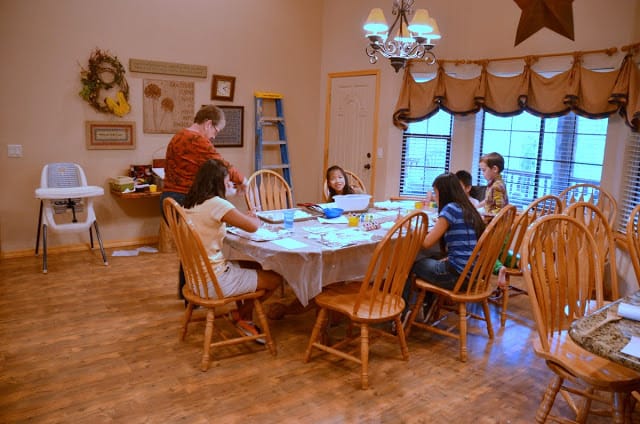
On rainy afternoons, grandma kept the kids busy with art projects.

making dinner

During the week, each family was responsible for making dinner for everyone.  It was nice only having to cook once the entire week.

Kai

After dinner, the big kids would carry Kai and his wheelchair upstairs to play.

They would ‘charge’ the bad guy armed with a plastic gun and a cushion for a shield.

Kai

They usually triumphed over the villain.

Kai

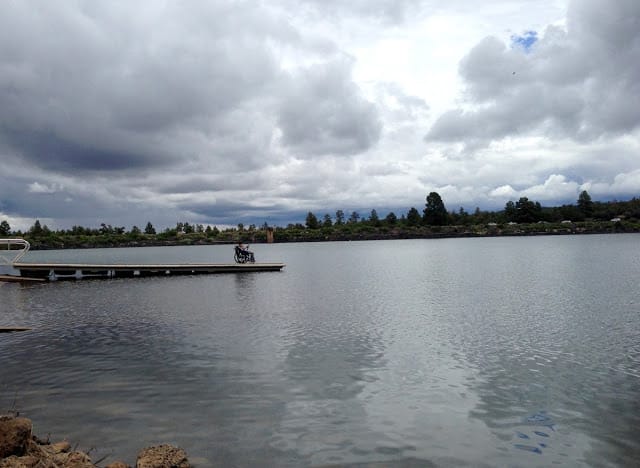
Of course, we made sure to spend time fishing.

Pinetop, Arizona

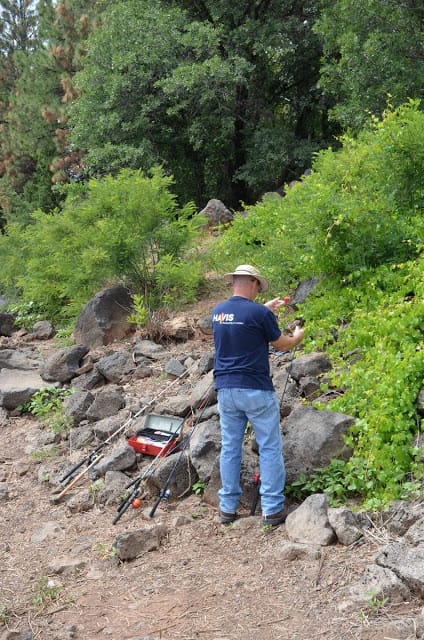
My husband kept our fishing line untangled and our hooks baited.

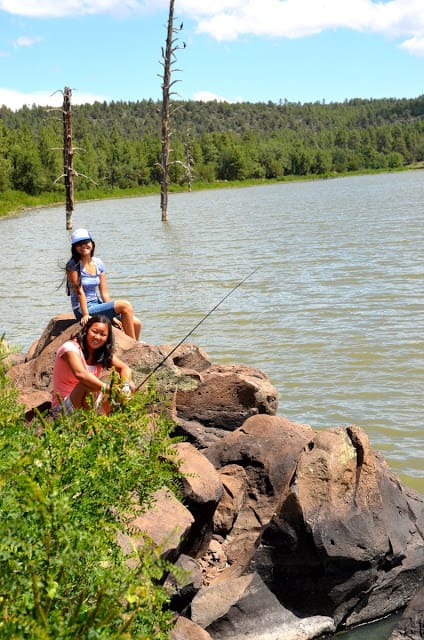
fishing

We spent quite a bit of time enjoying the peace and quiet of fishing.

fishing

Unfortunately, there was a little too much peace and quiet since we didn’t catch any.  Not even a nibble.

Pinetop, Arizona

On our last day, we hiked around the lake enjoying the beauty of the woods.

We had a wonderful trip and 2 days after we returned home, it was time for the kids to start school.

**Thank you for letting me take you along on our summer vacation.**

Salt River Canyon

Family Vacation Getaway…

August has arrived, which means that my kids have started school and peace has descended on my house 🙂

Soon fall will be here, which is a very busy time in the Southwest garden because it is the best time of year to add new plants to the garden.

But in the meantime, there are still tasks that need to be done this month in the garden.

Here is my latest Southwest To Do List from Houzz.com

General contractors, home builders, and more ∨

Hire residential landscape architects to help with all aspects of landscape design, from selecting or designing patio furniture, to siting a detached garage or pergola.
Highlight your home”s architecture with the expert advice of interior design specialists and top home decorators.

hope your week is off to a good start.

There is still time to enter my giveaway for the newest book from Timber Press –

“Miniature Garden Giveaway – Create Your Own Living World”

For those of you who have read my blog for a while, you have probably heard me talk about the epidemic of over-pruning. But, that doesn’t mean that you should never prune. The other day, I was driving down a street in our neighborhood when I saw one of my favorite perennials, Angelita Daisies.

The problem was, that they didn’t look very attractive…

Angelita Daisies

They looked like tufts of green grass with dead sticks.

This is what Angelita Daisies should look like…

Angelita Daisies

So, what went wrong with my neighbor’s Angelitas?

They didn’t remove the dead flowers.

Dead-heading doesn’t have to be done to them all the time, but once every 4 – 8 weeks will make a huge difference in their appearance.

In general, dead-heading spent flowers stimulates the plant to produce more flowers.  The reason for this is that the goal of flowers is to produce seed.  So, if dead flowers are allowed to remain on your plants, they figure that they have done their job and will stop flowering.

Of course, if you want to collect seeds from some of your favorite plants, then allow the flowers to dry and then collect the seeds (this doesn’t work that well with hybrids).

But, if you want colorful flowers – then take a couple of minutes a month and clip off the dead flowers.

Would you like to know why Angelita Daisies are one of my favorite perennials?  Check out my post about this wonderful plant…

“A Bright, Sunny, Lesser-Known Plant”