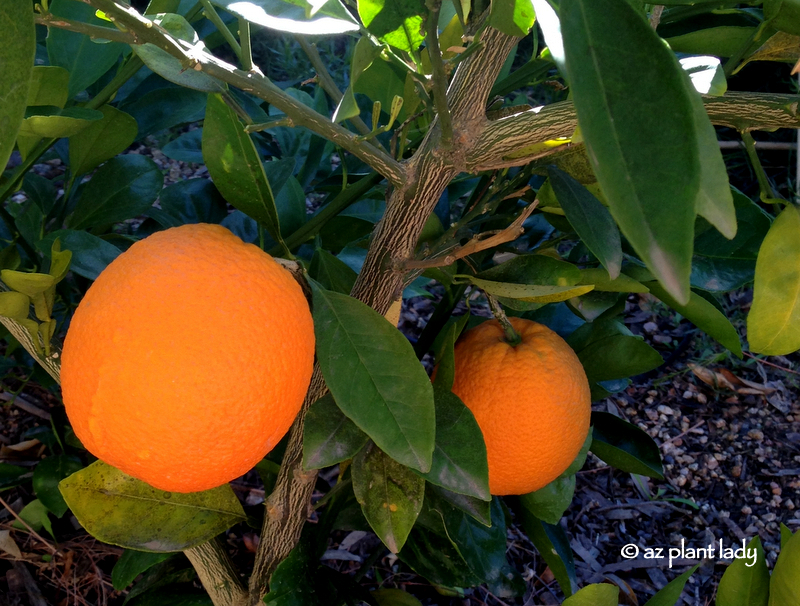
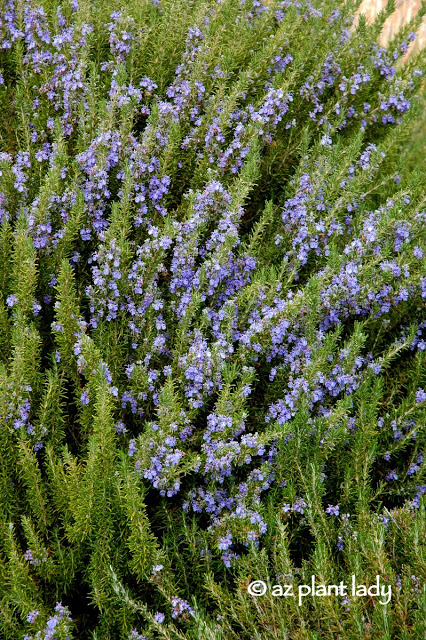
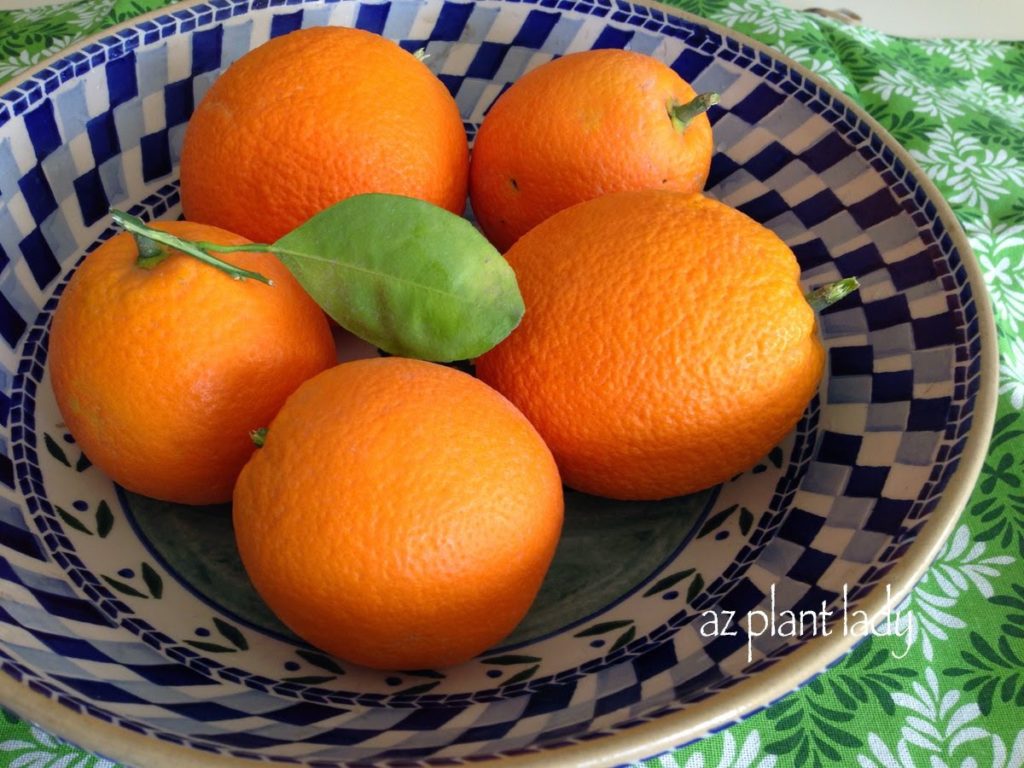
While most of the garden is asleep in winter, citrus trees are filled with sweet, tart fruit ready for picking.
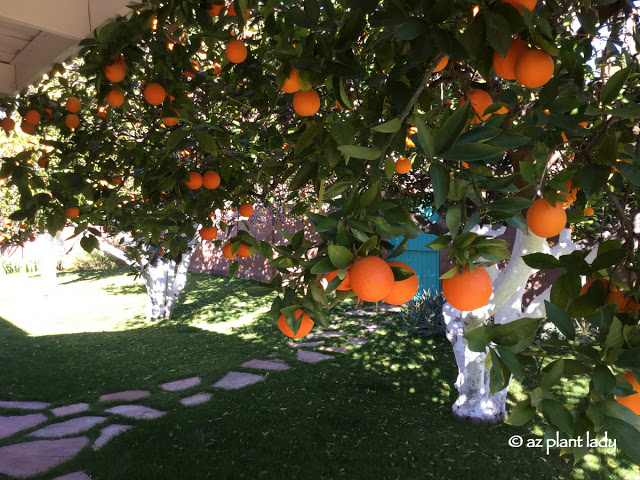
Citrus trees are very generous in the amount of fruit that they produce. So much so, that people are often inundated with more citrus than they can eat.

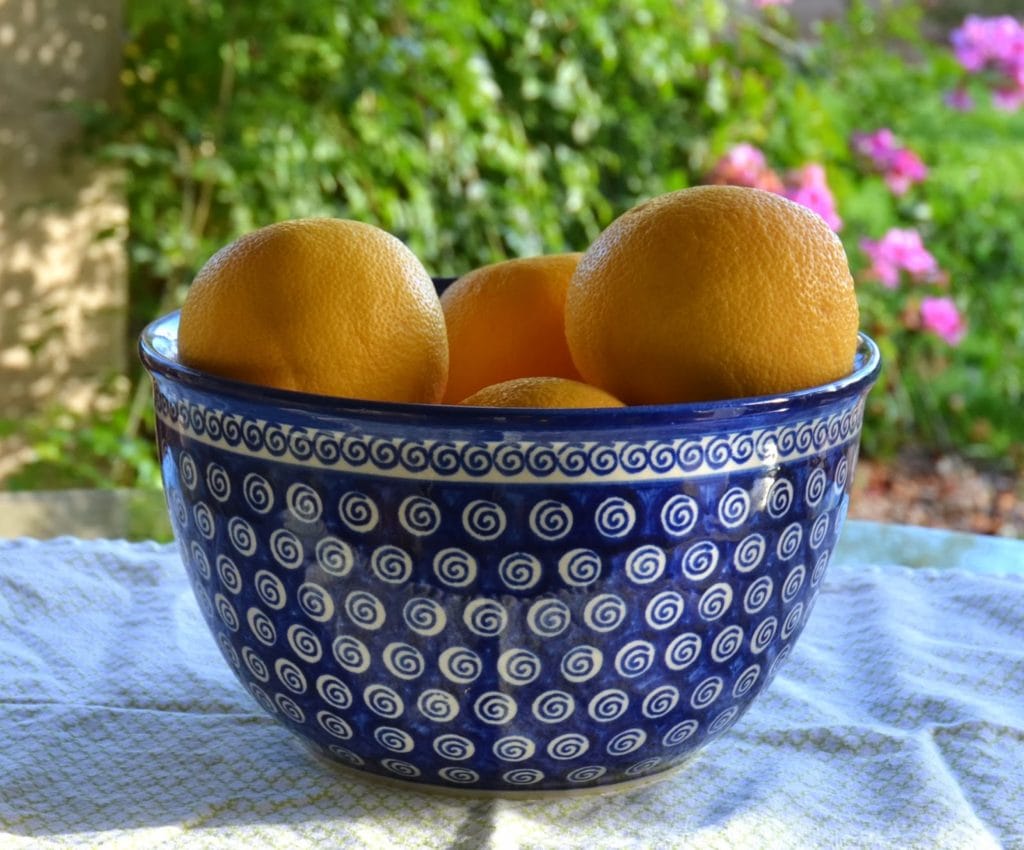
This time of year, people find bags and even boxes of freshly-picked citrus left at their door by neighbors who are happy to share their bounty.
So, whether you have boxes of citrus or have to run to the grocery store for your favorite lemons and oranges – here are some creative ways to use citrus.
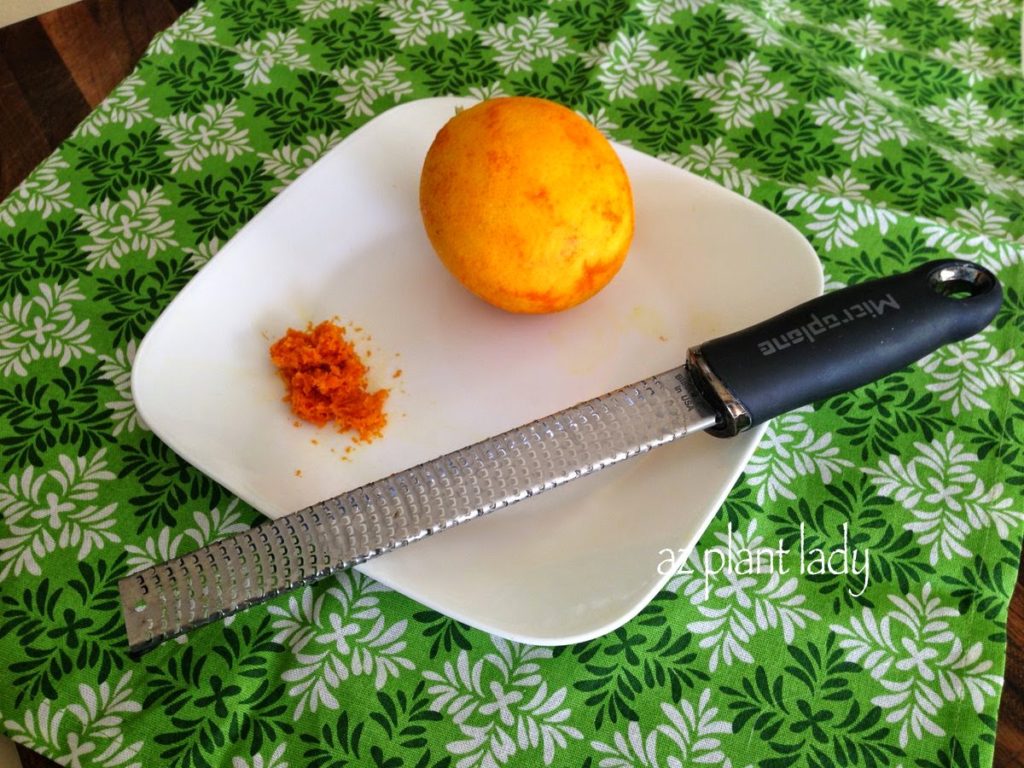
1. Freezing Lemon Zest

Lemon zest adds great flavor to your favorite foods and it is easy to freeze.
Simply put the lemon zest in a plastic freezer bag and keep in the freezer for up to a year.
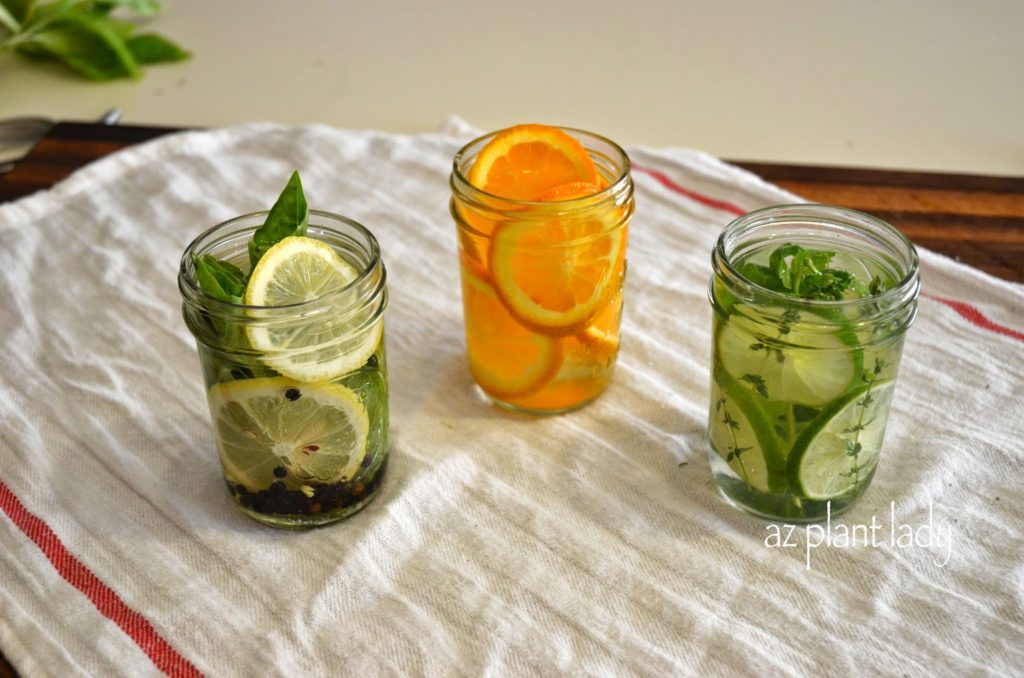
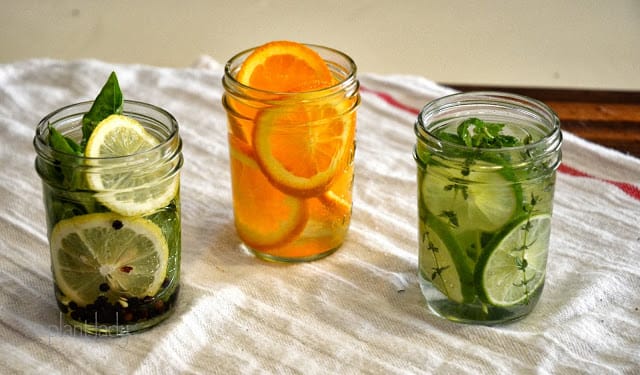
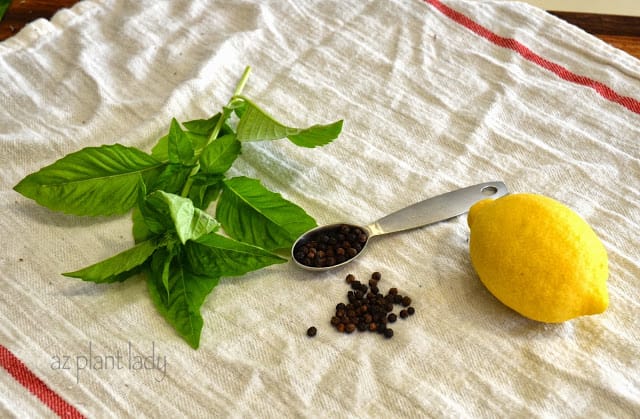
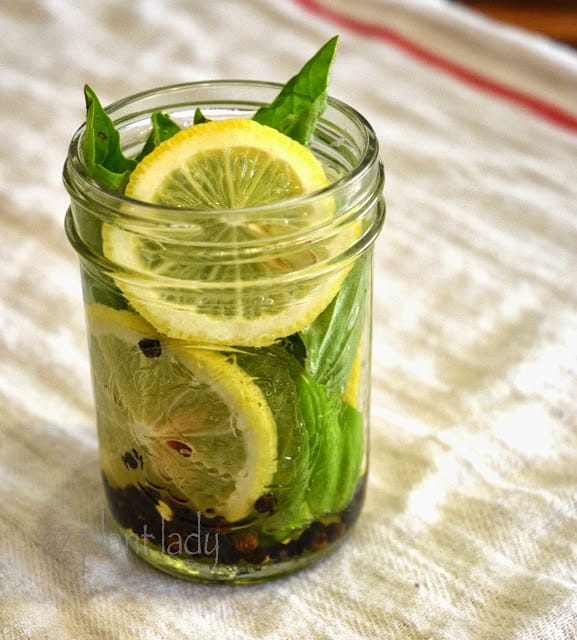
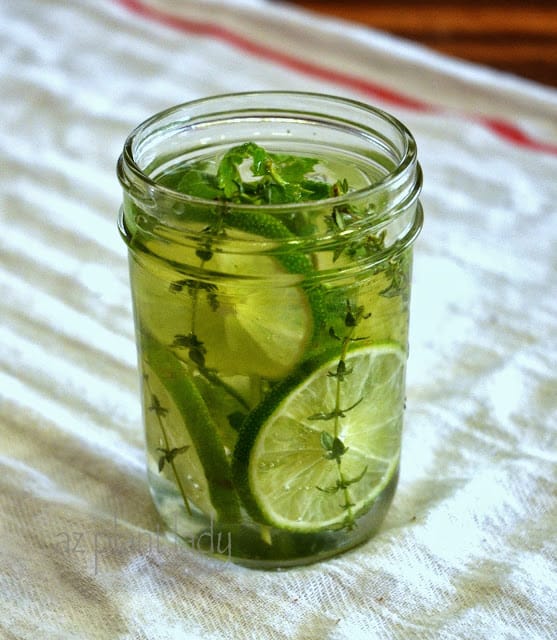
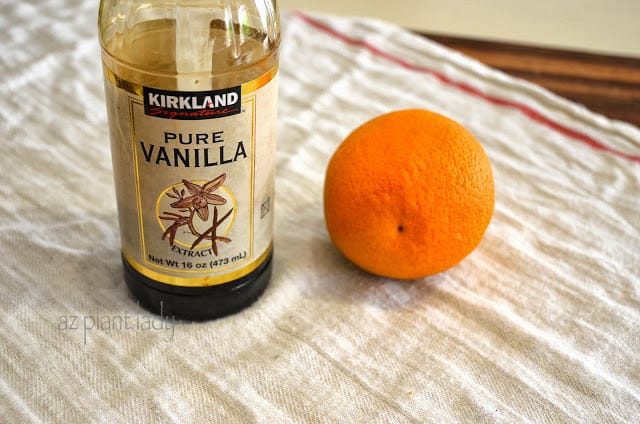
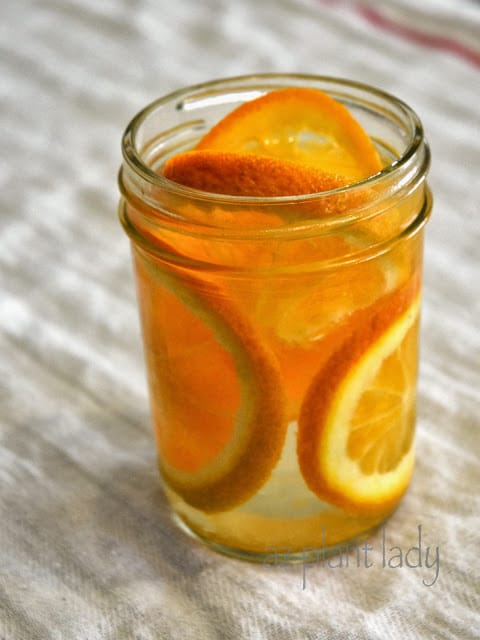
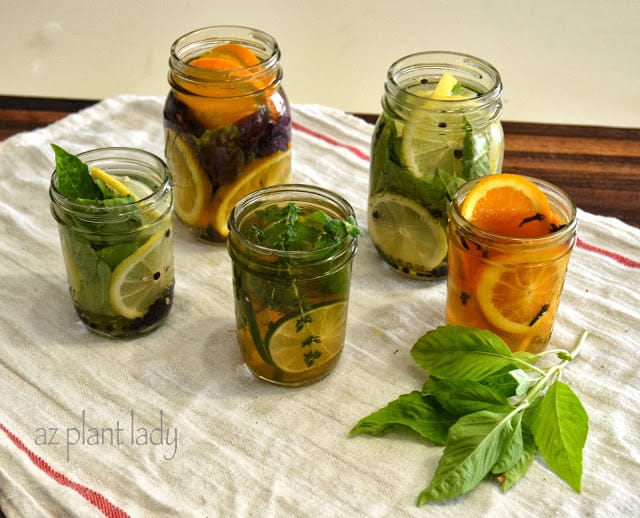
2. Natural Lemon Freshener
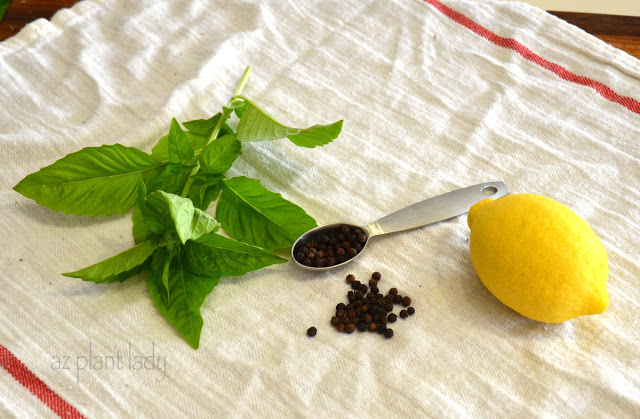
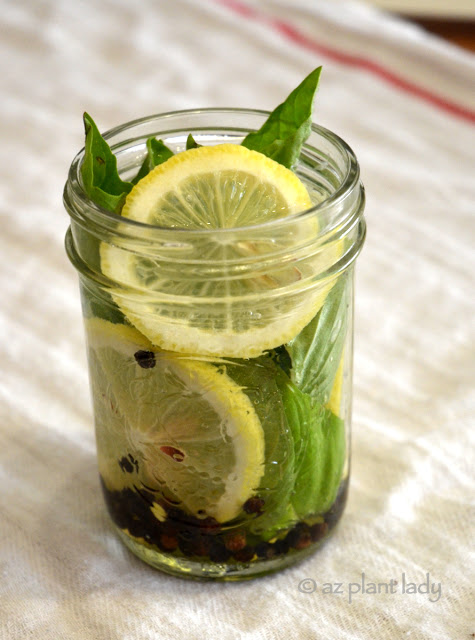
The fresh scent of lemon is welcoming when you walk into a room. Instead of using artificial air fresheners, you can use citrus to create natural ones.
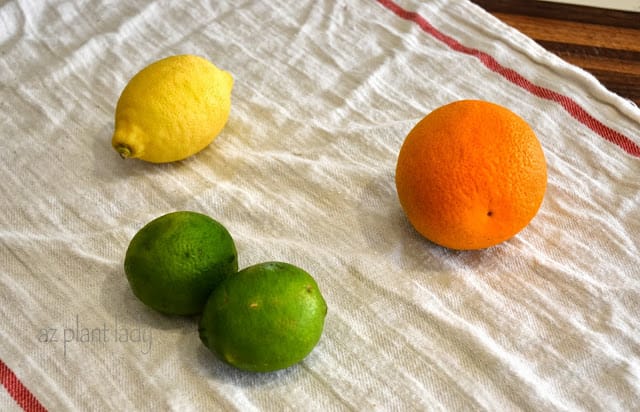
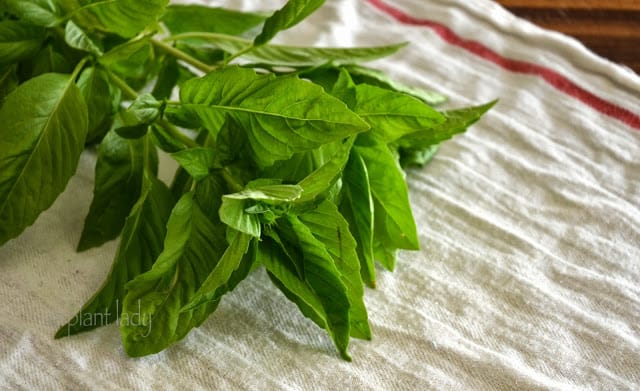
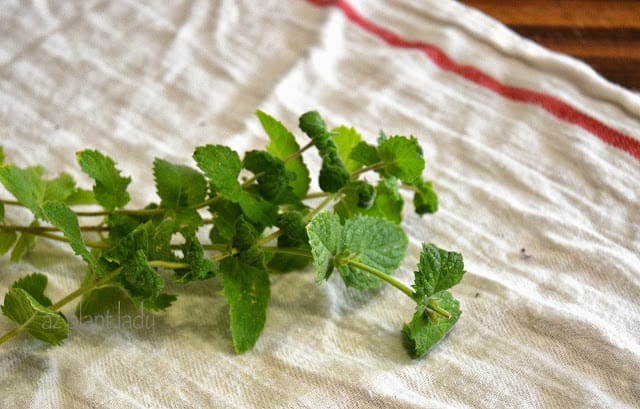
Ingredients such as basil, lemon slices, and peppercorns OR orange slices with vanilla create wonderful fragrances.
Add the ingredients to a small pot, fill to 3/4 full with water, and heat to boiling. Then reduce the heat to the lowest setting and enjoy the fragrance for the next couple of hours.
Click here for more information and combinations for natural air fresheners.
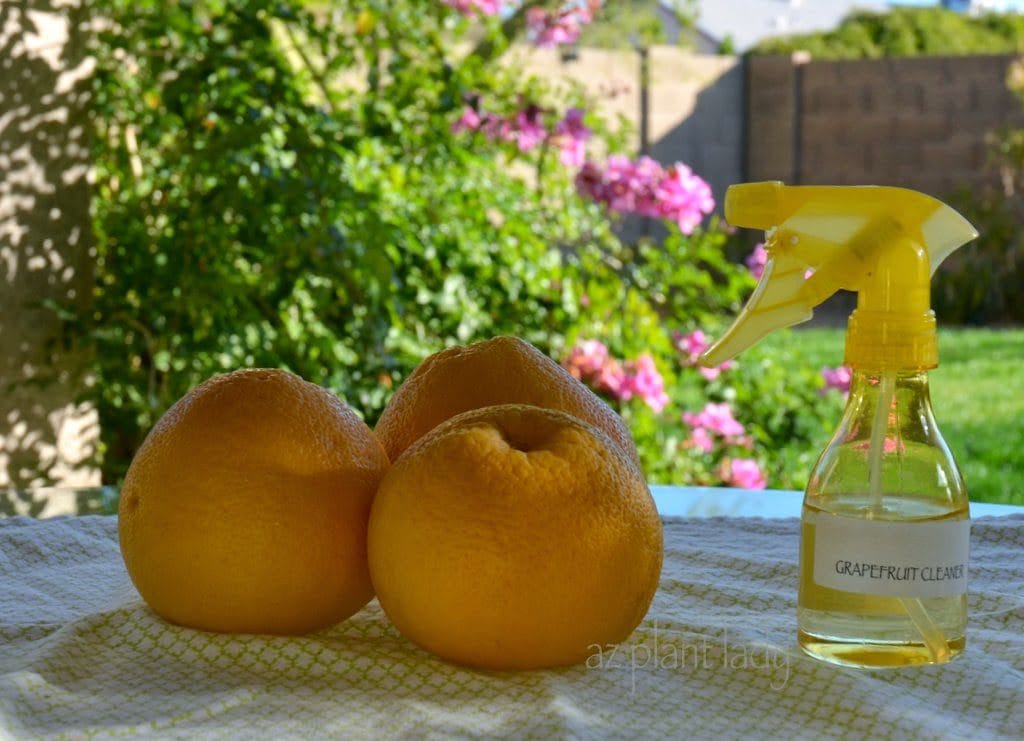
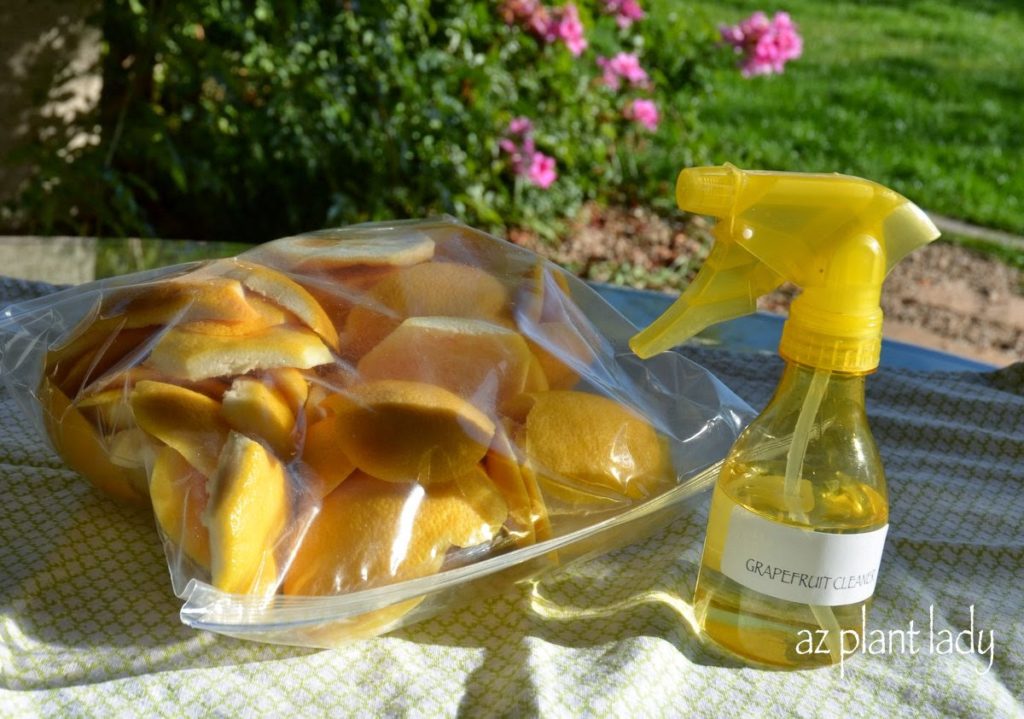
3. Household Citrus Cleaner
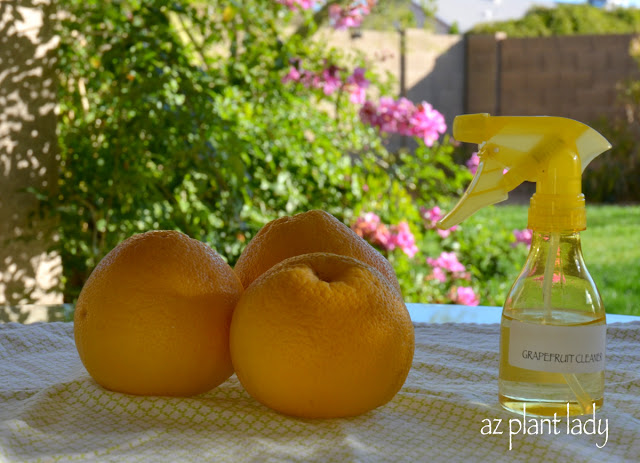
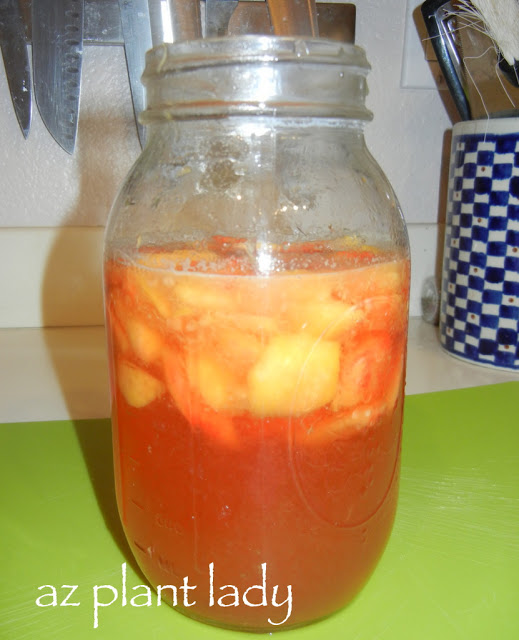
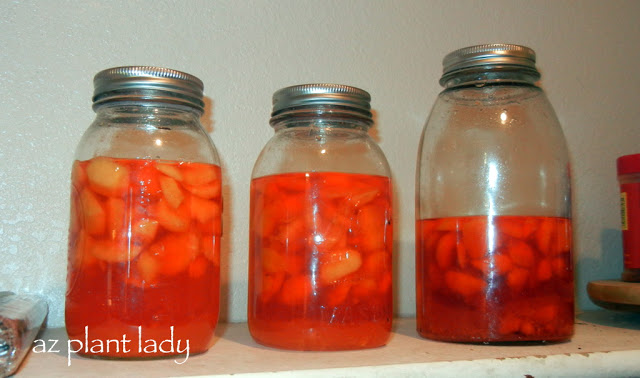
Citrus peels and vinegar combine to create a natural citrus cleaner that is suitable to use around the house.
You will need the peels from any type of citrus and white distilled vinegar.
– Fill a large jar (or container) with the citrus peels and fill the jar with vinegar.
– Store in a cool, dark place for 3 weeks.
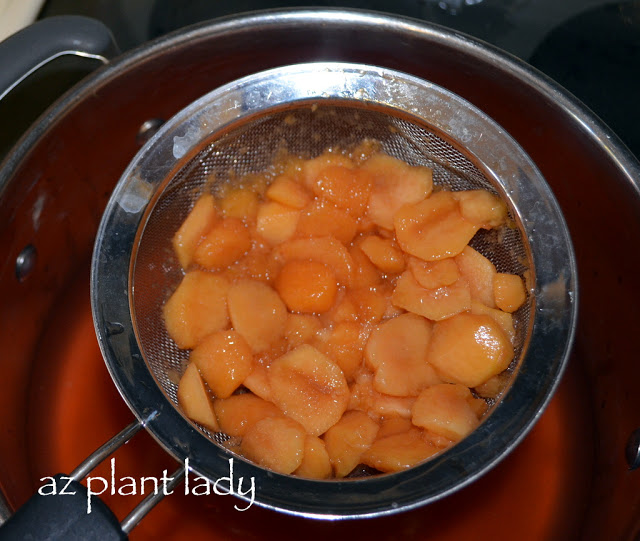
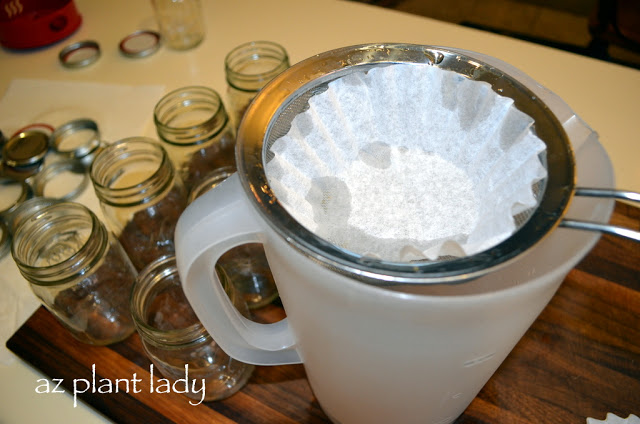
– After 3 weeks, pour the mixture through a strainer to remove any pulp.
– Transfer the citrus/vinegar mixture to a spray bottle, filling it halfway. Add water to fill the rest of the spray bottle.
– Your natural citrus cleaner is ready to use to wherever vinegar-based cleaners are safe to use such as countertops, walls, faucets, mirrors, and glass. Don’t use on granite or marble as the vinegar can etch the surface.
*The peels can be frozen for use later.
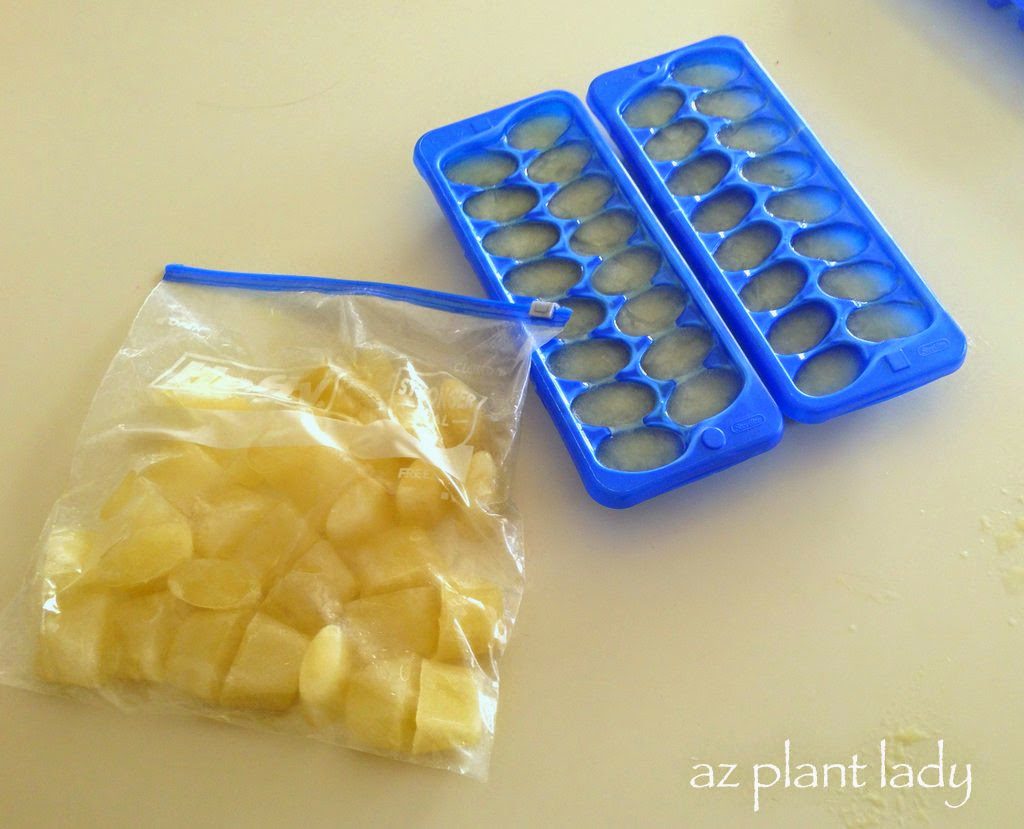
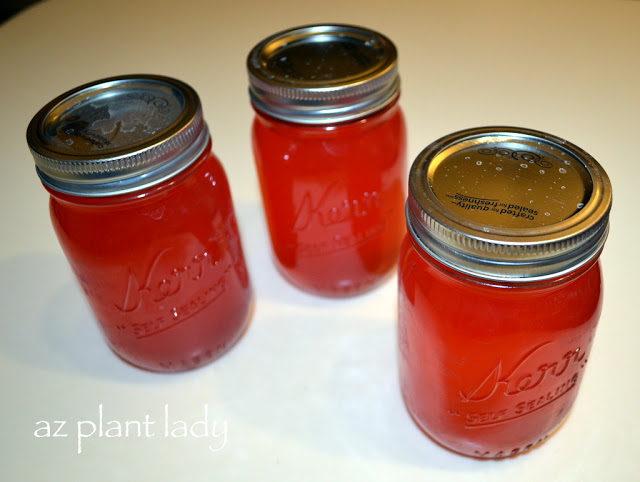
4. Frozen Citrus Ice Cubes
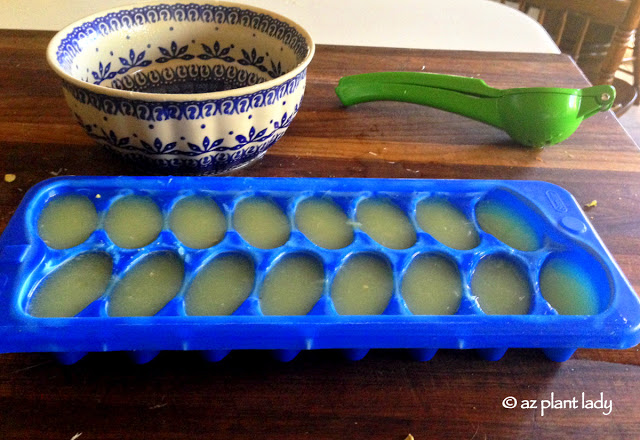
An easy way to preserve lemons from your tree when the fruit is but a distant memory – add lemon juice to ice cube trays and freeze.
Once frozen, pop out the lemon ice cubes and place in a plastic freezer bag and store for future use. These ice cubes are a great way to add lemon when you cook throughout the entire year.
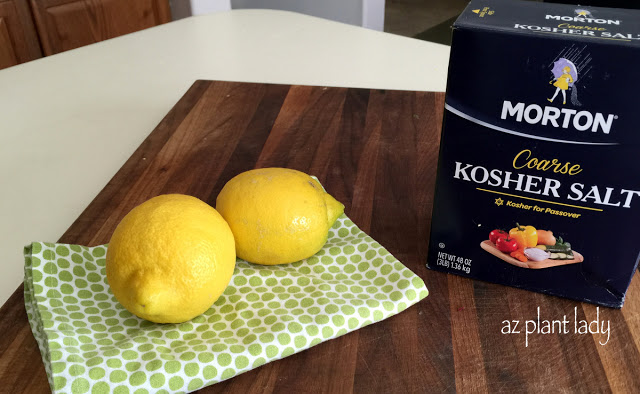
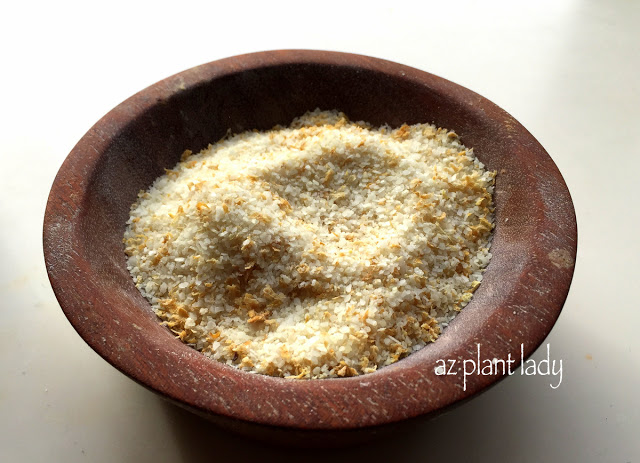
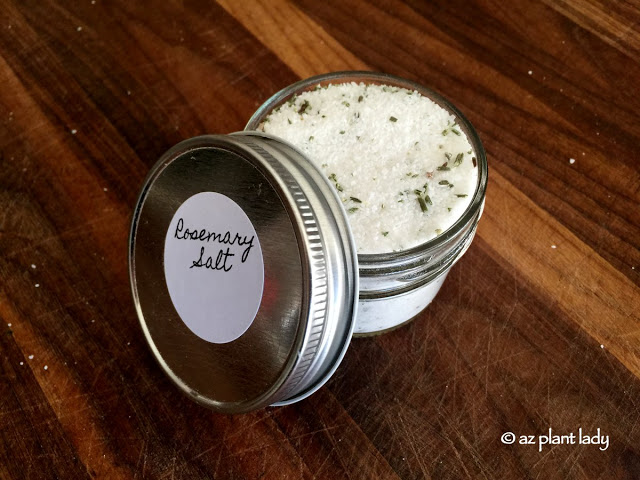
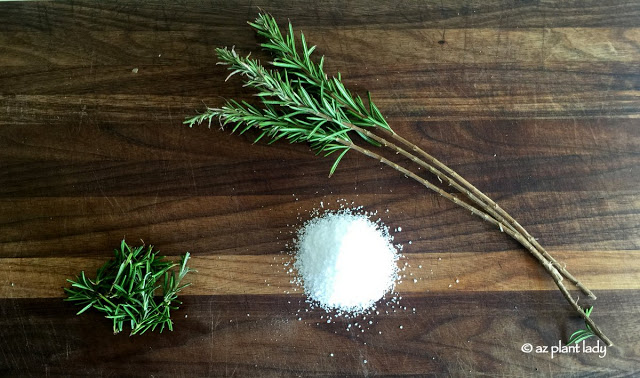
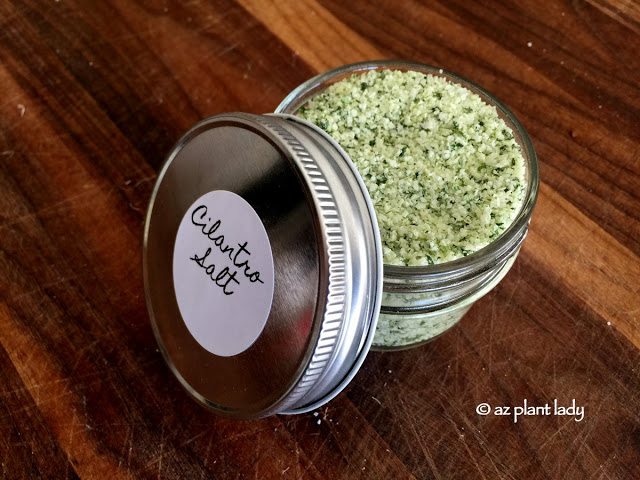
If you love to cook, lemon salt is a great way to add subtle lemon flavor to your favorite dishes and it’s easy to make – all you need is kosher salt and lemons.
If you love to cook, lemon salt is a great way to add subtle lemon flavor to your favorite dishes and it’s easy to make – all you need is kosher salt and lemons.
So do you think ? These are some best creative ways to use citrus?
Do you have any ways that you like to use citrus?