Is you home decorated for fall yet? I am still working on getting my house ready for the fall holidays.
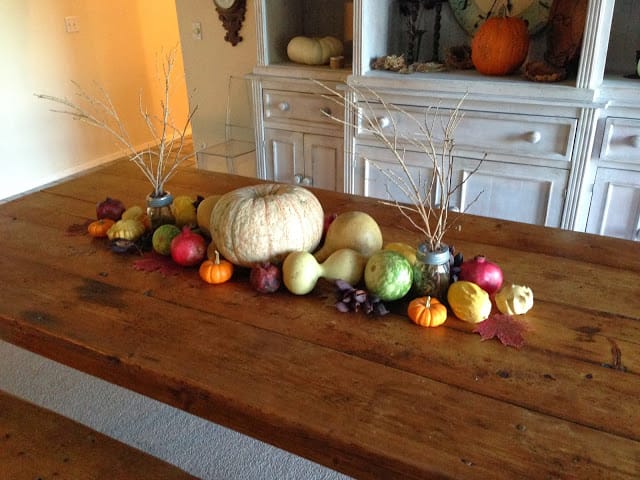
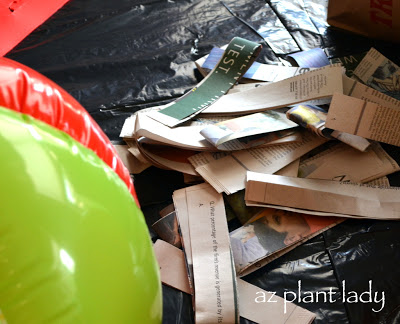
Normally, I am content to buy a single pumpkin and set it in the middle of my dining room table. But, after seeing my mother’s beautiful fall centerpiece (above), I decided to try to do something a little more creative…

So, I decided to challenge myself to see what I could come up with for my own unique fall centerpiece by taking a visit to the produce section of my local supermarket. I was determined to look beyond the normal fall offerings of pumpkins and Indian corn to see if I could be inspired.
Surprisingly, I found quite a few vegetables and fruits that would look nice in a fall centerpiece. So, armed with my cell phone camera, I started taking photos of some of my favorites…
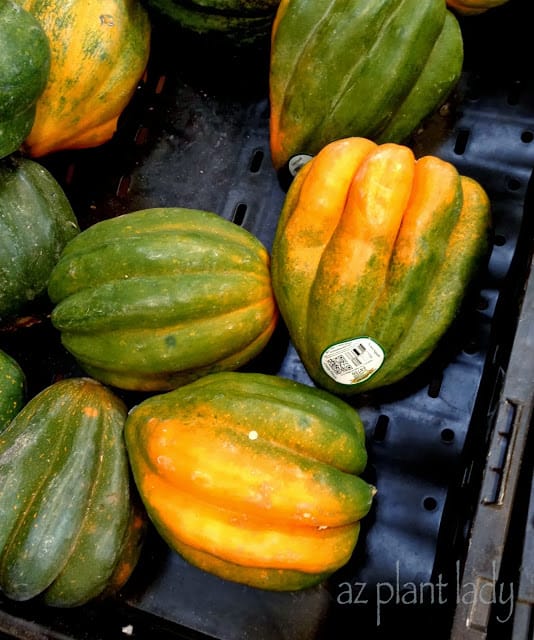
Acorn Squash
Now, I don’t like to eat squash at all. I still remember hiding the cooked squash in my napkin that my grandmother would try to get us to eat.
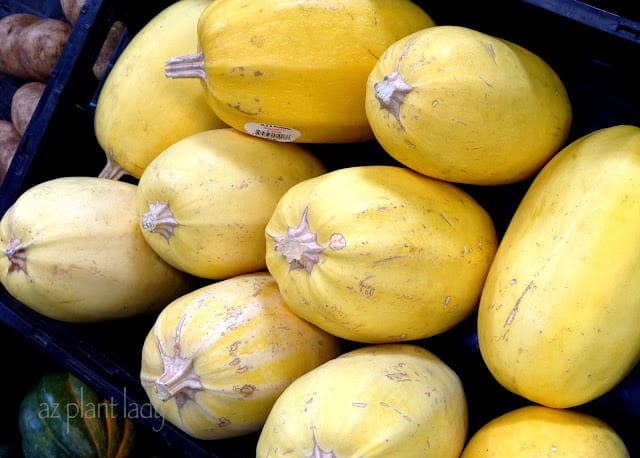
Spaghetti Squash
BUT, squash looks great when used as a fall decoration.
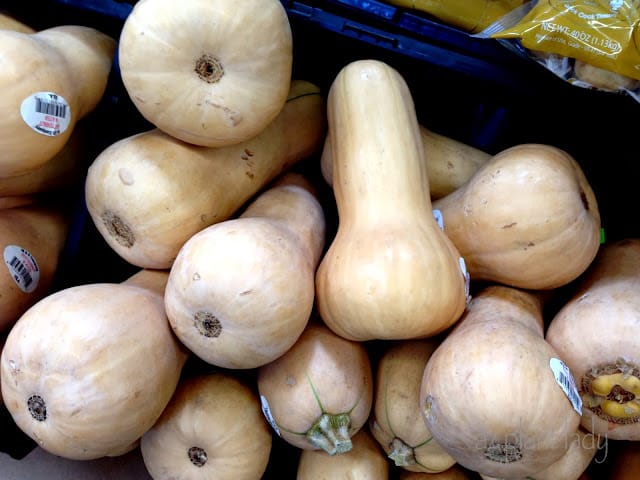
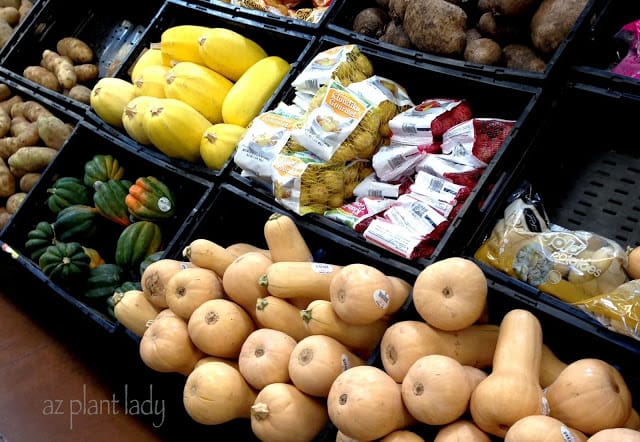
Butternut Squash
In fact, I have even seen Butternut squash decorated as a ‘Jack-O-Lantern’ with a ghost face colored in using black markers.
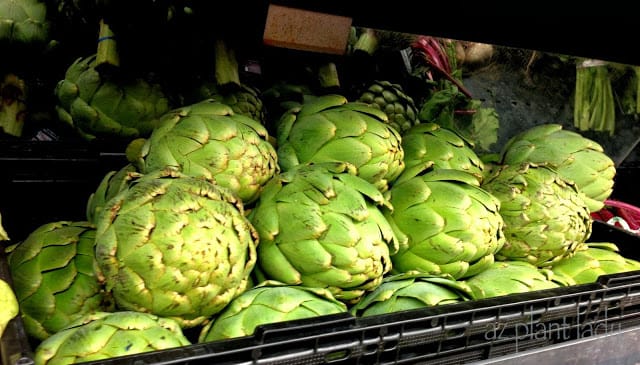
Artichoke
Okay, artichokes are another vegetable that I don’t like. But, they look great in arrangements, so I bought one.
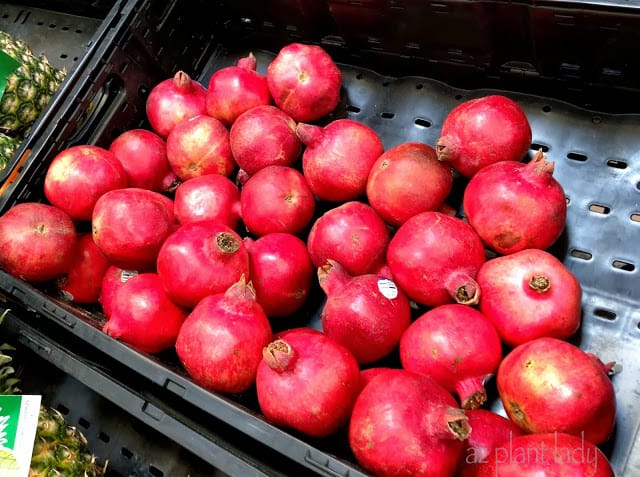
Pomegranates
Finally, I found something that I do like to eat AND decorate with – pomegranates. I love their deep color, don’t you?
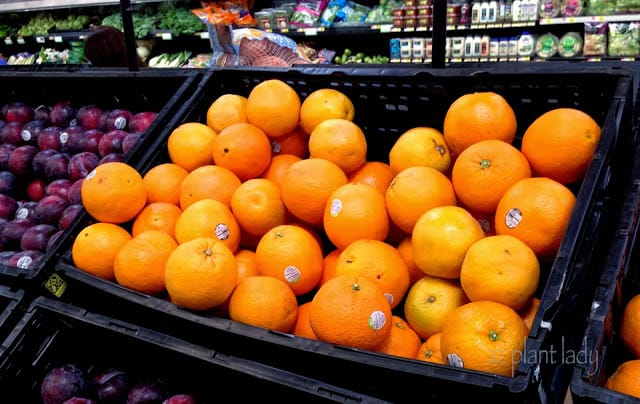
Oranges
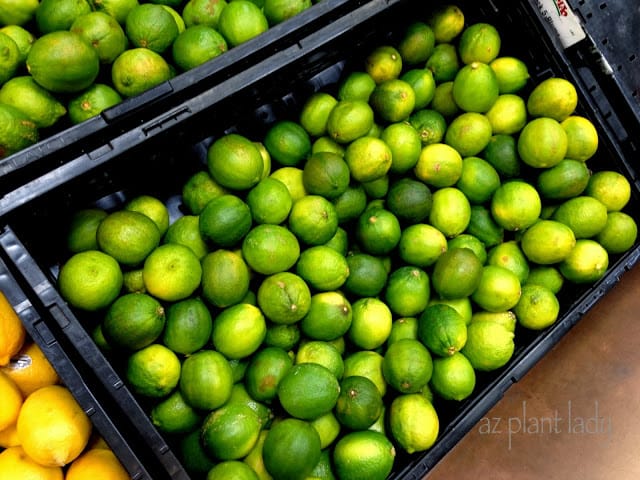
Limes
Let’s not forget citrus, which is always beautiful no matter how you use it – whether in a bowl in the center of the table or as part of a larger arrangement.
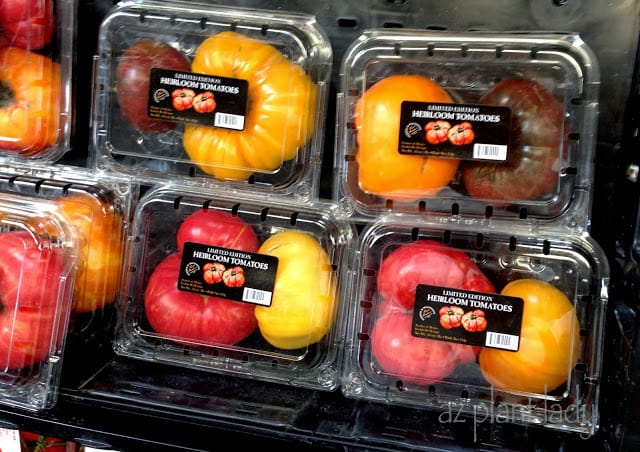
Heirloom Tomatoes
I admit that heirloom tomatoes aren’t the first thing that comes to mind when creating a fall centerpiece. But, their deep and rich colors would accent any centerpiece. Tomatoes won’t last as long as the other produce I have profiled, so use for a few days and then eat them.
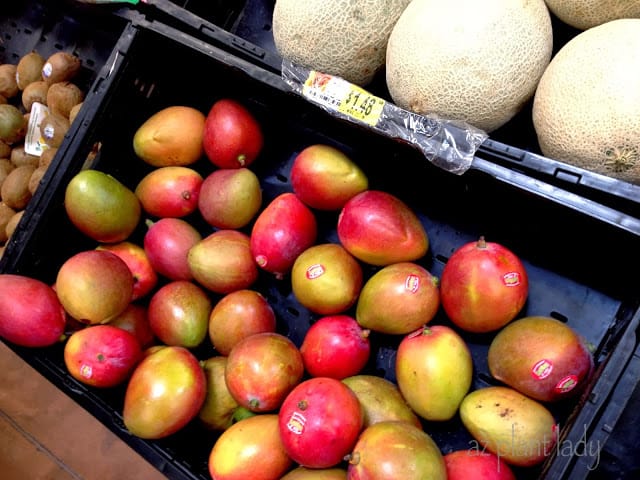
Mangoes
How about mangoes?
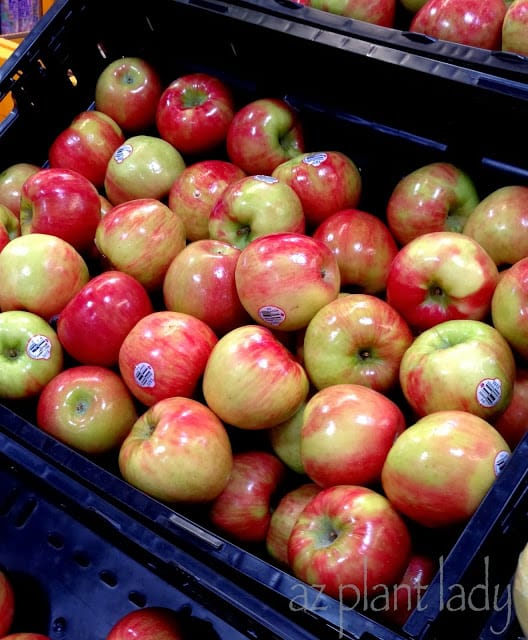
Apples
Apples are great for decorating the tabletop. I like to use them at Christmas time as well.
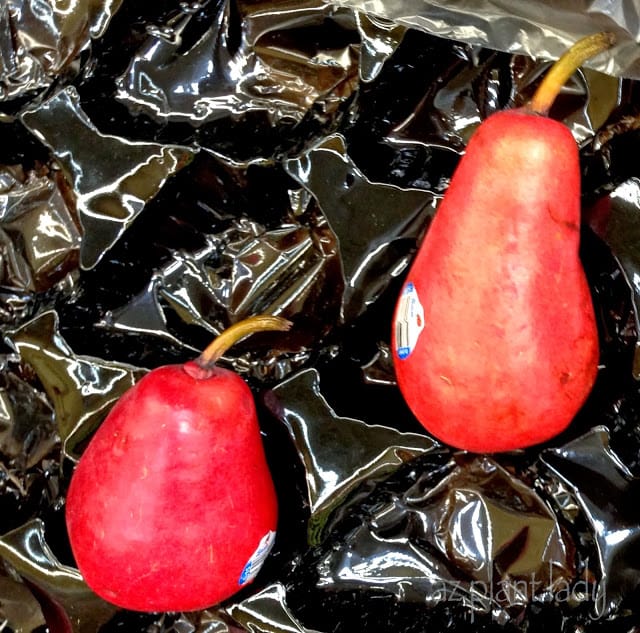
Red Pears
I don’t think I have ever noticed all of the different types of produce that my grocery store had before now.
I did come away with a few things that I will attempt to create a centerpiece out of. I promise to share it with you later.
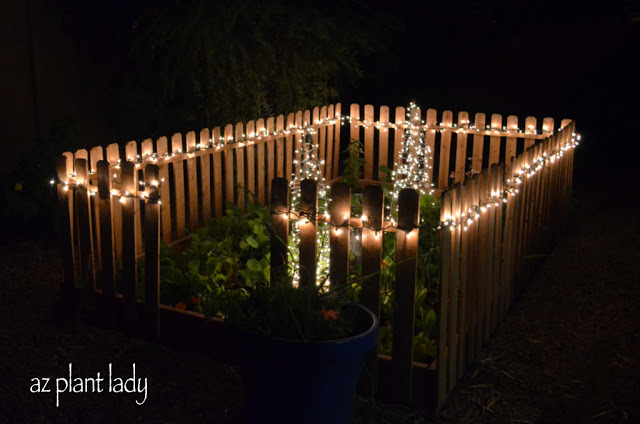
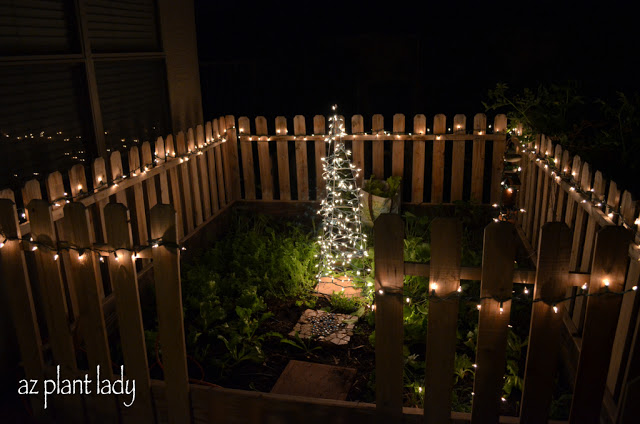
In the meantime, I did find myself captivated by the unusual pumpkin offerings at the store…
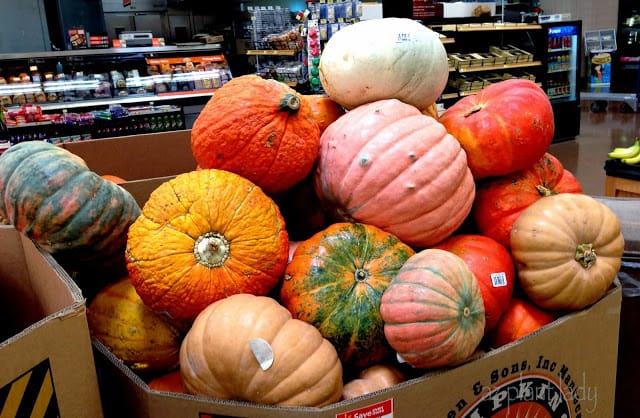
Aren’t they beautiful?
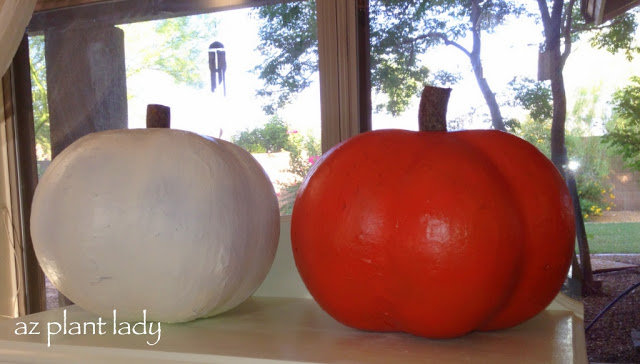
I selected one for my centerpiece. When I got home, I excitedly showed it to my kids, who to my surprise, were not happy about it. They asked, “Is this the pumpkin we are going to carve?”
I assured them that this pumpkin is for decoration only and will hopefully last until Thanksgiving.
I did promise them a ‘regular’ pumpkin for carving later on.
So, when you head to the supermarket this weekend, take a closer look at the produce aisle and see what you can use to create your own ‘natural’ fall centerpiece.