Hummingbird Feeder

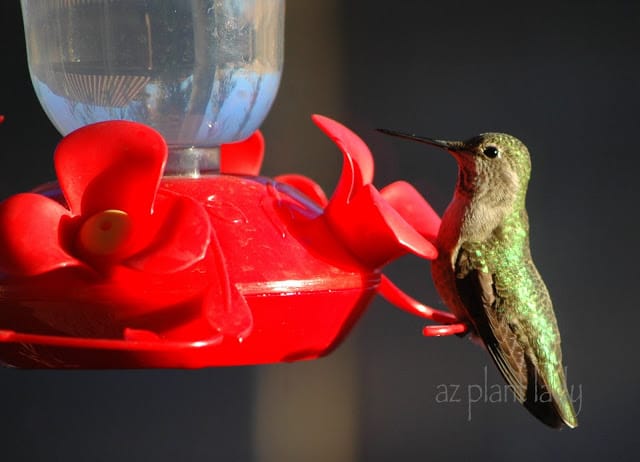
Do you have a hummingbird feeder?

I have two.  One is the popular plastic variety, above, and the other is a beautiful glass one that my sister-in-law gave me for my birthday.

Hummingbird Feeder

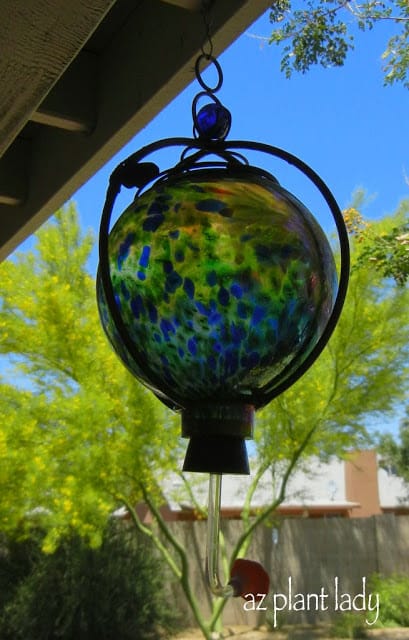
However, when I first opened the glass feeder, I couldn’t find the stopper and feeding tube.  So, I went online and ordered a single stopper/feeder tube.

Imagine my surprise when I received the box in the mail and discovered that instead of just one stopper/feeder tube…..there were twelve.  I had evidently not read the fine print when I ordered them.  But, they were really inexpensive and I figured that I would use them someday.

Well, life has a way of getting busy and I forgot about the stopper/feeder tubes sitting in my closet until the other day.  I figured that there must be some way to make my own hummingbird feeder.

Okay, you might be thinking that I already have two and isn’t that enough?  My answer would be “NO” 😉

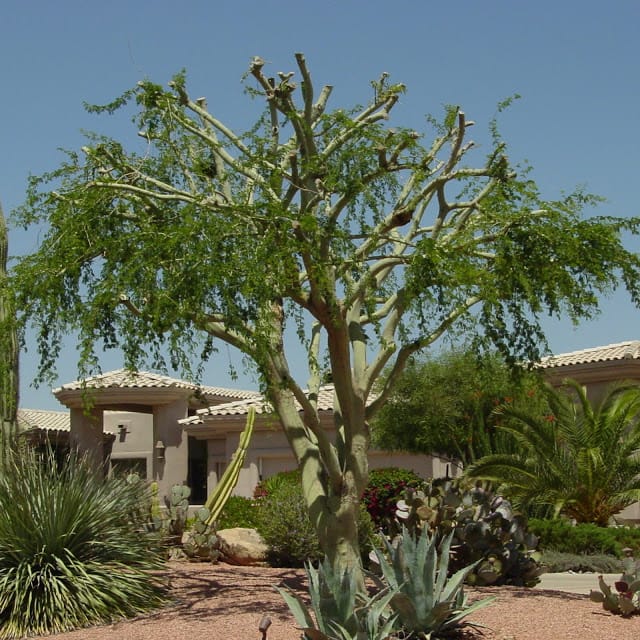
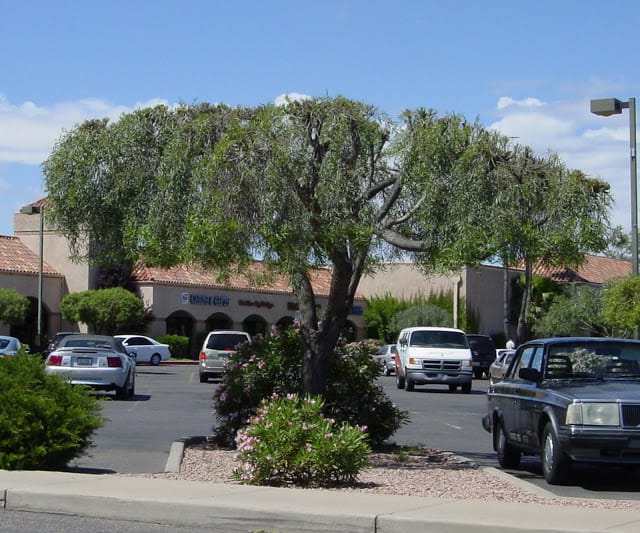
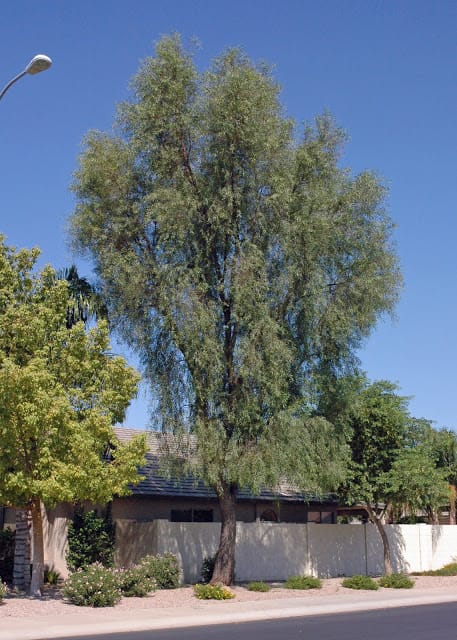
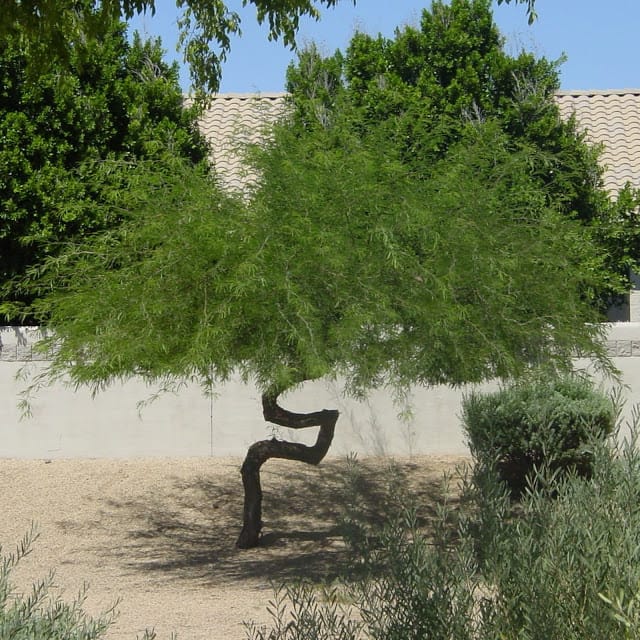
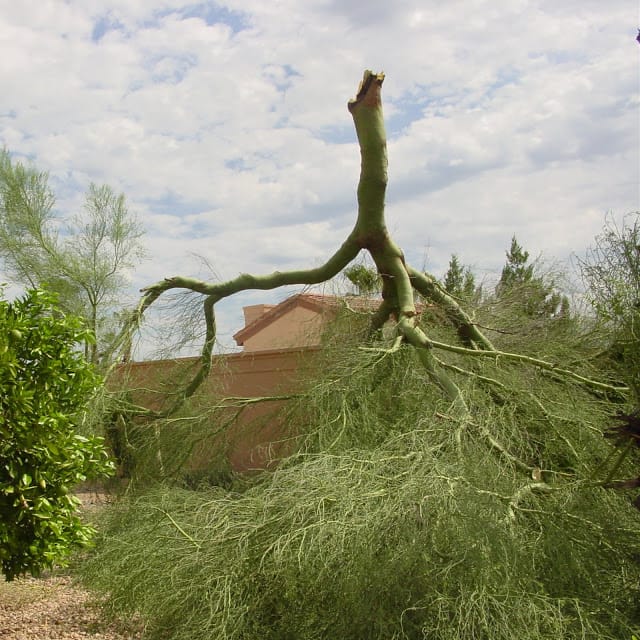
I am fortunate to live in an area where we have hummingbirds visiting all year long.  My plastic feeder is the most popular one with my little feathered friends and they occasionally visit my glass one.  But, I had the perfect place for my third feeder in mind….hanging from my Palo Verde tree in the back garden.

And so, I collected the tools that I would require:

– a plastic water bottle

– wire

-homemade hummingbird nectar

1 part granulated (white) sugar to 4 parts water

(I use 1/4 cup sugar for every 1 cup of water)

Boil 1 cup of water and then add sugar and stir until dissolved.

Boil for 2 minutes and then let cool.

Fill your feeder

1 stopper/feeder tube

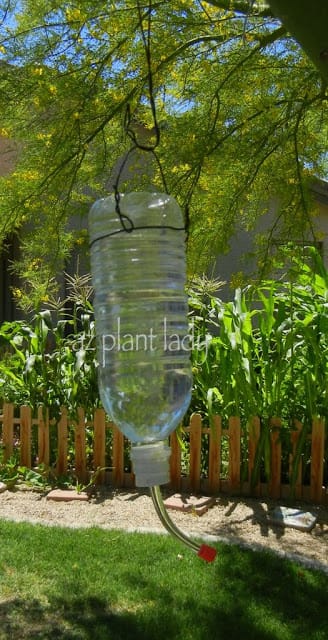
I asked my husband if he wouldn’t mind wrapping the bottle with wire so that I could hang it from a tree.  In the meantime, I made the hummingbird nectar.

Hummingbird Feeder

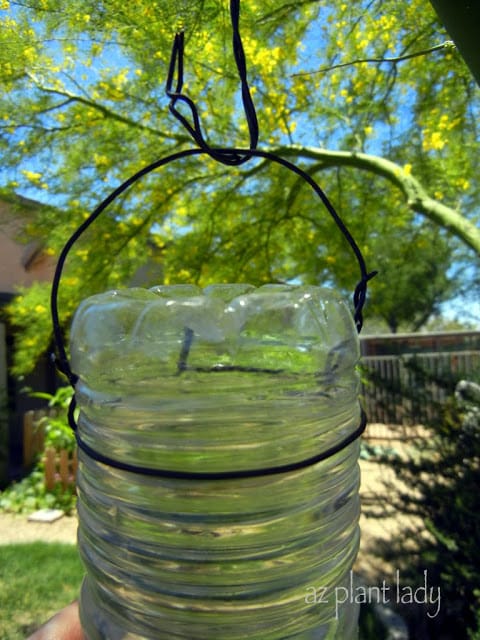
You can see how one piece of the wire is wrapped around the bottle and then another piece is used to hook onto the sides of the wrapped wire.  You will notice that the wire is quite basic and not ‘curled’ into decorative shapes.  I didn’t have the courage to ask my husband to do that – but you certainly could 😉

It is important to not make any holes in the bottle since this interferes with the vacuum necessary to keep the nectar from leaking out.

I filled the water bottle all the way and then inserted the stopper/feeder tube and turned it over.  This action forms the vacuum that keeps all the water from leaking out.

You might notice that my nectar is not colored red.  It is not necessary and may even be harmful to hummingbirds.

Hummingbird Feeder

You could decorate the bottle if you like and make the wire into decorative shapes using needle-nose pliers if you like.  Since the stopper/feeder tubes were so inexpensive, I think this would be a great project for a group of kids.  I bought my stopper/feeder tubes on Amazon.

I admit that our little water bottle hummingbird feeder is rather simple, but within 24 hours of hanging it up….

Hummingbird Feeder

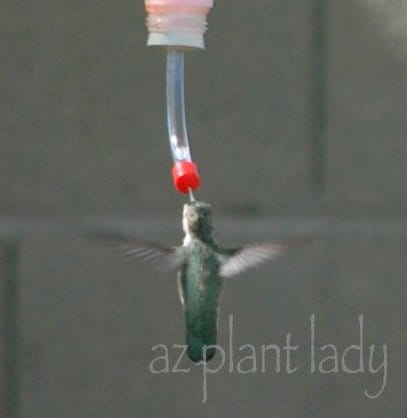
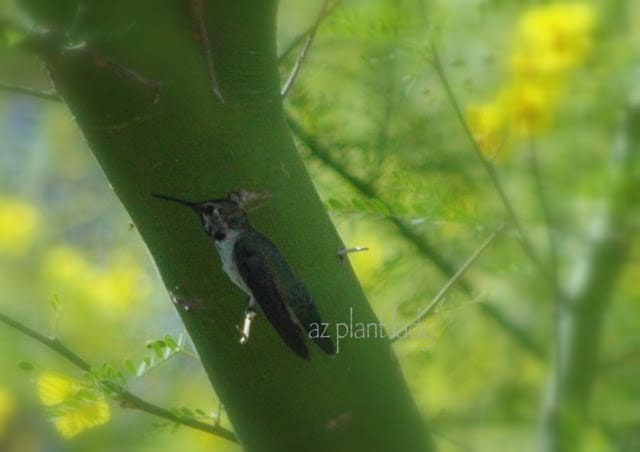
Believe it or not, rather plain feeder is the most popular one in my garden.  I have two hummingbirds visiting frequently during the day and then they take some time to perch up in the tree.

Hummingbird

***************************************

I hope you are all off to a great start this week.

I have a busy week planned.  I have a landscape consult today and a doctor’s visit, carpet cleaning, as well as planning my son’s birthday party later this week.  But in the midst of this busy week, my husband and I will be celebrating our 25th wedding anniversary.  My husband and I will be leaving the kids home and go out for dinner and a movie.  Later we will go on a trip for a few days…..I can hardly wait 🙂

“Talk” to you soon!

Sometimes when I am driving around, I see a poorly pruned tree or shrub, and I just cringe.  It never ceases to amaze me the crazy ways that people take care of their plants.  Whenever I see plants like this, I whip out my camera and quickly take a photo and then drive away before the homeowner asks what I am doing.

poorly pruned tree

 Butchered Palo Brea Tree

I mean if they catch me taking a photo, I can’t very well tell them, “I am taking pictures of the horrible way you prune your trees ?” Can I?  Well, I probably could and should, but I am too chicken to confront people that way.  I have no problem confronting people about their horrible pruning if they have asked me over to do a consult on their landscaping.  I just like an invitation first before I tell people what they are doing wrong 😉

poorly pruned tree

 ‘Topped’ Willow Acacia

poorly pruned tree

 Willow Acacia as it should look like.

Although, the primary purpose of this post is to entertain with photos of truly awful pruning disasters.  I just have to step up on my “high horse” for just a minute regarding one type of pruning that is widespread.  So please bear with me…

One of the most harmful types of pruning in regards to trees is called ‘topping’ the tree.  It removes a lot of the top growth.  This is usually done to shorten the tree and to preserve a view.  The topping is NOT good for the tree and accelerates more top growth.  The new branches are weakly attached and are much more liable to break, which can cause damage to what is underneath.  Also, topping trees greatly stress the tree which can make them susceptible to insect and certain environmental factors.  You can read more about topping trees here Tree Care.

poorly pruned tree

 Chilean Mesquite with a ‘kink’ in its trunk.

poorly pruned tree

  ‘Poodle’ Olive Tree

 Okay, the vast majority of trees should not be prune into round shapes.

Palo Brea tree pruned into a 'ball

 Palo Brea tree pruned into a ‘ball.’

Palo Brea tree as it should look

 Palo Brea tree as it should look.

Blue Palo Verde tree

 A Blue Palo Verde tree that lost its head.

A few years ago we suffered a severe micro-burst during the summertime at the community where I was working.   The tree above snapped off in the high winds at a weak point in the trunk, which was weak due to improper pruning that was done a long time before the storm.

Orange tree

 This is an Orange tree that has been pruned correctly.

The Citrus tree, above, has been pruned the right way, but I just had to include it in this post because it is so humorous.  Look closely (you can click on the photo to enlarge)…. the homeowner tied CDs to the tree to scare off the birds from eating the fruit.

Many people prune their Citrus trees up so that they look more like a ‘typical’ tree.  But what many people don’t know is that the lower branches produce the most fruit, the sweetest fruit and protects the trunk from sunburn.

Now for some truly awful examples of shrubs….remember the “cupcakes” from a previous post?

Cordia

 Little Leaf Cordia pruned into a ‘ball.’

In an earlier post, we covered the epidemic of pruning shrubs into the shapes of ‘cupcakes.’  Well, there is another epidemic in where people prune their shrubs into the shape of a ‘ball.’  We call this type of pruning, “Poodle-Pruning” because the shrubs resemble the ball shapes that poodles have when groomed.  Either way, ‘cupcakes’ or ‘poodle,’ neither are good for your shrubs and take away from their beauty.

Feathery Cassia shrubs

 Feathery Cassia shrubs with large areas of dead growth.

One of the results of repeated shearing of your shrubs into specific shapes (cupcakes or balls), results in areas of dead growth.  This is because sunlight cannot penetrate inside the shrub and it is constantly trying to replace the growth that is cut off constantly.  There is a cure, which I will cover in a spring time post, which is when corrective pruning should be done.

Thunder Cloud Sage

 Thunder Cloud Sage, unpruned

Now I don’t recommend going to the other extreme, above, and not pruning.  Just do it correctly.  So, if you have any ‘cupcakes’ or ‘poodles’ in your landscape, do not panic!  I will cover the correct ways to prune many shrubs in the spring, which is the time that it should be done.

So, take care to prune properly, because you never know when I will come driving by with my camera….

I’m sure most of you know how much fun it can be to garden with your kids.  I remember my dad building each of us a raised planter where we could grow vegetables and flowers.  Today, my kids and I went to the store to buy flowers for their new garden.  You will NEVER guess what they are planting their flowers in…

Easy Garden

Our first stop was our local nursery.  Each was allowed to pick out two six-packs of flowers.  The kids decided to each pick a different type of flower and then shared them.  My youngest daughter, Gracie, selected geraniums and blue petunias.

Easy Garden

Ruthie went the fragrant route and selected stock, (beautiful and fragrant despite its ordinary name) and white alyssum.

Easy Garden

Dianthus and snapdragons were Kai’s choice.

Easy Garden

We finished making our selections and then got ready to go home and start planting.  The only question the kids had was – where were they going to plant their flowers?

Easy Garden

How about their old kiddie pool?  You know – the ones that cost about $10 that your kids play in during the summer.  However, once summer is over, most people either throw out their pool or store it somewhere out of the way.  

Well, now you can use it as a planter for either flowers or shallow-rooted vegetables or herbs.

The process is easy, and your kids will have fun assisting you.

First, move the pool where you want the garden to be as it will be too heavy once you fill it with soil.  Then make multiple holes on the bottom for drainage.  Then fill with a mixture of potting mix.  Sprinkle some slow-release fertilizer and now begin planting!

Easy Garden

Gracie planted her first plant, a peach-colored geranium.

Easy Garden
Easy Garden

My teenage daughter, Rachele, was overseeing our progress while texting on her phone.

flowers

We finished!  The kids are so excited to see their flowers grow.  The garden will be a riot of different colors and has no sense of design, which is as it should be for a children’s flower garden.

flowers

This will be our ‘before’ picture.  We planted alyssum, dianthus, geraniums, petunias, snapdragons, and stock.

If you would like to try this at home and want the garden to become a more permanent part of the landscape, you can add a brick border or plant shrubs and perennials around the outside of the pool.