Lately, I have been collecting toilet paper rolls.  Now I know that may sound a bit weird to some of you, but I needed them for my garden.

So how on earth can toilet paper rolls help you in the garden?

Well, they are an inexpensive, environmentally friendly tool in which to start seeds indoors.

bush beans, marigolds, Kentucky beans, cucumbers, sugar snap peas and spinach

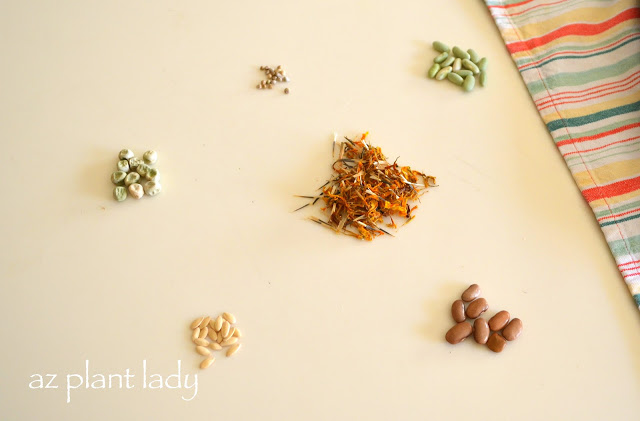
From upper right – bush beans, marigolds, Kentucky beans, cucumbers, sugar snap peas and spinach.

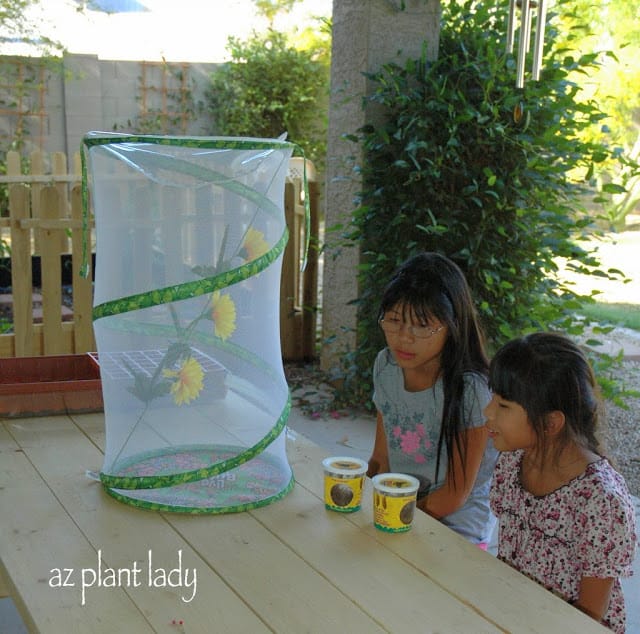
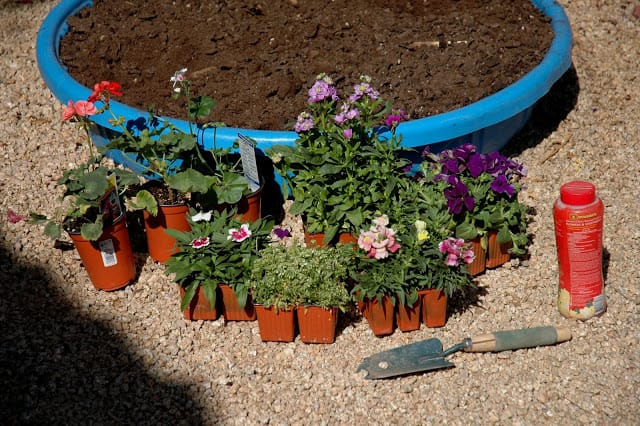
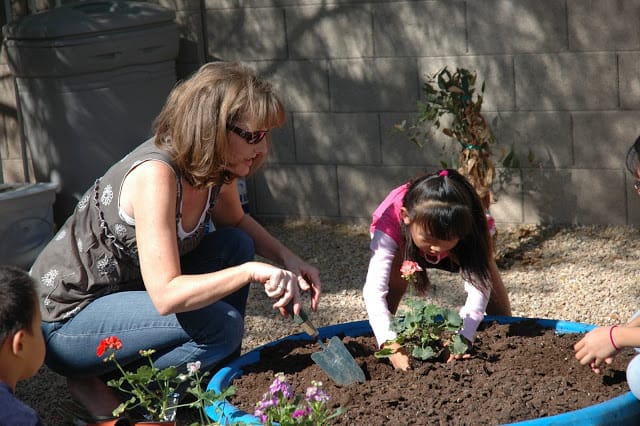
I thought this would be a good project to do with the kids, so we gathered our seeds.

toilet paper rolls

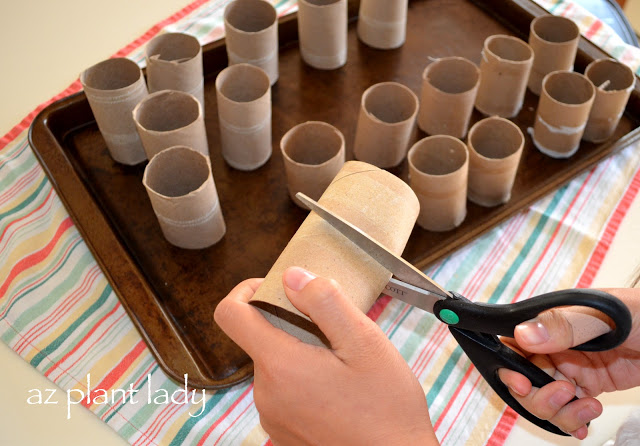
We cut each toilet paper roll in half (you can use paper towel rolls and cut them into thirds for this too.)

toilet paper rolls

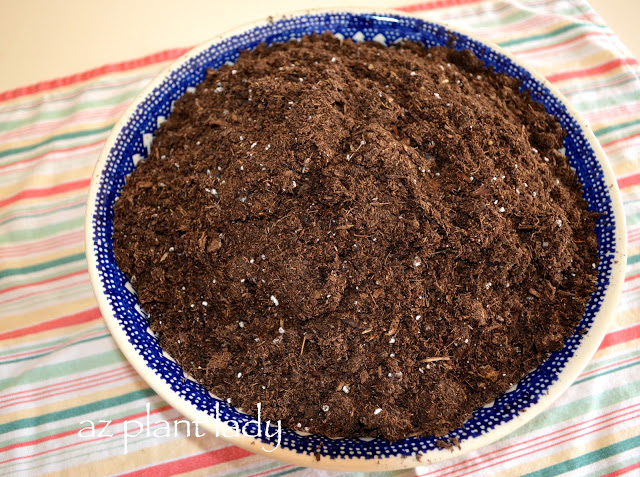
We used a planting mix that had slow-release fertilizer already included and also had water-holding granules. I advise wetting the soil before adding it to your toilet paper rolls.

toilet paper rolls

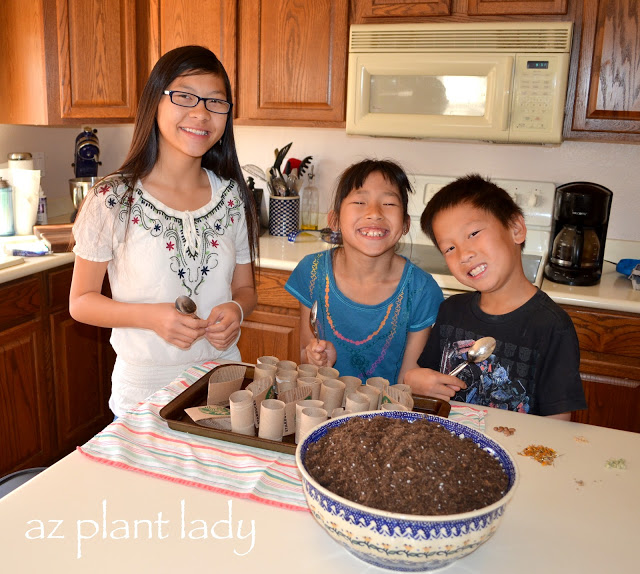
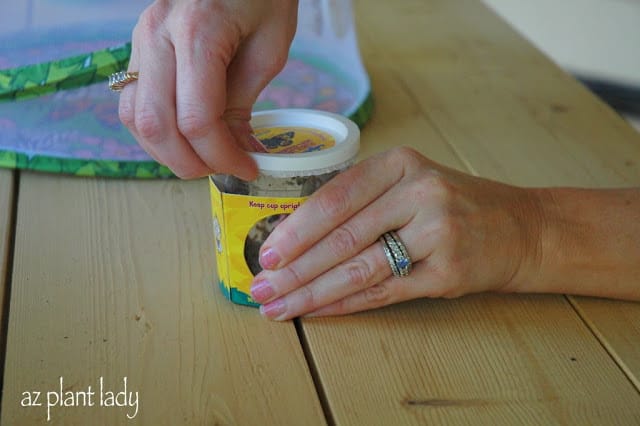
Now that we had everything, we were ready to start. The kids used tablespoons to ‘spoon’ the planting mix into each tube.

toilet paper rolls

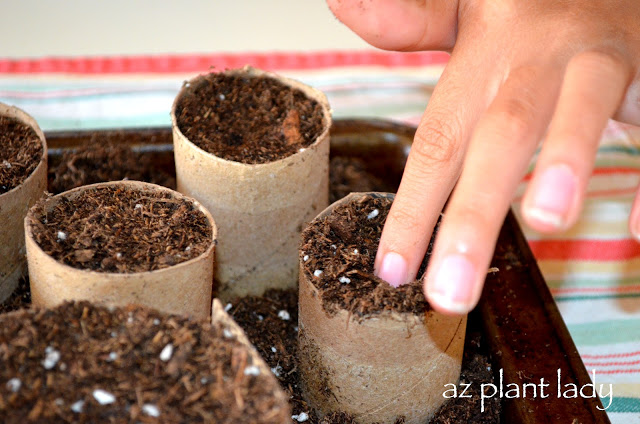
Then we lightly pressed down the planting mix and added more.

toilet paper rolls

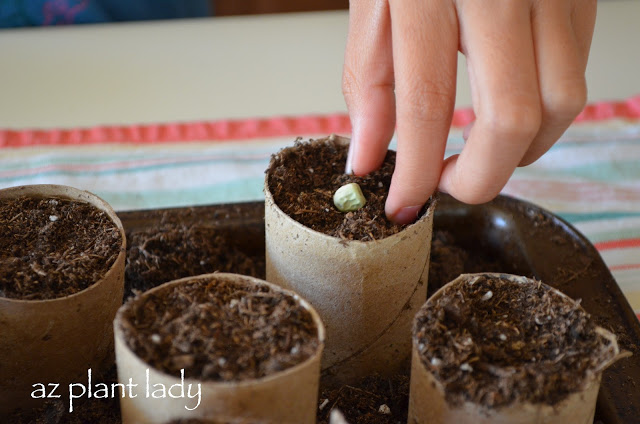
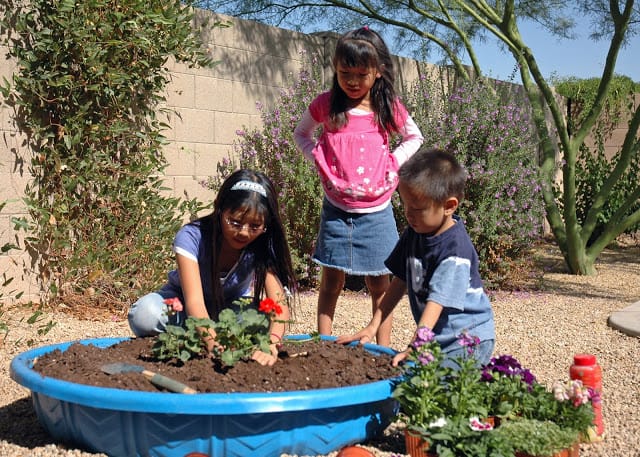
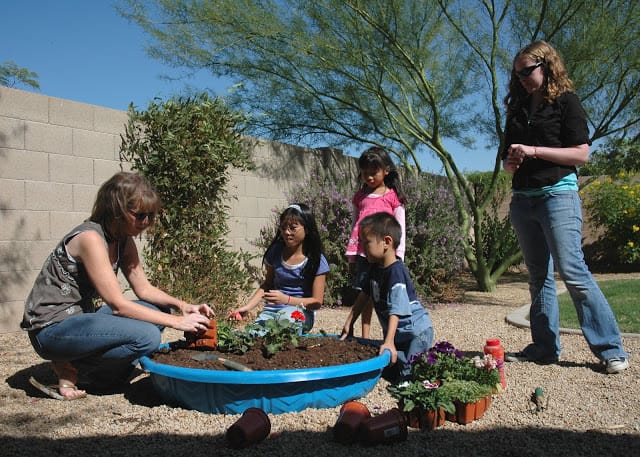
Now it was time to plant.

toilet paper rolls

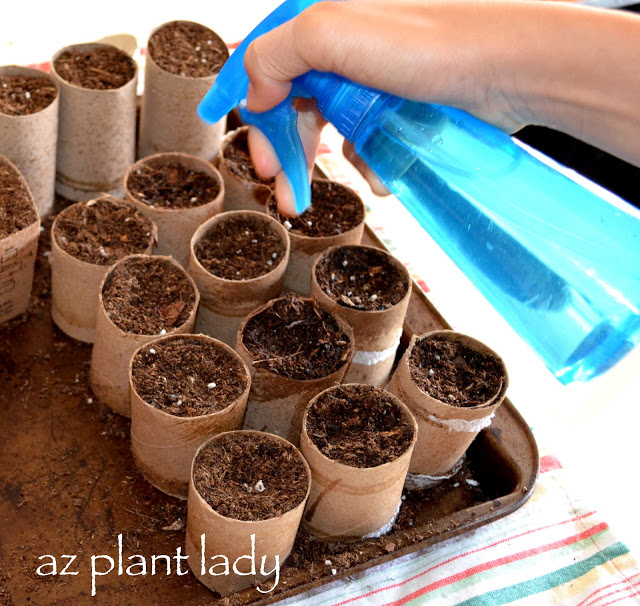
Then we used a spray bottle filled with water to thoroughly water each planted seed.

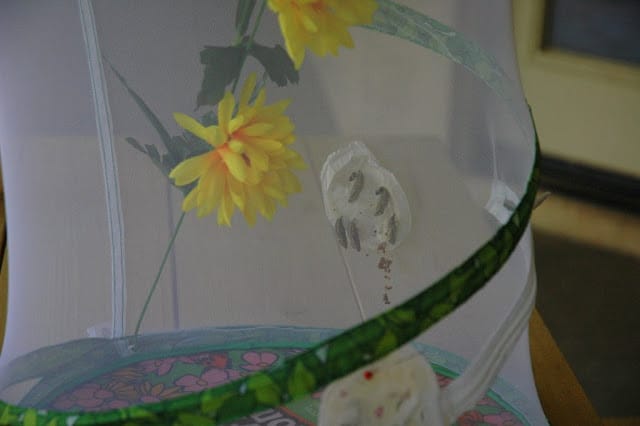
Now we had to create a ‘mini-greenhouse’ effect by covering our toilet paper roll with clear plastic wrap with some holes in the top.  Then we placed them on top of the refrigerator, where it was warm enough to help them germinate.


Every day, we checked the moisture of each toilet paper roll and added more water if necessary.

Once the seedlings germinated, we removed the plastic wrap permanently and placed our seedlings by our bright, sunny kitchen window.

We are keeping the soil moist, but not soggy.

Soon, we will be able to plant our seedlings (with their toilet paper rolls) in the vegetable garden.  The cardboard from the toilet paper rolls will disintegrate into the soil.

Of course, you can always use the ready-made plastic seeding trays, but I must admit that I like this method better 🙂

**Are you new to vegetable gardening in the desert?  We are fortunate that we can grow a large variety of vegetables, as well as fruit.  I invite you to click the ‘Shop’ tab where you’ll find some great information on growing vegetables.

I am sure that many of you have been on the edge of your seats for the next installment of my youngest daughter’s butterfly raising adventures 😉  In case you missed it, you can read the first installment here.

We have been waiting for the caterpillars to form their chrysalis so that we could take them out of their containers and transfer them to their new butterfly enclosure.  

butterfly enclosure

The caterpillars attached themselves to the underside of the lids and formed a chrysalis.  And so, the next step was to carefully take the lids off and take the caterpillars (chrysalis) out. 

caterpillars

To be honest, I was a little nervous about this part.  I didn’t want to accidentally dislodge any of the chrysalis from the undersides of the container lids.

butterfly enclosure

At this point, one of the caterpillars within the chrysalis began wiggling madly about.  Now, I usually pride myself on not being squeamish around bugs, but the wiggling kind of grossed me out a bit.

butterfly enclosure

The next step was to pin the lids to the lower sides of the butterfly enclosure.  

*You may notice that the enclosure comes with its own beautiful silk flowers, something that I try to stay from….I like real flowers best 😉

butterfly enclosure

The last step was to hang the butterfly enclosure outdoors and wait for the new butterflies to emerge in a few days.  

We can hardly wait….

I’m sure most of you know how much fun it can be to garden with your kids.  I remember my dad building each of us a raised planter where we could grow vegetables and flowers.  Today, my kids and I went to the store to buy flowers for their new garden.  You will NEVER guess what they are planting their flowers in…

Easy Garden

Our first stop was our local nursery.  Each was allowed to pick out two six-packs of flowers.  The kids decided to each pick a different type of flower and then shared them.  My youngest daughter, Gracie, selected geraniums and blue petunias.

Easy Garden

Ruthie went the fragrant route and selected stock, (beautiful and fragrant despite its ordinary name) and white alyssum.

Easy Garden

Dianthus and snapdragons were Kai’s choice.

Easy Garden

We finished making our selections and then got ready to go home and start planting.  The only question the kids had was – where were they going to plant their flowers?

Easy Garden

How about their old kiddie pool?  You know – the ones that cost about $10 that your kids play in during the summer.  However, once summer is over, most people either throw out their pool or store it somewhere out of the way.  

Well, now you can use it as a planter for either flowers or shallow-rooted vegetables or herbs.

The process is easy, and your kids will have fun assisting you.

First, move the pool where you want the garden to be as it will be too heavy once you fill it with soil.  Then make multiple holes on the bottom for drainage.  Then fill with a mixture of potting mix.  Sprinkle some slow-release fertilizer and now begin planting!

Easy Garden

Gracie planted her first plant, a peach-colored geranium.

Easy Garden
Easy Garden

My teenage daughter, Rachele, was overseeing our progress while texting on her phone.

flowers

We finished!  The kids are so excited to see their flowers grow.  The garden will be a riot of different colors and has no sense of design, which is as it should be for a children’s flower garden.

flowers

This will be our ‘before’ picture.  We planted alyssum, dianthus, geraniums, petunias, snapdragons, and stock.

If you would like to try this at home and want the garden to become a more permanent part of the landscape, you can add a brick border or plant shrubs and perennials around the outside of the pool.