Tag Archive for: Gardening with children

Do you remember exploring your backyard as a child?  I do.

I loved smelling my dad’s roses, digging into the soil for worms and hoping to find some interesting bugs (not spiders).  My mother would give me a little margarine tub to put in any insects that I found along with some torn grass and leaves for them to eat.  Sound familiar to anyone else’s childhood experience?

Last month, while in Michigan visiting my oldest daughter and her family, my granddaughter, Lily, showed me her little bug container, which was filled with bits of grass and leaves and a bug that I honestly couldn’t see.

It was during our trip that I found myself at the local store where I saw a plastic magnifying glass just for kids.  So, I did what any self-respecting grandma would do and bought it.

Plastic Magnifying Glass

Plastic Magnifying Glass

Lily could hardly wait to get home and explore the front garden with her new toy.

First, we had to examine the intricacies of a dandelion.

white daisies

And then, the little white daisies at the base of the maple tree.

Plastic Magnifying Glass

An ant hill was next on her list as she watched them busily scurrying about.

Plastic Magnifying Glass

When I told her that these were lily flowers, she was delighted since they share the same name as she does.

Plastic Magnifying Glass

I admit, that I had so much fun watching Lily explore the world around her and it did bring back some fond childhood memories of my own.

All said, it was probably the best $5 I’ve spent in a long while.

*What did you use to explore your garden when you were young?

Goodbye Arizona…Hello Michigan!

Did you ever garden when you were a child?

I did.  My dad gave my siblings and me, each a small raised bed in the backyard.  We would spend hours leafing through the latest Burpee catalog, deciding what seeds we would buy to plant in our little gardens.

I never forgot my introduction to gardening under my father’s guidance, and I enjoy doing the same thing with my granddaughter, Lily.  

Gardening With Kids: Painting and Planting a Flower Pot

Lily, and her mom and dad, just moved into their first house, and she was very excited to be able to garden.

So, I took her to the local nursery in their town of Petoskey, Michigan and told her that she could pick two types of flowers.

After some deliberation, Lily decided on cosmos and marigolds.

Gardening With Kids: Painting and Planting a Flower Pot

Gardening With Kids

We brought them home and got ready to create a pot filled with flowers.

The pot was purchased from the local big box store and painted a bright shade of blue using spray paint.

The first step was filling the pot with planting mix, which is specially formulated for container gardening as it holds onto just the right amount of soil as opposed to potting soil, which can become soggy.

we planted the flowers

As we planted the flowers, I took the time to explain to 4-year-old Lily how the roots help the top part of the plant grow and flower.

Gardening With Kids: Painting and Planting a Flower Pot

I dug the holes, and she would put each plant inside.

Gardening With Kids: Painting and Planting a Flower Pot

Gardening With Kids

Then we patted down the soil and watered them well.

Gardening With Kids: Painting and Planting a Flower Pot

When we were finished, we had a colorful pot filled with cosmos and marigolds ready to sit by the front door.

As the flowers mature and eventually dry out, Lily will collect the seed and save it for next year’s garden.

We had a lovely time and Lily would call me “Plant Lady” and herself the “Plant Girl”.  I couldn’t think of a better way to spend an afternoon.

Have you ever spent time teaching kids to garden?  What did you plant?

Gardening With Lily…

I’m sure most of you know how much fun it can be to garden with your kids.  I remember my dad building each of us a raised planter where we could grow vegetables and flowers.  Today, my kids and I went to the store to buy flowers for their new garden.  You will NEVER guess what they are planting their flowers in 😉

Children's Garden

Our first stop was our local nursery.  Each child was allowed to pick out 2 six-packs of flowers.  The kids decided to each pick a different type of flower and then share them with each other.  My youngest daughter selected geraniums and blue petunias.

Children's Garden

My older daughter selected stock, (beautiful and fragrant despite its ordinary name) and white alyssum.

Children's Garden

My son decided on dianthus and snapdragons.

Children's Garden

We finished making our selections and then got ready to go home and start planting.  The only question the kids had was – where were they going to plant their flowers?  Well…..

old kiddie pool

How about their old kiddie pool?  You know, the ones that cost less then $10 and your kids have fun playing in during the summer.  When summer is over, most people either throw it out or store it somewhere out of the way.  Well, you can use it as a planter for either flowers or shallow-rooted vegetables or herbs.

First, move the pool where you want the garden to be as it will be too heavy once you fill it with potting mix.  Then make multiple holes on the bottom for drainage.  Then fill with a mixture of planting mix and compost.  Sprinkle some slow-release fertilizer and now begin planting! 

old kiddie pool

My youngest daughter planted the first plant, a peach-colored geranium.

old kiddie pool

My teenage daughter is overseeing our planting while texting on her phone.

old kiddie pool

We finished!  The kids are so excited to see their flowers grow.  The garden will be a riot of different colors and has no sense of design, which is as it should be for a children’s flower garden.

old kiddie pool

Old kiddie pool

This will be our “before” picture.  We planted geraniums, stock, snapdragons, petunias, dianthus and alyssum.

If you would like to try this at home and you want the garden to become a somewhat more permanent part of the landscape, you can add a brick border or plant shrubs and perennials around the outside of the pool.

**Some of you may have noticed that my three youngest children do not look like me, (my two oldest daughters do).   We adopted our youngest children from China.  I call them my “Three Chinese Miracles”.

A Children’s Flower Garden in a Kiddie Swimming Pool

Our first foray into vegetable gardening, as a family, was well on it’s way to becoming reality…. the site had been selected, the seeds purchased, the time set aside in our schedule and then….life happened.

I had a vegetable garden as a child.  My father made raised planters for me and my siblings.  We would select what we wanted to grow inside.  For me, it was usually a combination of vegetables and flowers.  As a horticulture student in college, we had to grow our plot of vegetables at the school farm and I have also helped plant vegetable gardens for charity.  But, that is really as far as my vegetable gardening experience goes.  

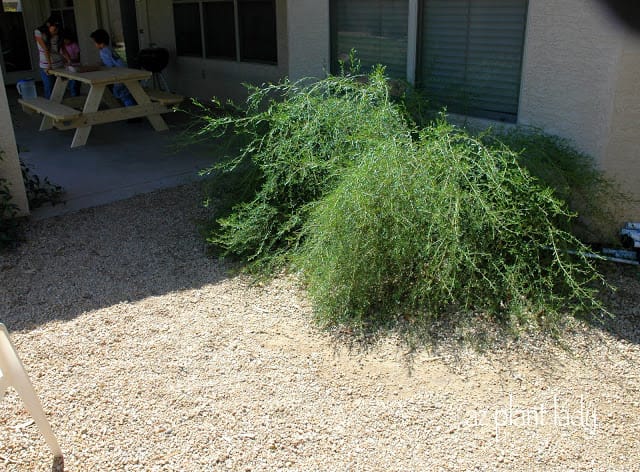
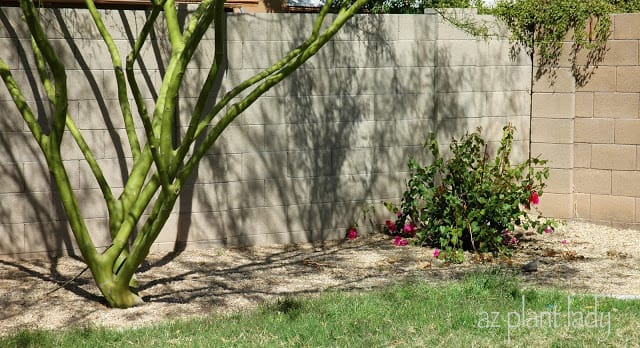
The entire family has been looking forward to having a vegetable garden, especially the kids.  I am a planner and so I love to plan things out ahead of time.   At first everything was going very smoothly.  We had a good site, that faces east, ensuring the garden would receive some relief from the hot summer sun in the afternoon.

Vegetable gardening

As you can see, there is not much going on in this area. 

Vegetable gardening

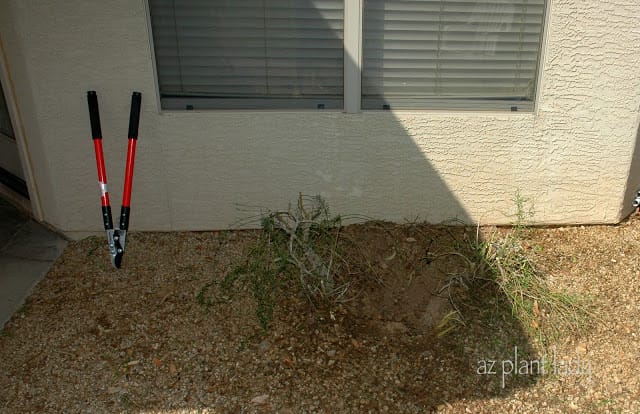
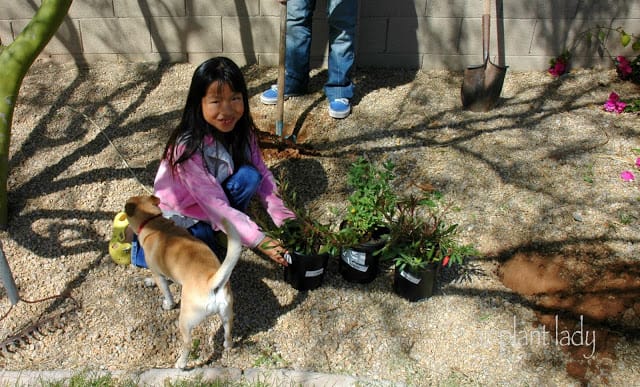
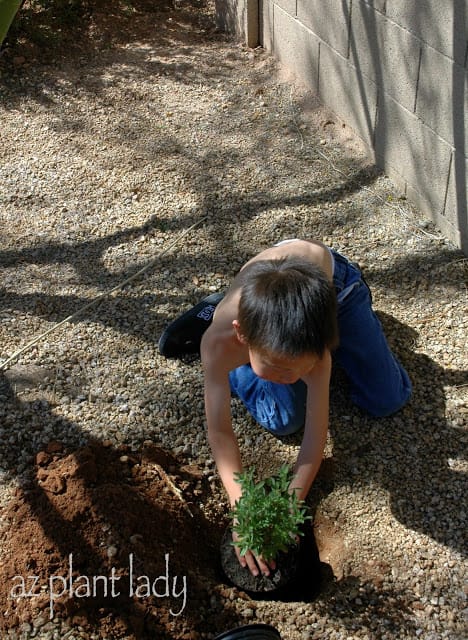
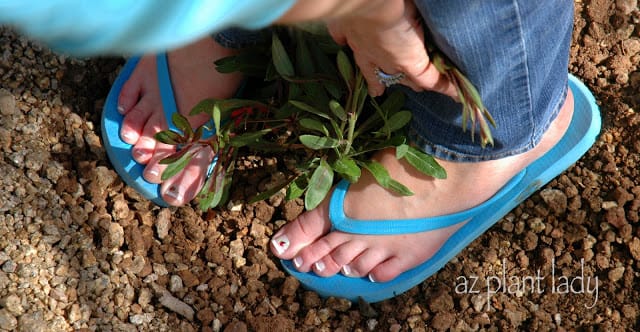
First, we tackled removing the existing shrubs.  We decided to try to transplant them into another part of the garden.  First, I pruned them back severely in order to remove most of the leaves.  

*Since the shrubs would lose many of their roots and therefore their ability to take up water when transplanted – I made sure that most of their leaves were removed since they would lose a lot of water through their leaves, which would lessen the chance that they would transplant successfully.

Vegetable gardening

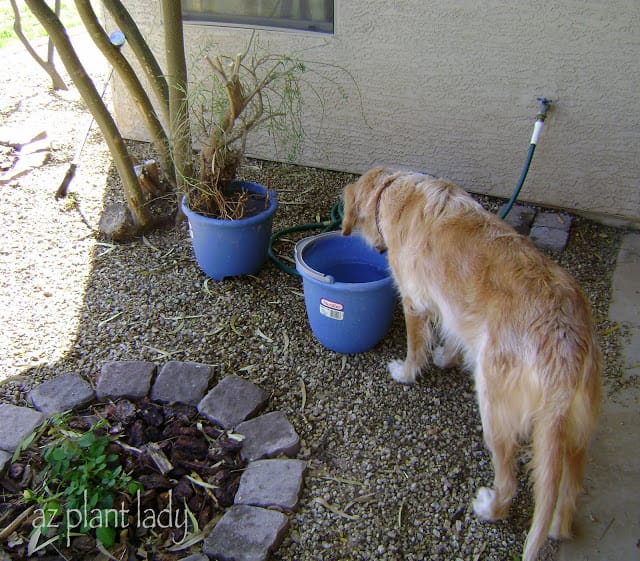
I immediately put each shrub into a pail of water for a good soak.  To be honest, I do not really care either way if these shrubs survive.  I guess that sounds heartless, but it is the truth.  They have never done that well for me, but if they survive being transplanted, perhaps they will like their new location better.  Although we have attached them to our irrigation system, they will require extra water, which we will supply for the next few weeks.

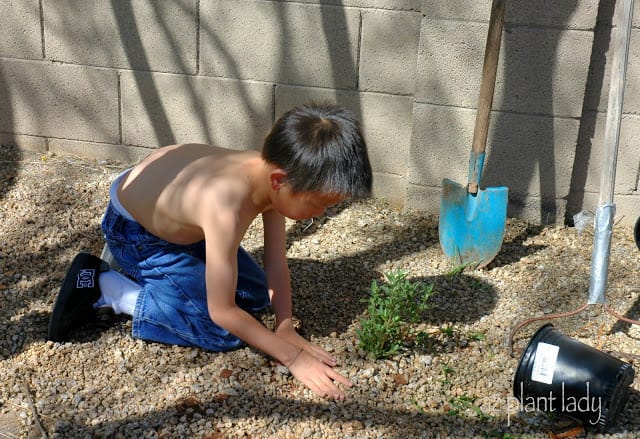
**In the desert, it is best to dig up plants and transplant them during cooler weather and should not be done in the summer.  It will also help them if they are shaded temporarily.  This can be done easily by just placing a patio chair over them for a few weeks.

Vegetable gardening

Vegetable gardening

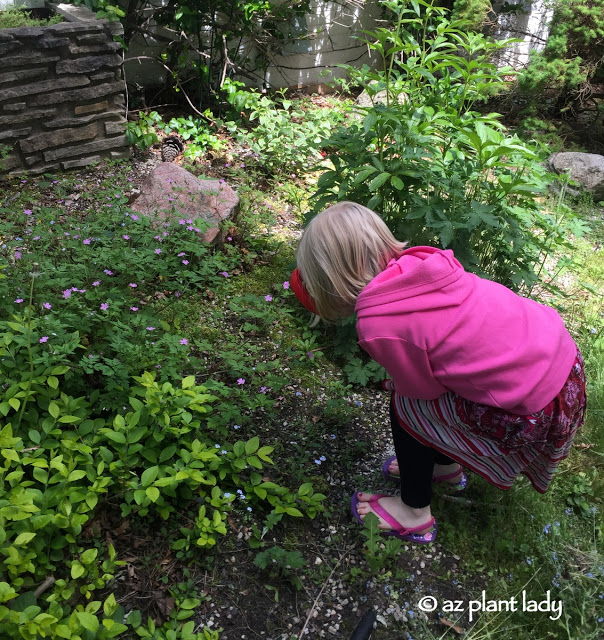
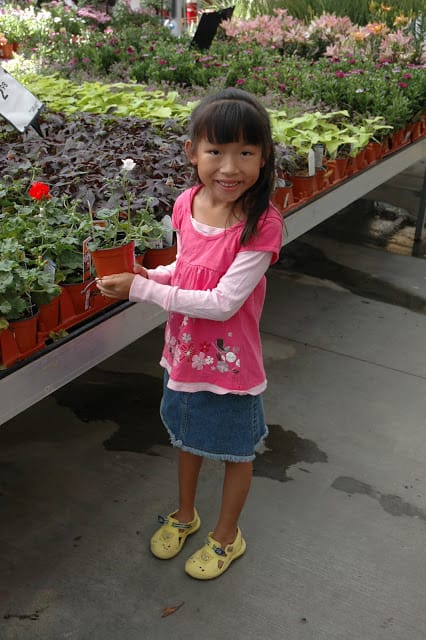
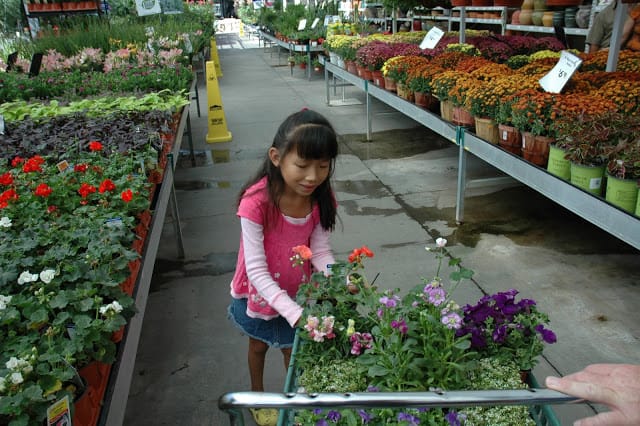
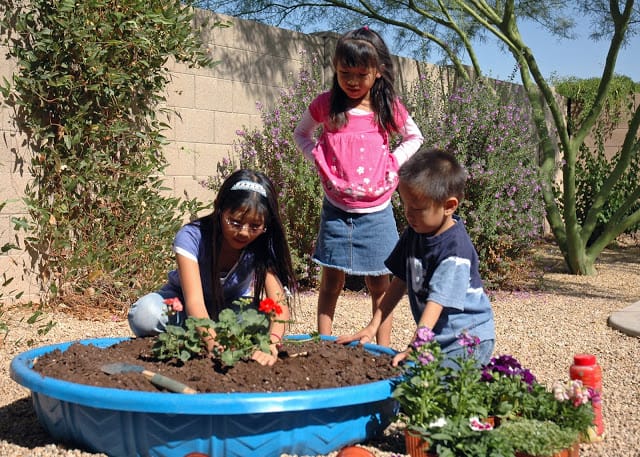
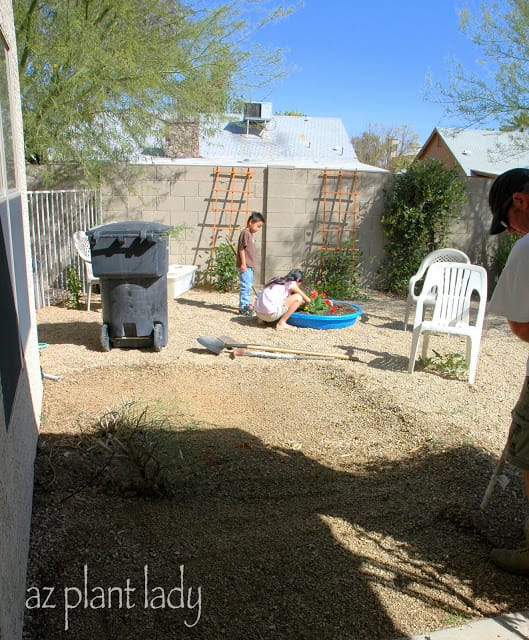
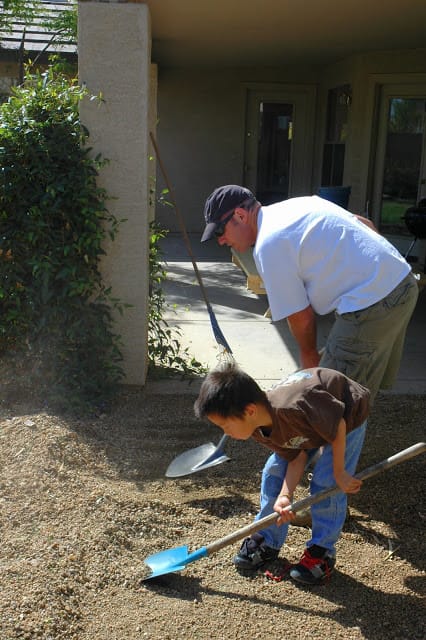
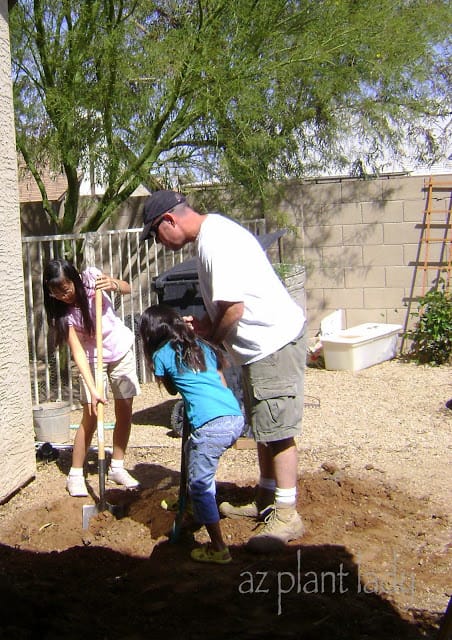
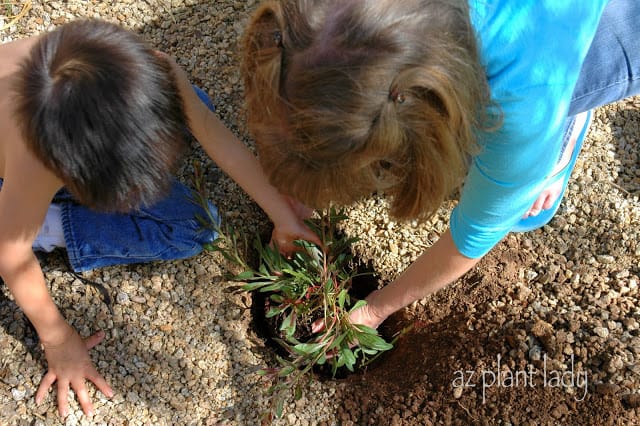
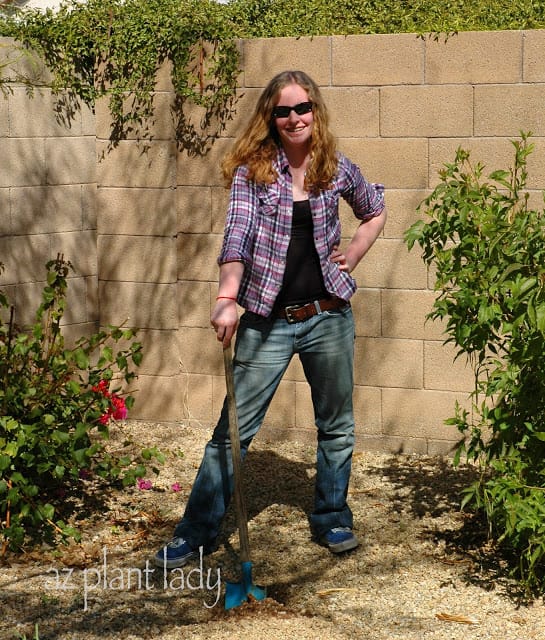
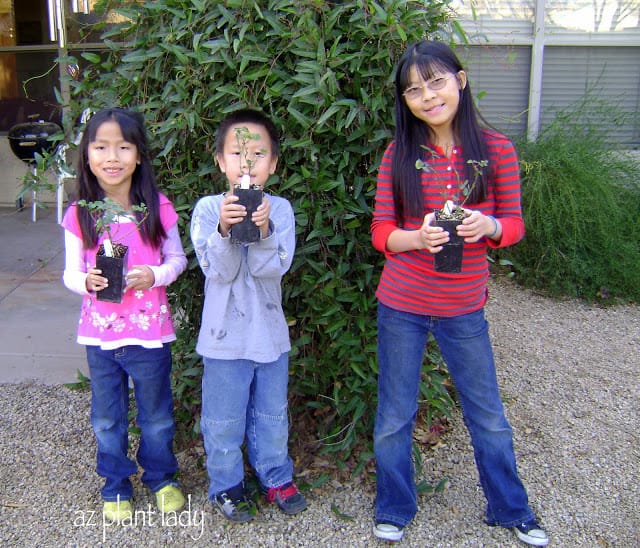
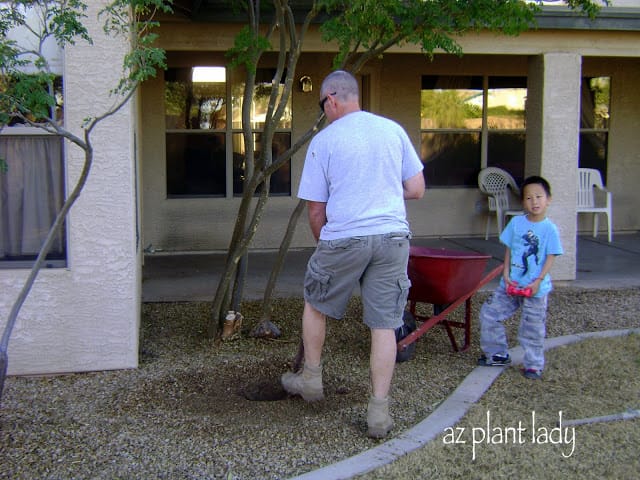
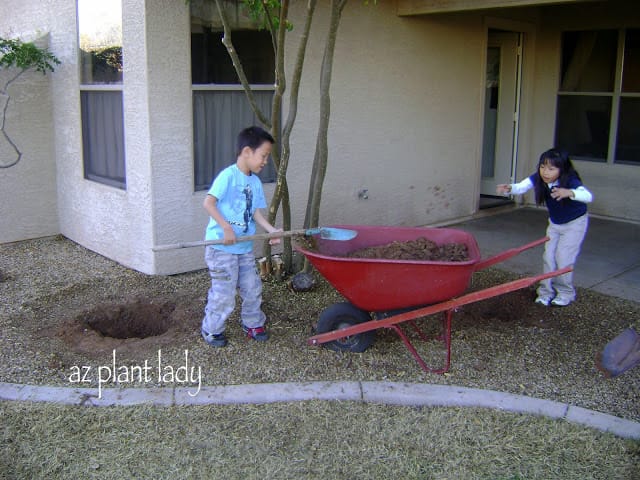
We, (meaning my husband), raked back the gravel (rock).  The kids can be seen in the background looking at what remains of their “Children’s Flower Garden”.  We will transplant some of those flowers to the new vegetable garden.

Vegetable gardening

I am so blessed by the men in my life 🙂  They never complain about helping me in the garden.

Vegetable gardening

Vegetable gardening

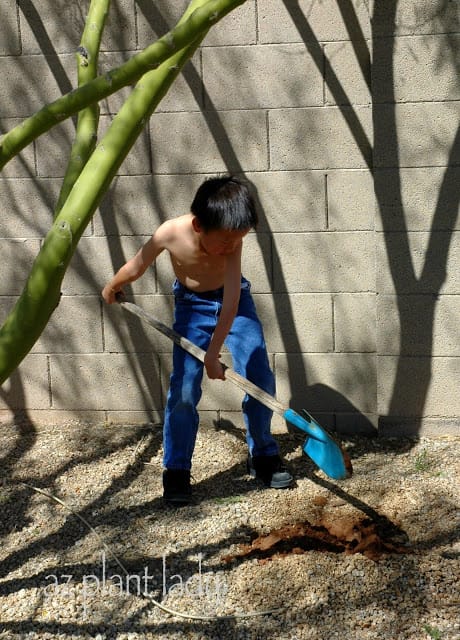
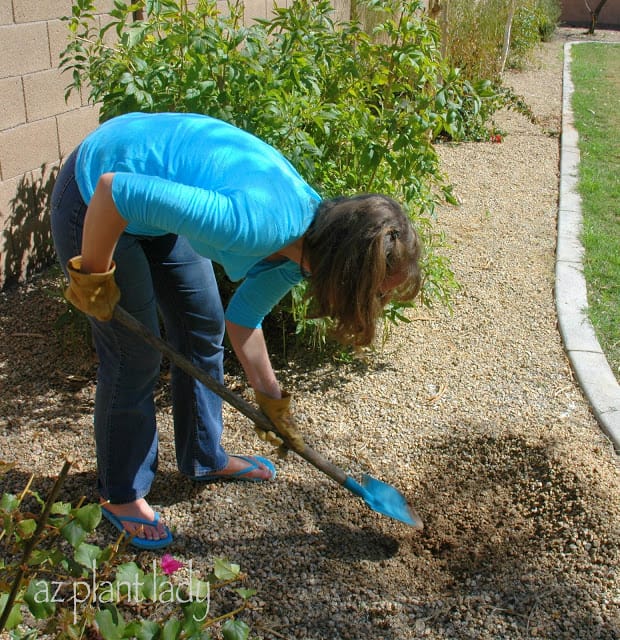
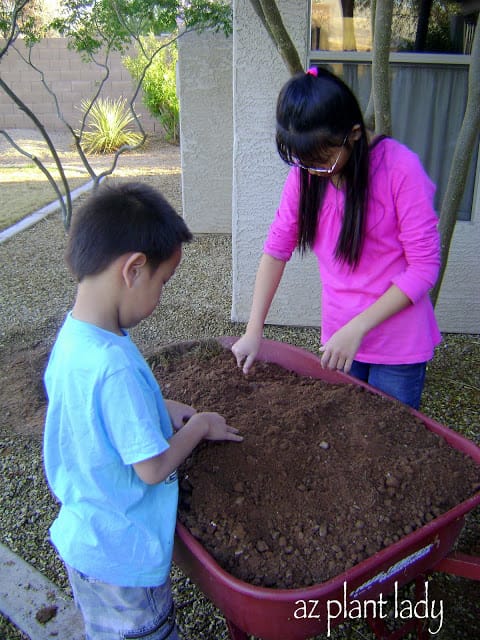
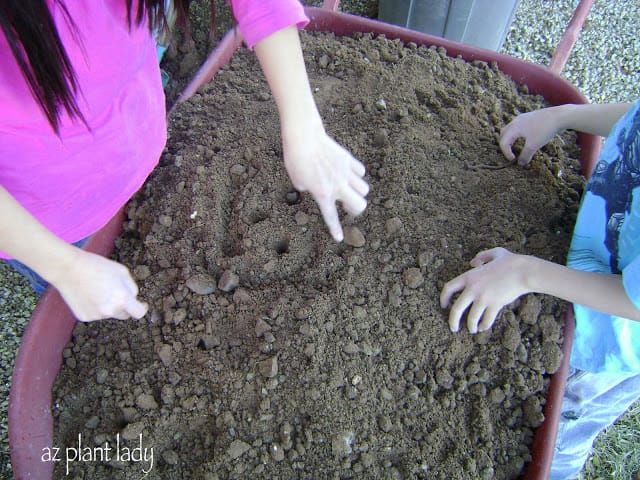
Then it was time to loosen up the existing soil to a depth of about 1 ft.  Although I do not appear in any of these photos, I was working.  I dug up my share of soil. – my sore back proved that the next day.  Projects seem to take longer when you have to keep pausing to take a picture of each step 😉

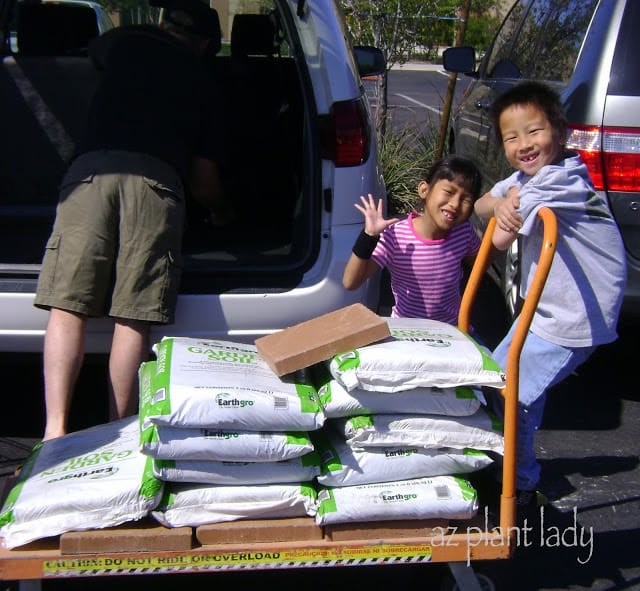
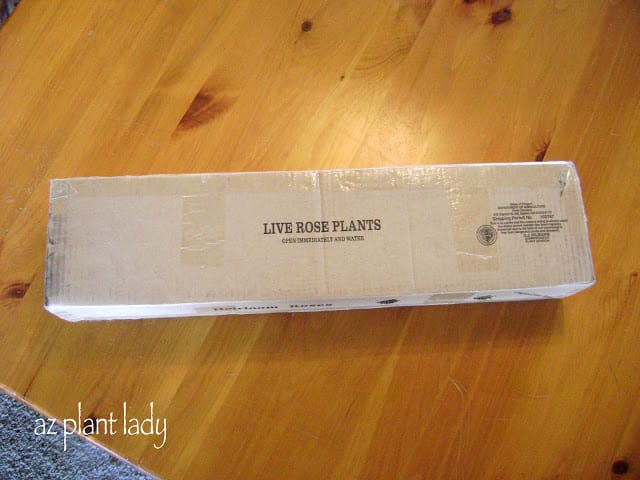
We were now ready to go to the store to buy soil, compost, manure and wood for our vegetable garden.

buy soil, compost, manure

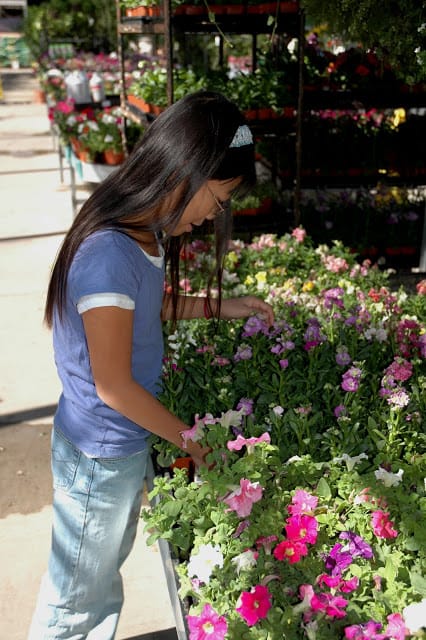
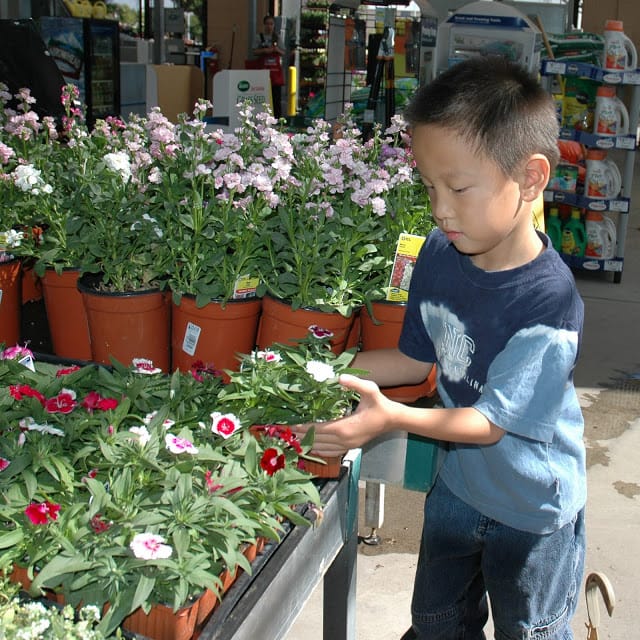
We had fun at the garden department and came away with soil, manure and step stones, which were on sale.  The step stones will be used inside the garden so that we can easily access the vegetables without stepping on them.

It turned out that we did not have room for the wood, so would have to return the next day for that.

After we had loaded up the car with all we had bought….the car would not start.  We had a dead battery.

This was only the first interruption of our vegetable garden project.  Stay tuned for Part 2 tomorrow….

**Thank you for the well-wishes for my oldest daughter, who broke both of her feet last Thursday after falling down the stairs at her apartment complex.  She is doing fairly well, although it is hard for her to get around.  We are taking her to the orthopedist today to see what he has to say.

A Vegetable Garden Interrupted….Again

Tuesday was a beautiful, sunny day and the kids were home on spring break.  It was a perfect time to go outside and plant three new plants that I purchased from the amazing nursery at “The Living Desert“.  Did you really think I could leave that wonderful place and NOT buy any plants?

I had just the place to put them.  It was a rather bare area between my Desert Museum Palo Verde tree and my Bougainvillea, which has just been pruned back.

Desert Museum Palo Verde

My daughter is proudly displaying our new plants, below.

spring break

We are planting a Chaparral Sage (Salvia clevelandii) and 2 Pink Gaura (Gaura lindheimeri ‘Siskiyou Pink’).  

Warm days make my son eager to take his shirt off whenever possible, although it was only in the low 70’s.

spring break

The first step was to rake back the gravel (rock) with enough room to place the dirt pile on top of the bare dirt and not mix it up with the gravel.  Then we started digging.

*We bought a set of kid-sized gardening tools over 16 years ago when my oldest daughter was 10 years old.  They have lasted a long time and now our youngest children are using them.  I recommend kid-sized tools for your kids to use which will make gardening much easier for them and increase their enjoyment.

clay soil

Look what we dug up….

Many people are surprised that not all deserts are made up of sand.  I know I was when I first moved here.  We actually have clay soil in our area while the deserts in California are mostly sand.

planting

Okay, back to planting – I taught my son how to check that the hole is at the proper depth by putting the plant, (while still in the pot), into the prepared hole.  The top of the pot should reach the the top of the hole.  Take the pot back out and adjust the hole if needed.

planting

He placed his hand around the plant and carefully turned it upside down over the hole and worked off the container with his free hand – I helped him with this part.

planting

He placed the plant in the hole and filled it in with the remaining soil.

*I typically do not amend the soil for desert-adapted shrubs because they are well adapted to soils with little organic matter.  But you can always add compost if you like.

planting

Press the soil around the new plant and then recover with the gravel if needed.

Plants grow very quickly in our climate, so tiny, straggly looking plants will not look that way for long.

Note about the small clumps of dirt in the photo above – I’m not the neatest gardener and seldom create a large enough gravel-free area in which to dig a hole, so there is always some mixing of the soil and gravel.

spring break

We had two more plants to install and my older daughter decided to help us out.

Okay, the following is what NOT to do, but I confess that I often do.

shovel

To save your back, do not use a child’s shovel.  It was convenient and so I used it, but a larger shovel is much more comfortable to use.

I didn’t realize how color coordinated I was with the shovel, which was totally unintentional – I am not a slave to fashion to that degree 😉

carefully press

When you dig holes and carefully press the soil around newly installed plants….it is best not to wear flip-flops.  I don’t have much of a defense for this one but here it is – I am from California and grew up going barefoot or wearing sandals for much of the year.  I don’t wear them in the winter because my feet get really cold.   I was so excited to be able to wear them this week and did not want to take them off to put on my gardening boots.  

If you look closely, I have a ladybug painted on my toes to celebrate the coming of spring, which really has nothing to do with this post 😉

**By the way, a kind reader pointed out that I did not state if we watered the plants in afterward.  Probably one of the most important part about planting and I left it out of my post.  We did water the plants well after planting.  Thank you Edith for bringing it to my attention.

New Home

They are here!!!  I was oh so patiently waiting for my English roses to arrive from Heirloom Roses.

I had ordered three different English roses a few weeks ago as it has been too long since I have had roses in my garden.  You can read more about that here if you like – “I Have a Confession To Make”  and “I’ve Made My Decision”.

English roses

I thought it would be a nice idea if each of my three youngest children could adopt one of the new rose bushes and be in charge of taking care of it.

They each picked one based on their favorite colors.  My youngest daughter picked ‘Graham Thomas’ which is yellow (note her yellow SpongeBob shoes).  My son picked ‘William Shakespeare’ because it is red.  My third-oldest daughter picked ‘Abraham Darby’ because she absolutely loves pink.

So since they are adopting their new roses, that means, they have to help dig the holes and plant them.  The kids are anxious to help.

English roses

Thankfully, their dad was willing to help them dig the holes.

*I was taking pictures of the whole planting process and my son decided that he would take pictures with his red camera.

English roses

I love kid-sized shovels and other gardening tools.

*I think I need to buy another kid-sized shovel because my daughter is throwing dirt into the wheelbarrow with her hands.

English roses

Trying to be brave and touch the earthworm they dug up.

New Home

It won’t bite….

New Home

There is just something about dirt that attracts kids…

New Home

I think this photo clearly illustrates the difference between boys and girls. My daughter is drawing a happy face in the dirt while my son is touching a worm.

Tomorrow, we will finish preparing the holes and planting our new roses.  The kids are so excited!  So is their mom.

Will post more tomorrow….