Tag Archive for: Garlic

The Reality of Vegetable Gardening: Unveiling the Secrets

The Pressure of Unrealistic Standards for Vegetables

Have you ever found yourself intimidated by fashion magazines filled with beautiful celebrities and models who are then photoshopped to remove every little imperfection? Or perhaps an Instagram account where the home is filled with natural light, dust-free, and no mislaid items anywhere?

I must admit that I don’t like to follow accounts like that as they promote an unrealistic view and leaves me feeling like something is wrong with me when I don’t look perfect and my house doesn’t either.

Escaping Unreal Expectations

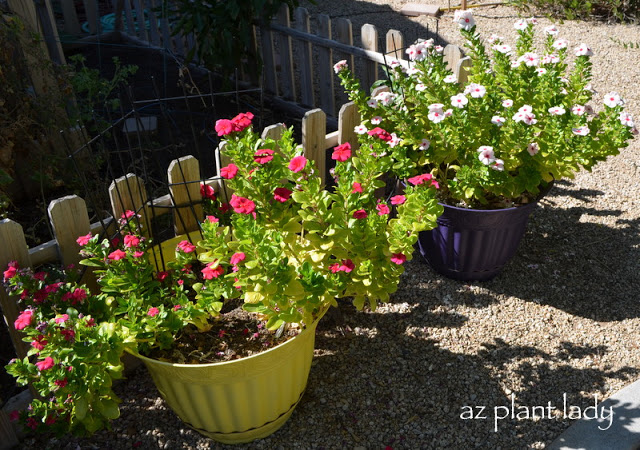
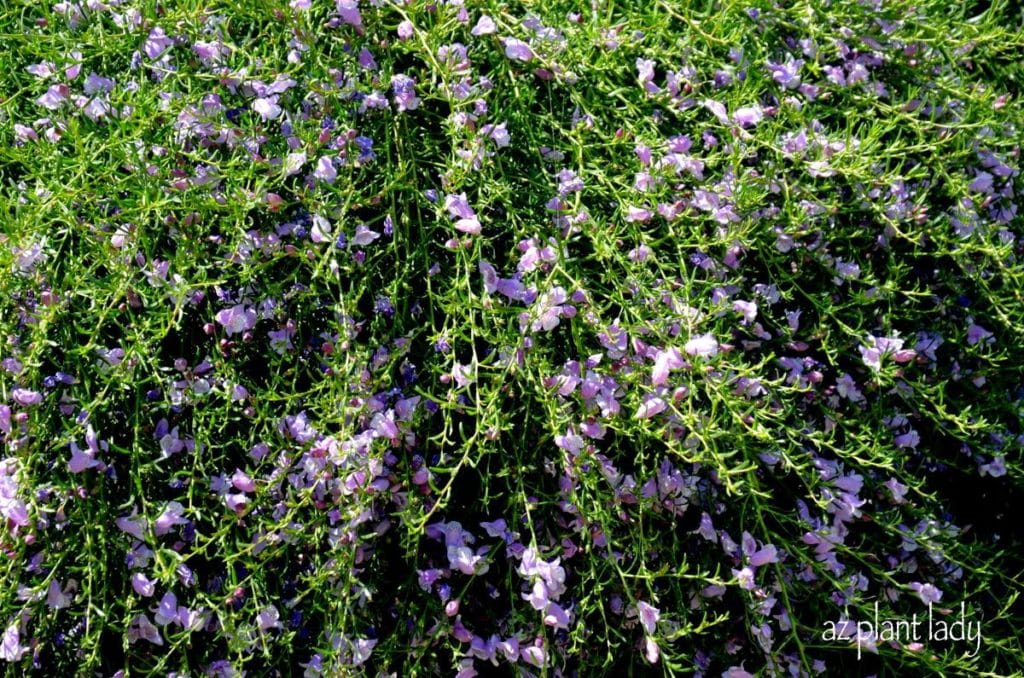
This type of unreal perfection extends to the garden too! Just between you and me, I’ve been to many gardens that are highlighted on social media and they never look quite as good in person.

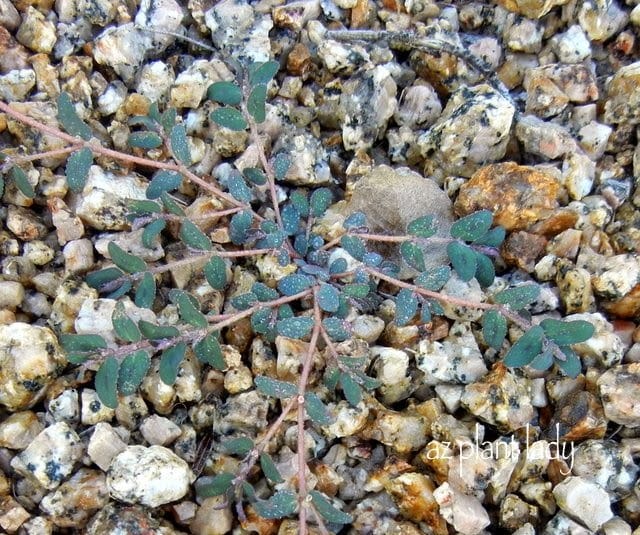
Believe it or not, vegetables also fall into this unrealistic realm when shown in magazines and online. Articles filled with photographs of perfectly-sized vegetables without a speck of dirt on them can be intimidating to the average vegetable gardener.

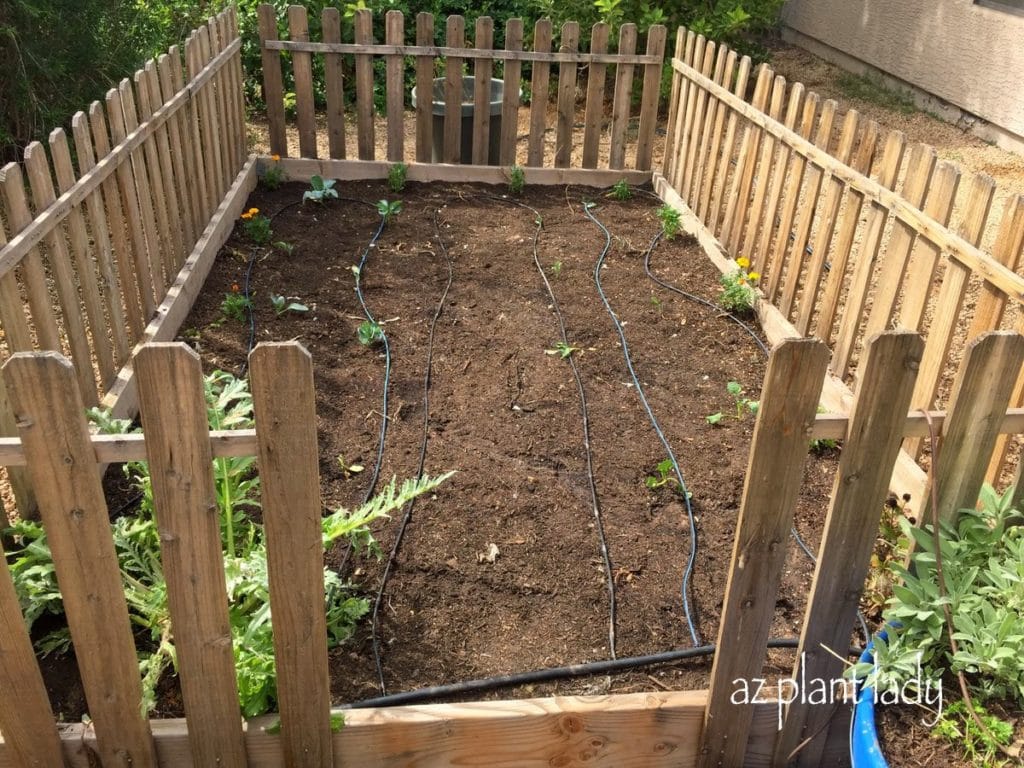
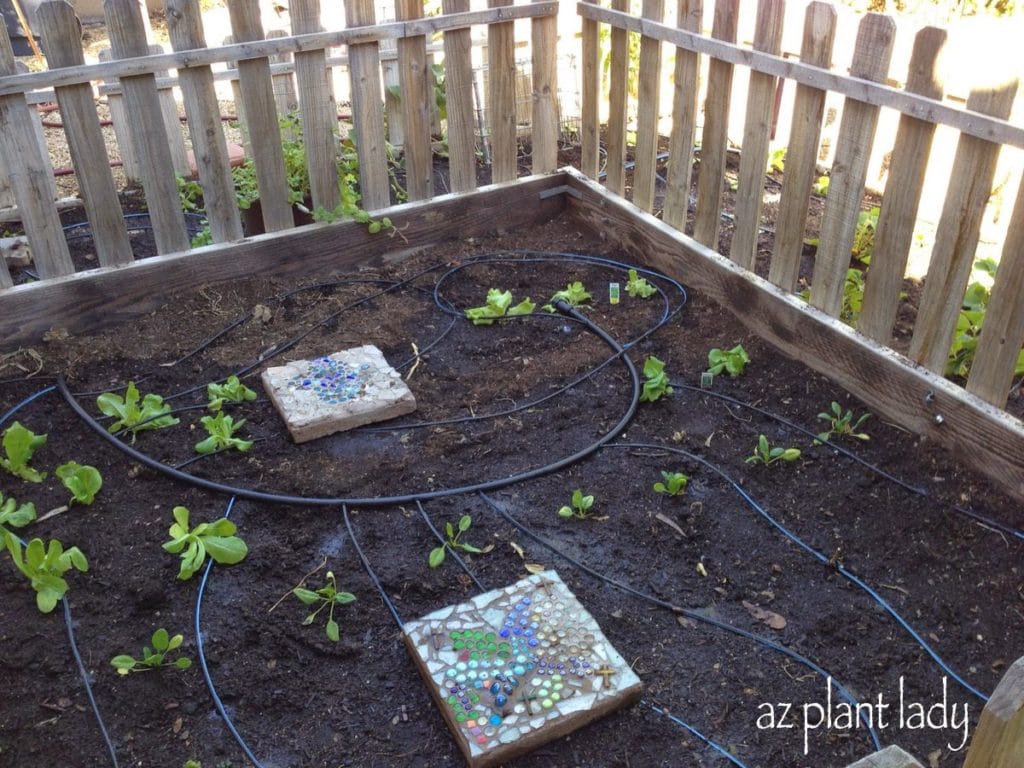
Unearthing the Dirty Secret of Vegetable Gardening

dirty secrets of vegetable gardening

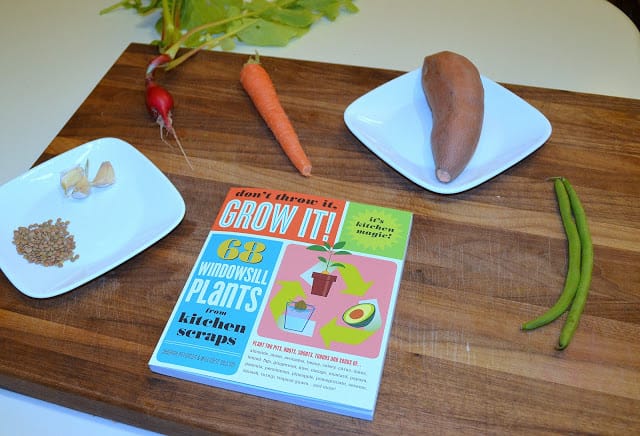
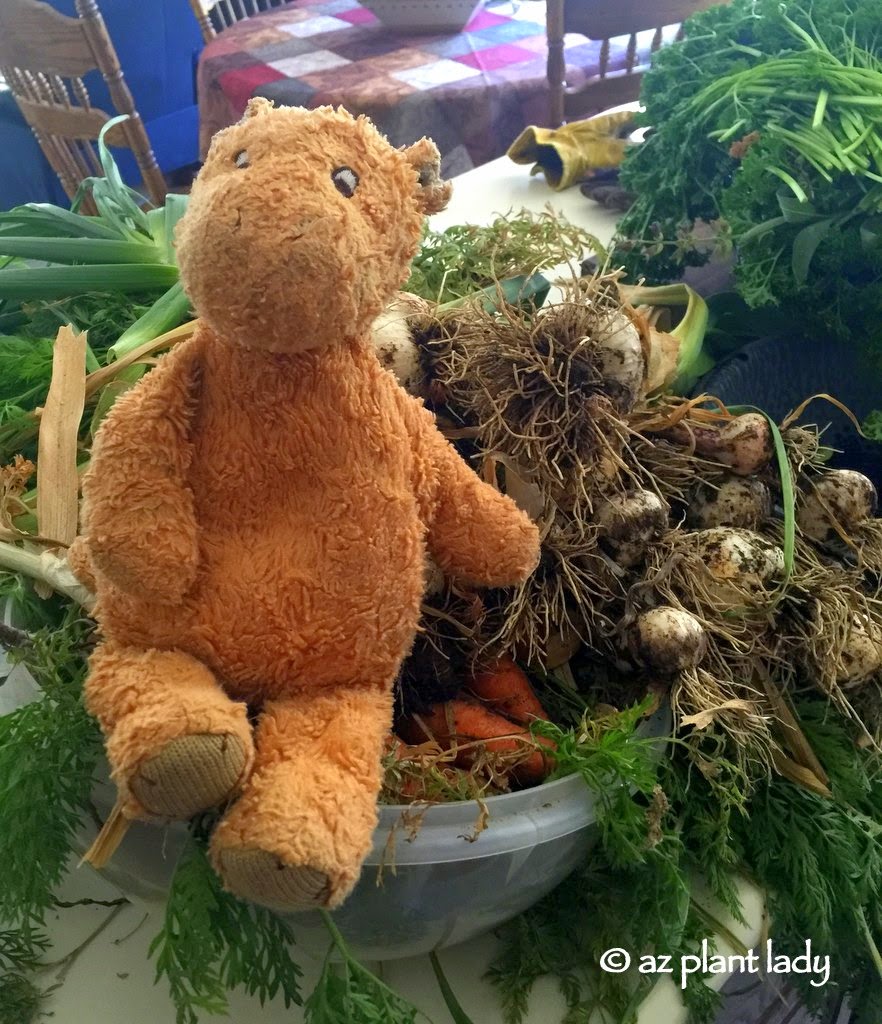
Well, I’m here to tell you the truth and reveal two dirty secrets of vegetable gardening with some assistance from my little helper. 

My granddaughter, Lily

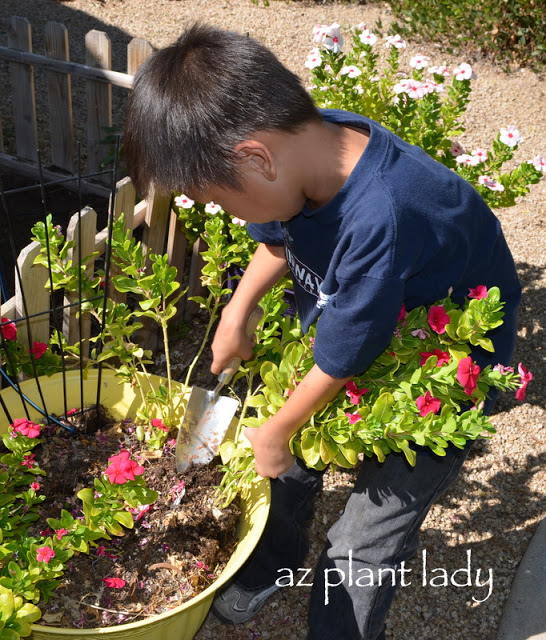
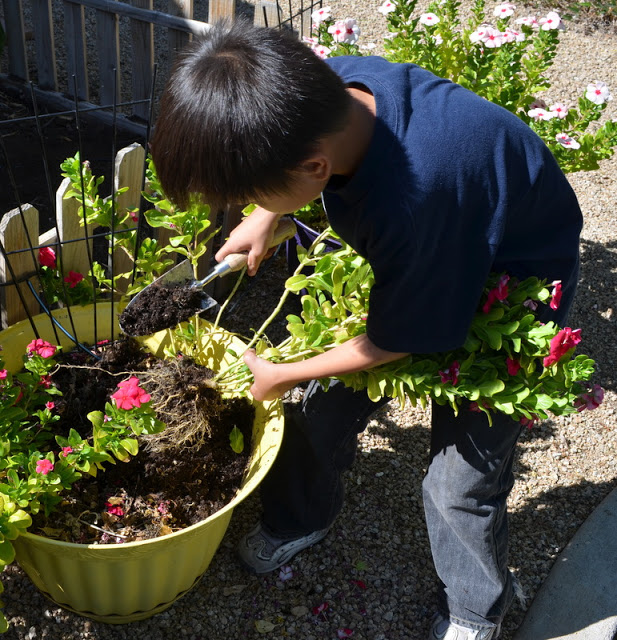
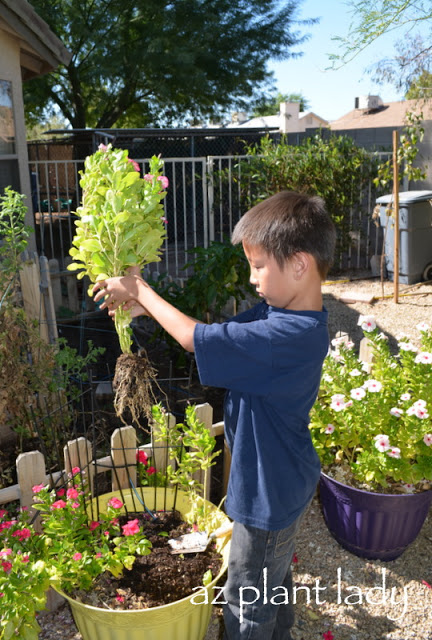
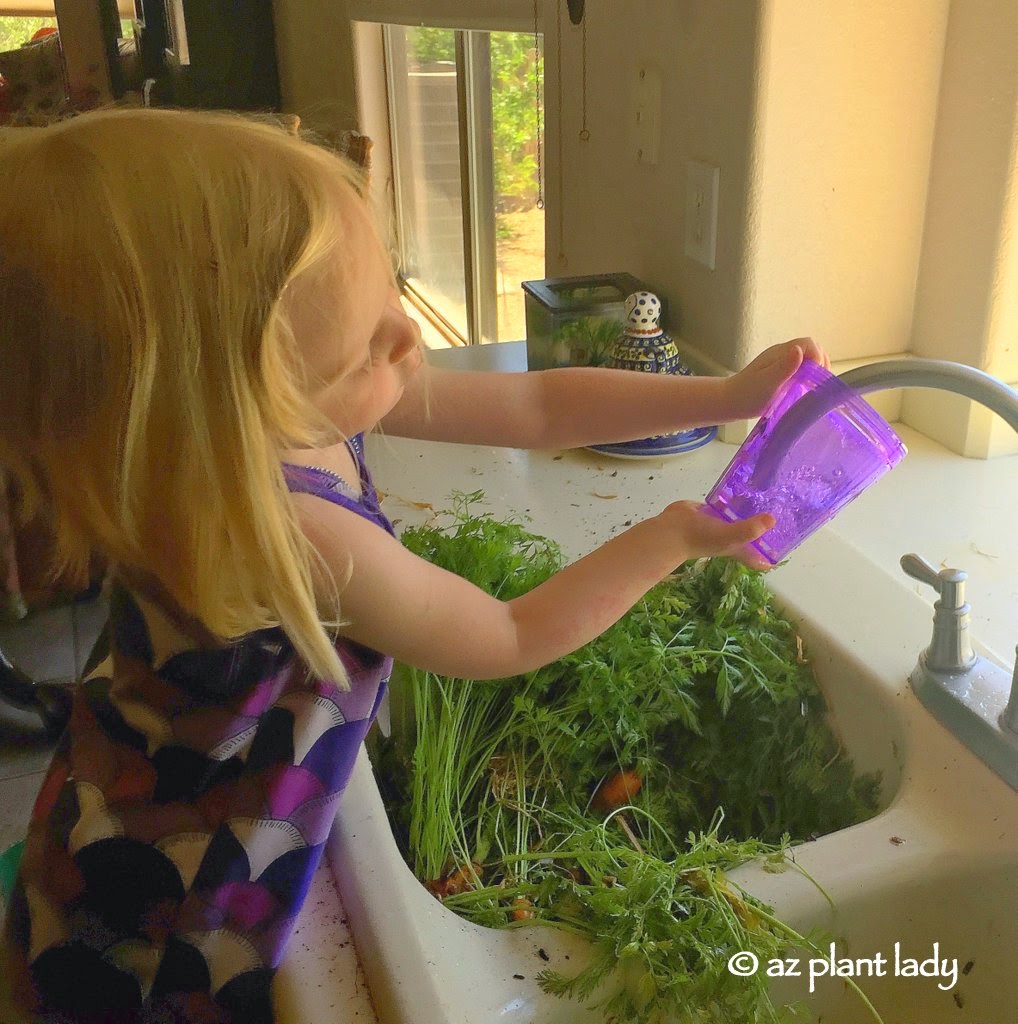
Meet Lily: A Gardening Companion

This is my granddaughter Lily who loved to help me in the garden when she was little. She was always a willing helper when it came time to harvest vegetables from my garden.

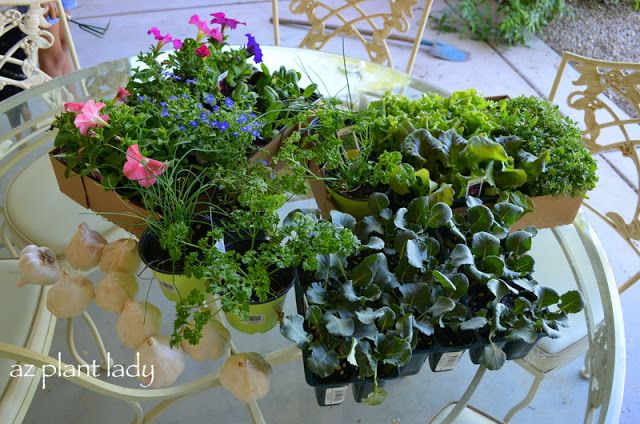
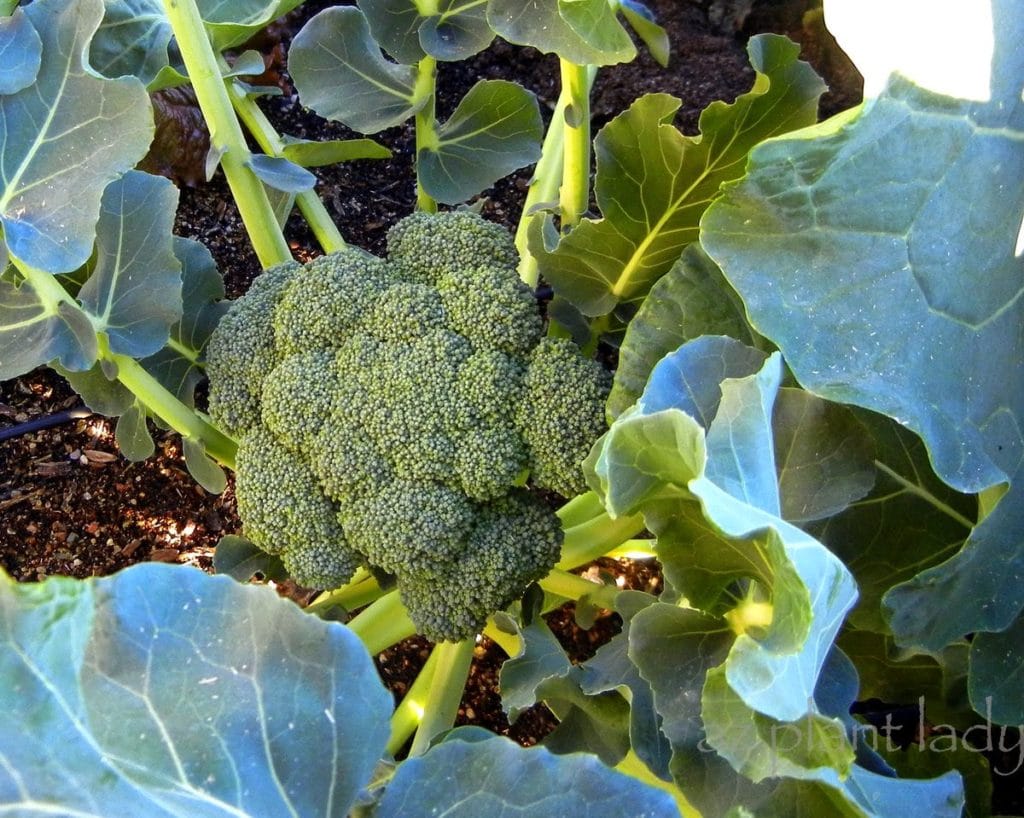
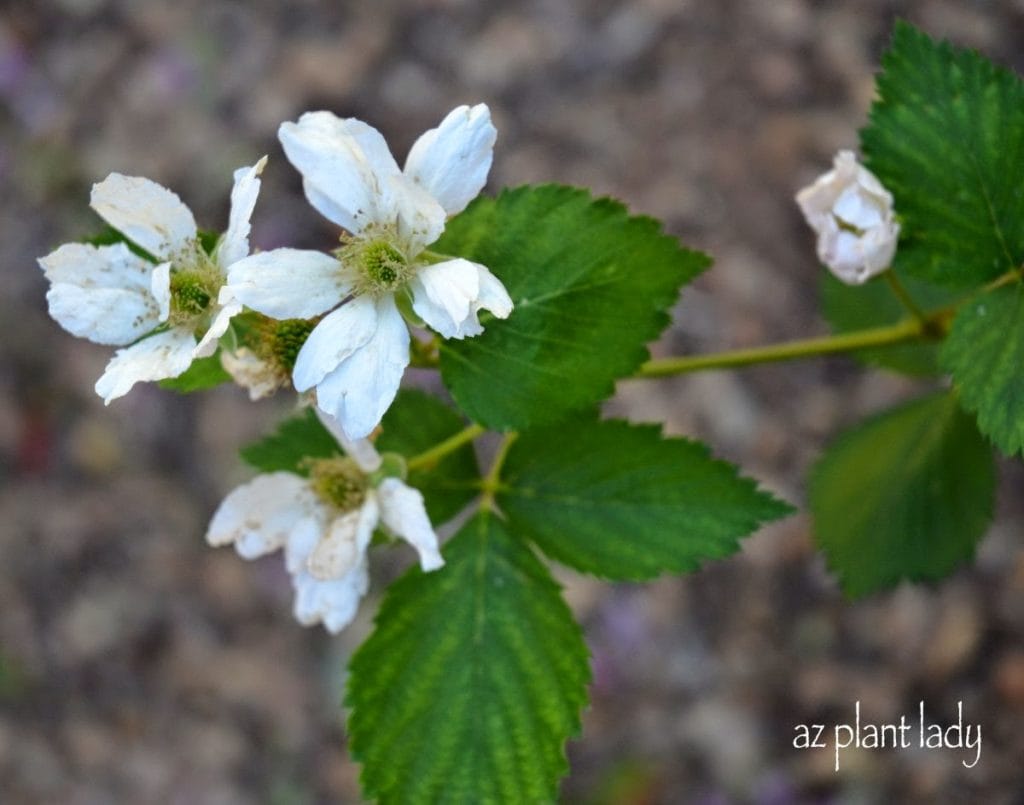
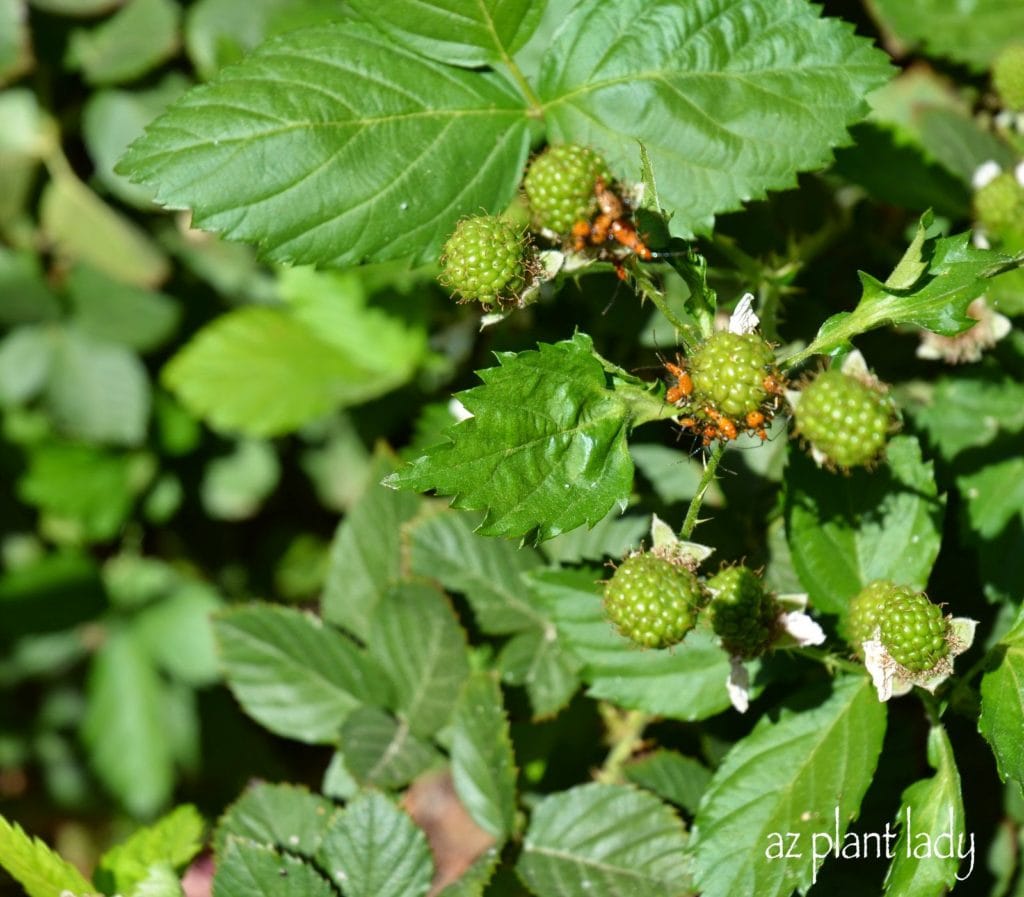
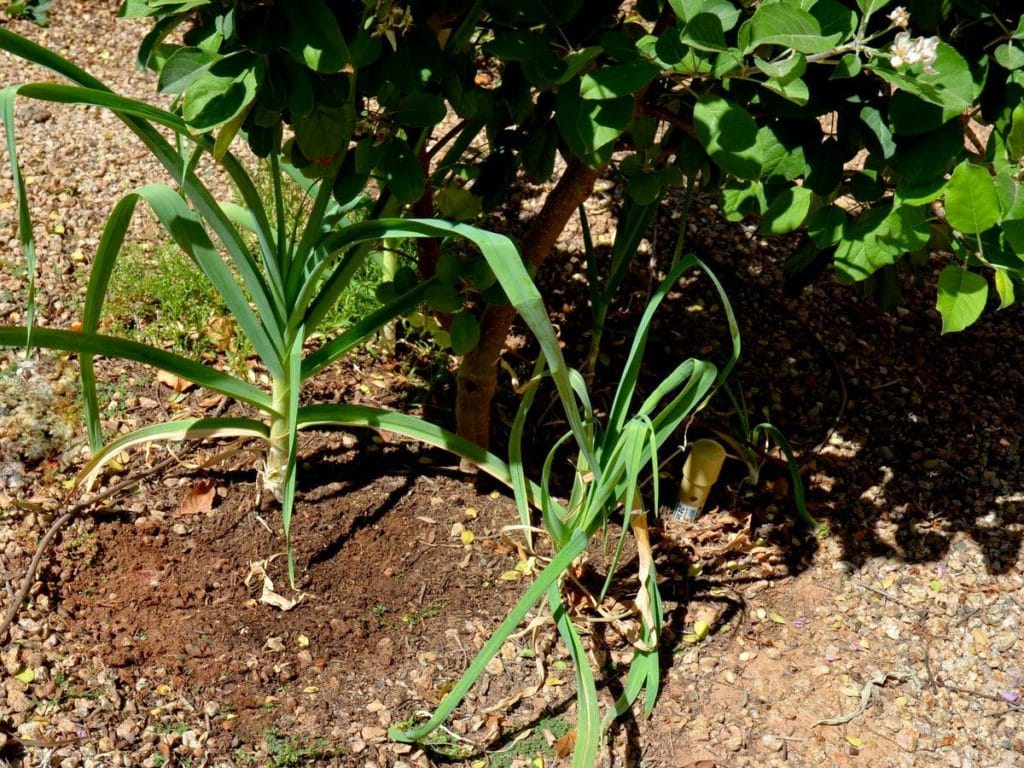
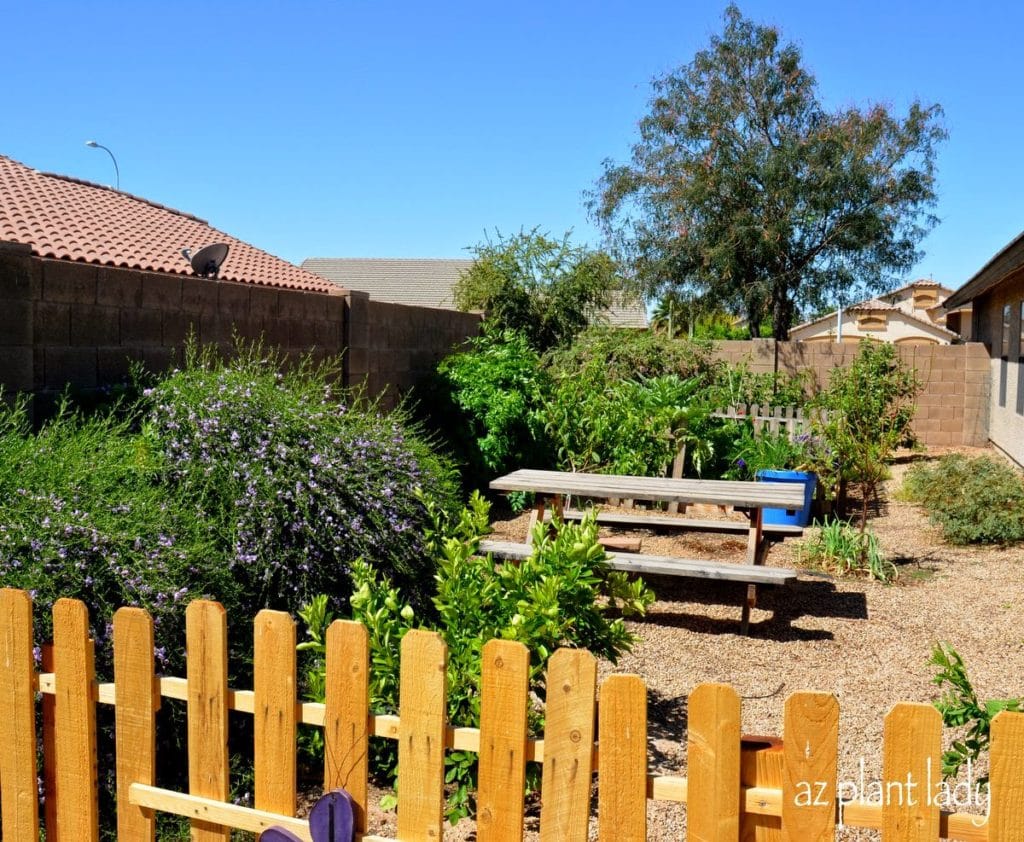
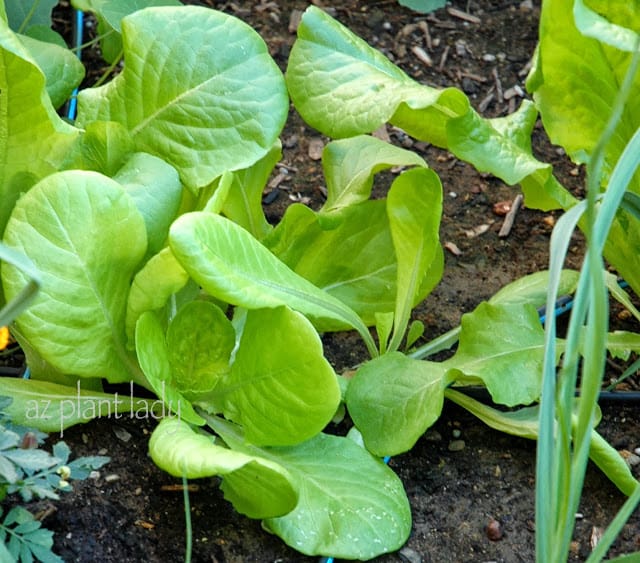
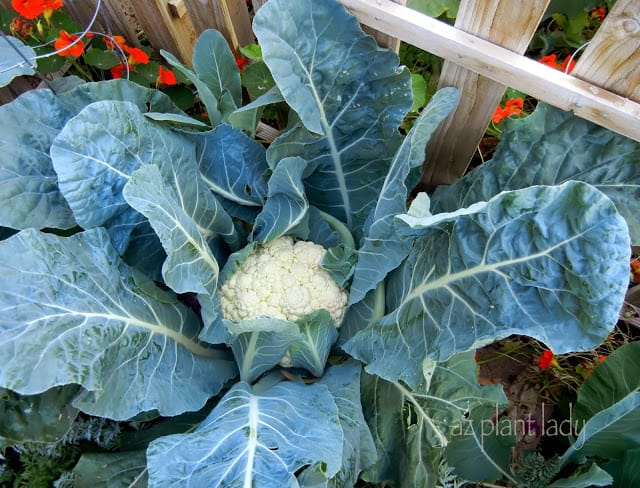
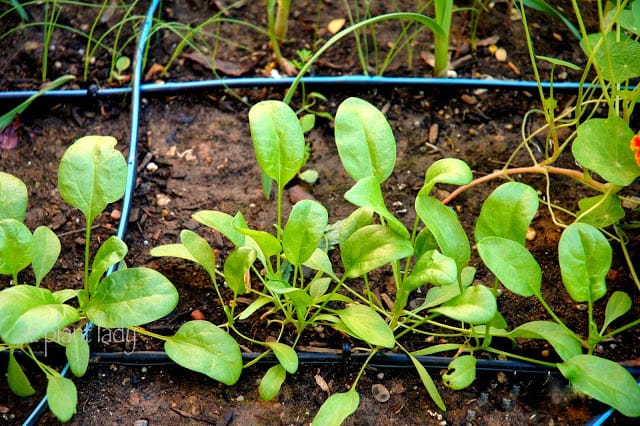
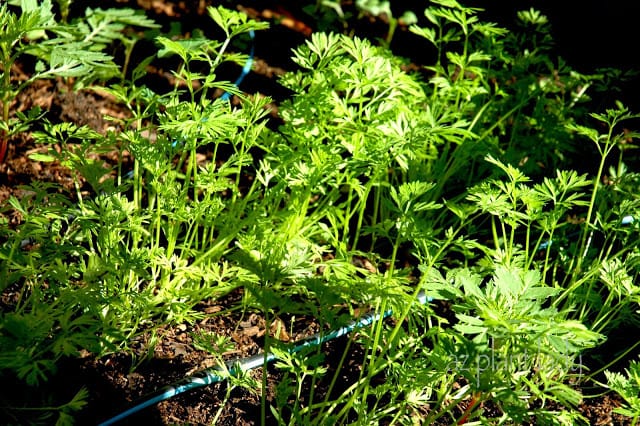
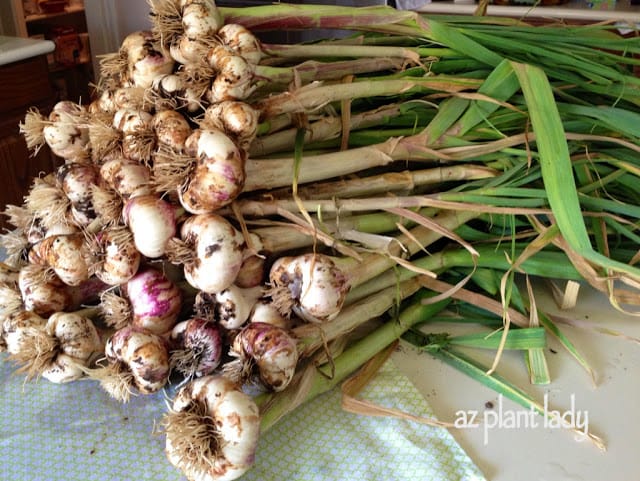
Toward the end of spring, it was time to harvest the last head of broccoli, pick the carrots, pull the garlic, cut parsley, and harvest the first of our blackberries.
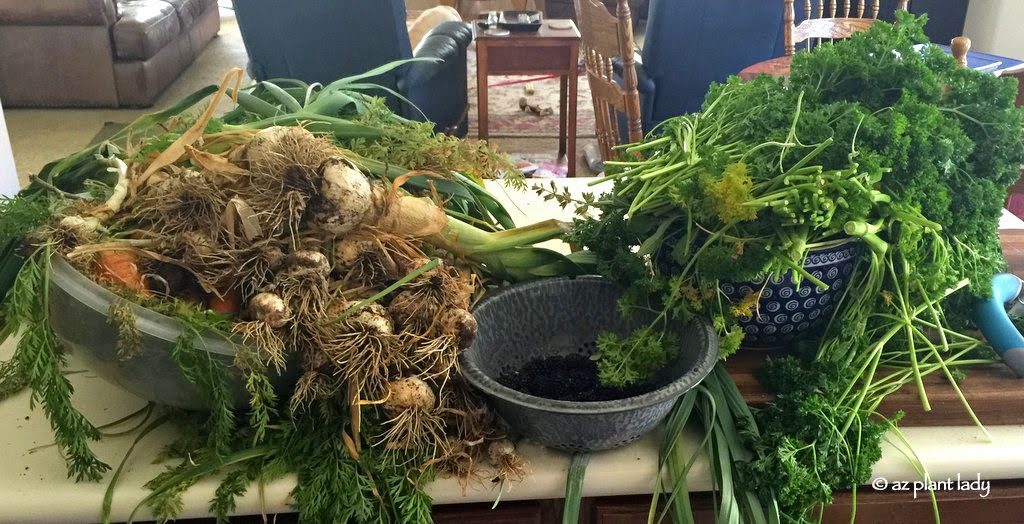
The Dirty Secret of Vegetable Gardening

The Real Harvest

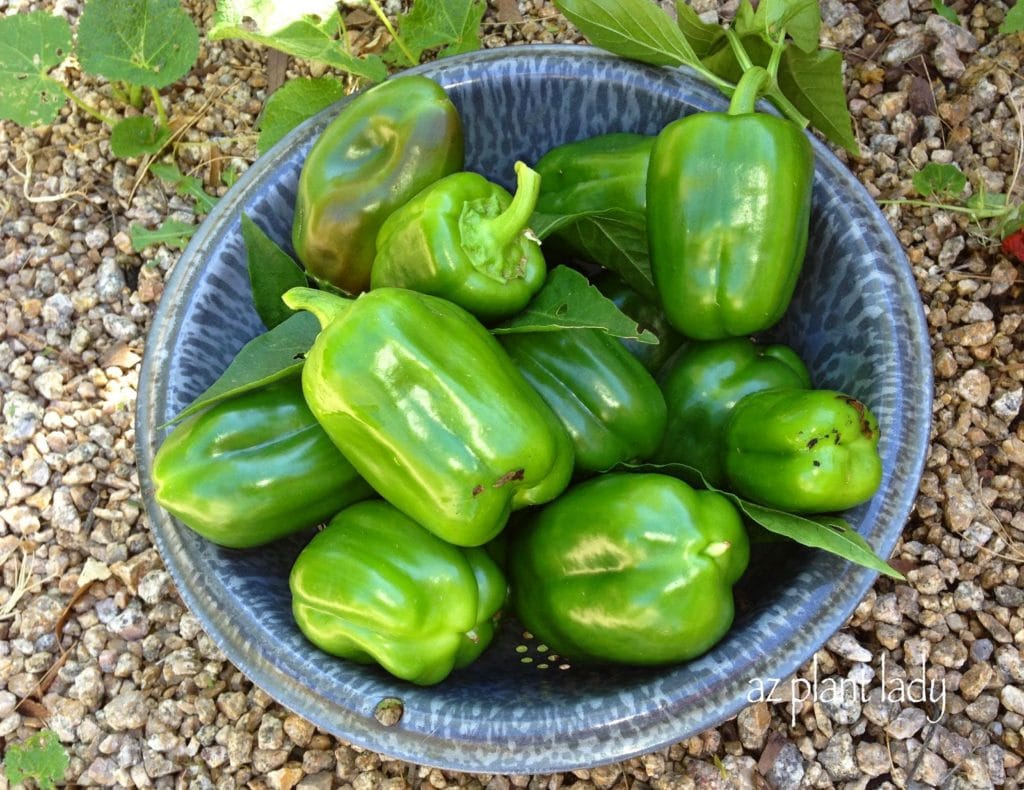
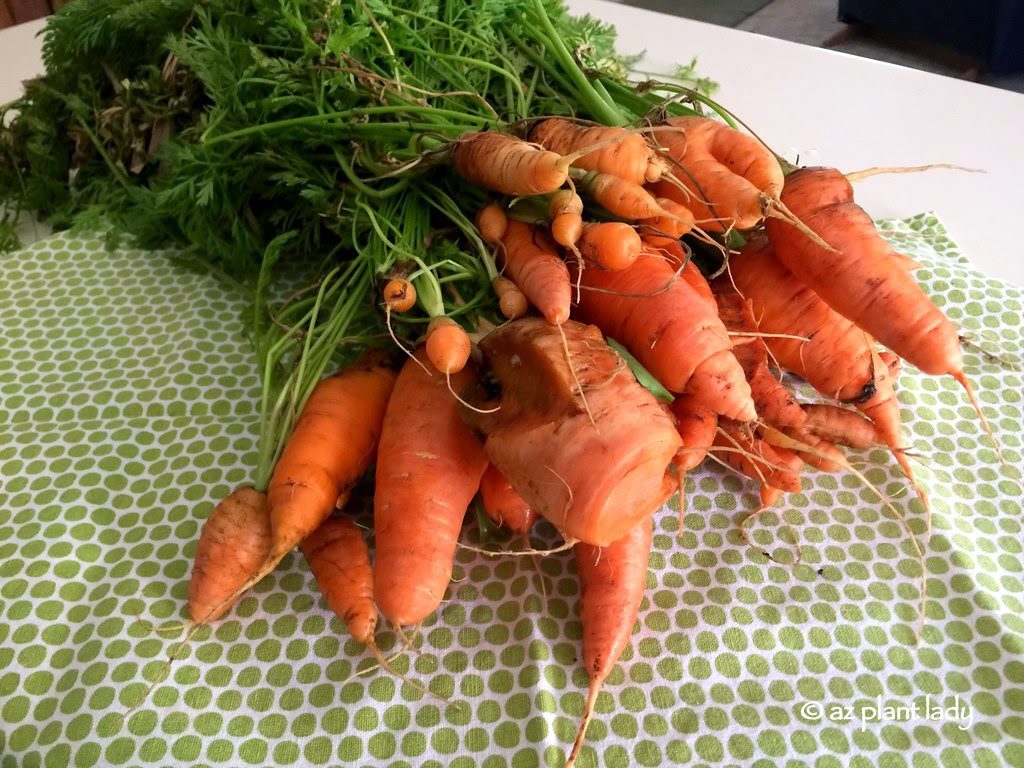
This is what our harvest looked like. Not particularly photo-worthy for a magazine or social media, is it? But, this is the reality of what it looks like.

'secret' about vegetable gardening.

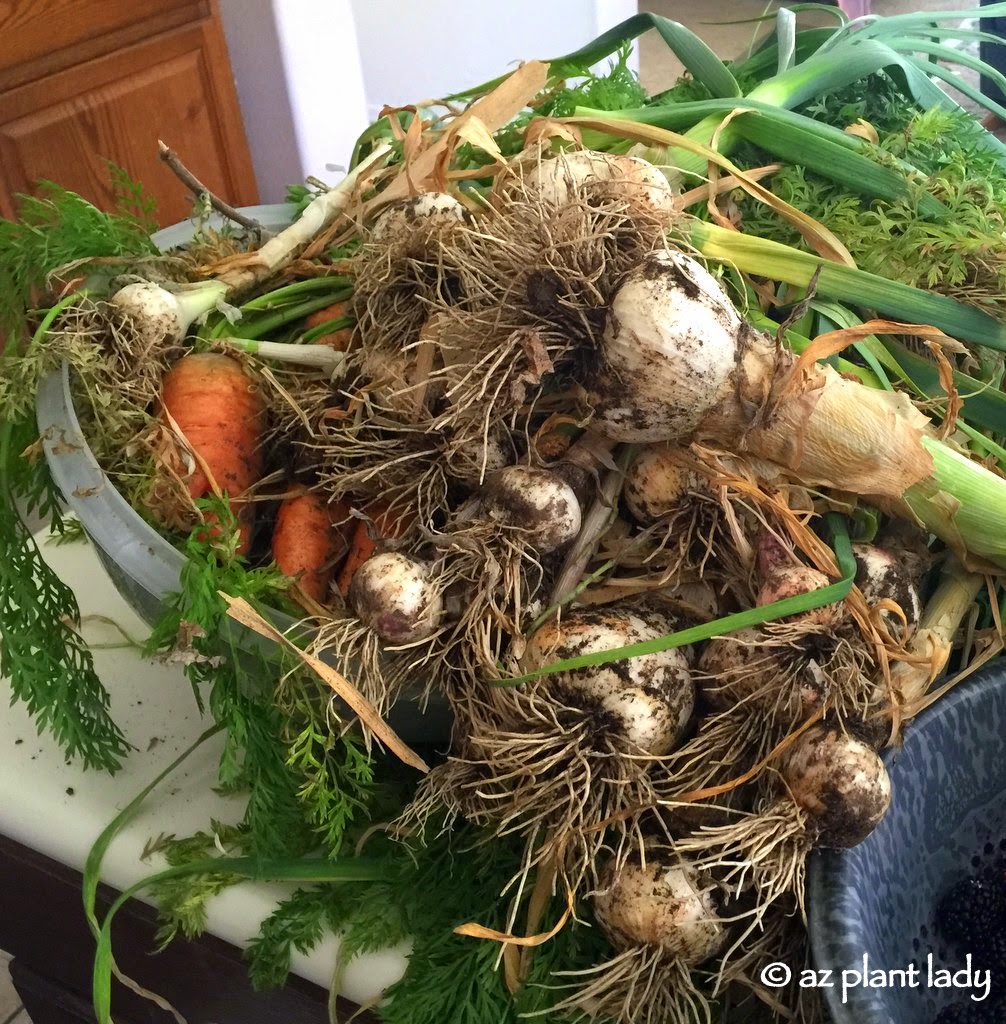
The Dirty Secret: Vegetables Grow in Dirt

If you haven’t guessed the secret about vegetable gardening – it’s that it is DIRTY!

The Dirty Secret of Vegetable Gardening

Think about it – vegetables grow in the dirt.  They don’t come out clean.  In fact, it can take a while to clean the dirt away.

Lily was excited to help me clean the vegetables, so she would fill her ‘My Little Pony’ cup over and over and pour them over the carrots. 

 harvested vegetables leave

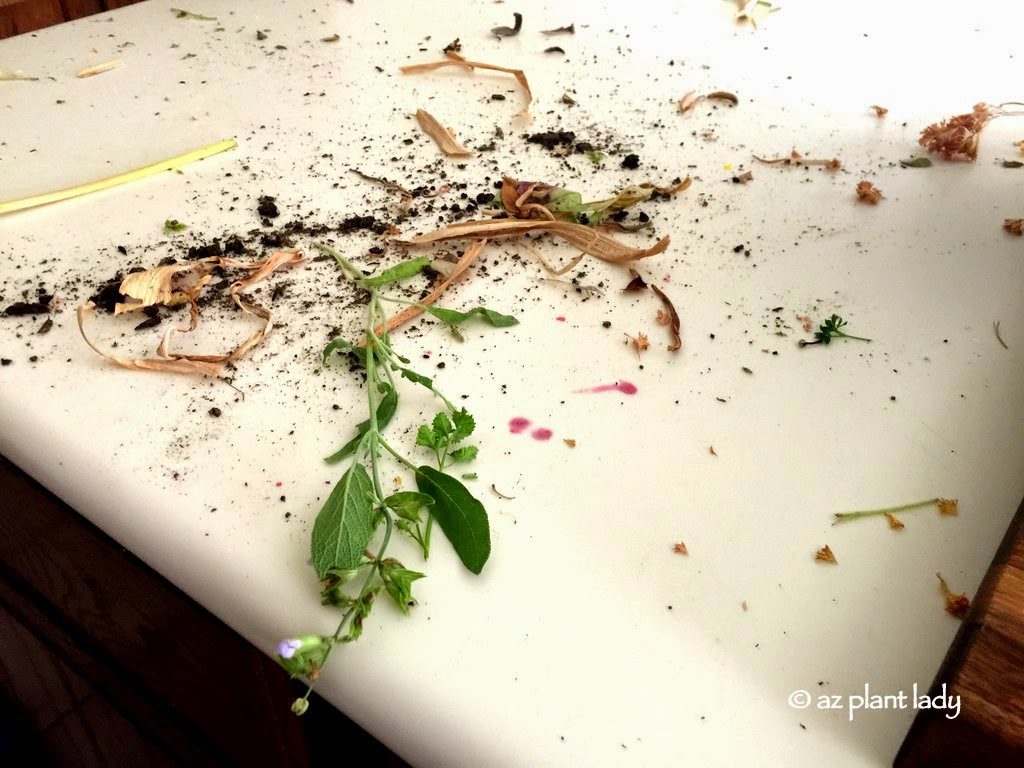
In fact, freshly harvested vegetables leave dirt behind on counters, floors too!

clean garden tools and spotless gloves

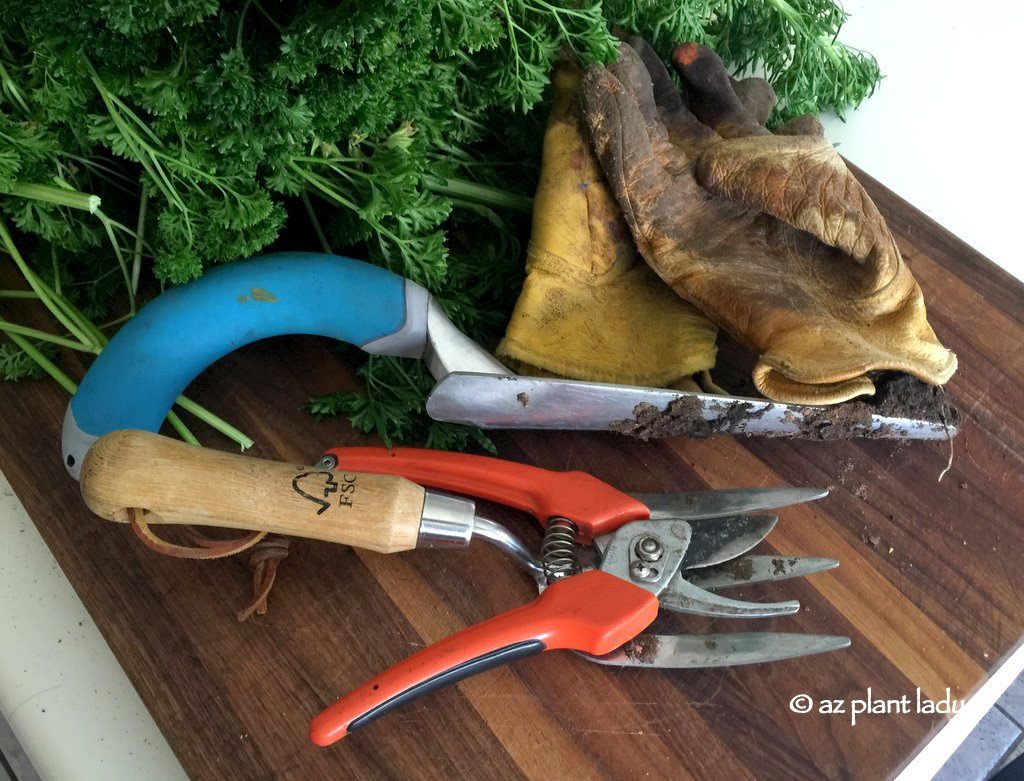
And those shiny, clean garden tools and spotless gloves? They don’t exist in a real garden.

Now, here is another secret of vegetable gardening…

The Dirty Secret of Vegetable Gardening

The Imperfect Shapes and Sizes are Normal

“Not all the vegetables are the same size and come out unblemished.”

The Dirty Secret of Vegetable Gardening

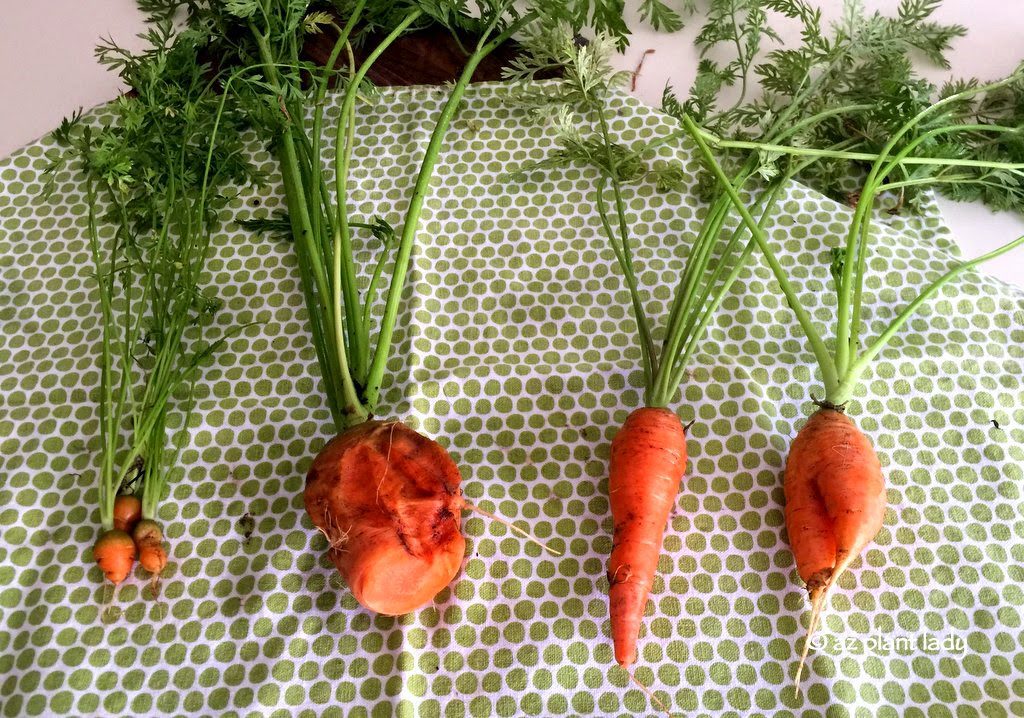
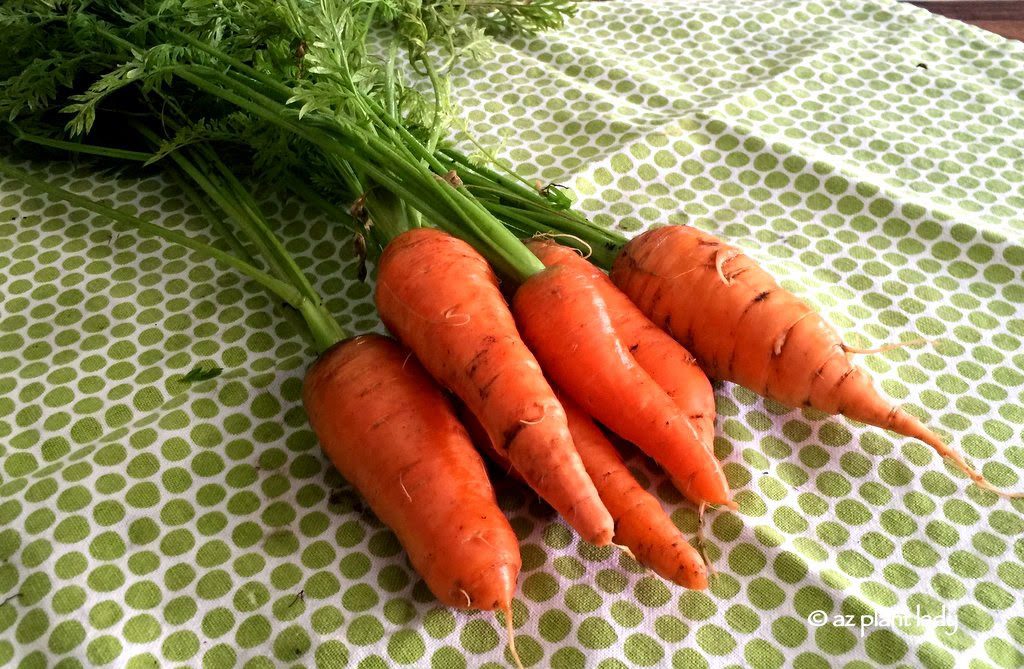
Here are four carrots that I harvested from the same garden.  As you can see, they are all different sizes.

The tiny ones, came from an area where I accidentally dropped a small pile of seeds. The large one was a result of an area in the garden that received too much water and the carrot was so big that it broke off as I attempted to pull it out.  

The Dirty Secret of Vegetable Gardening

Of course, any decent photo would display only the ‘normal-sized’ carrots – but that is not necessarily the truth of what a real garden harvest would look like.

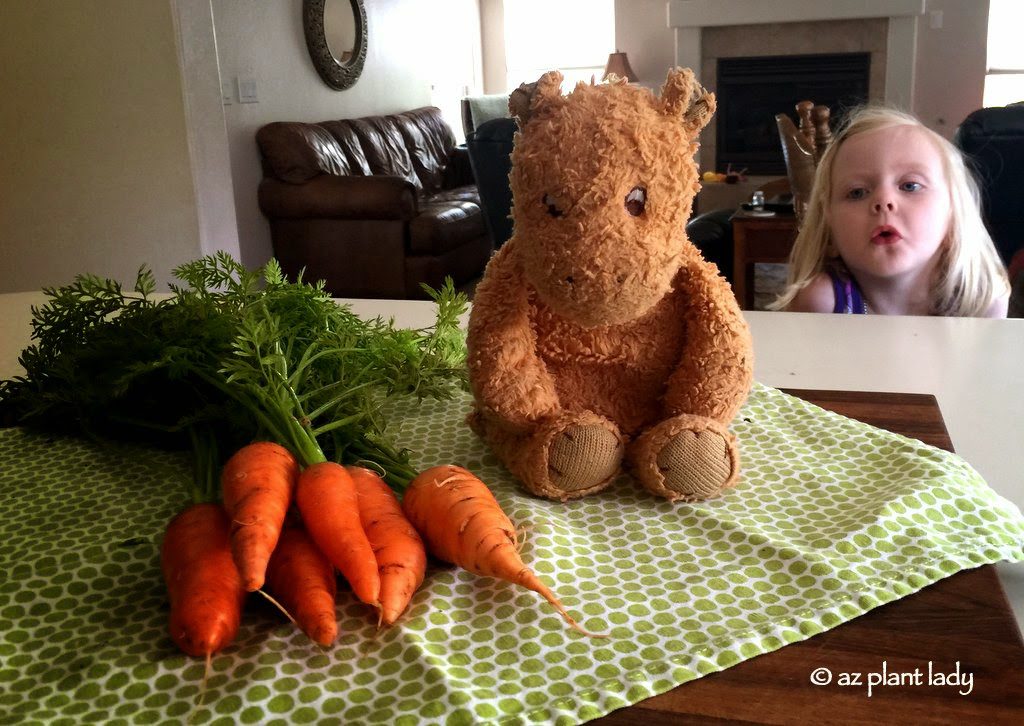
Lily’s Tigger was excited to try some carrots.
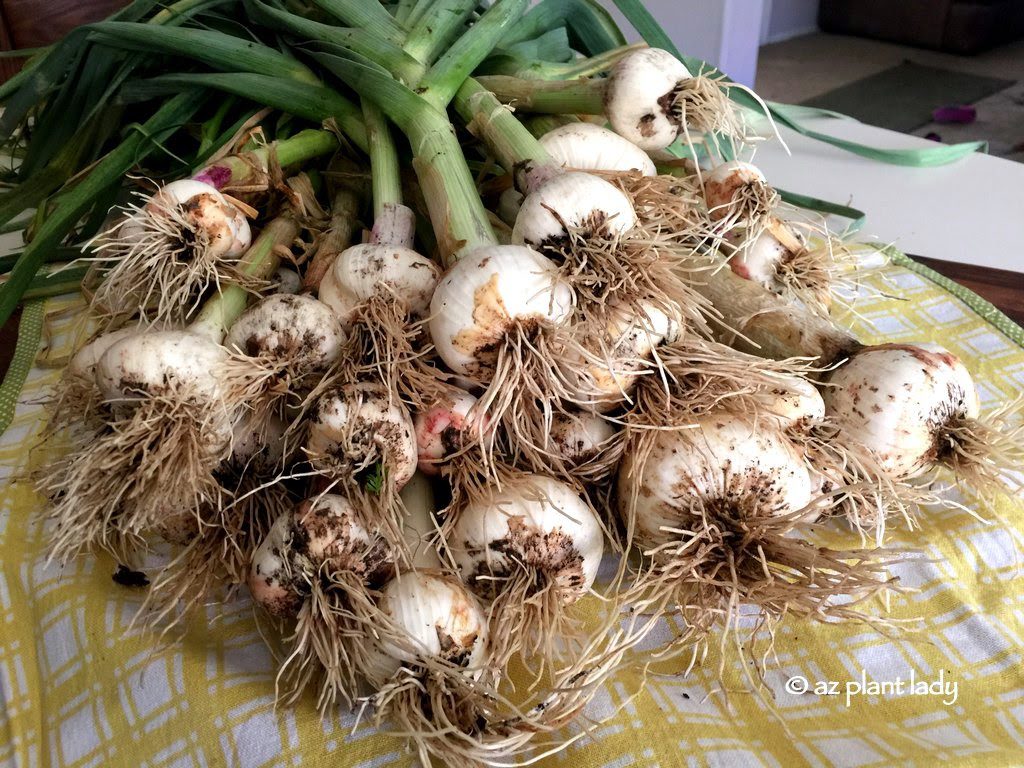
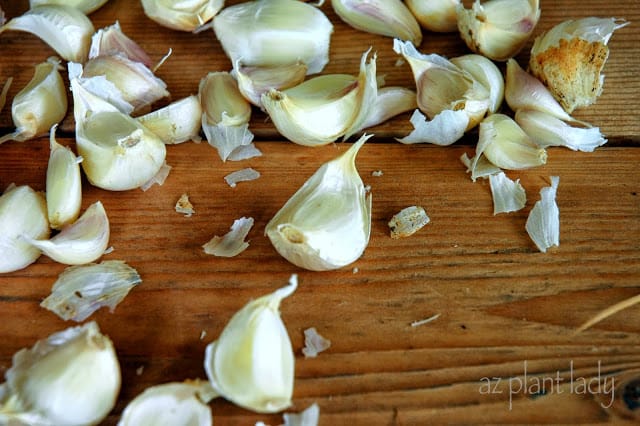
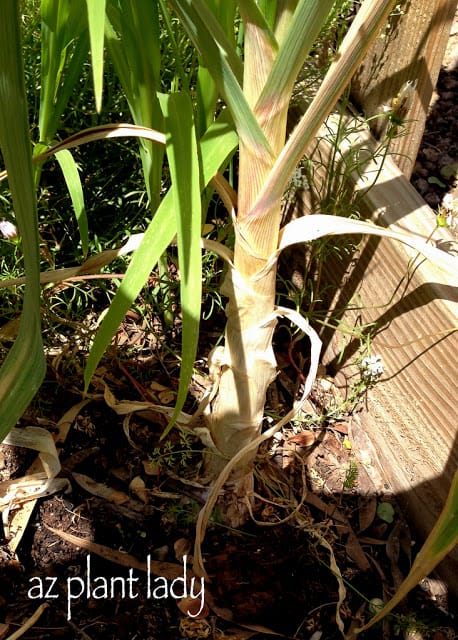
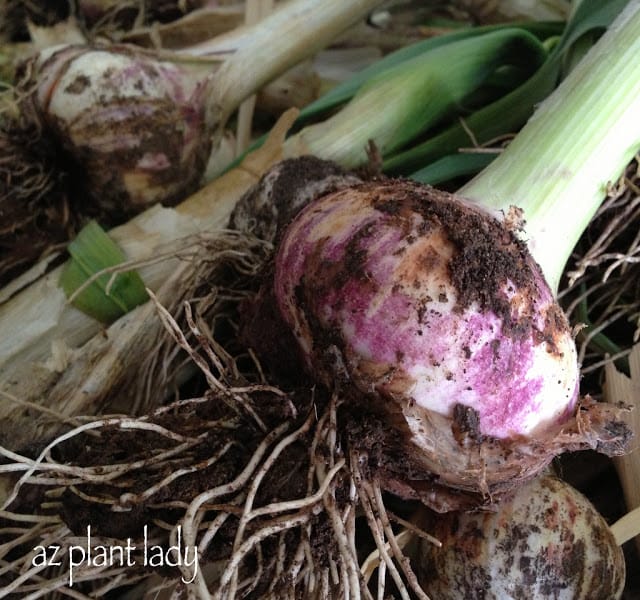
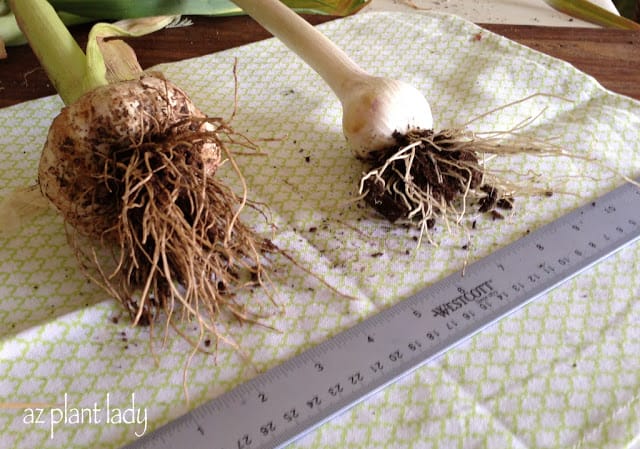
crop of garlic

Garlic of All Sizes

Here is another example. Our crop of garlic was bountiful. But, notice that there are not all uniform sizes.

crop of garlic

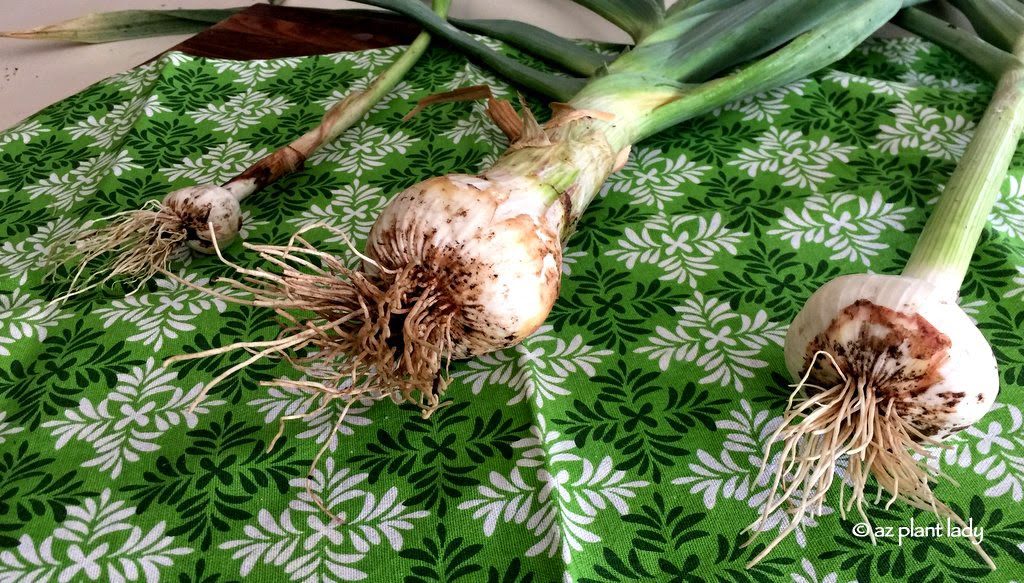
While the majority of the garlic harvest is made up of normal-sized garlic heads – there are some very small and some giant heads.

The Illusion of Garden Perfection

But of course, that is not what you see when people typically show off their garden harvest – especially when they are to be photographed.

First, only the most attractive vegetables are shown – ones with no blemishes and uniform size. Second, all the dirt is removed. And finally, the decorative dish towels come out for an attractive background.   

The Dirty Secret of Vegetable Gardening

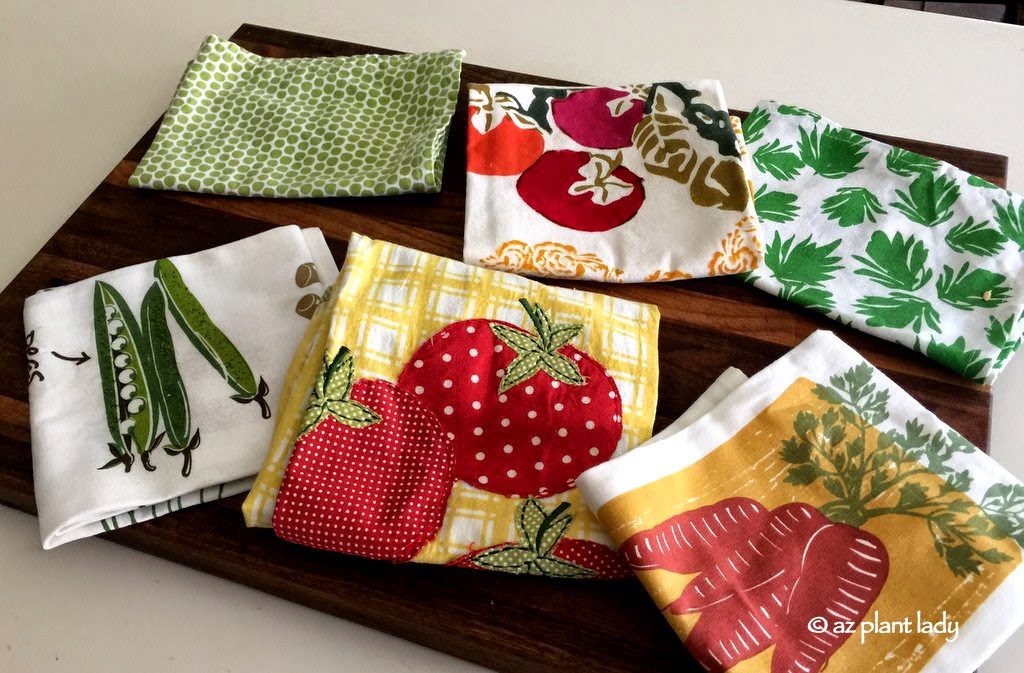
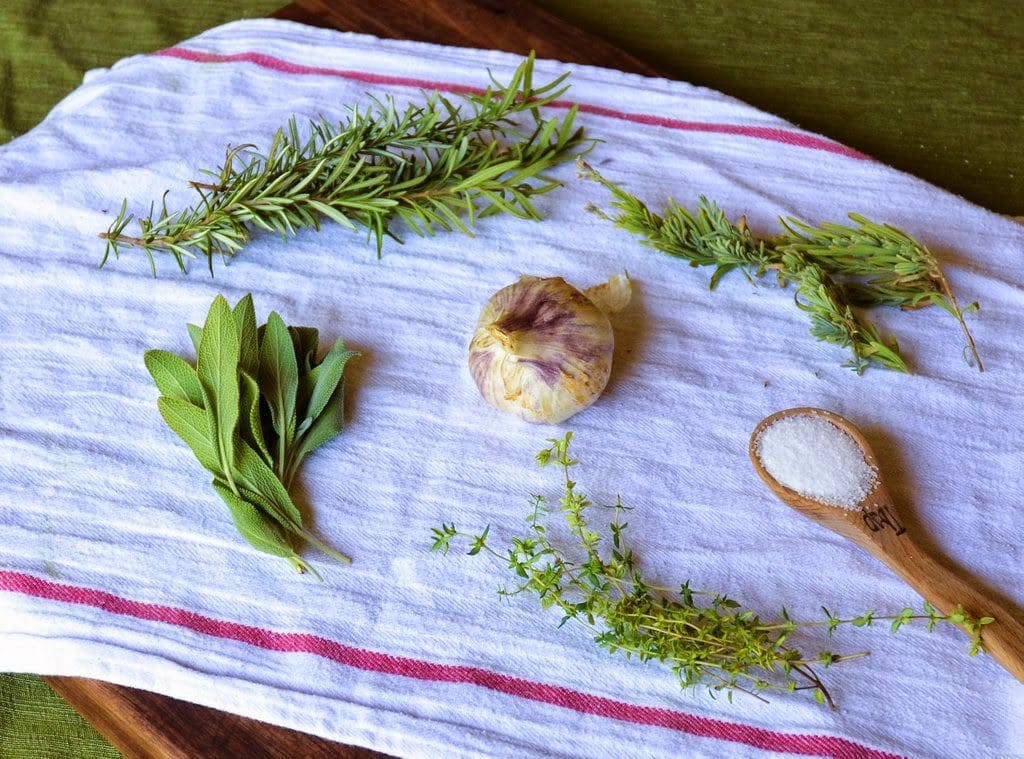
I have several decorative dish towels that have never seen a dish and I use them when I photograph vegetables, herbs, etc.

The Dirty Secret of Vegetable Gardening

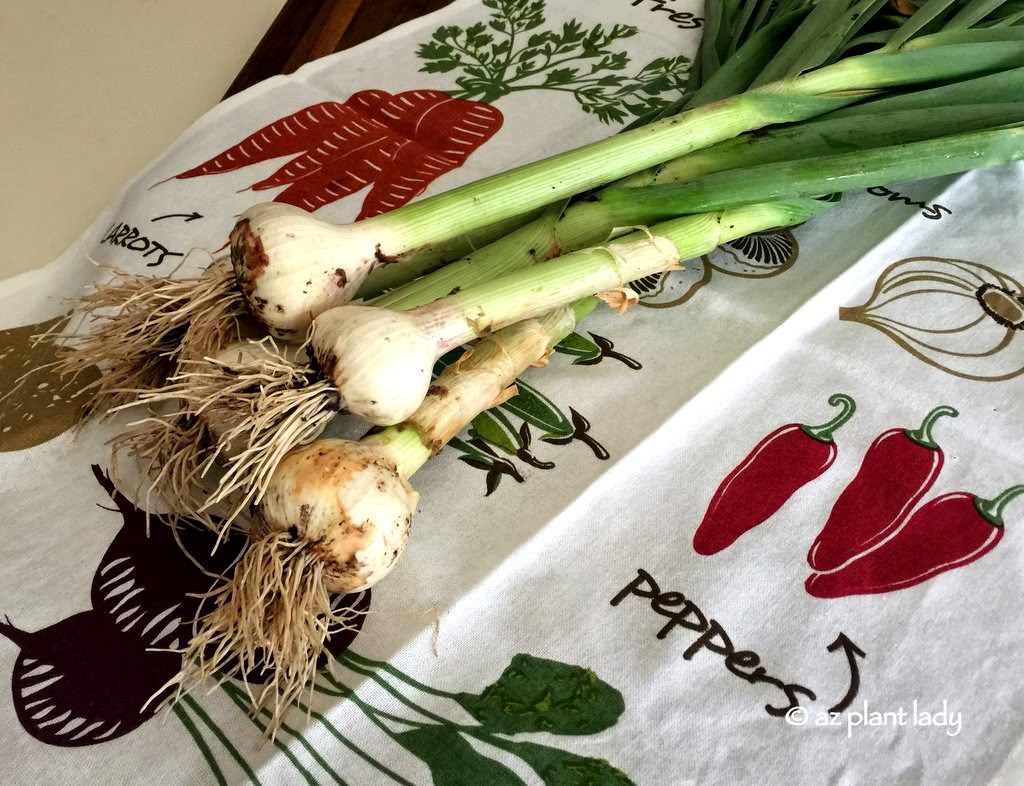
Here is my ‘perfect’ garlic harvest. What is interesting is what you DON’T see. All of them are nicely shaped, roughly the same size, and most of the dirt is gone. This is NOT what they look like when they come in from the garden.

The Dirty Secret of Vegetable Gardening

The Best Advice is to Embrace Imperfection

So remember that vegetables aren’t perfectly clean, they may have blemishes and come in all sizes and shapes. So, when you harvest vegetables, don’t worry about perfect-looking vegetables. Remember, it’s the taste that matters!

My Secret Vegetable Gardening Tool…

UPDATE: This blog post originally was published six-years-ago, and I still like to grow vegetables in pots. It’s hard to believe that my garden helper is now 16 years old and driving a car!

I hope you enjoy it!

I started growing vegetables in pots earlier this year, and it was so easy and the vegetables so delicious AND attractive that I had to do it again.

Last week, my mother took my youngest kids to the nursery and picked up some plants for me.

Grow Vegetables in Pots!

You know what?  This is one of the happiest sights in my world 😉

My son, Kai was anxious to pull out the existing plants from our pots.

Grow Vegetables in Pots!

All my summer vegetables had been pulled a while ago, and all that was left was the Vinca that I had planted.  I realize the vinca looks a bit yellow and I admit that I didn’t fertilize them enough (I kind of hibernated inside this summer.

Kai got to work at pulling out the flowers.

Grow Vegetables in Pots!

He used the hand shovel to loosen the roots so he could pull out the vinca.

Grow Vegetables in Pots!

Then he used the shovel to ‘bang’ the root ball to loosen the soil back into the pot.  You don’t want to ‘throw away’ good soil by leaving it around the roots of plants you are pulling out.

Grow Vegetables in Pots!

I think Kai did a good job getting all the soil out of the roots, don’t you?

**Vinca will over-winter in my zone 9 garden, but will not flower much.  I prefer to treat them as an annual.

Now for the fun part – planting!

I added some more potting mix (not potting soil, which can get soggy), mixed with some compost to each container.

Then each pot was planted with a combination of green leaf lettuce, purple leaf lettuce, garlic, spinach, dill, parsley, nasturtium seeds, and petunias.

Grow Vegetables in Pots!

In just a few weeks, the lettuce and spinach will be ready to start clipping the leaves for salads.  The garlic cloves that I planted will form whole heads of garlic, which will be ready in late spring.   

I will start snipping off dill and parsley soon as well.

creating edible container garden

Garlic, leaf lettuce, spinach, parsley, and petunias

Flowers look great when planted with vegetables, and I always include some.  Nasturtiums are easy to grow from seed, and their leaves and flowers are edible.  Petunias (and nasturtiums) are great companion plants for vegetables because they help to control damaging insects from eating your vegetables.

Do you want to grow vegetables in containers?

Here is more information on how to do it…

“Vegetable and Flower Containers”

I hope you try growing vegetables in containers as much as I do!

Newly Planted Vegetables

*This blog post contains affiliate link for a product that helps get rid of caterpillars. If you click through and make a purchase, I may receive a commission (at no additional cost to you). Thanks for your support in this way.*

Fall is a busy time for me in the garden.  However, you will usually find me in other people’s gardens helping them achieve their goal of a beautiful, low-maintenance garden. I did manage to get my cool-season vegetable gardens planted.  I planted my favorites, which include carrots, cauliflower, garlic, a variety of leaf lettuces and radishes.

my mother's garden)

I included broccoli in my list of vegetables this year, despite the fact that I have yet to grow a healthy head of broccoli (the broccoli in the photo above is from my mother’s garden).

Every year, I grow beautiful cauliflower while my broccoli decides to produce very few flowering stalks.  At the end of the season when I look at my less than stellar broccoli harvest – I promise myself that I won’t try again.

But, after 6 months pass, I am always tempted to try again hoping that this year will be different.

With the exception of carrots and radishes, I planted all of my other vegetables from transplants.  Normally, I almost always use seed, (with the exception of broccoli and cauliflower, which do better when grown from transplants) but I knew that I wouldn’t have time to come out and thin excess plants later.

Newly Planted Vegetables

This smaller vegetable garden is closer to my kitchen and so I put in vegetables that I would harvest more frequently throughout the season in this area. Leafy greens such as lettuce, Swiss chard, spinach and kale all went in here.

The larger garden is a bit further away and so it was planted with broccoli, cauliflower, carrots, garlic and radishes, which are harvested once.

My artichoke plant from next year died back to the ground in the summer, (which is normal by the way) and is now growing again.

bell pepper plant , Newly Planted Vegetable

In addition to my artichoke, my bell pepper plant is also a holdover from last year’s garden.  Actually, it is 2 years old.  Although pepper plants can die from freezing temperatures, I protect mine when the temps dip below freezing, so they are qutie large and produce a lot of peppers much to the delight of my husband and children who like to eat the bell peppers raw.

bell pepper plant

I also dice them and freeze them for using in my favorite Mexican rice recipe.

I’ve already had to spray my leafy greens with BT (Bacillus thuringiensis) to deal with the caterpillars that had started to eat holes in the leaves.  It worked great, but I will need to reapply every once in a while. I use Safer Brand 5163 Caterpillar Killer II Concentrate, 16 oz.

Nasturtiums ,

Nasturtiums are coming up again from seed in the gardens.  I just let them go to seed each year and they always come back.  I use nasturtiums in my vegetable gardens because they repel bad bugs.  Besides, they look pretty, don’t you think?

Nasturtiums

Nasturtiums aren’t the only flowers in my vegetable gardens – marigolds are also great at keeping damaging insects at bay.  This year, I planted a marigold at the end of each row of vegetables.

I love how their orange flowers brighten up the garden in the middle of winter.   Marigolds and nasturtiums are just a few of the flowers who actually help vegetables.  For more information on other plants to include in your vegetable garden you can visit my previous post, “Even Vegetables Need Friends”.

weed

I am having a problem in one of my vegetable gardens that began this past summer – spurge!  I have come to truly hate this creeping weed and it has decided to move from the nearby landscape areas into my vegetable garden.

It got pretty bad last summer and we ripped it all out.  To help combat it, we added 4 inches of compost/manure, which did help to smother some of the weeds.  But, some are still coming up.  So, I go out every week and spray them with my homemade weed killer, taking care not to spray my vegetables by accident.

You may see homemade weed killers that list salt as one of the ingredients.  DON’T add salt to weed killers – especially if you live in the desert Southwest. Our soil and water already has a lot of salts in them and adding more is not good for your plants – in fact, too much salt can kill them.

Homemade weed killer made from vinegar and soap works just fine on most weeds, except for the really tough ones.

Have you planted a vegetable garden this year?  What are you growing?

I am always on the lookout for new things to make from the garden.

Recently I learned how to make specially flavored salts using herbs from my garden.  ‘Herb salts’ have become a popular flavoring tool in the culinary community and they are very easy to make.

The process of making herb salts starts out looking like this…

making herb salts

And ends up transformed into this…

making herb salts

Are you interested in making your own herb salts?   

Summertime means that many of my herbs are actively growing and I sometimes run of ways to use all of the fragrant leaves of them.  

Herb or ‘gourmet’ salts are a great way to preserve herbs while adding a new twist to flavoring my favorite foods.

Basil Salt

Photo: Basil Salt

In my last post, I shared how to make basil salt using two ingredients – fresh basil leaves and kosher salt.  

Today, I’d love to show you how to make your own unique herb salt blend.

DIY Herb Salt Blends From the Garden

For my herb salt blend, I went out into the garden and looked for a variety of herbs that I love to cook with.  I found rosemary, sageand thyme. I then grabbed a head of garlic and kosher salt. I must admit that I was thrilled that I had all these herbs growing in my garden.  I grew the garlic too! 

For equipment, you should have a cutting board, a sharp knife for chopping, a baking sheet and a glass jar with a lid.  

You can make this recipe using a food processor, but it is optional.

DIY Herb Salt Blends From the Garden

1. You will need 2/3 cup rosemary, 2/3 cup sage and 2/3 cup thyme leaves.  These are the amounts I used to get the flavor I liked, but you can play around with the ratio of each herb or choose different herbs to get the flavor you want.  

DIY Herb Salt Blends From the Garden

2. Place 1/2 cup kosher salt on your cutting board and add 5 peeled garlic cloves and chop them together.  The garlic should be finely minced at this point.

DIY Herb Salt Blends From the Garden

3. Chop all of the herbs together.

DIY Herb Salt Blends From the Garden

4. Combine the salt/garlic and the herbs together and continue chopping until finely chopped.

**You can use a food processor for steps 3 & 4 instead of chopping.  Simply put all ingredients in at once and pulse for 30 seconds. 

 herb salt

At this point you can use your herb salt to flavor a roast of beef, chicken or pork before cooking or to flavor roasted vegetables.  But, if you aren’t using the herb salt right away, continue on…  

DIY Herb Salt Blends From the Garden

5. Put your herb salt mixture onto a baking sheet in a thin layer and bake in a 200 degree oven for 30 minutes.  This step dries out the herb mixture.  You can also allow it to air dry over a couple of days instead of putting it into the oven.

DIY Herb Salt Blends From the Garden

6. Place your dried mixture into a food processor and pulse for 30 seconds to get rid of any lumps.

If you don’t have a food processor, you can put the dried mixture into a Ziploc bag and roll it with a rolling pin until it is finely ground up.

Herb salts

7. Put your herb salt into a glass jar with a tightly-fitted lid.  Store in a dark, dry place with your spices and dried herbs to preserve its flavor.

I will use my herb saltblend to flavor a pork loin, baked chicken or even a beef roast.  It would also taste great when sprinkled on roasted vegetables or put into soups, don’t you think? 

As you can imagine there are a number of different types of herb salts that you can make.  Here are a few different combinations that you might want to try:

Rosemary Sage Garlic Salt

Photo: Rosemary Sage Garlic Salt

All of these herb salt blends can be made following the same steps as I have done for my herb salt blend – except where noted.

Rosemary Lemon Pepper Salt – 1/3 cup rosemary leaves, 2 tablespoons lemon zest, 1 teaspoon freshly ground black pepper and 1/2 cup kosher salt.
*(Increase cooking time to 1 hour)

Rosemary Sage and Garlic Salt – 1/2 cup of rosemary leaves, 1/2 cup sage, 5 peeled garlic cloves and 1/4 cup kosher salt.

Sage Thyme and Garlic Salt – 1/2 cup sage, 1/2 cup thyme, 5 peeled garlic cloves and 1/4 cup kosher salt.

If your garden is filled with herbs, this is a creative way to use them in the kitchen or give them as gifts.  Even if you don’t have a garden filled with herbs, you can find fresh herbs at your local grocery store or farmers market.

So, how about you? What would herb(s) would your ideal herb salt contain?

Springtime in the garden

Springtime in the garden is my favorite time of year.

Cool-season flowers are still in bloom while summer-bloomers are getting started.  The garden is awash in colorful flowers, vegetables, young fruit AND a few bugs and suckers.

I have two areas in my backyard where I grow edible plants.  Today, I invite you to take a tour of the largest edible garden, which is located along the side of my house.

Apple trees

Apple trees – April 2014 

At the back of the garden, are two apple trees that I planted last year.

They have grown so quickly.  This is what they looked like last year…

Newly planted apple trees

Newly planted apple trees – February 2013 

What a difference!

I’ll admit that this area looks rather barren.  There used to be flowering shrubs up along the wall, which we took out in order to plant edible plants.  

small apples forming

Usually, you have to wait a few years before you apple trees will produce fruit, so I was very surprised to see small apples forming.

apples

This is what they look like now.  The apples will ripen in June and I am all ready to make homemade applesauce, which tastes so much better then store-bought.

I wrote a post about how to make applesauce, which you can view here.

Blackberry flowers

Blackberry flowers 

Against the wall, behind the apple trees, are a row of blackberry bushes.

One of my favorite childhood memories are those of the blackberry bushes we had growing in our backyard in Southern California.  We would try to pick all we could before our dog would eat them.

Blackberry bushes are surprisingly easy to grow and there are thornless varieties available.  Unfortunately, some of my blackberry bushes are not thornless;-)

They are covered with flowers and small fruit.  BUT, I also saw something else on my berries…

few of my berries

Orange/black bugs covered a few of my berries.

I hadn’t seen this type of bug before, so I got to work on researching what these were.  Turns out they are the juvenile form of stink bugs – not good.

Evidently, they are fairly resistant to organic pesticides.  You can pick them off and squish them.

herb container

The chives, garlic, parsley, thyme and sage are doing very well in my herb container.  However, the purple petunia is beginning to fade due to warming temperatures.  So, I will pull it out soon.

Flowering Sage

Flowering Sage 

I don’t add flowers to my herb container during the summer.  I usually let my herbs flower, like my basil and sage.

small peaches

At the same time we planted our apple trees, I also added two peach trees.  I was surprised that this tree produced 19 small peaches just months after we planted it last year – that is not normal.  I used them along with peaches from my mother’s trees to make peach jam.

This year, the same tree has decided to put it energy into growing just 2 peaches – which is normal.  They are huge!  I love to look out my kitchen window and see the fruit slowly ripening.

While admiring the peaches on my tree, I noticed something that did NOT make me happy…

Bugs and Suckers

Can you see what the problem is?  SUCKERS!  And I don’t mean the sweet candy that your grandma used to give you.

Fruit trees are grafted onto rootstock and occasionally, the rootstock decides to send up its own branches.  They are called ‘suckers’ because the ‘suck’ up the nutrients that would otherwise got to your fruit tree.

To learn how to recognize and get rid of suckers, click here.

Bugs and Suckers

Underneath my apple and peach trees, I have garlic growing.  Garlic is a very helpful plant.  In this case, it helps to repel borers, which are beetles that lay eggs on the bark.  After the eggs hatch, the larvae bore their way into the trunk of the tree, often killing it.

Bugs and Suckers

Small fruit is beginning to form on my orange tree.  Like other fruit trees, it can take a few years before producing substantial amounts of fruit.

Our orange tree has been in the ground for 2 years and we got three oranges last winter.  I was so excited that I wrote an entire post about it.  

Bugs and Suckers

Looking toward the vegetable garden, my artichoke plant is busy.  It has 9 small artichokes growing.

I have a confession to make…

I don’t like eating artichokes.

But, the plant itself is very attractive and is often grown as an ornamental because it is a perennial and lives for more then 1 year.

I do have plans for these artichokes though.

– I will cook a few for my husband, who loves them.

– I will dry a few for fall arrangements.

– And, I will allow some to bloom – the flowers are gorgeous!

Bugs and Suckers

The purple violas in my rusty, old watering can will soon fade as the heat rises.

I do not plant anything in it during the summer months because it is too hot.  The soil temperature in small containers, literally ‘cooks’ the roots of plants.  Stick with planting larger pots for the summer and let your smaller containers take a break.

Bugs and Suckers

 At the beginning of this post, I showed you a picture of my edible, side garden from the opposite side, near the wall.

This is the other view, looking in.  Toward the left side, are two ‘Summertime Blue’ Eremophila shrubs.

Can you guess the last time that they were pruned?

3 years ago!

I love these shrubs and their bright-green foliage and purple flowers.  

Bugs and Suckers

Bell-shaped, lavender flowers appear spring through summer.  This is a great ‘fuss-free’ shrub for the garden. It is hardy to 15 degrees and thrives in full sun. A definite must for the southwest garden.

For more information about ‘Summertime Blue’, click here.

************************

Well, that is what is happening in one area of my garden.

I invite you to come back next time, when I will show you my other edible garden, which is in full flower.  *I will also share with you the rest of our adventure when we hosted three young girls for the weekend from the Ugandan Orphan’s Choir.

Earlier this week, I shared with you the four vegetables that I am growing for the first time this year.  I will be sure to share with you how they do as the season progresses.

In addition to my experimenting with new vegetables, I am also growing some favorite cool-season vegetables…

My Vegetable Garden

My favorite cool-season vegetable crop is leaf lettuce.  I love nothing better then being able to step outside to snip off a few leaves to make a dinner salad.

Once you have tasted fresh lettuce from the garden, there is no going back.  Bagged lettuce is a poor replacement.

About 1/3 of my three vegetable gardens are taken up with beautiful leaf lettuce.  I like to grow different varieties of leaf lettuce including Romaine, Buttercrunch, Great Lakes and Black Seeded Simpson lettuce.

I usually grow lettuce from seed because it is so easy.  It needs temps below 80 degrees to germinate, so October is a good time to plant it.

**Don’t plant all your lettuce at once.  Stagger your planting dates by 2 – 3 weeks, so that when your first crop of lettuce is finished (bolting), then you will have more coming up.  Because lettuce can be planted throughout the fall, winter and early spring, you can enjoy lettuce until April, if you stagger your planting dates.  This is what experienced vegetable gardeners do to prolong their harvest.   

My Vegetable Garden

Isn’t this cauliflower beautiful?  I grew this one two years ago and made the mistake of not planting any last winter.  I’ll never make that mistake again.

I love cauliflower and cut the crown into small 1/4 inch pieces that we sprinkle over our salad – it looks like crumbled cheese and my kids like it.

Cauliflower can be hard to grow from seed, so I use transplants.

**Stagger the planting of your cauliflower as well, so that it does not all ripen at once.  For example: I plant 3 cauliflower transplants every 2 weeks until the end of November.

I do not like cooked spinach.  But, I do like putting it in salads or on a sandwich.

I have grown spinach from seed and from transplants.  It lasts all winter and into spring.

My Vegetable Garden

Carrots are a mainstay of any cool-season garden.  Because they are a root vegetable, they need to be planted from seed.

**My first year vegetable gardening, I planted all of my carrots at once and was rewarded with an ENORMOUS harvest.  We couldn’t eat that many carrots.  So, don’t plant all your carrots at once.  I recommend planting some every month through February, so you will always have some to enjoy, fresh from the garden

My Vegetable Garden

This is the only photo I have of radishes in my garden.  I must remember to take one when they are a bit more developed.

Radishes are the easiest vegetable to grow from seed.  They come up fast – 3 days after planting the seeds, which makes them perfect for kids to grow.

**Stagger your planting of radishes, just as I recommended for carrots for a continual harvest.

broccoli

I have a confession to make…

I seem to have problems growing broccoli.  I’m not sure why and after each disappointing season, I resolve NOT to grow it again.  But, I am trying again this year.

The photo above, is not my broccoli – it my mother’s 😉

**I have only a few broccoli planted now and will plant more through November, for a longer harvest.

garlic

I always plant garlic in October.  I haven’t gotten to it yet, but plan to next week.

Last spring, I was happy with my larger then expected garlic harvest.

The last vegetable on my list is onions, which I will plant from onion sets this month as well.

I promise to keep you updated with how my garden grows throughout the season.

I would love to hear about what you are planting and/or what your favorite vegetables to grow are.

I love getting a great deal, don’t you?

Back in October, I spent $2.40 for eight heads of garlic, from my local grocery store.

I planted them and 7 months later, it was time to harvest them.

vegetable garden

As I stepped into the side vegetable garden, I took a good look at my garlic.  It was a lot bigger then in previous years.

vegetable garden

I started pulling and realized that it was a lot harder to pull out then last year.

It was the biggest garlic that I had ever seen in my garden and I was thrilled.

Until I realized that I had planted twice as much garlic as last year and still had to pull out all of the remaining garlic.

A couple of hours later, I hauled in my garlic harvest…

garlic harvest

All this for an initial investment of $2.40!

I had so much garlic that I couldn’t carry it in one load.

harvest garlic

harvest garlic

The larger heads were almost 4 inches wide.  However, the garlic that I grew in containers was quite a bit smaller – more like the size you find in the grocery store, which was fine with me.

Now all I have to do is to let my garlic ‘cure’ for a month in a dark, dry spot.  That usually means that I put them on top of my large freezer in the laundry room.

Garlic will last about 8 months if kept in a dark, dry spot out of the heat.  I don’t think we will be able to use all our garlic.  Thankfully, I have plenty of people to share it with.

For more info on how to grow and ‘cure’ garlic, you can check out my earlier post “Got Garlic?”.

houseplants

houseplants

Who knew that you could grow ‘houseplants’ using kitchen scraps?

I was inspired to find gardening projects that could be done indoors, for those gardeners who are stuck inside during cold winters.

The photos below were taken over a 14 day period from planting, to what they look like just 2 weeks later.  I must admit that I am quite impressed.

I started with growing a radish…

houseplants

I am hoping that my radish plant will flower at some point because I have heard that radish flowers are quite pretty.

houseplants

My garlic cloves grew quickly and I will use the greens as a garnish, much like I would use green onions.  Garlic greens have a mild garlic flavor.

Kitchen Scraps

My lentils are quite pretty and delicate looking.  I am waiting for them to flower, which will make them even prettier.

Kitchen Scraps

I realize that many people have grown a vine from a sweet potato – but I hadn’t tried it.  After it grows, the vine will be a pretty addition to my kitchen windowsill garden.  Now that the roots are growing, I will hopefully see some green sprouting on top.

Kitchen Scraps

I did have one plant that didn’t come up.  The book that I was inspired by said that you could plant fresh green beans, but mine didn’t grow.

**You can also plant dried beans after soaking them overnight and they should come up.

The goal of this project wasn’t to grow ‘food’, but to enjoy the foliage of the plants themselves and brighten up a dreary winter for those who live in cold climates.

I really had fun with this project.  I think it would be a great activity to do with kids, don’t you?

You won’t believe what I have been working on…

indoor plants

I have been inspired by the book,

Don’t Throw It, Grow It! 68 Windowsill Plants from Kitchen Scraps

So, I decided to grow indoor plants using a radish, garlic, lentils, a sweet potato vine and green bean seeds.

The object isn’t to grow food itself, but to enjoy the pretty plants that these kitchen scraps will grow.

I’d love it if you would follow along on my Birds & Blooms blog “An Unorthodox Winter Gardening Project”.

I promise to keep you updated on how it is doing 🙂

I recently re-planted my herb container for the cool-season.

Last spring, I planted my container with rosemary, green basil, purple basil, sage, thyme and oregano. All of these herbs do well in the warm-season and I enjoyed being able to step outside the kitchen with cut fresh herbs whenever I needed them.

Herb Container

You can read the post here, to see how to grow herbs in containers.I also did a “How-To” video about this too 🙂

Okay, so now that cooler weather is on its way, I wanted to add some different herbs that would do well through the winter in my zone 9 garden.

Herb Container

I planted Dill, Garlic, Lavender, Parsley, another Thyme and kept the Sage the I had originally planted.

My kids added some of their Petunias that their grandma bought them in the container too, which will add some nice color.

Other herbs that can handle cooler weather in USDA zones 9 and above are Cilantro, Chives, Fennel, Lemon Grass and Rosemary.

I highly recommend planting your own herb container.  It is very easy and so fun to be able to harvest your own herbs!