Tag Archive for: Homemade

An Old-Fashioned Watering Method Becomes 'Hip' Again

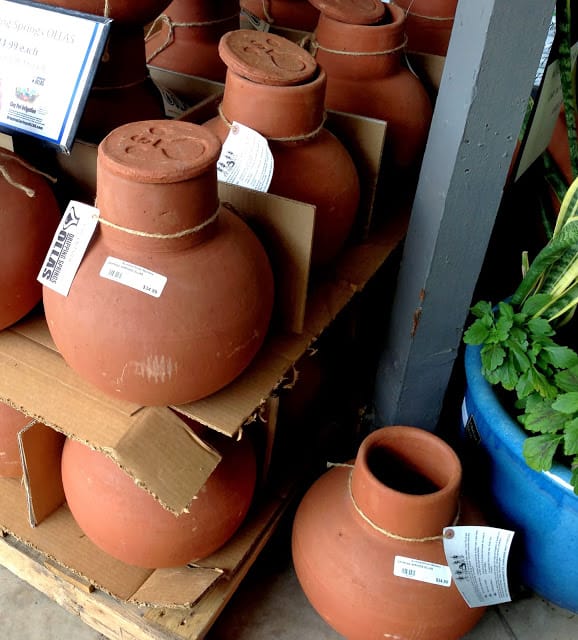
I posted a photo of the uniquely-shaped pottery that I came across at a local nursery, yesterday on facebook and asked you to guess what they were used for.

This unglazed pottery was commonly used in arid regions long ago to store both food and water.  They are called ollas.

Ollas are making a comeback in the garden – particularly in arid regions.

Why?

uniquely-shaped pottery

Ollas are a great way to deep water plants.

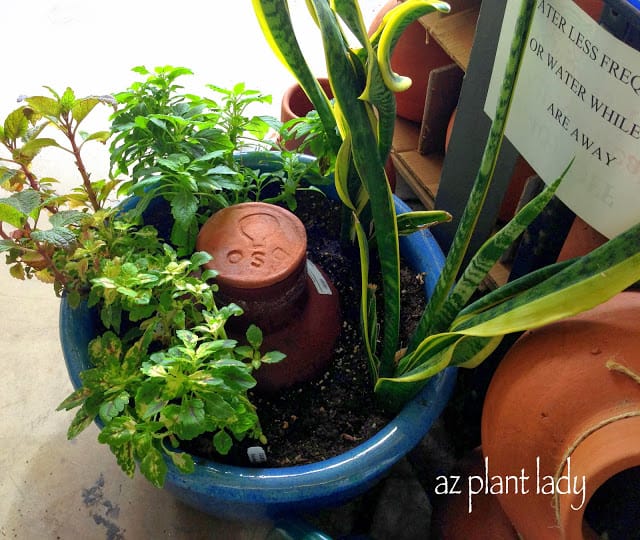
They are buried so that only the top is exposed.  Water is added and slowly seeps through the walls of the olla, providing uniform moisture to plant’s roots.

The top of the soil remains dry, so that evaporation is limited and decreases problems with weeds because their roots can’t reach the moist soil underneath.

Ollas can be used in vegetable gardens, containers and among other plants in your garden that may not be attached to an irrigation system.

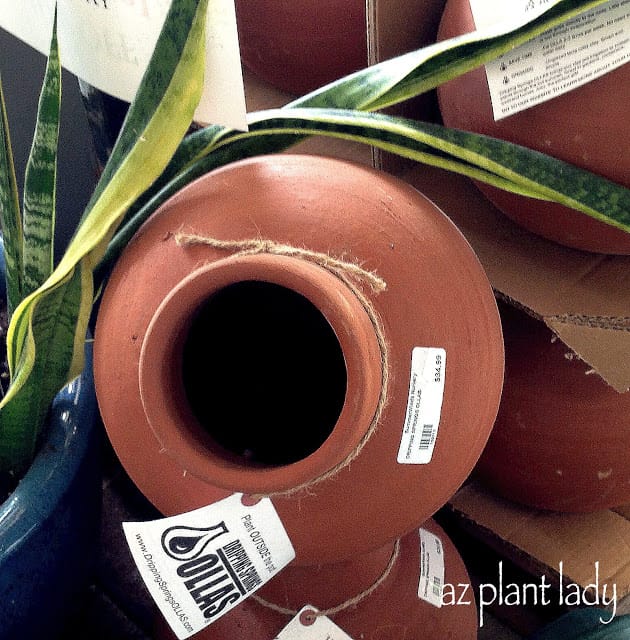
To use, simply take the lid off, and fill with water. Every few days, refill and then let the water slowly percolate into the soil.

uniquely-shaped pottery

There are companies now making ollas for the home gardener.  They are not cheap.  The ones above were going for $35.

I would love to buy one, but they are not in my budget right now.  Maybe I can add one to my Christmas list?

You can make your own inexpensive olla using a plastic milk jug or 2-liter soda bottle, with small holes punched all around and then bury it.

OR, you can take two unglazed tera-cota pots and glue them together with silicone.  *Learn how to make both types of homemade versions, here.

I really like when the old-fashioned ways of doing things come back into style.  Technology is a wonderful thing, but it doesn’t mean that the older ways of doing things is obsolete.

**For those of you who would like to purchase an olla, like the ones pictured above – they are available at local Summerwinds nurseries throughout the Phoenix area.

For those of you who live elsewhere, here is a link to the company who created the ollas in the photos above.

If someone asked you what your favorite food was, what would you tell them?

My daughter, Gracie, would answer by saying “anything chocolate”.

My husband would say “pizza”.

But my favorite food is a warm slice of sourdough bread with melted butter.  My idea of heaven is being surrounded with loaves of French bread and plenty of Irish butter without the carbs or calories 😉

Because I like to make things using produce from my garden, I decided to try making herb butter using the herbs that I grew and dried earlier this summer.

heavy whipping cream

Just for fun, I decided to make my own butter using some leftover heavy whipping cream (did you know that if you beat heavy whipping cream long enough that you will get butter)?

When we were kids, my mom would teach us how to make butter this way using her antique butter churn.  It was a lot of work, but it was fun.

Most of the time, I just use regular butter to make herb butter.

making your own herb butter

I beat the whip cream until it became thick and continued until it looked like this…

making your own herb butter

Your butter will start to solidify with a little buttermilk liquid left.

making your own herb butter

Drain the buttermilk and you are left with butter!  You can salt it to your taste at this point.

1. You will need a 1/2 cup of softened butter. (Store bought works just as well as butter you made yourself).

2. Add a 1/2 teaspoon of your favorite herb.  Dried basil, chives, dill, oregano, rosemary, sage or thyme work well for herb butter.  You can also use a 1/2 teaspoon of poultry or Italian seasoning instead if you like.

3. I also added 2 cloves of minced garlic, also from my garden, to the herb butter.

4. Mix it all together using a rubber spatula.

making your own herb butter

5. Place your butter mixture onto wax paper and begin to form it into a roll by folding over the wax paper and using your hands to mold the herb butter.

making your own herb butter

6. Twist the ends of the wax paper and place your herb butter into a plastic freezer bag.

preserve

7. Freeze until 2 hours before using.  You don’t have to use it all at once.  Simply cut off a few sections at a time.

You can freeze herb butter up to 6 months.

So, get started now and preserve the taste of your summer herbs by making your own herb butter.

Make some for yourself and give some away to friends.

I must say, that I was going to take a picture of my herb butter melting over a hot slice of sourdough bread.

But, I ate it before I remembered to take the picture…

**You can use your own herbs that you have dried or you can use herbs from the grocery store.

To learn how to dry herbs, check out my earlier post – “How to Grow and Dry Your Own Herbs”

What herb(s) would you add to herb butter?