Shopping for Succulents, Desert Botanical Garden Plant Sale
I enjoy attending plant sales hosted by botanical gardens. Why? Because you can often find the newest plants (even hard to find ones) at them. Of course, you can also find old favorites as well.
Smart Succulent Shopping: Tips to Save on Succulents
Succulents, including cacti are a great way to add texture and interest to the garden at a fraction of the maintenance and water that other plants require. However, they tend to be more expensive than shrubs, vines, and perennials. But, don’t worry – I’m here to help you save money on succulents with these tips…
Shopping for Succulents
Shopping for Succulents
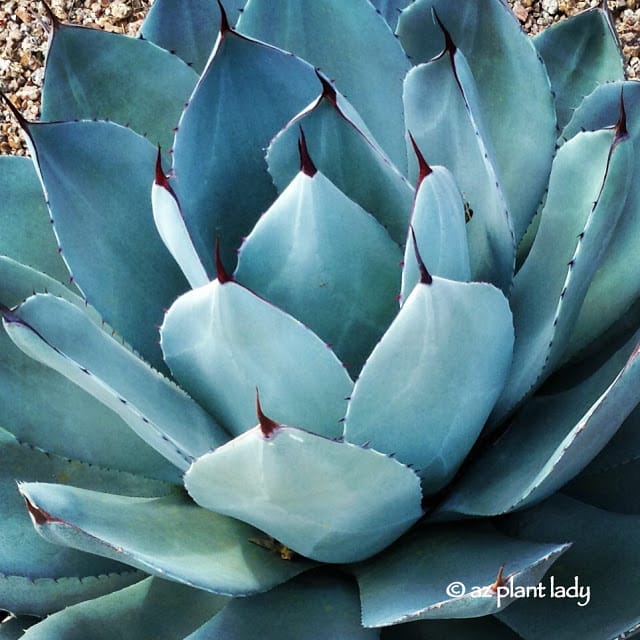
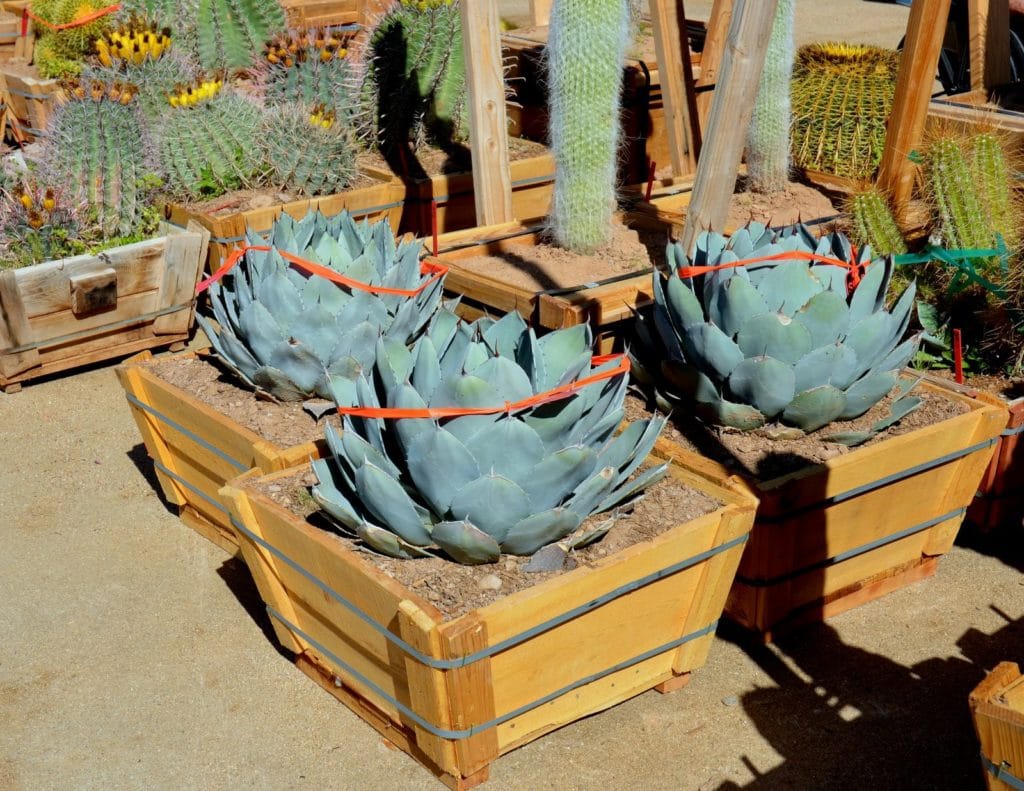
1. Choose Wisely: Avoid purchasing agave in 15-gallon containers or larger.
Why? Well, almost all species of agave will flower toward the end of their life and then die. That is what agave do.
Flowering is triggered by the age of the agave. In addition, different agave species live for differing lengths of time – some live less than 10 years. If you buy a 15-gallon or larger boxed agave – it is safe to assume that they are much older then those in smaller pots and will flower and die much sooner.
So my advice is to purchase agave in 1 or 5-gallon sizes – they will last much longer and you’ll save a lot of money.
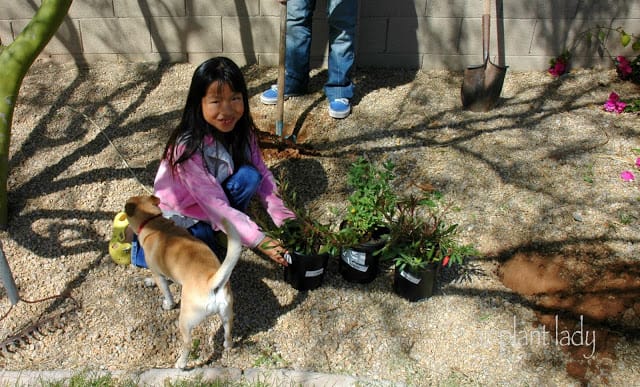
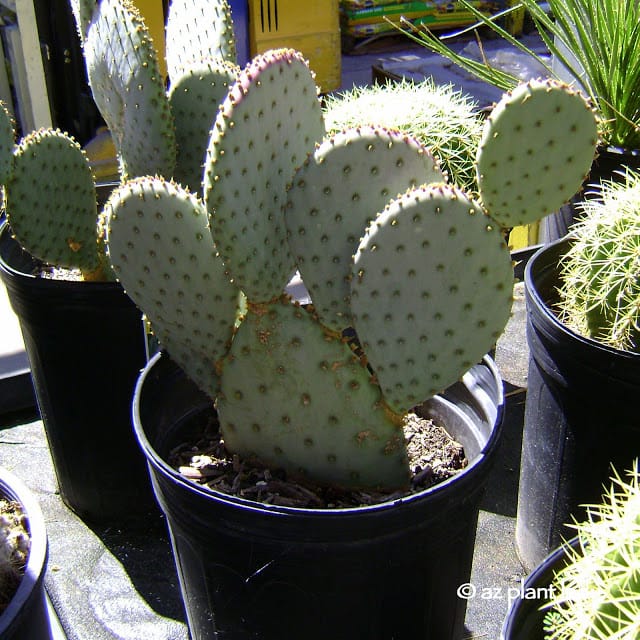
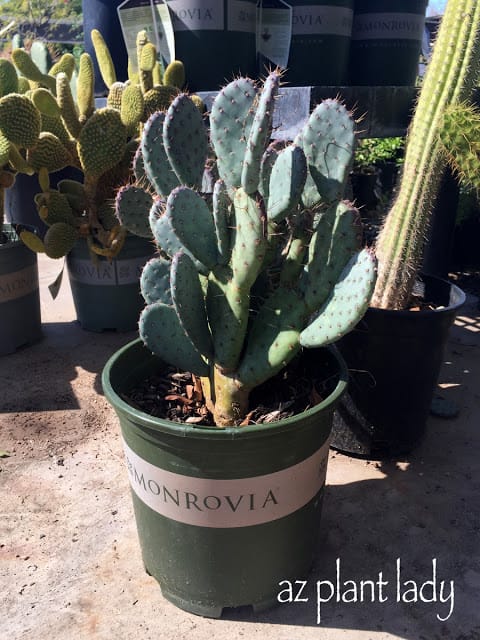
*BONUS: Look for succulents that have more than one plant growing in the nursery pot. Sometimes, you can find more than one – that’s like getting 2 for the price of 1!
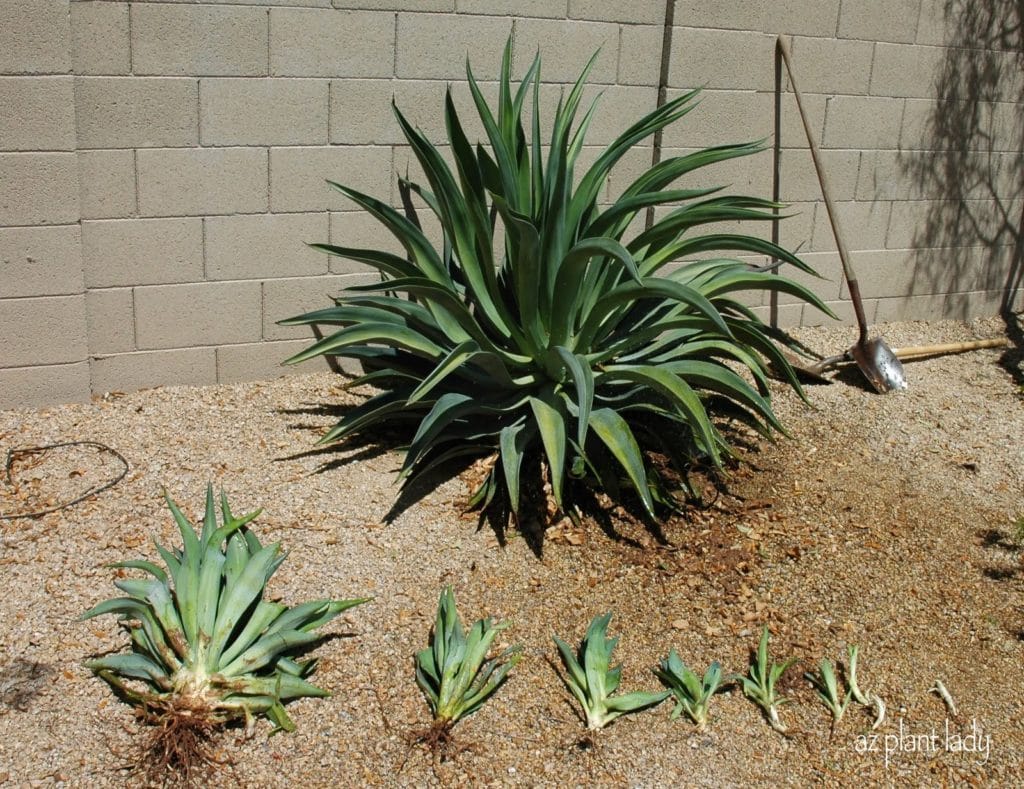
Better yet, ask a friend or neighbor for a volunteer (pup) from their agave. Many agave species produce volunteers that can be transplanted. To learn how, click here.
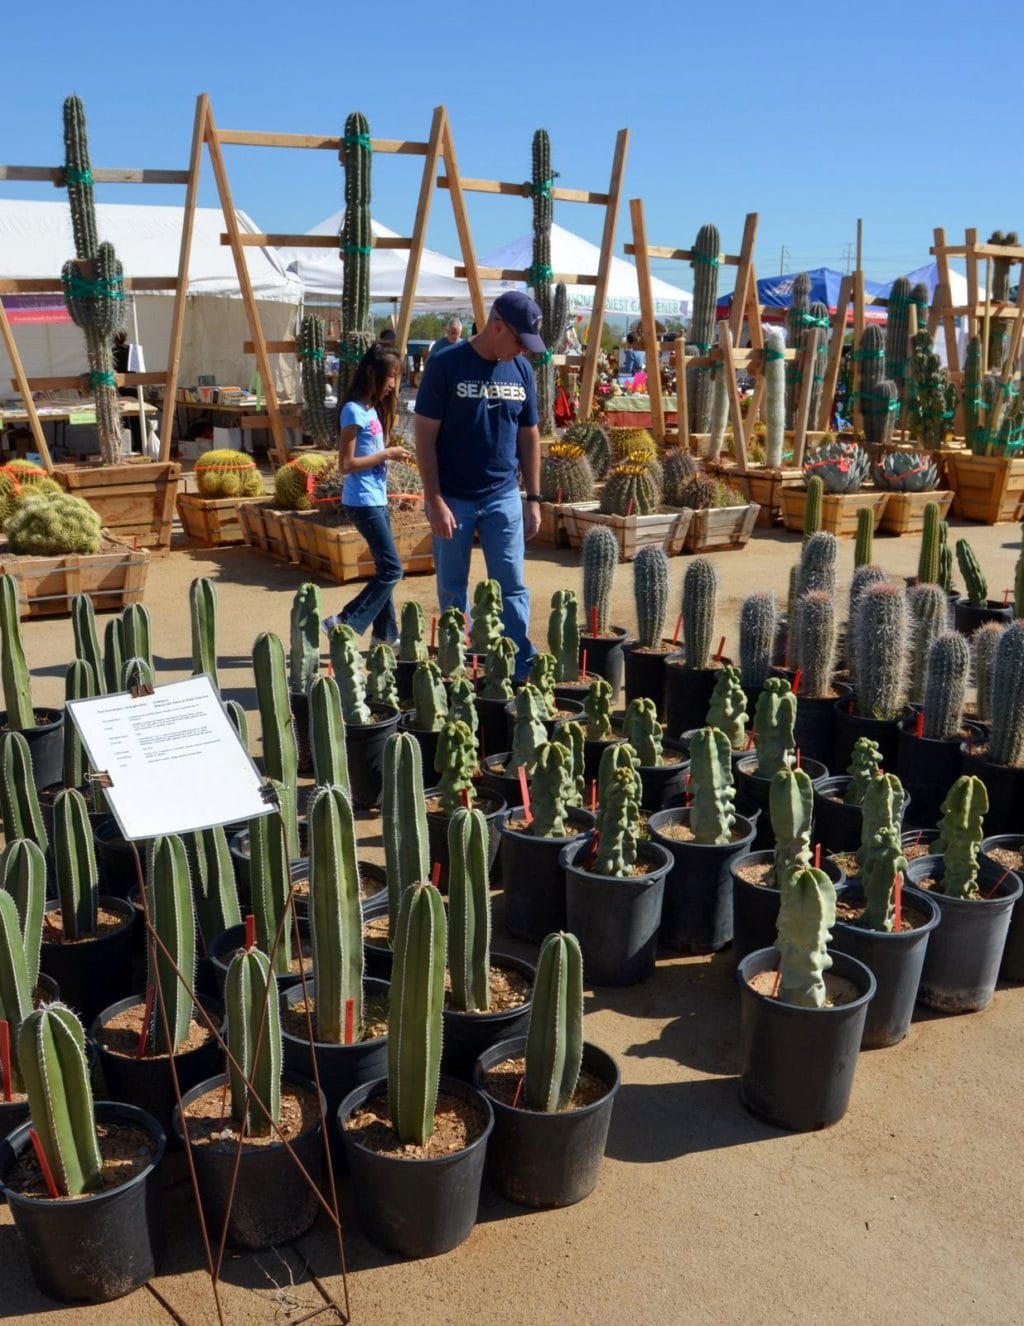
Shopping for Succulents, My husband and daughter checking out the young saguaro cacti.
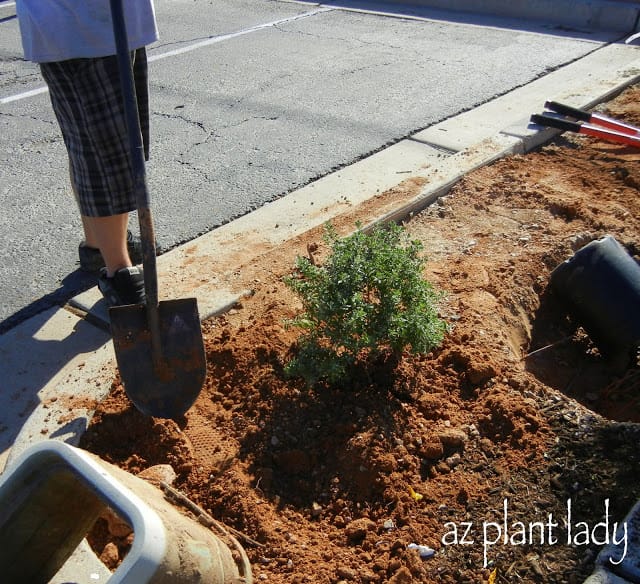
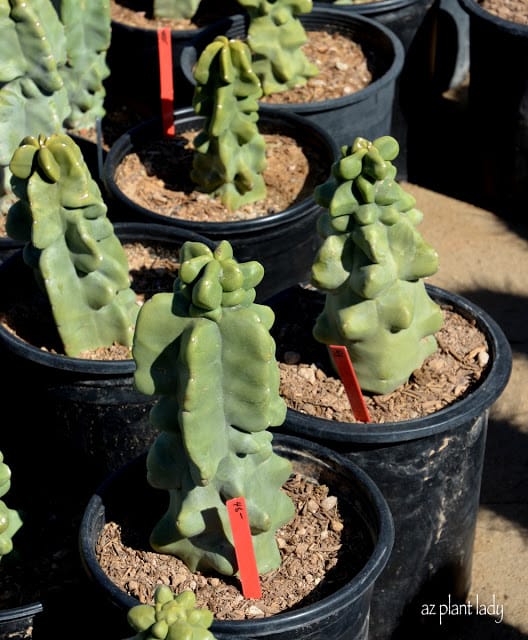
2. Size Matters – Buy smaller cacti rather then larger.
Columnar cacti are beautiful, but expensive. The price is usually based on the height of the cactus. Saguaro cacti are priced based on each foot high they are plus the height of each arm.
The price for a 1 ft. high Totem Pole cactus was $48.
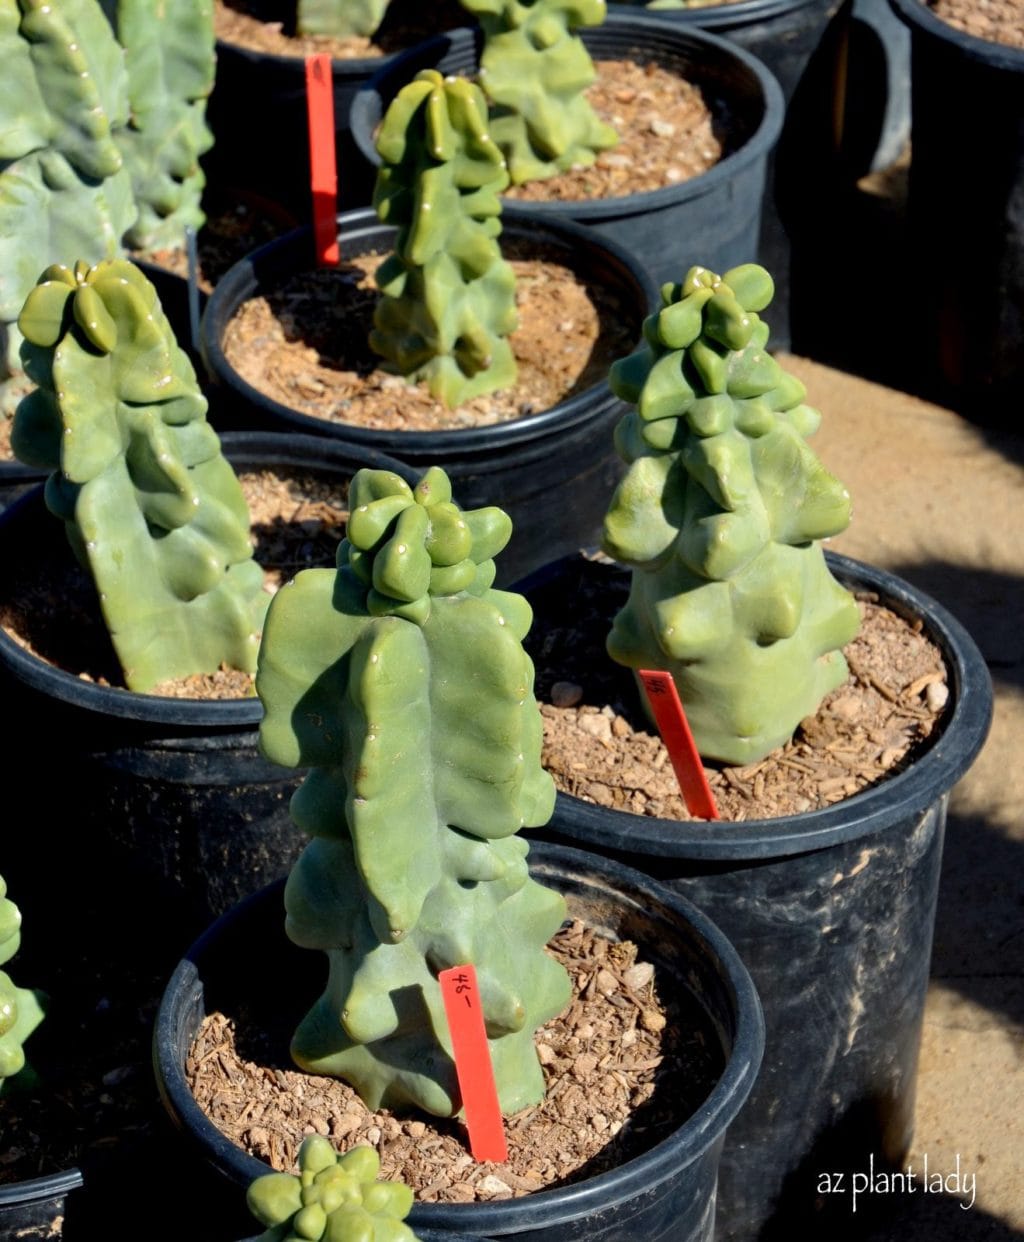
The reason that I recommend starting out with a smaller columnar cactus such as Mexican Fence Post (Pachycereus marinatus) or ‘Monstrose’ Totem Pole (Lophocereus schottii ‘Monstrose’) is that they will begin to grow at a faster rate once planted in the ground.
Smaller Plants are Smarter Plants
In fact, smaller plants have an easier time becoming established then larger ones.
Many columnar types of cacti grow faster in the landscape then in the wild due to the presence of water – that includes saguaro cacti as well.
Cacti from Cuttings
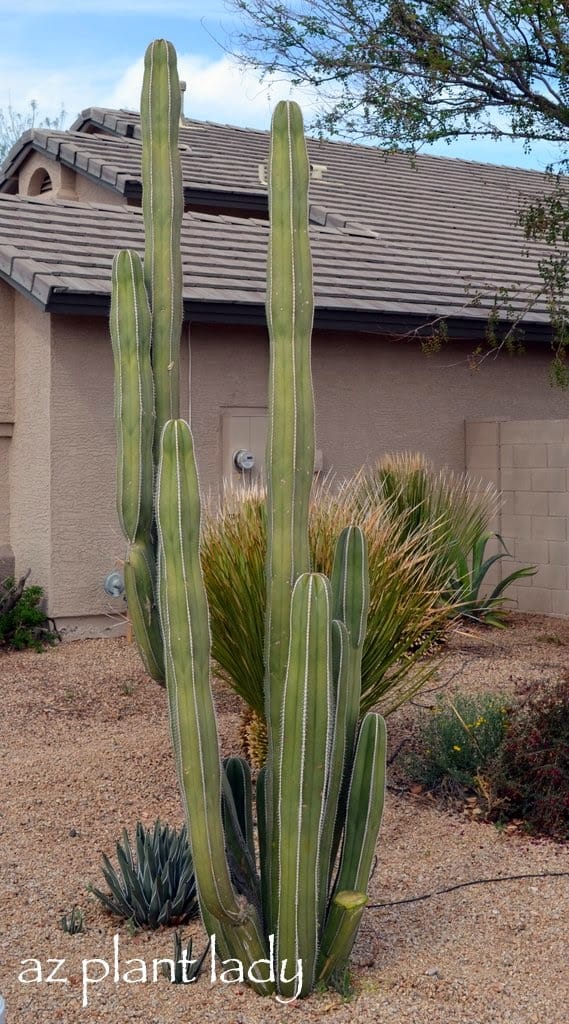
Like agave, you can start some species of columnar cacti from cuttings.
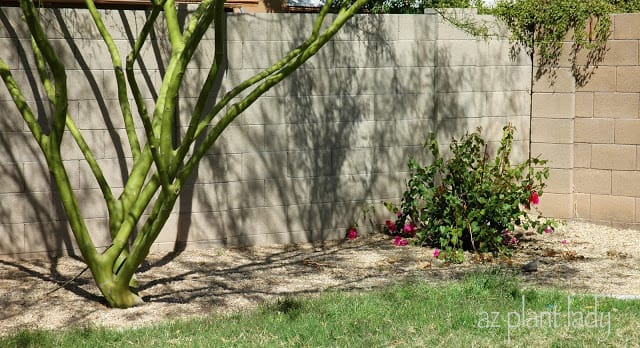
I planted this Mexican Fence Post cactus in my garden 11 years ago. It started out as a 2 foot cutting given to me by a client from their large cactus.
Look how much it has grown! You can ask a neighbor or friend if they would mind you taking a stem (or pad) off of their cactus so you can start your own.
Many cacti can be started as cuttings. Simply take a piece of cacti, and place it in a dry, shady spot for two weeks and then plant it in the ground or in a pot. Wait a month before watering. For a new cactus cutting, it’s a good idea to water it once a month through its first year.
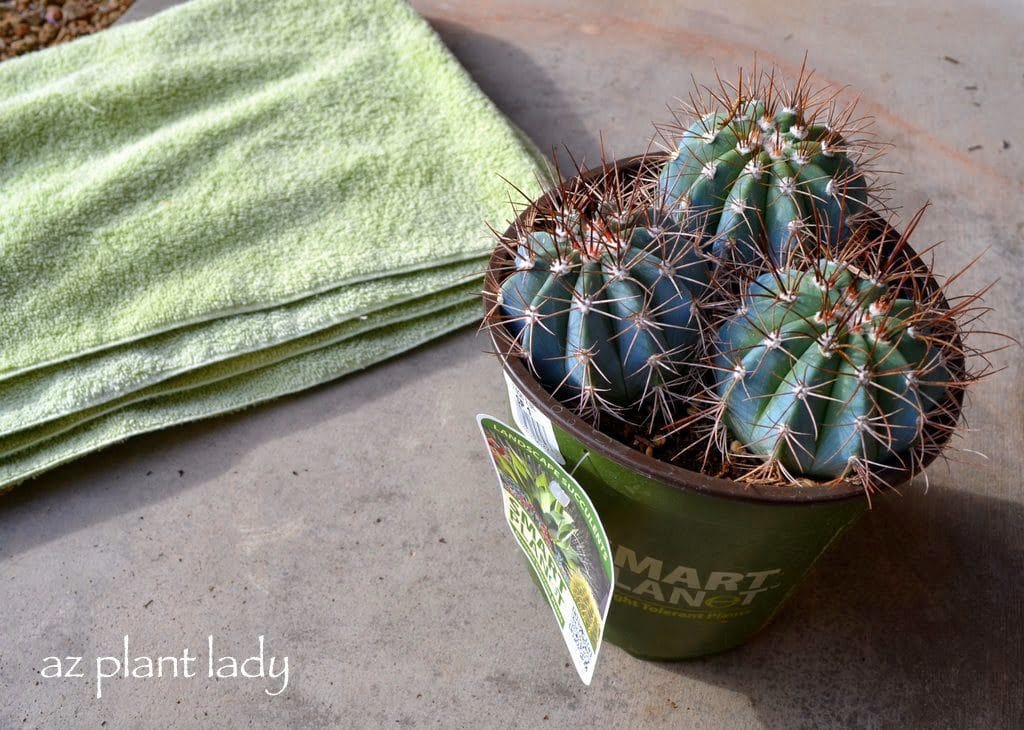
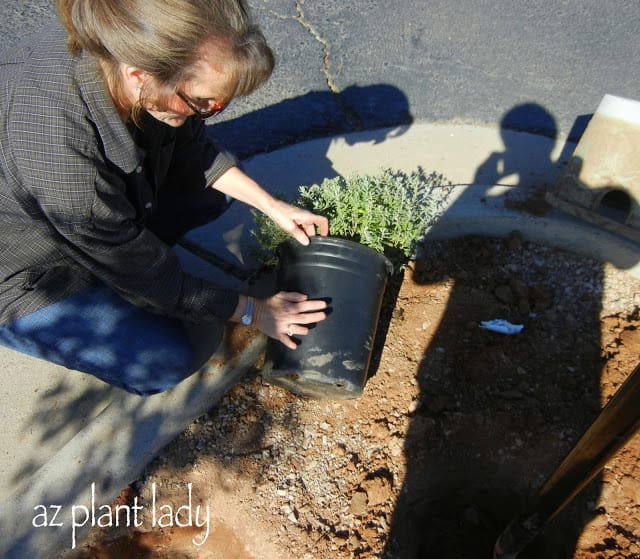
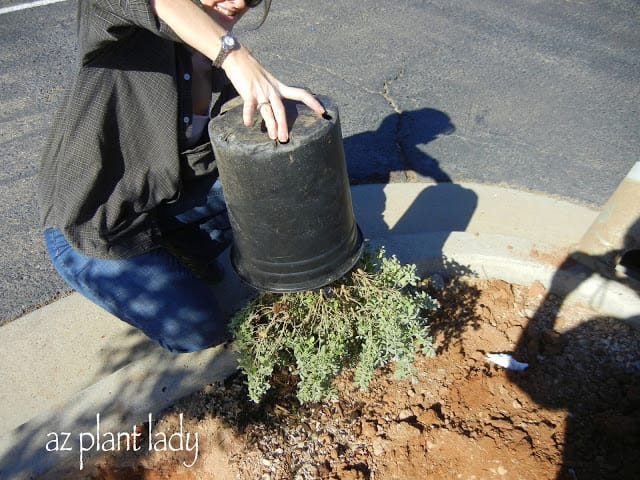
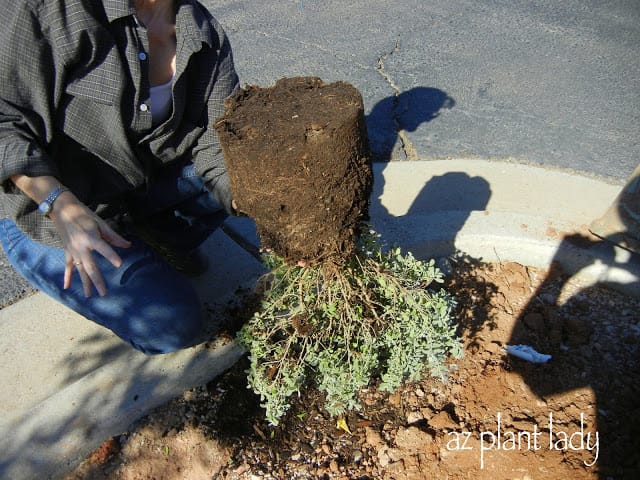
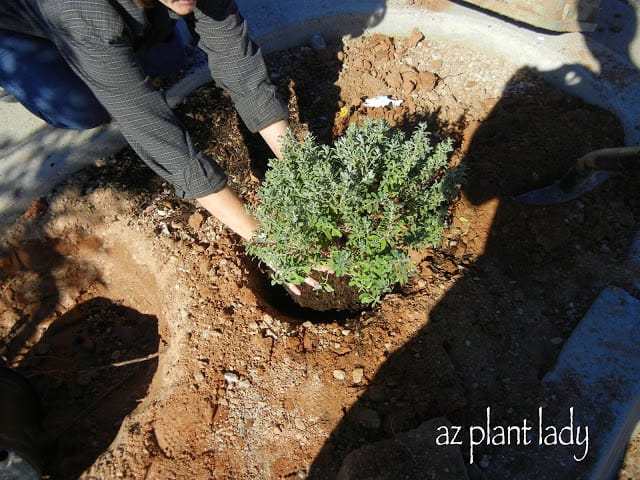
3. Plant with Care: Handling Prickly Succulents
If you hadn’t noticed, many succulents are prickly. So, it is a good idea to plan on how you are going to plant it. Decide whether you can do it yourself or if you will need to hire someone to plant it for you.
For small cacti, you can use a towel to help you plant them without getting pricked. See how here.
For larger cacti, you can use pieces of carpet or rubber straps. But when in doubt about whether you can plant it yourself, hire an expert.
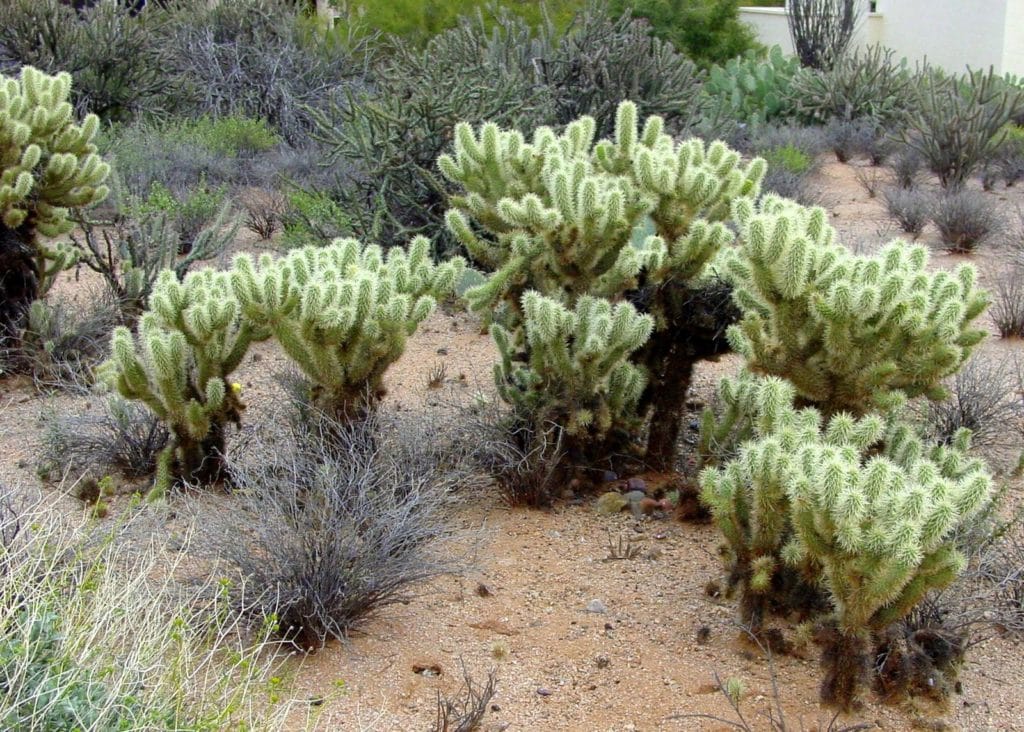
*Years ago, as a golf course horticulturist, I used to transplant Teddy Bear Cholla (Opuntia bigelovii) from areas that were to be built upon. I would use rubber straps to carry the cholla and regular kitchen tongs to pick up the pieces that dropped off. I would then plant them elsewhere.
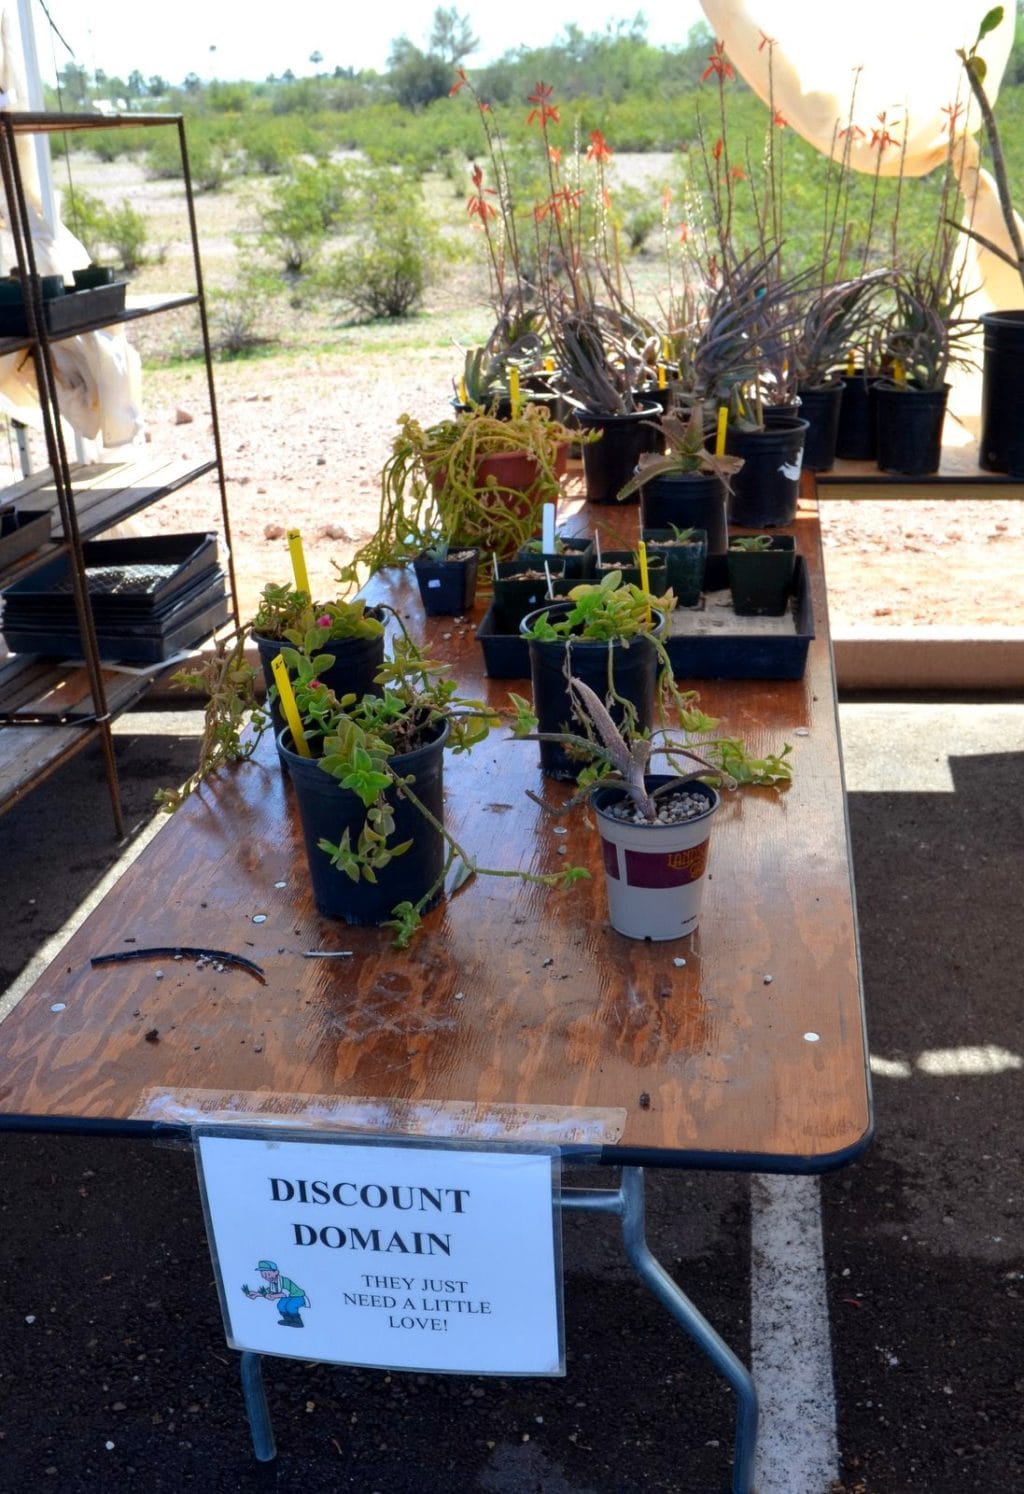
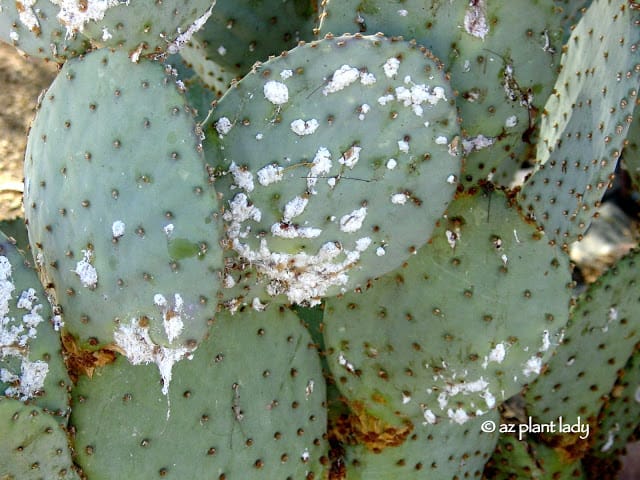
4. Look for Discounts: Keep an eye out for discounted plants.
Often, not all plants will meet the high standards of the nursery. Sometimes, this can be mostly cosmetic damage, but occasionally you will see a succulent that has not been watered correctly or placed in too much or too little sun.
This can be a great way to save money and provide a little TLC to new succulents. Research online how to care for that particular plant and soon you will have a healthy succulent growing in your garden that cost you a lot less.
*******************
I hope that these tips will be helpful to you the next time you are shopping for succulents.