Tag Archive for: Ruellia peninsularis

Although I greatly enjoy being able to grow many frost-sensitive plants such as Bougainvillea and Arizona Yellow Bells (Tecoma stans), I do not particularly like how they look in the winter, once frost has hit our area – zone 9a.

And so, when hints of spring are in the air….I am itching to get back into the garden to prune them back.  In our area (the Phoenix metro area), this is generally the beginning of March which is usually after the last frost has occurred in our area.

First on my list is the Bougainvillea.  I have three in my back garden. 

Frost Damage

Not too attractive is it?  You can clearly see where the frost damaged the top growth.  The bottom growth is still green as the top branches protected them from frost damage.

Now you would assume that you just cut back all the leafless branches, but DON’T.  Many of the naked branches are still alive.  Look closely at the branch below and you can see that the part of the branch on the left is brown with no hint of green – prune the brown part of the branch off, leaving the green shaded part alone.

Frost Damage

You can also look and see tiny leaflets starting to emerge.  This is also a sign to look for when determining what part of the branches to prune.

Spring Pruning

Why not prune earlier to remove the ugly, naked branches you may ask?  Well, the answer is simple….if you prune too early and frost hits your area, it will damage the newly emerging leaves and could easily kill the live tissue inside of the branches, leaving you with a much smaller plant or a dead one.  So, as ugly as it looks in the winter….leave it alone, please?

Spring Pruning

Spring Pruning

All finished!  Okay, I admit, that it still does not look all that attractive and many may feel compelled to remove all of the naked branches.  But, look closely below….

Spring Pruning

Spring Pruning

 This is why you do not want to remove all of the naked branches.  This is my Bougainvillea one week after pruning.  Beautiful leaves are beginning to grow out from those formerly naked branches.

**Tips for pruning Bougainvillea…WEAR LONG SLEEVES to protect yourself from the thorns.  I used hand-pruners and loppers to prune all of my shrubs. 

I am working hard today at pruning back many of my other desert shrubs and will be posting about them this coming week, so please visit again :^) 

Peacful Day and Spring Pruning…

A few weeks ago, my brother-in-law asked me to come out to the family farm (Double S Farms) asked me to come over and help him to prune their numerous fruit trees.  I had been wanting to work on them because they had been sorely neglected by the previous owners of the farm.

Family farm

Family farm

These three peach trees produced a large amount of fruit that we all enjoyed last summer.  However, they had been badly pruned over the years and their branches reached so high into the sky, that it was impossible to reach all of the fruit.

Why did we decide to prune them you may ask?  Well, besides the fact that they had been disfigured by bad pruning, the other benefits would be numerous.  There would be increased fruit production, strengthened trees, earlier fruit production and easier  maintenance.

Family farm

Our tools – Loppers, Pruning Saw, Hand Pruners and Pole Saw.

The two types of pruning cuts that we used were thinning and heading cuts.  The first type – thinning cuts, removes branches back to the larger branch they are growing from.  So, we concentrated on removing all crossing branches and those growing into the center of the tree.  We did this because peach and plum trees should have an open center.

The second type of cut we used – heading back, removes part of the branch, pruning back to a outward facing bud.  So we made sure that our cuts, were pruned back to an outside facing bud and cut at a 45 degree angle.

Family farm

Farmer Dad, working hard making a thinning cut with a pruning saw.

Pruning should be done while the trees are still dormant, which is January here in the desert.  

Since dwarf forms of peach trees do not exist, pruning is the only way to shorten the tree in order to reach the fruit and also to be able to fit a net over the tree to protect them from the birds eating the fruit.  Unfortunately, a lot of fruit was lost to the birds last year.

Family farm

Family farm

As we pruned, evidence of bad pruning was evident.  The photo above shows an incorrect pruning cut, while the bottom one is the right way to prune.  You want to prune back to the trunk to the branch collar.  

Peach and plum trees can take heavy pruning, but we removed only 20% of the trees branches.  Next year, we may do more if needed.  We felt that is was better not over-prune and stress the trees.

Family farm

You can tell why it is important to prune back to the branch when you see how the cut branch above died back because it was not pruned close enough to the branch it came from.

Family farm

Once we were finished with the peach trees, we started on the two apple trees in the backyard.  Both of these trees were better maintained and so we removed a few of the lower branches and made some heading cuts.

Family farm

Pruning cuts back to the trunk.  You can see the branch collar, which is a specialized area that surrounds branches.  Do not cut the branch collar, but make your pruning cut just before.

Making heading cuts to the apple tree

Making heading cuts to the apple tree.

Apple trees only require light pruning.  They have a different shape then peach trees and do not have an open shape.  Rather, they should have many interior branches.  So, the majority of pruning we did were some heading cuts and just a few thinning cuts.

You know, there is just something so fulfilling after spending the day pruning and seeing the instant results of your work.  A couple of weeks later, I took the following pictures of the now flowering trees we had pruned.

Peach blossoms reach towards the sky

Peach blossoms reach towards the sky.

The apple trees are now covered in blossoms.

The apple trees are now covered in blossoms.

Next year, we will probably do some additional corrective pruning for the peach trees in order to further fix the damage done by the previous owners.  But for now, we are sitting back and enjoying their beauty and looking forward to peach jam and apple butter this summer.

Did you know that just by making one change in your garden that you will benefit not only the earth, but also your plants, your back and your pocketbook?  The one change I am talking about is making sure that you are watering your plants at the recommended rate for your area. 

Okay, first the benefits to the earth.  The first one is fairly obvious….by watering at the proper rate and frequency, we are conserving water – a precious resource.

irrigation schedule

Now the first benefit is fairly obvious, but here is another one….did you know that when plants are watered correctly, that they produce less excess growth and grow at a healthier rate?  Many of us do not take that into consideration or even think of it. 

Each time I consult with a homeowner, I often go over what their current irrigation schedule is.  Believe it or not, over 90% of the time, I find that their trees and plans are being over-watered.  In fact, one of my horticulture professors did a study and found the same statistics.  Naturally, that is understandable; we live in a desert, so logically we think that more water will help our plants.  

But, the truth is, is that the majority of plant problems we see related to irrigation is due to over-watering NOT under-watering.  

irrigation schedule

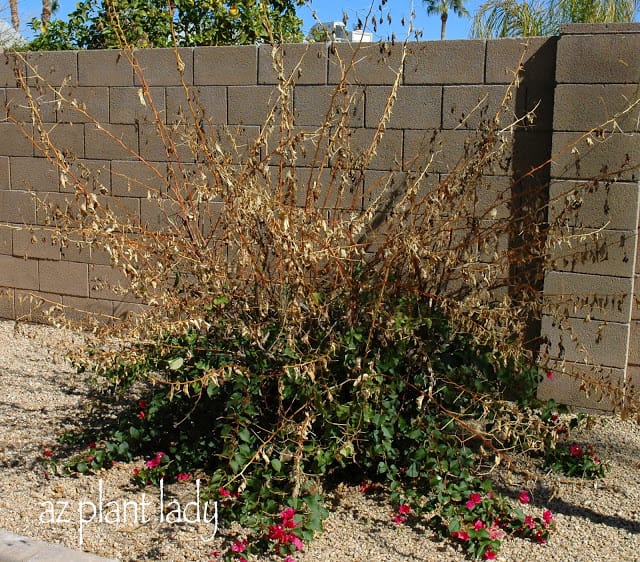
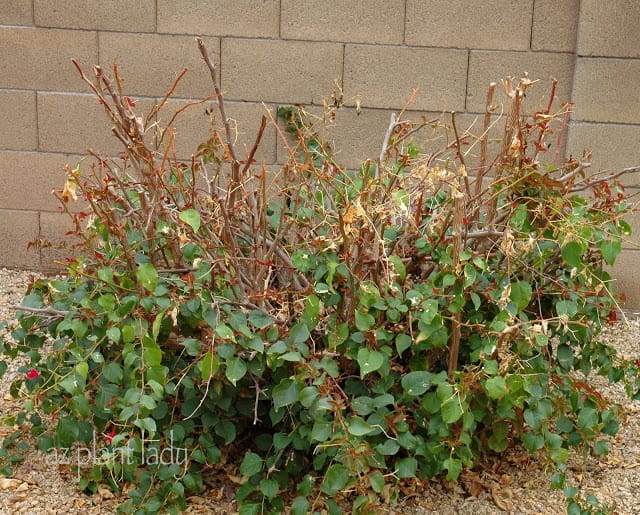
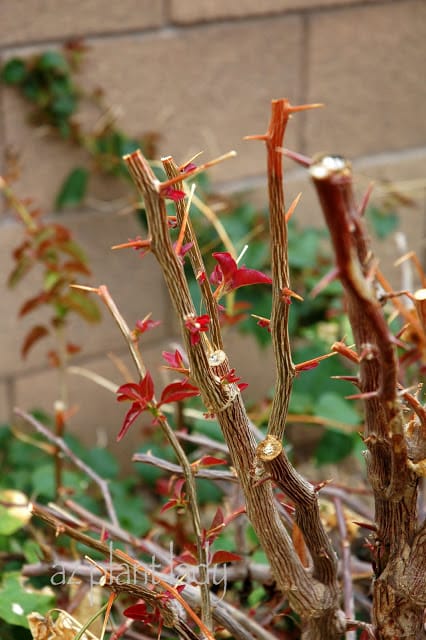
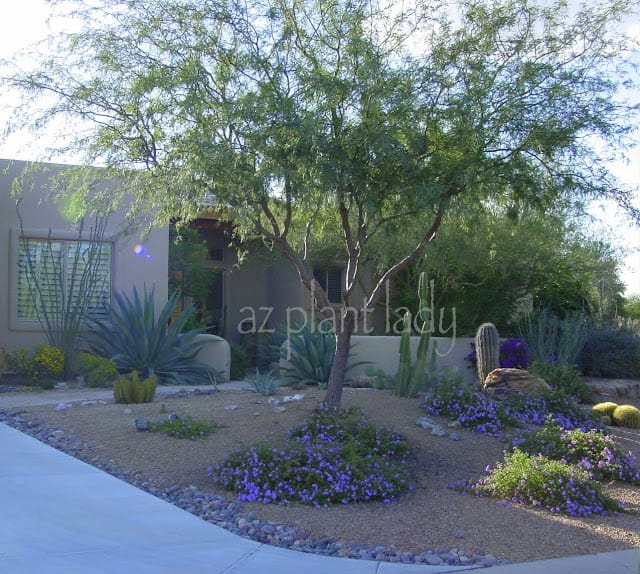
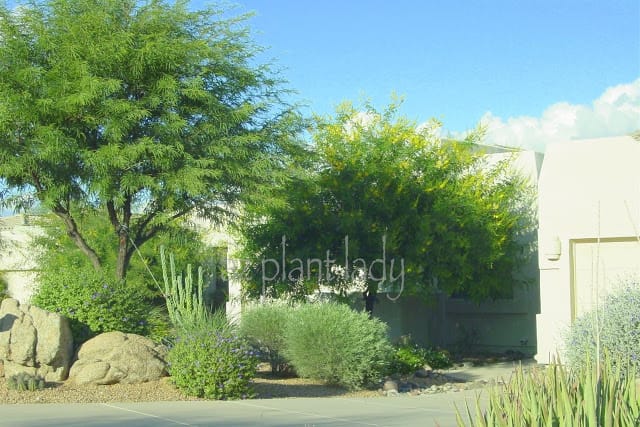
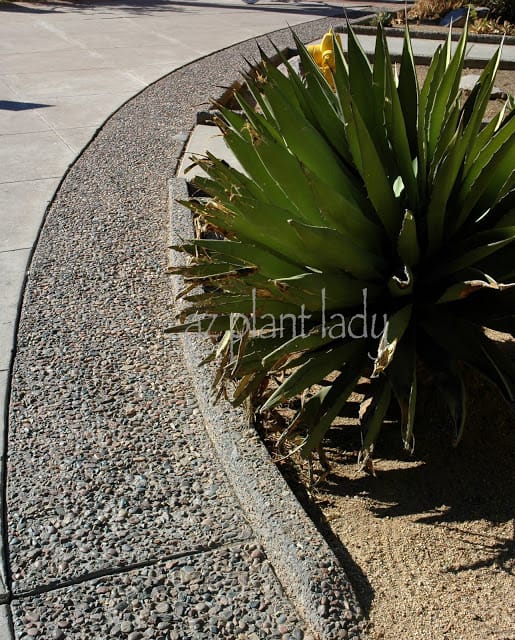
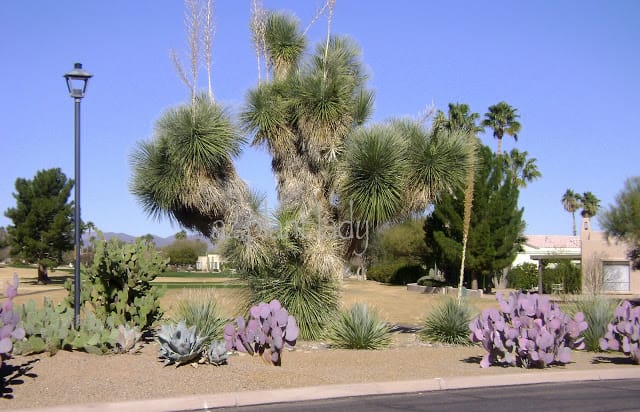
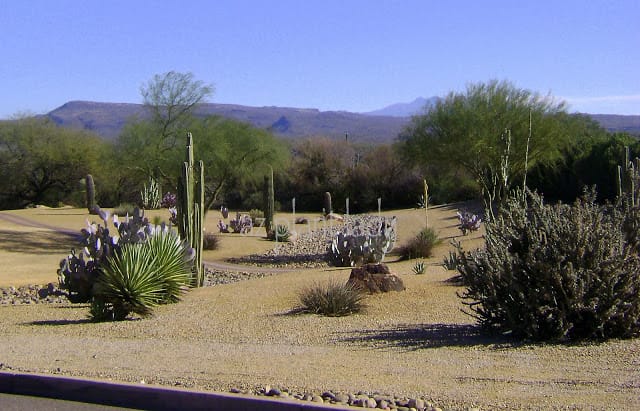
Mature shrubs and trees need less water then you may think – especially if you are growing plants that are adapted to our arid-climate.  In response to over-watering, the extra growth that is produced has another interesting effect….it causes the plant to use more water in order to maintain the excess growth then the same type of plant being watered at the proper rate.

Irrigating (watering) correctly not only causes your plants to grow at a healthy rate, but also encourages roots to grow deeper where the soil is cooler and moister and helps to flush out salts in our soils that can build-up around the roots of your plants.  As a result, your plants will be better able to withstand the stress of summer.

irrigation schedule

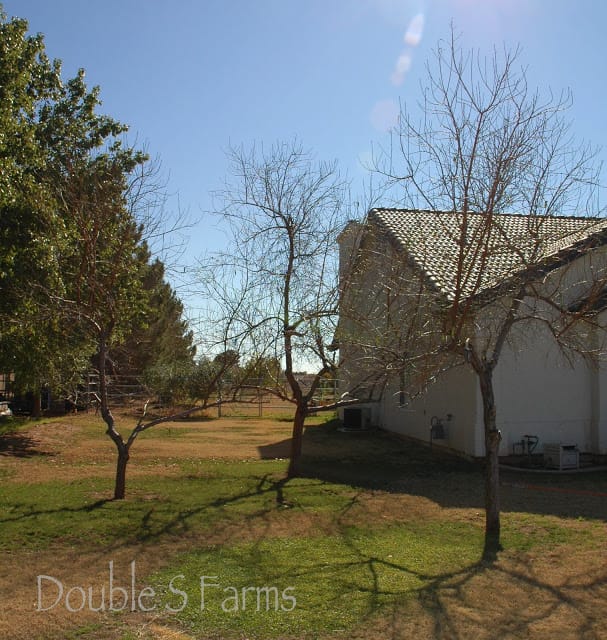
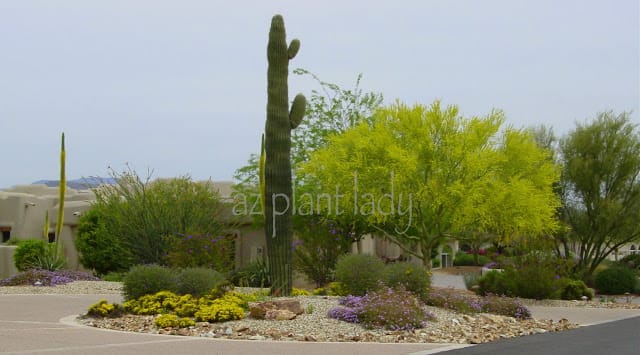
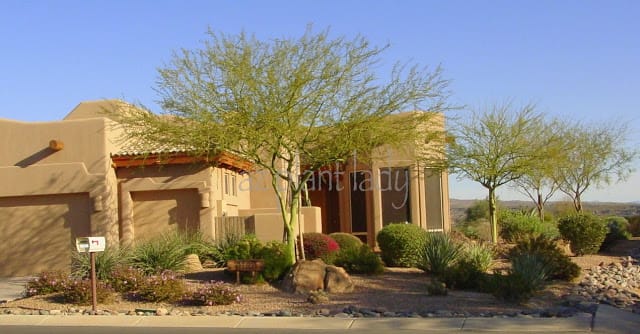
Here is an example for our area (around Phoenix): Did you know that your mature citrus trees only need to be watered every 21 – 30 days in the winter and every 7 – 10 days in the summer?  The past three clients I consulted with, who had citrus trees, were watering them 3 times a week in the middle of winter.  They were not watering them long enough and not deeply enough.  Many of their trees were suffering multiple problems related incorrect irrigation, which were easily corrected by changing their watering schedule.

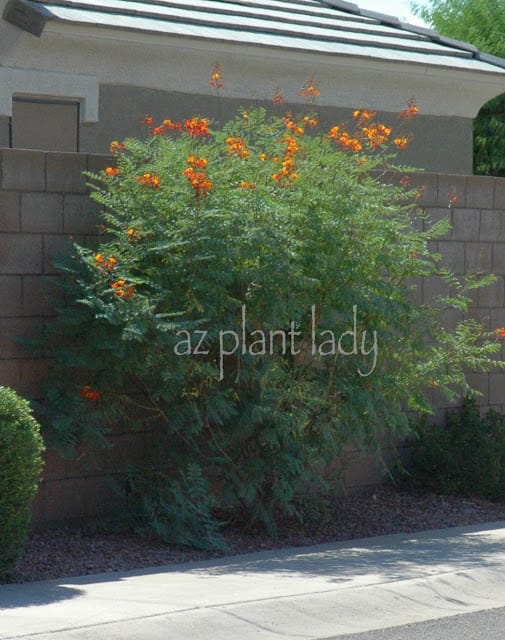
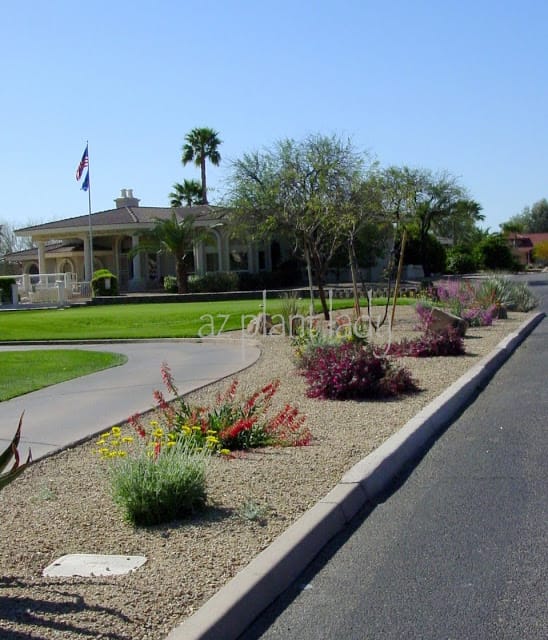
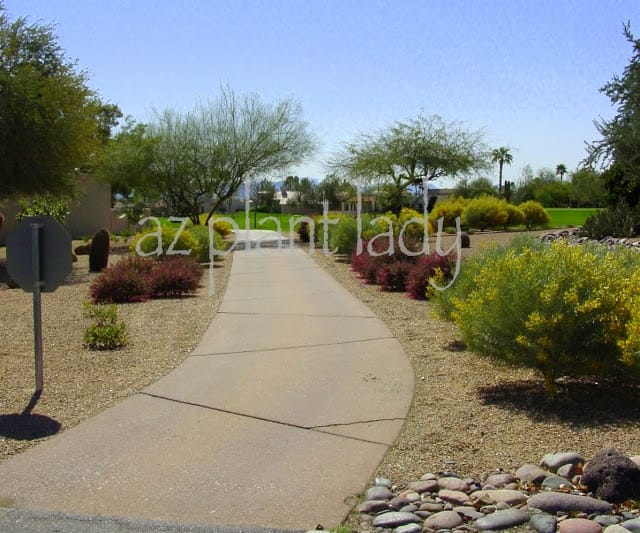
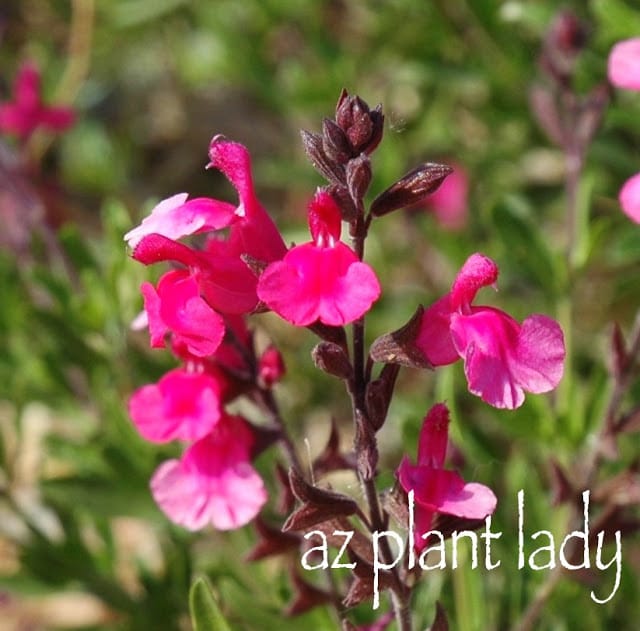
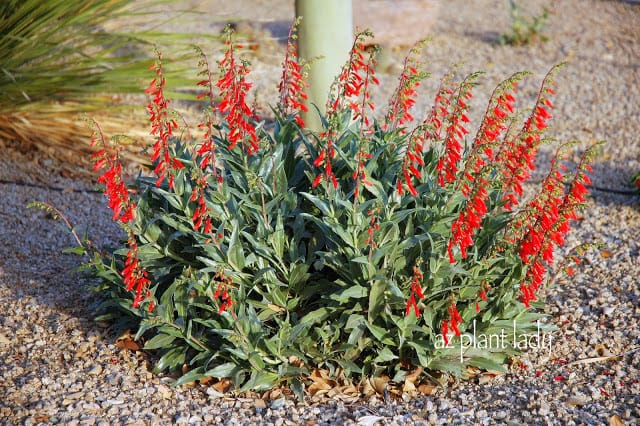
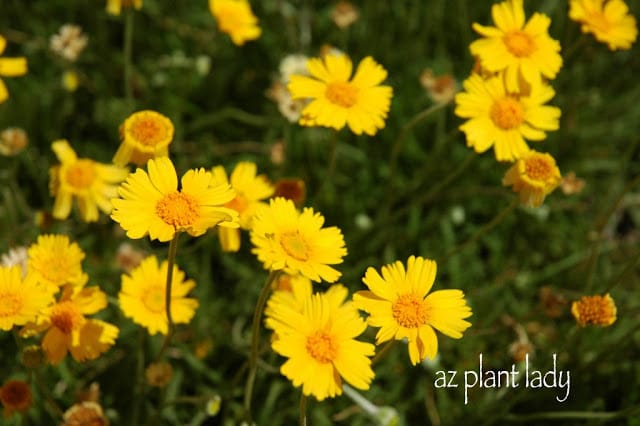
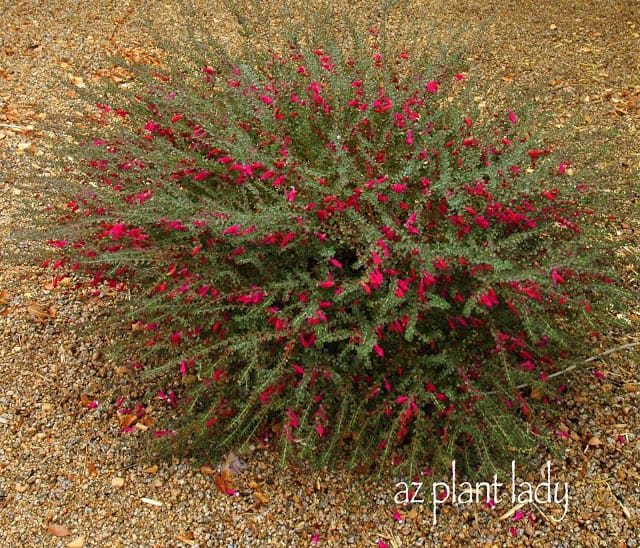
Okay, you may be saying, I don’t have any citrus, so how does this apply to me?  Well then, here is another example; desert-adapted shrubs need water every 7 – 10 days in the summer.   Even mature shrubs that are high-water use only need water every 5 – 7 days in the summer.   Most people are watering their shrubs every 2 – 3 days in the summer.  *I water my own shrubs every 7 – 10 days throughout the summer and once every month in the winter and my garden is thriving.

irrigation schedule

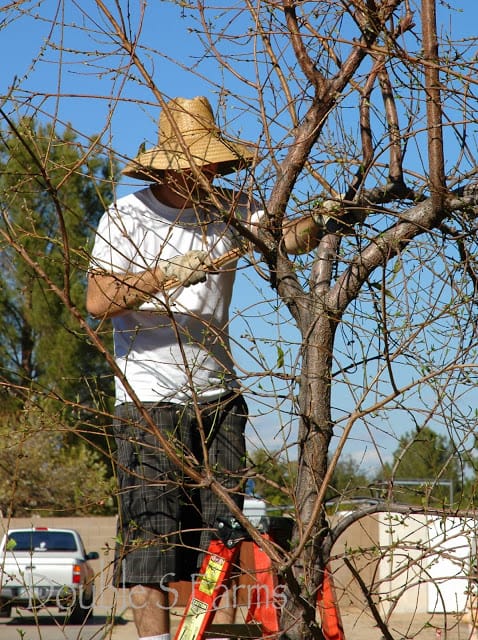
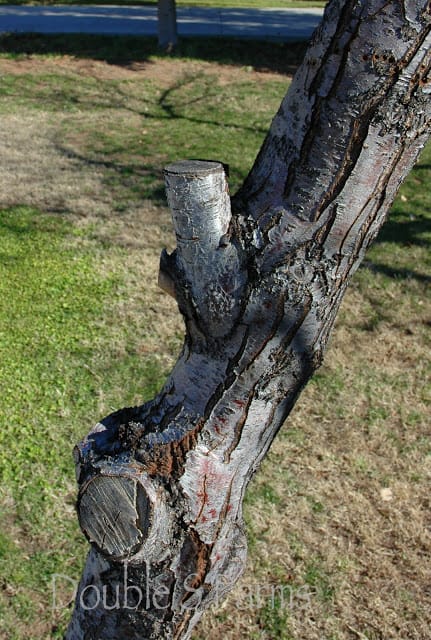
Now, for the savings….you do the math – with less growth, there is less pruning required and therefore less maintenance.    So, we are not only conserving water and saving $ off of our water bill, but also using up less space in the landfill and also saving you money (if you use a landscape company to prune your trees and shrubs).   Or at the very least, saving you a backache from all of that extra pruning you are saved from doing ;^)

All right, you are saying, that sounds great….save the earth, healthy plants, less pruning and saving money – all good things –  I’m on board, but what do I need to do to get started?  

irrigation schedule

Okay, here are the keys to watering your plants the right way – it all has to do with how deeply your plants are watered and the frequency.  Trees should be watered to a depth of 3 ft. and shrubs to a depth of 18 – 24 inches.  The trick is, figuring out how long you need to water each time to reach the recommended depth.

The length of time for each irrigation cycle can vary depending on your individual system.  So, to do this, all you need is a 3 ft. piece of rebar, (seriously, that is it).  Once you have irrigated (watered) your plants, gently push the rebar down to see how far the water has penetrated.   It will slide easily down through the moist soil.  When it stops, measure the distance on the rebar to see how far it penetrated and you can see how much longer or shorter a time you will still need to water.

*The average time the water should be turned on for shrubs is approximately 2 hours at a time, but this can vary depending on your irrigation system and soils.

irrigation schedule

Adjust how often your water (the frequency), seasonally.  Plants do not require the same amounts of water in winter then the rest of the seasons.  However, the length of time you turn on the water does not change.  

Even though the specific recommendations of this post are geared for the desert gardener in Arizona, the broader principles can apply to us all.  For those of you who do need to provide supplemental water to your plants, take the time to make sure that you are watering them correctly. 

I would like to offer one word of caution, when changing your current irrigation schedule, gradually wean your plants from the excess water they have been receiving – you don’t want to shock your plants and it will take them some time to adjust to the longer length of time between each watering cycle.  

I am joining with Jan from Thanks For Today and other fellow garden bloggers in sharing ways to garden sustainably in honor of Earth Day and this is my submission :^)  Please visit her blog to see links to other posts honoring Earth Day.

Garden Bloggers Sustainable Living

Garden Bloggers Sustainable Living

*For landscape watering guidelines in greater Phoenix area, please visit AMWUA which is an excellent resource on irrigation which has more specific information on how often to water seasonally.

*For guidelines for watering citrus, please check out the following link.

“The Joy of Composting”

Sometimes a picture is worth a thousand words.  Especially in terms of planting the right plant in the wrong place.  

I took a drive this past fall around a neighborhood near our house and found many examples of beautiful plants that had been butchered in order to fit into a small area.  I spoke about this in an earlier post,  Read the Plant Label or You Might End Up With Cupcakes.  But, I have more pictures to share of what went wrong by those who did not read the label.

So, even though I do love to ‘talk’ – I think I will let the following pictures speak for me….

Planting the right plant in the wrong place

Planting the right plant in the wrong place, Oleanders

Planting the right plant in the wrong place

Opuntia

Planting the right plant in the wrong place

Rosemary and Pyracantha

Planting the right plant in the wrong place

Texas Sage ‘Green Cloud’

Agave

Agave

Red Bird-of-Paradise

Red Bird-of-Paradise (Caesalpinia pulcherrima)

Bougainvillea 'Torch Glow'

Bougainvillea ‘Torch Glow’

Okay, I’m breaking my silence now.

You may be wondering why I am including the photo above.  I took this photo of a client’s new landscape that they had just had designed and installed by a landscape company.  You can see that the bougainvillea fit nicely in this area.  Well, that was then…..what the homeowner did not realize, (until I told him), is that this shrub will grow 6 ft. high and wide.  The area it was planted in was 1 ft. wide and located by the front entry.  In addition, they did not take into account that bougainvillea have thorns, which would scratch people as they passed by this shrub as it grew outside of the planting boundary.

So, wherever you live….whether in England, China, South Africa, Australia and especially in Arizona – please, please read the plant label before buying a plant to see how large it will grow.

Community Center landscape

 Community Center landscape which I was honored to have designed along with renown landscape architect, Carl Johnson.

This past weekend, I participated in a landscape discussion panel as part of a “Living Green in the Desert” seminar.  Attendees were able to submit their questions ahead of time as well as ask their questions directly to us.

Golf Course

Golf Course Feature Area with Bougainvillea, Gold Lantana and Purple Lilac Vine grown as a groundcover (2002).

I was looking forward to being a part of this seminar because I had worked in this community for over 5 years as a horticulturist.  So I arrived early and drove around the community and golf course areas looking at the areas that I had designed and planted over 7 years ago.

Golf Course

Plants that I had set out ready for the crew to come and plant (2005).

I look at the landscape areas as old friends.  Of course, as living things often do, many had changed.  Some areas had matured and the small plants that I had set out had matured into beautiful specimen plants.  Other areas looked a little bare since flowering perennials had not been replaced, but the areas were well-maintained.

Desert Marigold

Desert Marigold, Firecracker Penstemon, Eremophila Valentine and Desert Spoon were planted in this feature area (2002).

There were 3 of us on the desert landscape panel.  Although I knew one of the other participants, I always enjoy the instant camaraderie that occurs between fellow landscape professionals.

We had three different landscape sessions and the focus was on ‘living green’ in the desert landscape but all gardening questions were welcomed. 

Living Green in the Desert Garden

This feature area consists of only succulents such as Soaptree Yucca, Purple Prickly Pear, Desert Spoon, Opuntia robusta, Agave colorata among others.  There is no regular irrigation in this area.  We hand-watered the cactus monthly during the first two summers until they were established.

There were some excellent questions, and I will highlight the most popular ones.

Question #1- When and how do we prune our shrubs.  Are they supposed to look like ‘balls’?

There is an epidemic in the Arizona desert where desert shrubs are pruned into round ball shapes, or as we in the landscape industry refer to as “poodle or cupcake” pruning.  Those of you who have been reading my blog for awhile have seen me get up on my “high-horse” more then once, and rail against this practice.  I will not repeat myself here, but you can read my previous post where I dealt with this unfortunate practice – Shrubs Aren’t Meant To Be Cupcakes. 

Living Green

This was my favorite part of my job; designing new landscapes and seeing it all come together.   Although the plants are very small when first planted, they grow very quickly in our climate.

Question #2 – When should I fertilize my plants?

Actually, most of your arid-adapted plants do not need to be fertilized.  I only fertilize my plants if they show signs of a nutrient deficiency.  We do fertilize our container plantings and fruit trees.  Compost can be applied to all plants as this ‘feeds’ the soil.

Living Green

Purple Trailing Lantana, Mexican Bird-of-Paradise, Parry’s Penstemon, Desert Spoon and Angelita Daisy brighten the entrance to the clubhouse (2005).

Question #3 – Is it possible to have plants in my landscape that do not require any water?

 The answer is yes you can if you use native plants.  But, you will have to water them until they become established.  Keep in mind that all native plants will look much better when watered periodically.  That is what is done to the plants at the Desert Botanical Garden

For excellent guidelines as to how long and often you should water your plants, please check out this excellent site, which has information about irrigating your plants in the Arizona desert, including a schedule you can put in your irrigation controller – Landscape Watering Guide

Living Green

The native plants were watered in this area monthly until they were established.  Periodic water was supplied during the summer months (2005).

Question #4 – Is it possible to have a winter landscape with flowering plants?

The answer is absolutely! Many residents of this community are winter visitors and are away in the summer when most plants are flowering.   You can read more in a previous post of what types of plants flower during the winter months – Colorless Winter Garden…No Way! 

Living Green

This area was planted with Eremophila Valentine and Cassia shrubs.

Question #5 – How often do I need to water my citrus trees?  They are currently being watered twice a week. 

When I am asked to consult with a homeowner regarding their landscape, over 90% are watering their citrus too frequently and not deeply enough.  For example, in the winter months, citrus trees should only be watered once every 3 – 4 weeks.  Many were shocked.  I will cover citrus irrigation in more detail in the future, but there is excellent information which can be found here – Citrus Irrigation Guidelines.

Living Green

One of my favorite views from the golf course.

I had a wonderful day and enjoyed seeing old friends and meeting new ones.  I was able to spend the day doing one of my most favorite things –  help people learn how easy it is to have a beautiful, low-maintenance garden in the desert using plants that thrive in our climate.

Gardening in the desert is not difficult, it is just different….

Summer time brings a riot of color to our desert gardens, which are but a distant memory in December.  However, cooler temperatures do not mean that our gardens have to take a holiday.  In our desert climate, there are many plants that flower reliably in December.  Here are some of my favorites plants from my December garden.

December Garden

December Garden, Parry’s Penstemon (Penstemon parryi)

Beautiful flowers and a magnet for hummingbirds.  Need I say more….?

December Garden

Rosemary (Rosmarinus officinalis)(Penstemon parryi)

The delicate light blue flowers are so beautiful.

December Garden

Baja Ruellia (Ruellia peninsularis)

I just love this shrub and it’s pretty purple flowers.  Most blooms are produced in spring, but some flowers are still produced in winter.

December Garden

Autumn Sage (Salvia greggii)

Reliable bloomer fall through spring.  Hummingbirds will appreciate this small shrub in the garden.

December Garden

Pink Globe Mallow (Sphaeralcea ambigua)

Blooms fall through spring.

Baja Fairy Duster

Baja Fairy Duster (Calliandra californica)

Flowers year-round.  Slows down in the winter, but continues to flower in protected areas.

Firecracker Penstemon

  Firecracker Penstemon (Penstemon eatonii)

My favorite plant in the garden.

Angelita Daisy

  Angelita Daisy (Hymenoxys acaulis)

Year-round bright color.  Heaviest blooming occurs in the spring.

Valentine

  Valentine (Eremophila maculata ‘Valentine’)

This is what my Valentine looks like in December.  However, peak flowering occurs in February, hence the name ‘Valentine’.

So, just because it is December, it does not mean that you have to resign yourself to a landscape without flowering plants.  Try one or more of these and see the difference a little color in December adds to your desert garden.

No Snow….