Tag Archive for: soil

Question:  Do you like the way fallen flowers look in the landscape?  

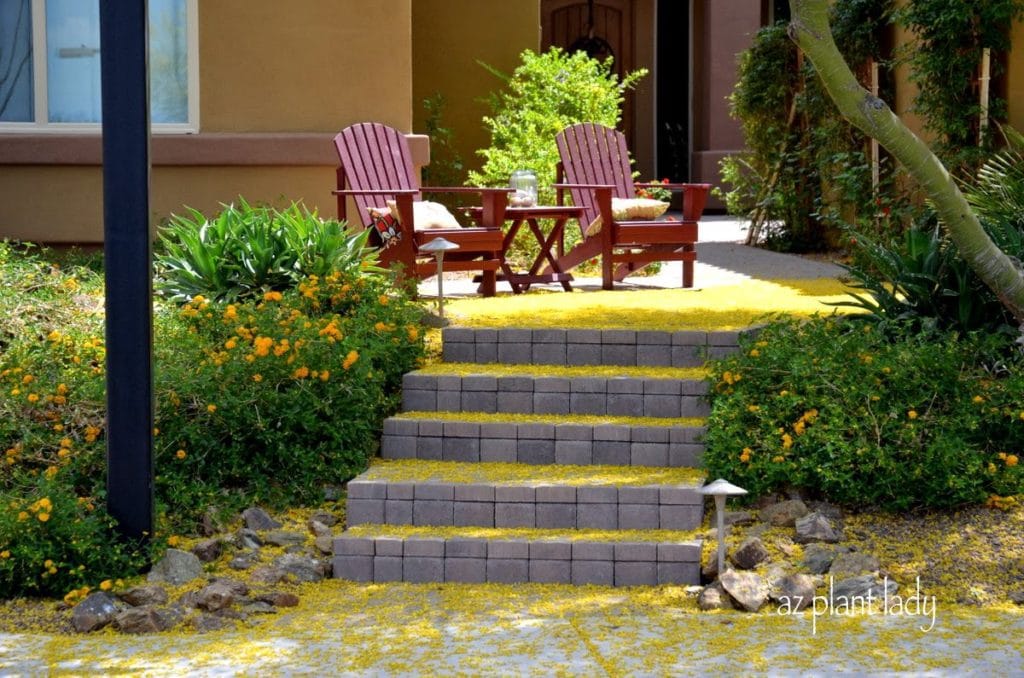
A Carpet of Fallen Flowers

Some people describe the layer of spent blossoms of trees or shrubs as a ‘colorful carpet’ that adds beauty to the landscape.

A Carpet of Fallen Flowers

Or do you feel the pull of your leaf blower calling out to you whenever you see a layer of spent blossoms littering the ground?

For me, I love the beauty of small, fallen flowers.  It is a natural occurrence and benefits the soil and plants as they breakdown.

In spring, palo verde trees are covering the ground throughout the southwest with a yellow carpet.  In winter, red blossoms from Valentine shrubs (Eremophila maculata ‘Valentine’) create a carpet of red and in the summer months, Texas sage, (Leucophyllumspecies) leave a layer of purple in their wake.

Of course, if you have a swimming pool, you may want to clean up the flowers and put them on your compost pile.

So, what about you?  Do you allow the flowers to remain or do you clean them up?

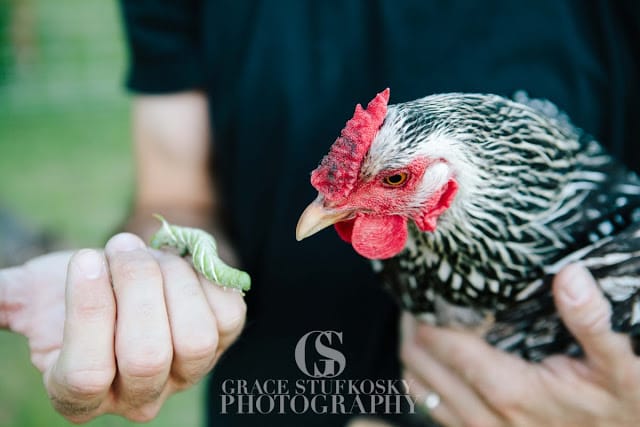
my sister's chicken

I don’t think that my sister’s chicken has ever seen a caterpillar that large before.

Do you think she will eat it?  Or will the caterpillar emerge victorious?

I’ll let you know at the end of this post…

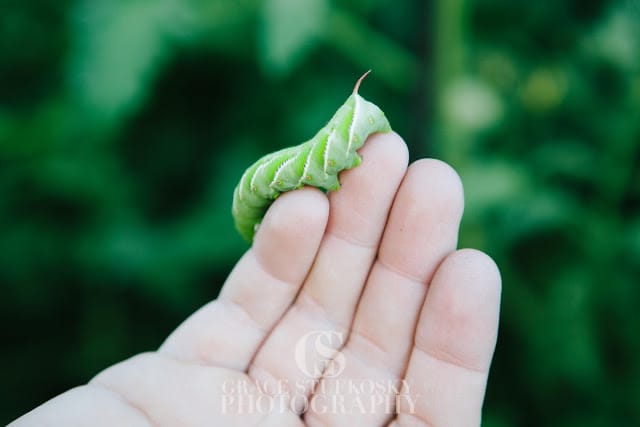
Those of you who have ever grown tomatoes probably recognize this green, horned caterpillar.

tomato hornworm

If you are not familiar with this green menace, let me introduce you to the ‘tomato hornworm’.

As their name suggests, they love to eat tomatoes and the leaves on their plants.

What you may not know is that also like to eat potato, pepper and eggplants as well.

Tomato hornworms

What is even worse, is that they can be a little hard to find.  With their green color, they blend in well with the tomato plants.  Tomato hornworms also tend to hide underneath the leaves.

At this point you may be wondering if you have these pesky caterpillars on your tomato plants.  How can you tell?

Well, some telltale signs include holes eaten from the leaves and tomatoes.  You may also see little green pellets (caterpillar poop) on the leaves.

The only way to know for certain is to go looking for them.

tomatoes

So what do you do if you find out your tomatoes are infested with these caterpillars and how did they get there in the first place?

Well, tomato hornworms grow up into moths who in turn, lay eggs on the underside of tomato leaves.  The eggs hatch in about a week and the newly emerged caterpillars start eating non-stop for 4 – 6 weeks.

As if that weren’t enough bad news, as the caterpillars grow larger, they eat more.  After about a month on gorging themselves, they drop into the soil where they form a cocoon and transform into a moth who will start the cycle again by laying eggs.

How can you do to get rid of them?

Well, there are a few ways to get rid of them and even help to prevent them in the future.

Tomato hornworm

Tomato hornworm

– The easiest way to get rid of a current infestation of tomato hornworms is to simply pick them off and dunk them into soapy water, which kills them.

– If pulling off large, green caterpillars isn’t your thing, then you can spray them with a product that contains Bt (Bacillus thuringiensis), which infects the stomach of the hornworm, killing it.  Bt is safe for animals and plants.

– There are some wasps that will act as parasites to the caterpillars and lay their eggs directly onto them.  The eggs hatch and the larvae eat the caterpillar.

Now, I don’t know about you, but I’d rather not have to deal with tomato hornworms at all.  So, I am all about prevention.

– In the fall, till the soil around your tomato plants.  This will unearth any cocoons that are attempting to overwinter in the soil, which kills them.  Do this again in spring, before planting new tomato plants.  This is usually 90% effective in getting rid of tomato hornworm cocoons before the moth emerges.

Okay, so back to the chicken, caterpillar face-off…

My sister's chicken Francie is a 'naked-neck' chicken and yes, she is supposed to look that way

My sister’s chicken Francie is a ‘naked-neck’ chicken and yes, she is supposed to look that way 😉

It turns out that the chickens were a little put off by the large size of the caterpillars.  So, they wouldn’t touch them.

That is until… the caterpillars were cut up into smaller pieces.  Then the chickens couldn’t eat them fast enough. (I know, kind of gross, isn’t it?)

**I want to thank my sister, Grace, for her fabulous pictures.  You can find out more about her photography, here.

As you know, I enjoy growing my own vegetables.  Many people ask me what the secret is to a healthy vegetable garden.

Well, what if I told you that the secret ingredient is a natural fertilizer that improves your soil, is plentiful and very cheap.

Would you want to try it in your garden?  Chances are that you are already familiar with this secret ingredient and farmers have been using it for centuries.

What is it?

MANURE

secret of healthy vegetable garden

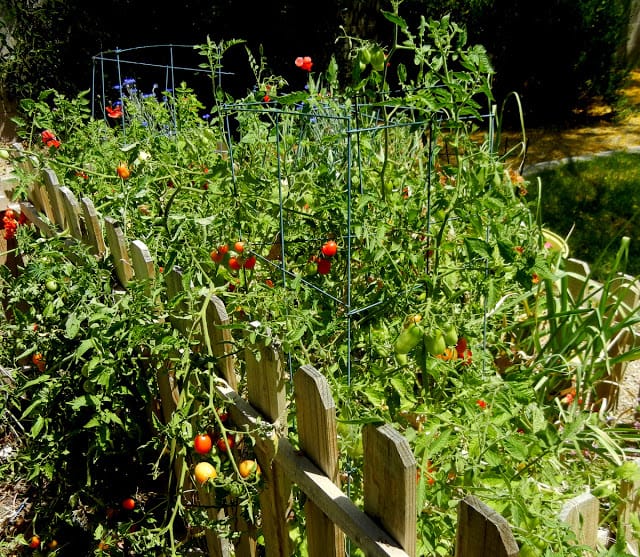
Secret of healthy vegetable garden, Manure along with compost are the backbone of my soil in my vegetable gardens.

Manure along with compost are the backbone of my soil in my vegetable gardens.

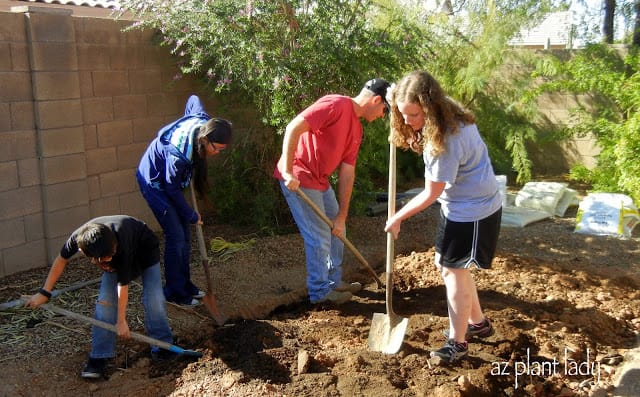
I blogged about using manure when creating my newest vegetable garden early last year.

I recently wrote an article “The Poop Scoop: Enrich Your Soil With Good Old Manure” for Houzz.com

I hope you enjoy it!

*******************************

The most recent update on our daughter, Rachele, who is in basic training for the Navy is that she has to pass her last running test in order to graduate.

She is quite nervous about passing because she still hasn’t recovered from her twisted ankle and also has shin splints.

I would appreciate your prayers that she will be able to pass 🙂

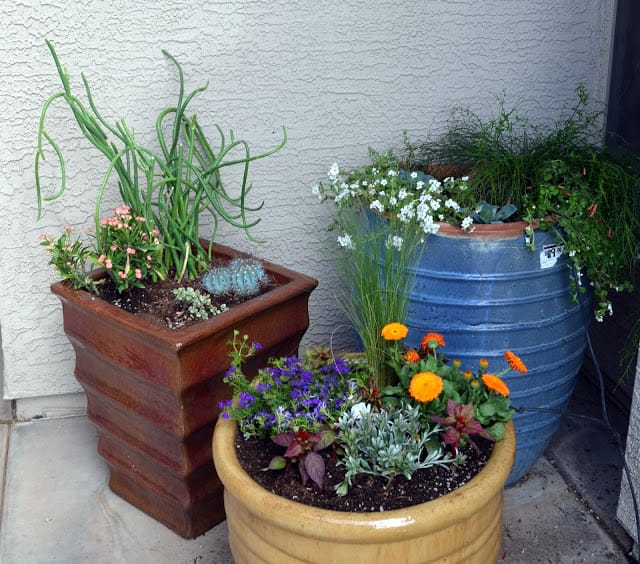
In my last post, “Pots, Trash and Goodbyes“, I talked about how I bought some new glazed pots for my front entry.

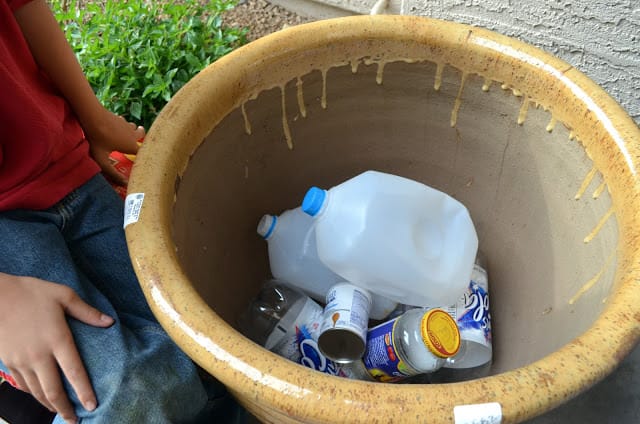
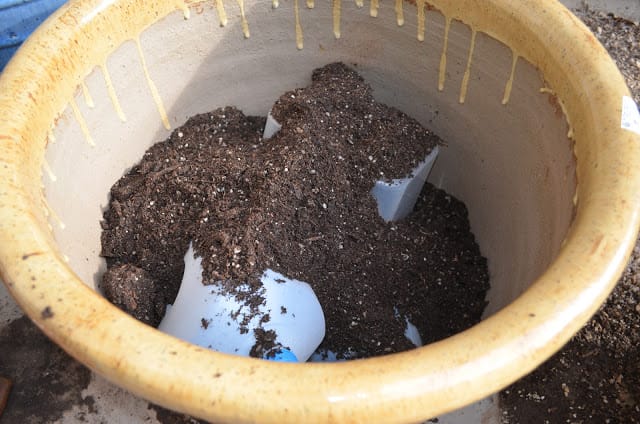
You would expect that planting pots is pretty straight forward.  But, what many of you didn’t expect was the ‘trash’ that I put in the bottom of my containers.

recyclable trash

recyclable trash

You can see that the trash at the bottom of this pot consists of mostly recyclable trash such as milk cartons, soda and pasta bottles.

So why on earth would someone put trash in the bottom of a pot?

Here is a clue…

potting mix

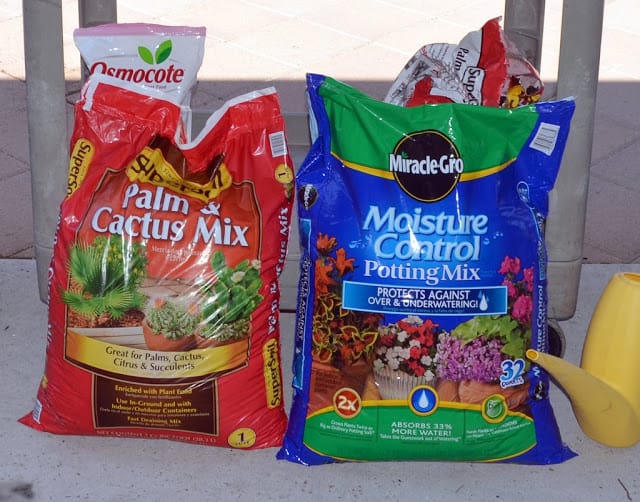
Have you bought potting mix lately?

It is expensive AND many pots are so large, that plant’s roots don’t reach down to the bottom.

So, why waste all that expensive, unused soil at the bottom?

recyclable trash

Because this pot was to be filled with shallow-rooted annuals and perennials – I filled the bottom third of the pot with empty plastic containers.

I not only have saved myself money, but my pot also weighs a lot less then if I had filled the entire pot with soil.

containers

If you are planting shrubs, trees or other deep-rooted plants, then you need a lot of soil for the roots to grow into – so, don’t use this trick for these types of plants.

The next time you plant containers, be sure to raid your recycle bin first for ‘trash’.

**You can also use foam packing peanuts in place of empty plastic containers.

**************************

Thank you all for your kind words of support as my daughter, Rachele, left for basic training yesterday.

We got a 1-minute phone call, telling us she was okay and that we would receive a letter in one week and a phone call in three.

My sister-in-law attended her swearing in ceremony in downtown Phoenix just before she boarded a plane for basic training.

She got her hair cut ahead of time

She got her hair cut ahead of time.

Rachele didn’t want her dad and I to go because she said it would be too hard for her not to be sad and cry.  So, I was happy that my sister-in-law, who worked nearby, was able to go and support her and take photos for us all to see.

We are all starting to write her letters and the ones that the kids wrote are so sweet and just break my heart because they miss her already.

With warming temperatures, many of us begin to think about changing out our cool-season annual flowers for plants that can take the heat of summer.

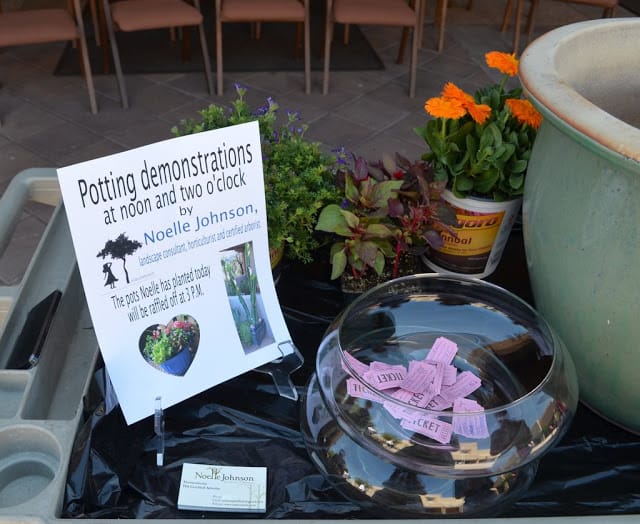
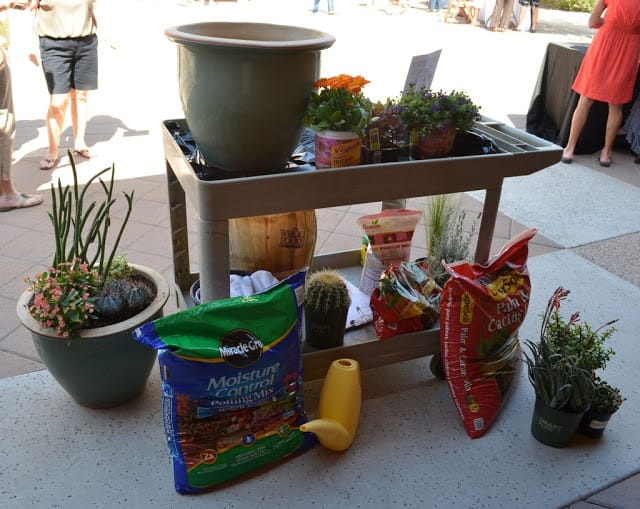
Last week, I gave a potting demonstration for attendees of a local home tour.  

Potting demonstration

Potting demonstration

The pots were then to be raffled off.

I planned on creating two succulent pots and one using a combination of perennials and annual flowers.

Potting demonstration

My daughter, Rachele, came with me to help carry the bags of soil, pots, plants, etc.

It was also an opportunity to spend time together before she left for the Navy.

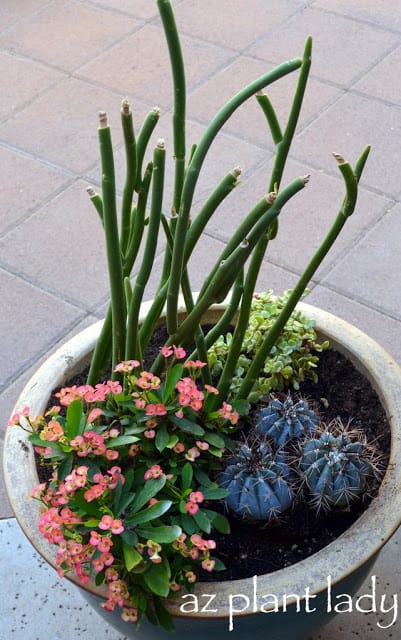
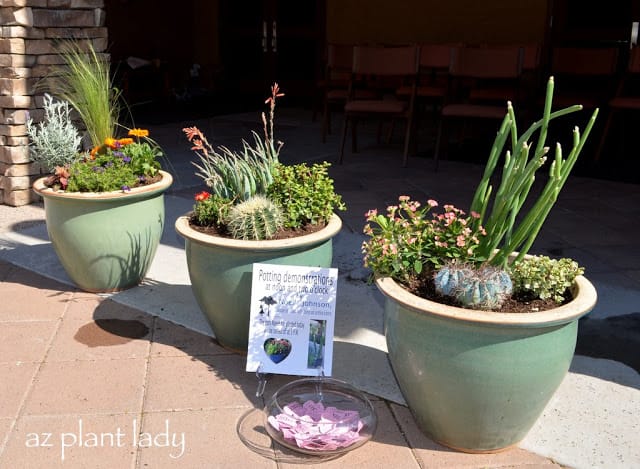
There were to be two different potting demonstrations.  I created one succulent pot ahead of time…  

pink-flowers

This container has pink-flowering Crown of Thorns, tall Lady’s Slipper, Variegated Elephant’s Food and a gray-colored cactus.

I like to create container plantings with a tall plant for vertical interest.  The Crown of Thorns provides striking floral color.  The Elephant’s Food will trail over the edge of the pot as it grows, which adds texture and softens the container’s lines.

Lastly, the gray-colored cactus (I admit that I don’t know what kind it is), adds great color contrast with its gray/blue color.

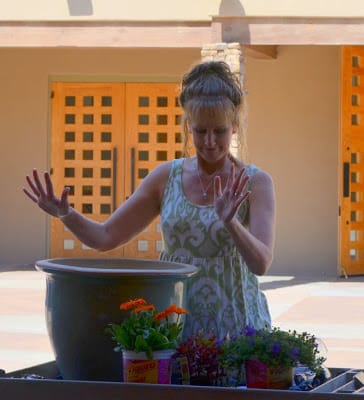
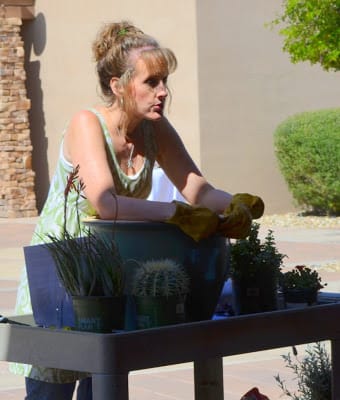
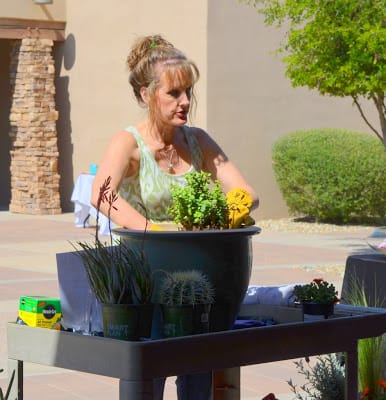
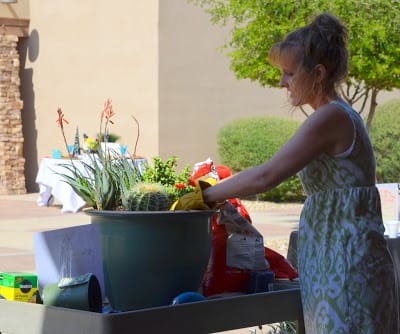
Soon, it was time for the first demonstration.  My daughter took photos of me talking.  The lighting is terrible because I was in the shade and behind me was the sun, but you can still see what I was doing.

Looking down at my notes.  Can you tell  I use my hands when I talk?

Looking down at my notes.  Can you tell  I use my hands when I talk?

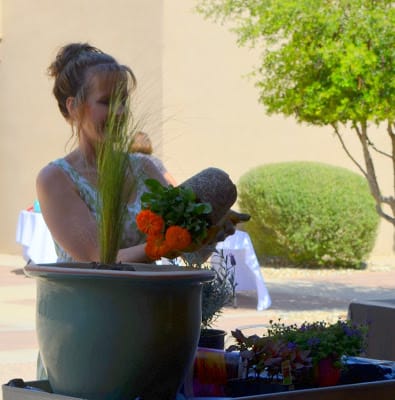
Planting the orange Calendula

Planting the orange Calendula.

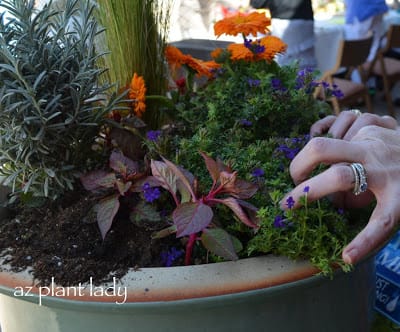
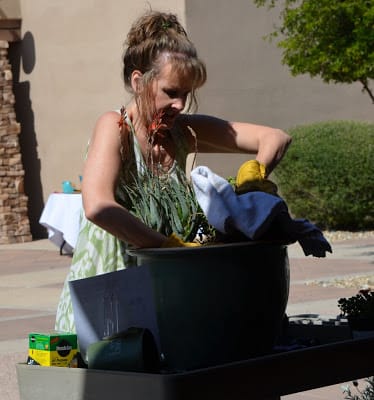
Adding Purple Verbena and filling the spaces with Celosia

Adding Purple Verbena and filling the spaces with Celosia.

I just need a bit more Celosia in the front, don't you think?

I just need a bit more Celosia in the front, don’t you think?

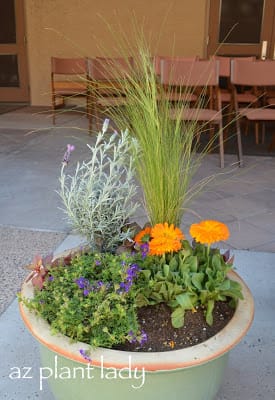
For this container, the tall vertical interest comes from Mexican Feather Grass.  The bright color is from the Calendula.  The trailing plant is Purple Verbena and gray Lavender provides the color contrast.

I used Celosia to fill in the empty spaces.  I was pretty happy with how it turned out.

When planning on what plant combinations will look good in a container, I simply arrange the plants, while they are still in their containers at the nursery.

succulent pot.

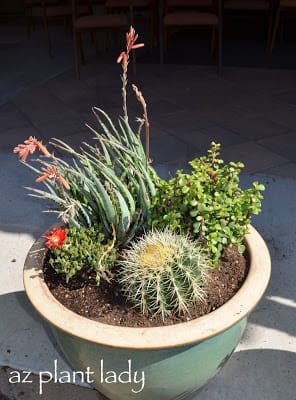
Now it was time for planting the second succulent pot.

First, adding the Elephant's Food.

First, adding the Elephant’s Food.

Ever wonder how to plant a cactus without getting pricked?

Golden Barrel Cactus

An old towel, folded into quarters (4 layers thick) works great.  I covered the top of the Golden Barrel Cactus with the towel as I turned it over to plant.  The towel came off easily once I was finished.

Newspaper is also helpful in planting cactus.

Almost done

Almost done…

 Blue Elf Aloe

Finished!

The Blue Elf Aloe provides the height for this planting combination.  Elephant’s Food will grow to trail over the side.  The Golden Barrel cactus adds color contrast with its round shape and yellow spines.  Ice plant with brightly-colored red flowers adds a needed splash of color.

Potting Demonstration

The pots each went to good homes and raised money for future community projects.

Do you like growing plants in containers?

Or maybe, you haven’t tried before.

Well, it’s not difficult. Come back for a visit in a couple of days and I’ll share with you my container guidelines.