Exploring the Largest Therapeutic Garden in Arizona
Discover Arizona’s Largest Therapeutic Garden in Bisbee. Explore healing outdoor spaces and inclusivity at this remarkable resource and heal your soul. On a recent visit to southeastern Arizona, I was invited to visit a special garden in Bisbee, a small community with a big heart.
The Significance of the Founder’s Garden
My husband and I visit Bisbee every spring and enjoy walking through the older part of town with its historic buildings and exploring the mining history.
A Healing Oasis in the Desert
During this visit, I was to speak about gardening to a community group and was given the opportunity to tour a recently completed garden. It gave me so much joy.
The Largest Therapeutic Garden in Arizona
So what is so special about this garden? Well, it is the largest therapeutic garden in Arizona. Its goal is to “serve as a space for our community partners—including hospitals, nonprofits, and other organizations—to incorporate into their services plans for individual and group therapy, day programs serving individuals with additional needs, and other forms of healing.”
Designing a Healing Outdoor Space
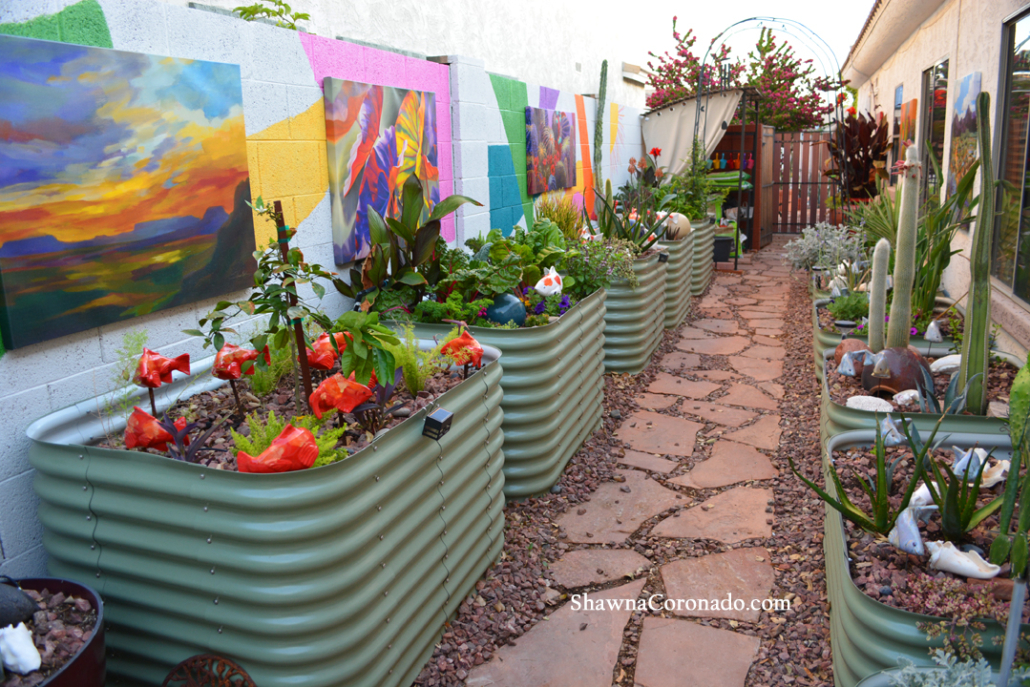
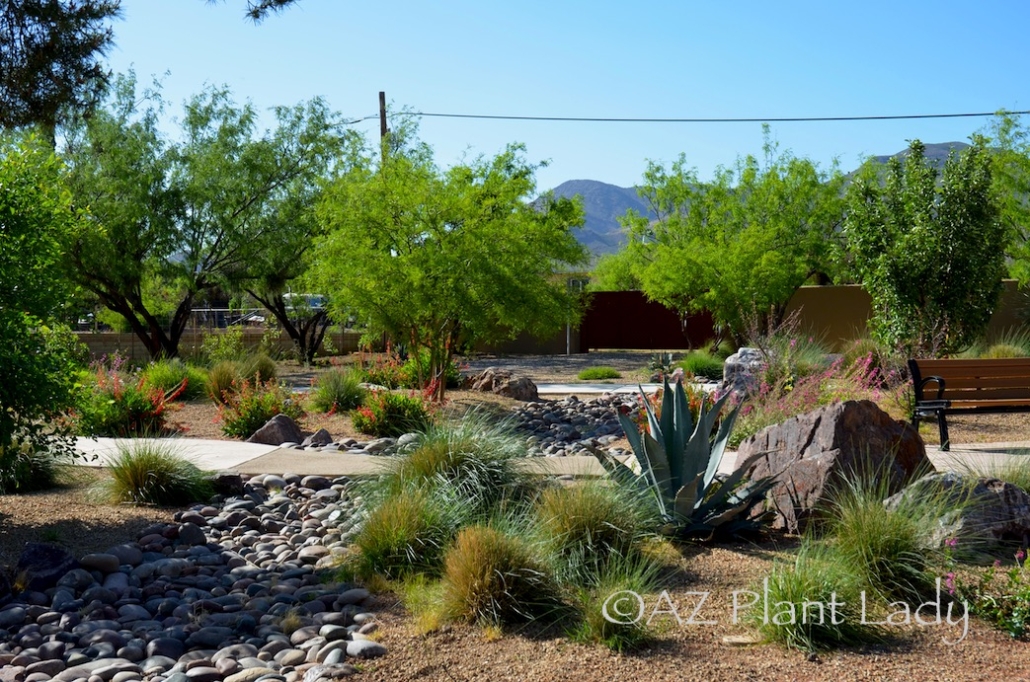
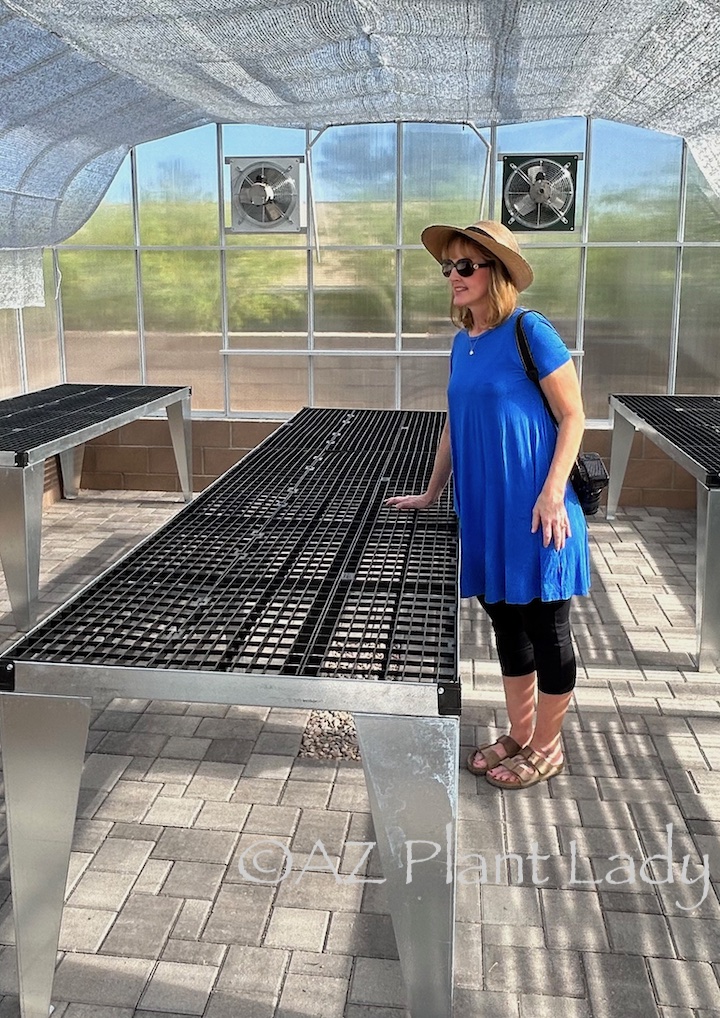
The garden is a 3.5-acre outdoor space designed by Norris Design of Tucson and was completed two years ago. That was plenty of time for the plants to become established and to get a feel of what the garden will look like as it continues to fill in.
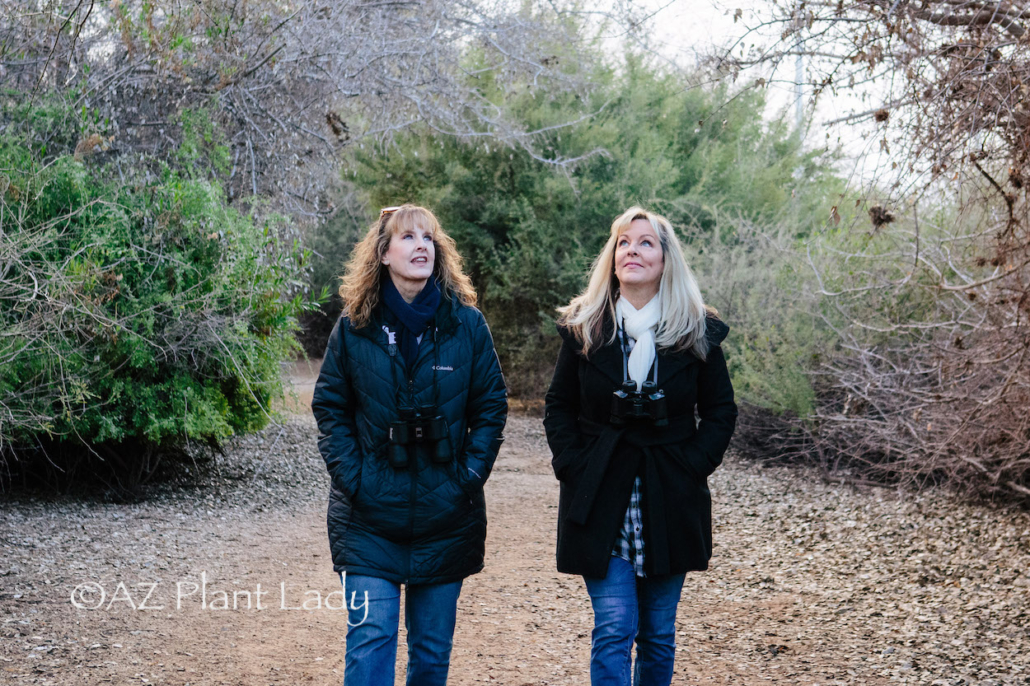
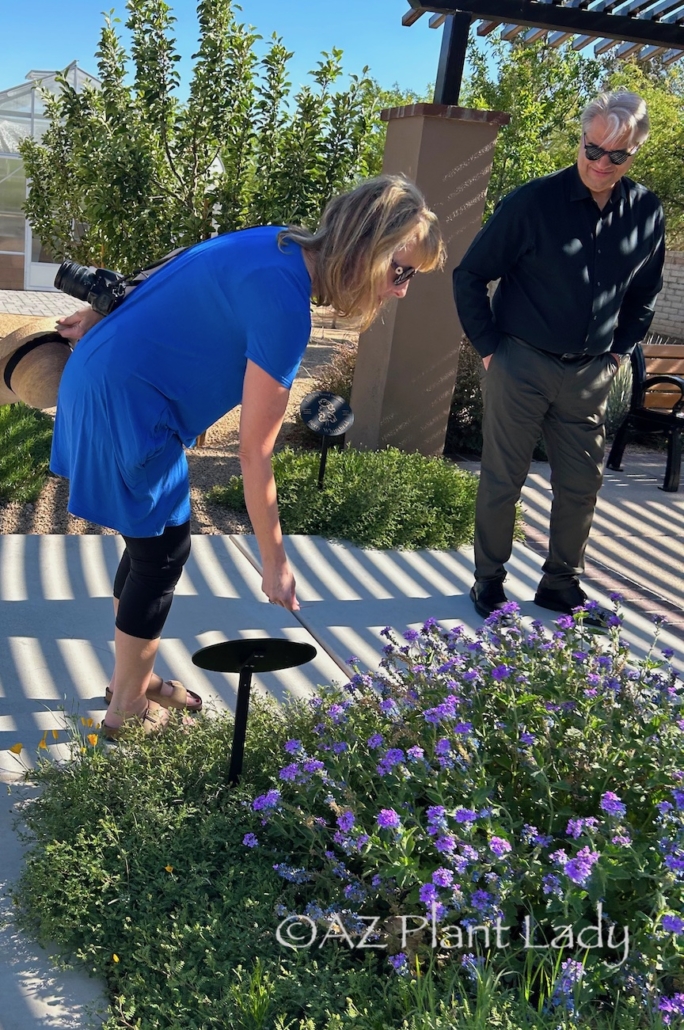
We toured the garden with the CEO of Premier Alliances, and the history of its humble beginnings was fascinating to learn about.
Promoting Healing and Inclusivity
In 1962, a group of mothers came together to find and create learning opportunities for their children with disabilities. Back then, few resources were available, so the women took matters into their own hands. They initially raised money by selling homemade cakes.
Over the years, the group evolved into Premier Alliances, which serves people with disabilities in southeastern Arizona. I love how the CEO, John Charley, refers to people with special needs as “People with additional needs.”
Inclusivity Through Design
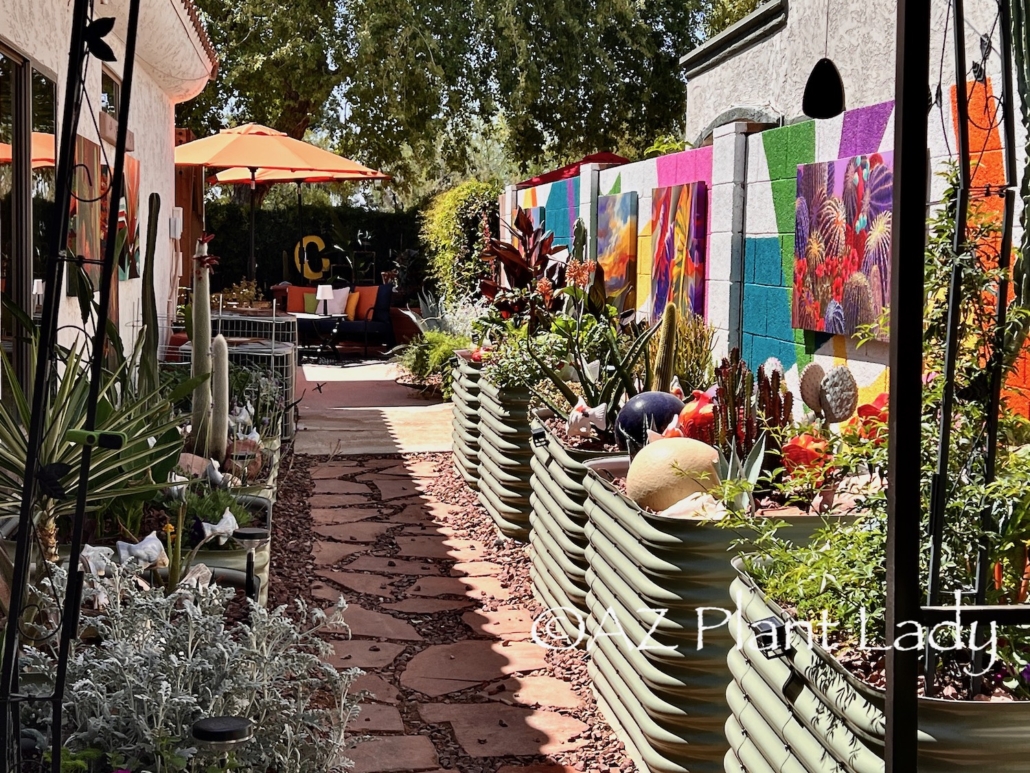
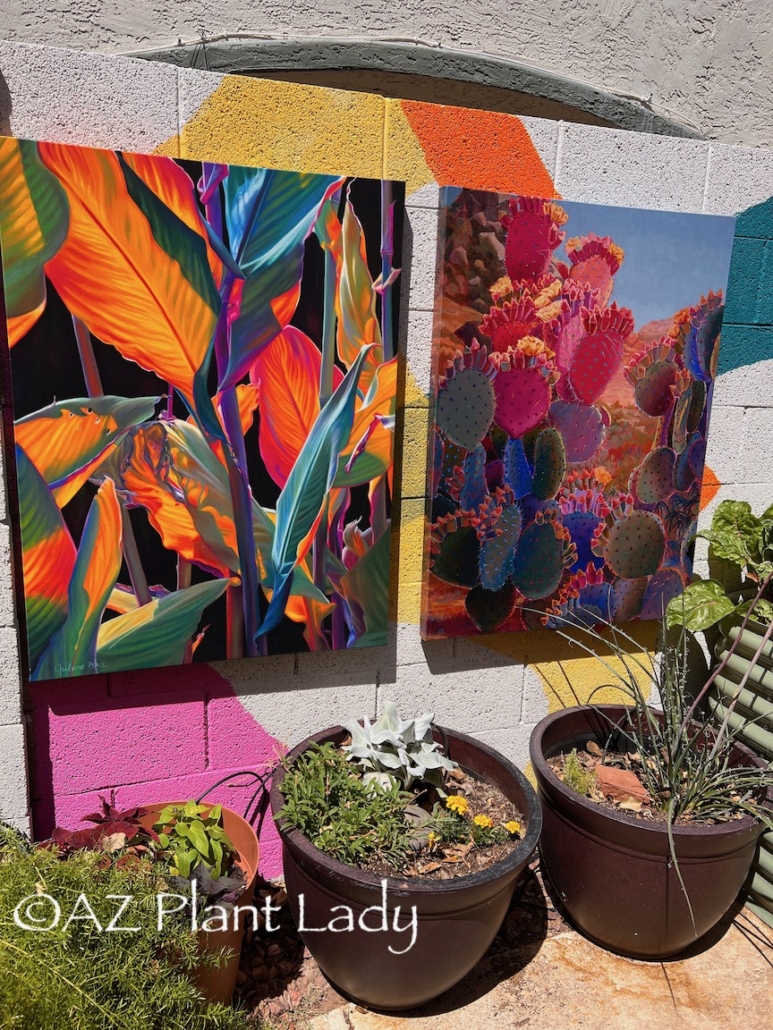
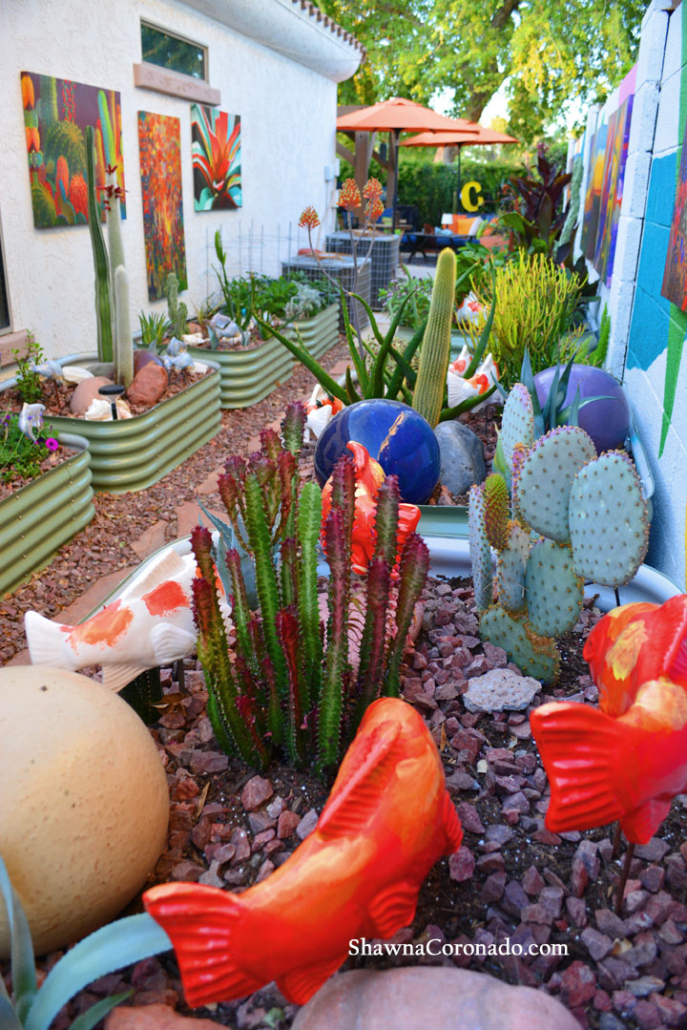
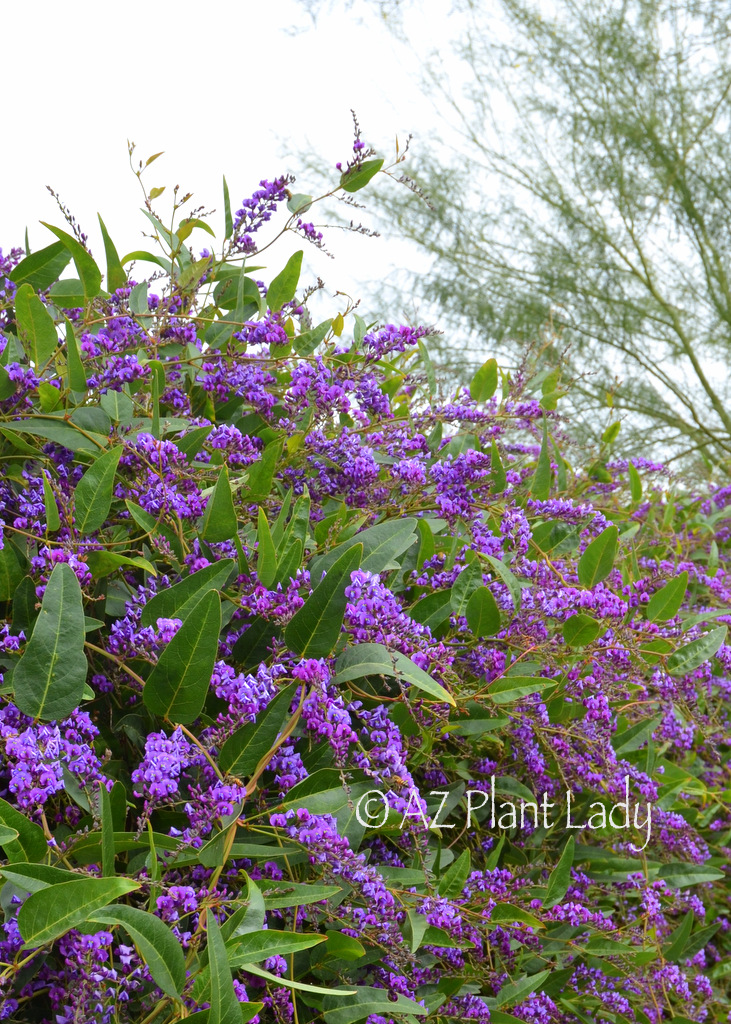
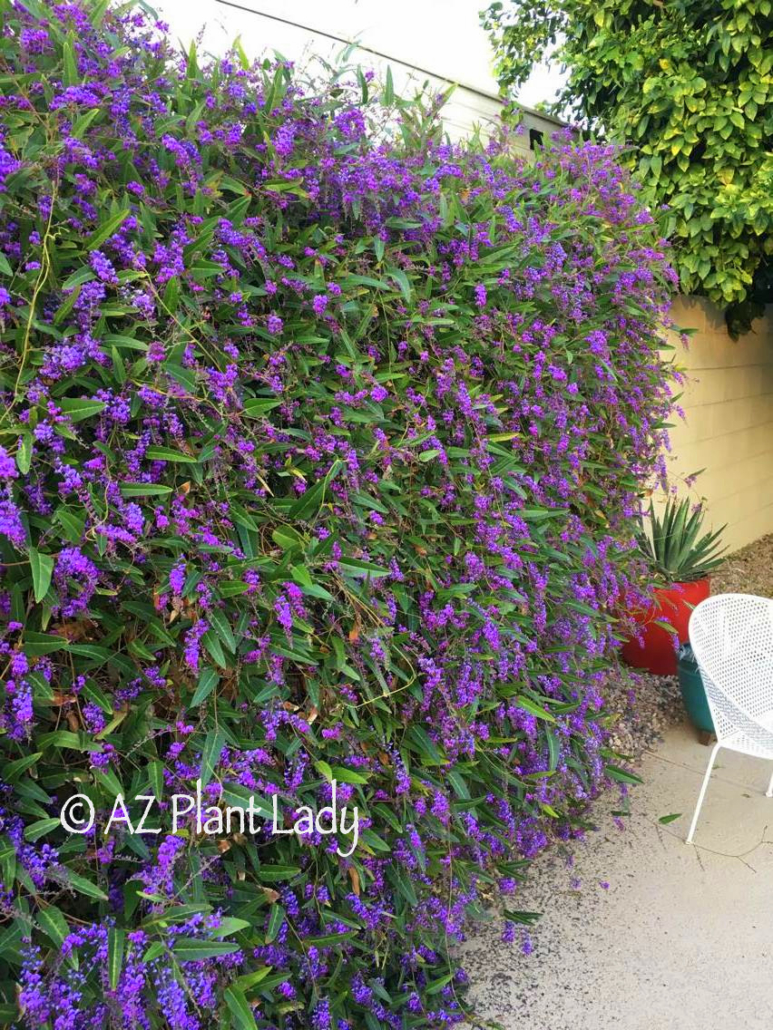
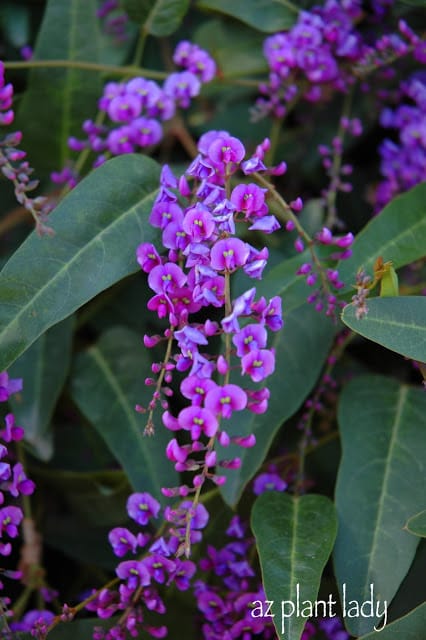
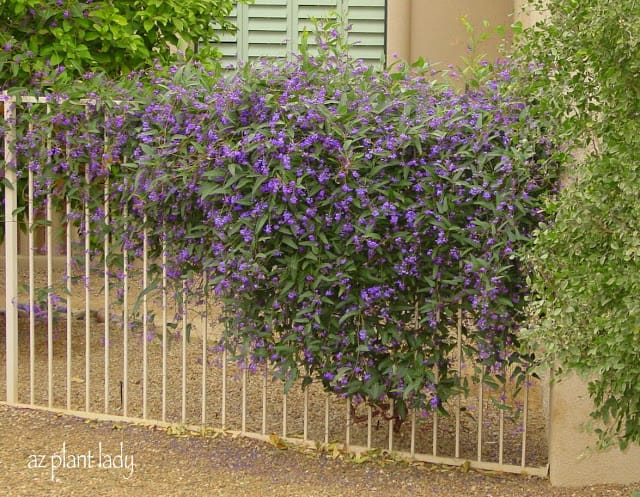
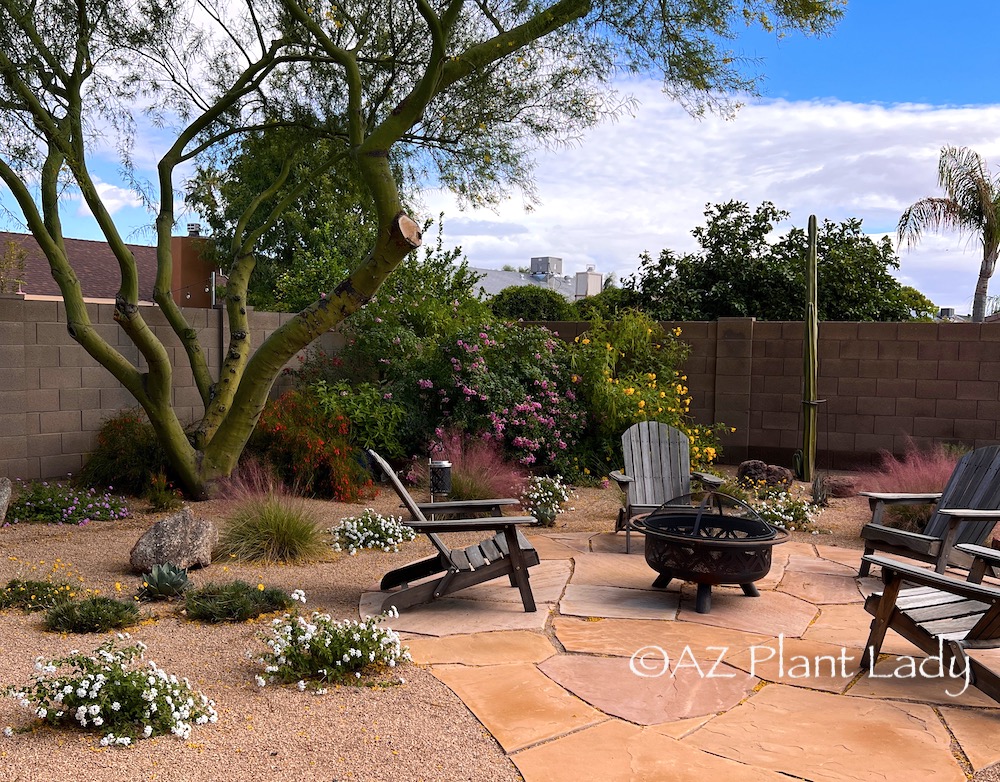
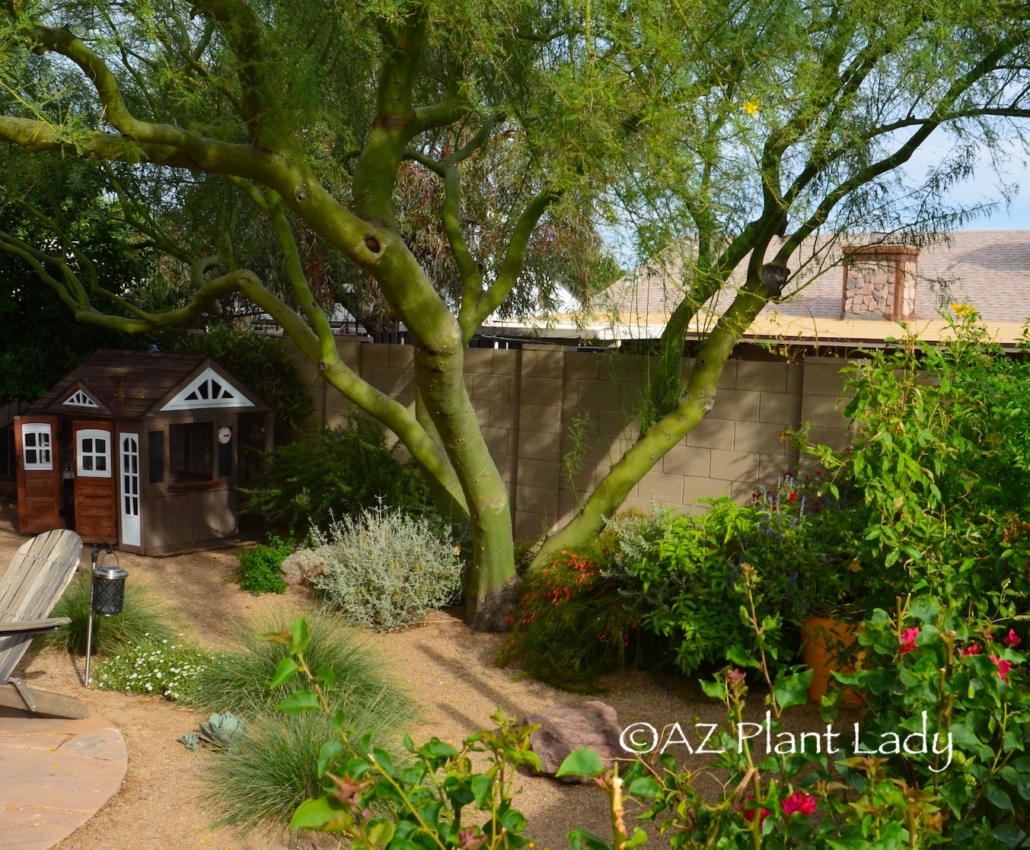
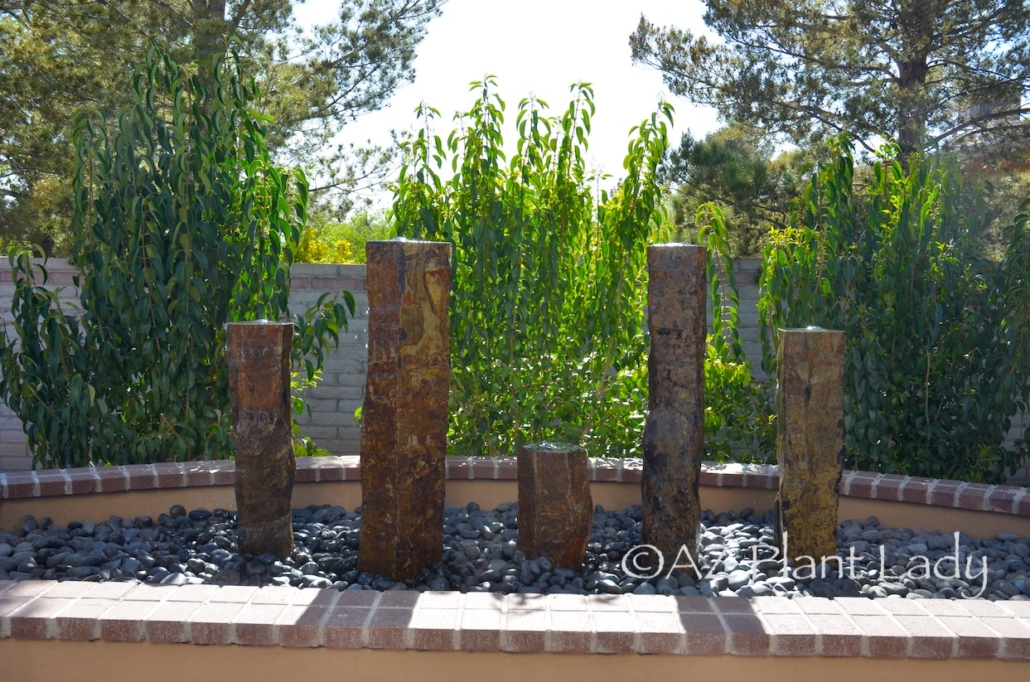
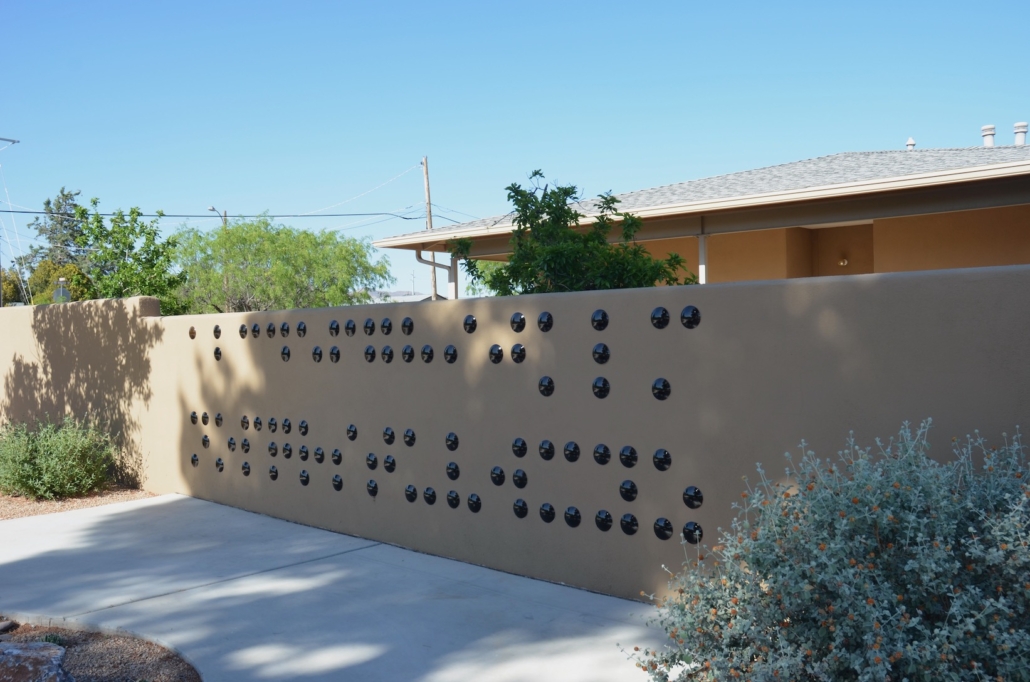
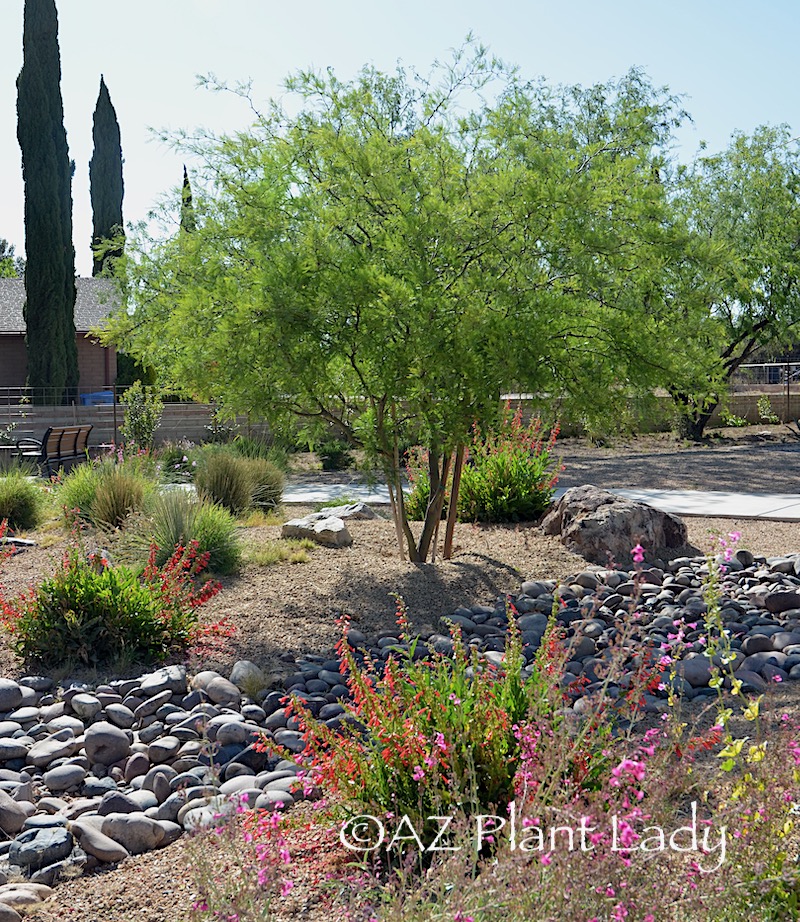
Throughout the garden are wide, winding paths taking visitors along landscape beds with plants that invite you to touch and feel.
Over the years, the group evolved into Premier Alliances, which serves people with disabilities in southeastern Arizona. I love how the CEO, John Charley, refers to people with special needs as “People with additional needs.”
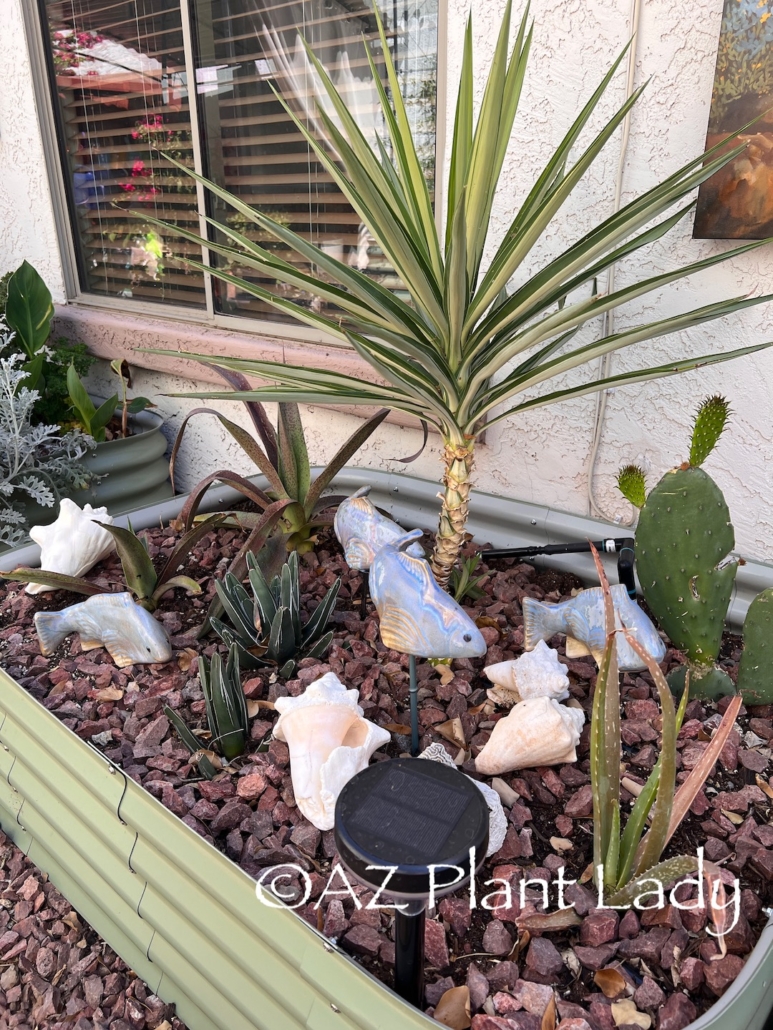
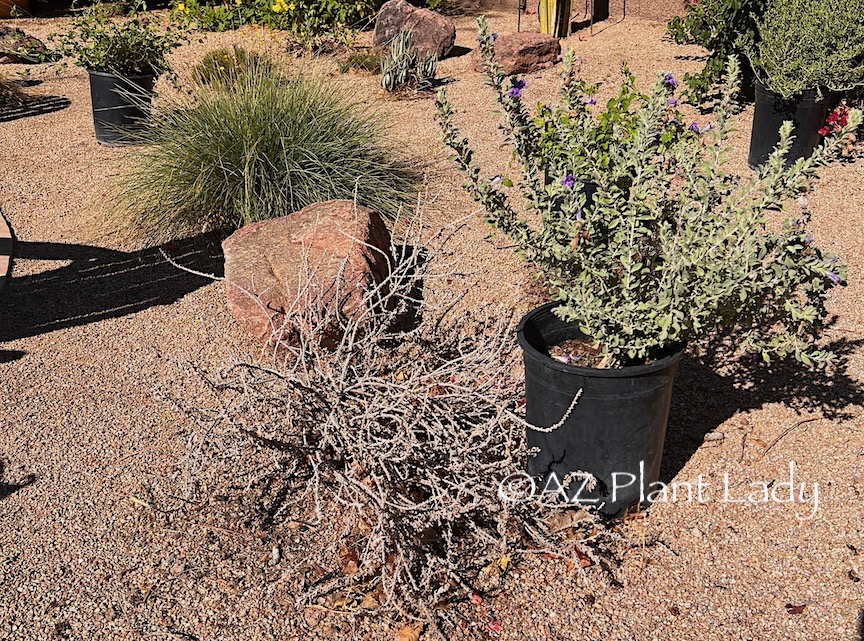
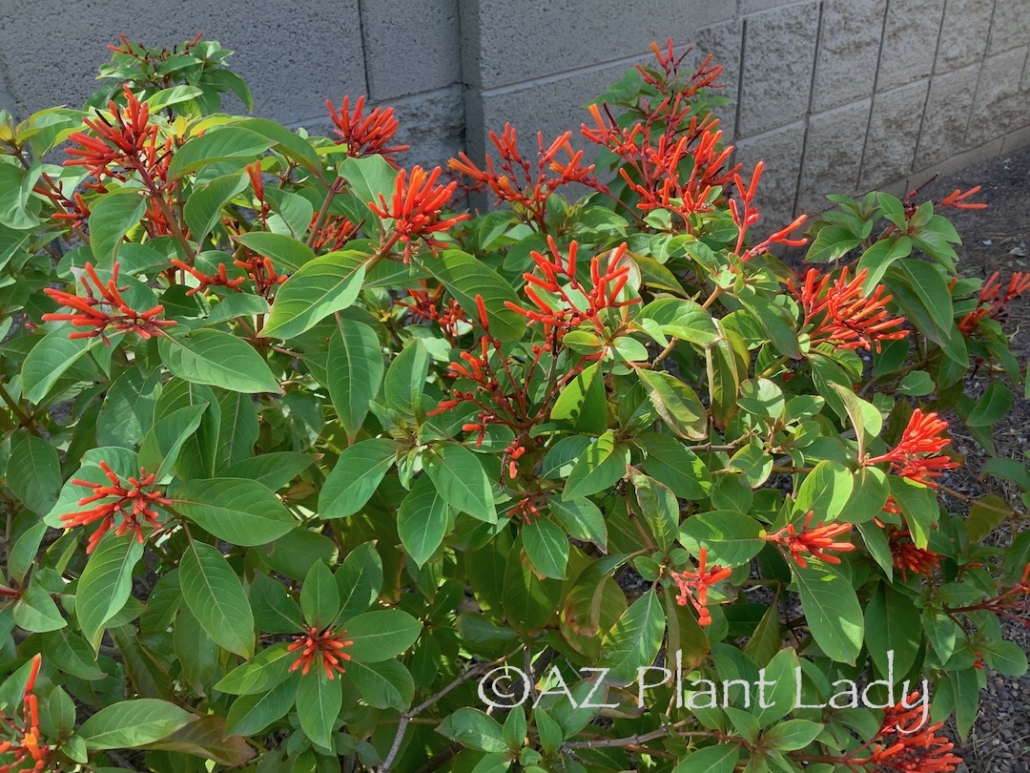
The plants are drought and desert-adapted to handle the cold(er) winters of the high desert and hot summers. Many of the plants are found in low and mid-altitude gardens as well. All are meant as a therapeutic garden in Arizona.
Personal Perspective on Therapeutic Gardens
Gardens can be places of calm and healing. Unfortunately, not all gardens are accessible to people who may have limitations. It’s easy for people without special needs to be unaware of the obstacles that stand in the way of enjoying every day experiences, like parks or gardens.
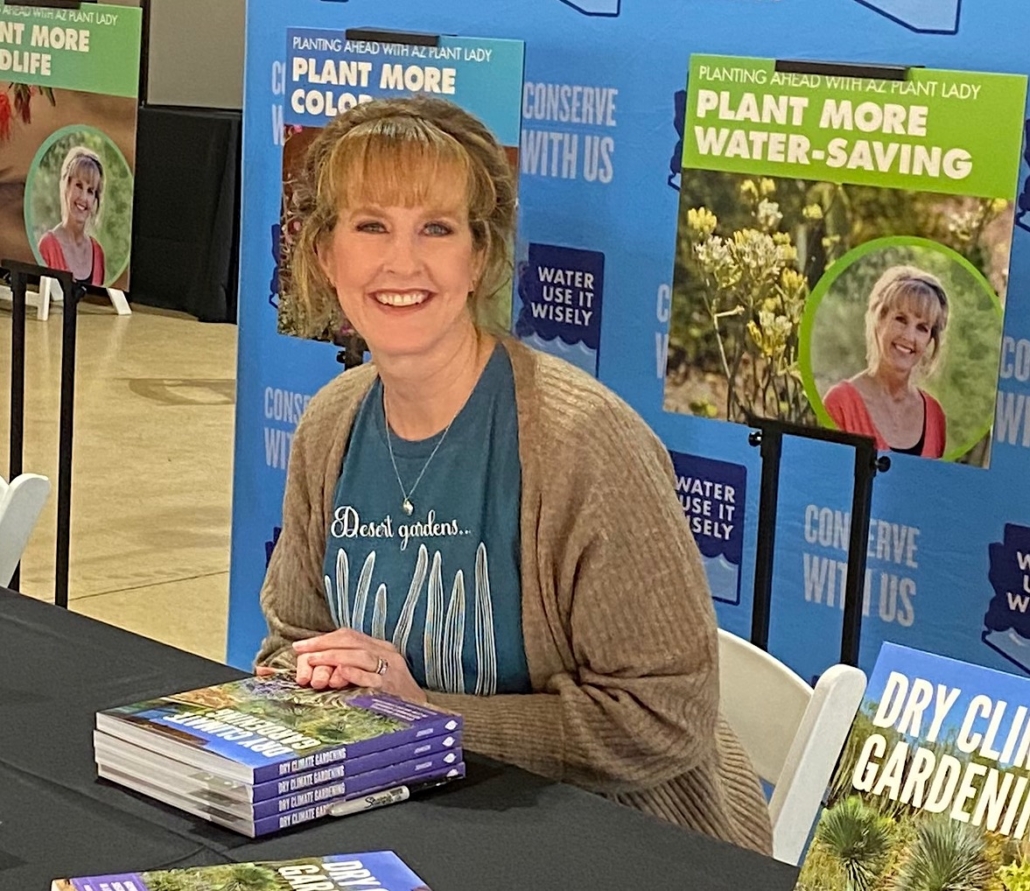
As a parent of a daughter with “additional needs,” I know how important spaces like therapeutic gardens are and their function within the community.
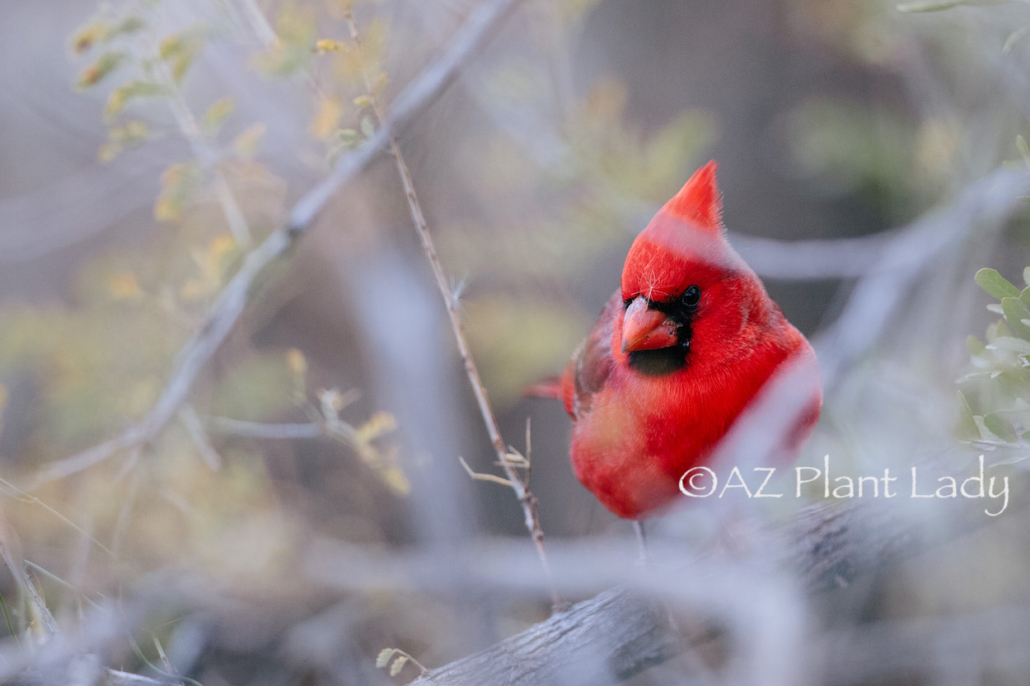
The therapeutic effects of gardens are for everyone – they reduce stress and enable you to enjoy nature.
Visiting Founder’s Garden in Bisbee
I encourage you to learn more about the Founder’s Garden in Bisbee and its resources. The garden is open to people with extra needs and the general public, Monday through Friday.

Click here to learn more about their mission and how you can visit the garden.