First of all, let me begin by saying that I love green onions.

Green Onions

I plant the seeds in my vegetable garden in fall and they are ready for me to harvest in May.

Green Onions

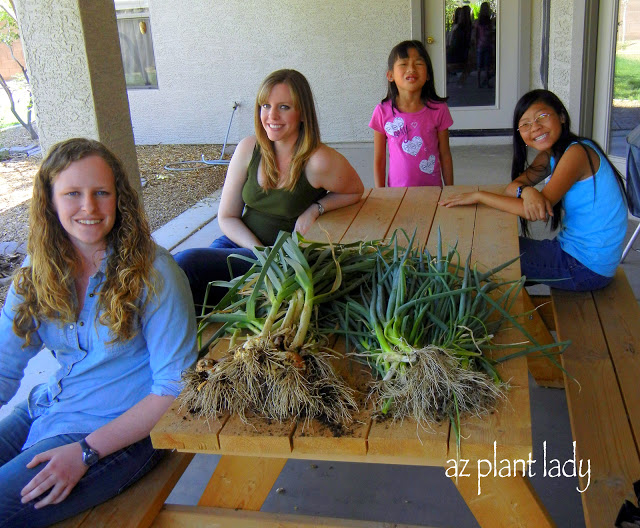
Freshly-harvested onions on the right (Garlic is on the left).

I like to use them in my homemade salsa or sprinkled on top of any Mexican dish that I make – tacos, nachos, Mexican rice, etc.

What I don’t like is having to buy them at the store when they aren’t growing in my garden.  

BUT, I learned a great trick this year:

You can re-grow green onions by using the bottom part (the part you usually throw away).

Here is how you do it:

Green Onions

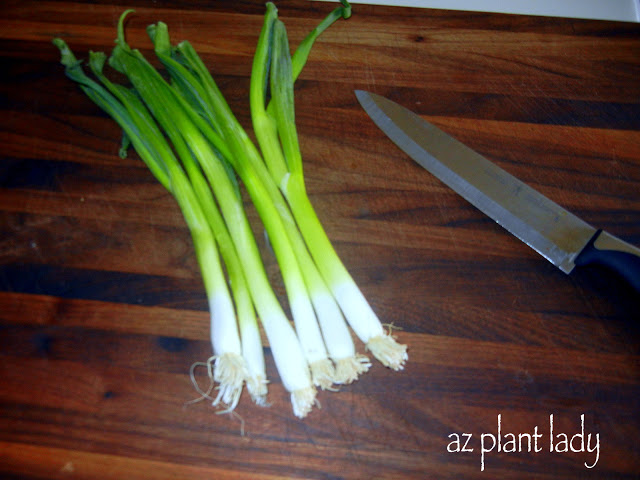
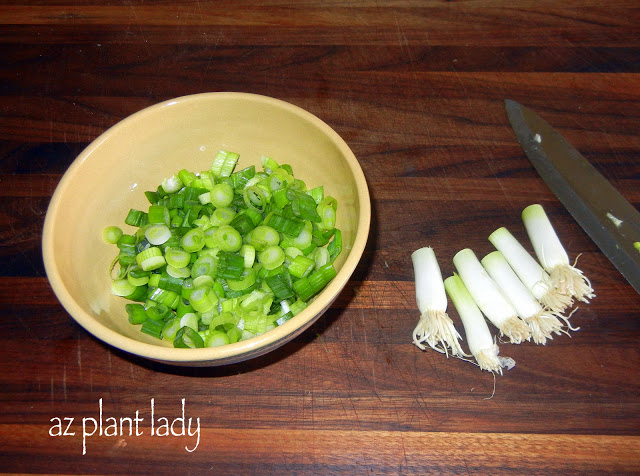
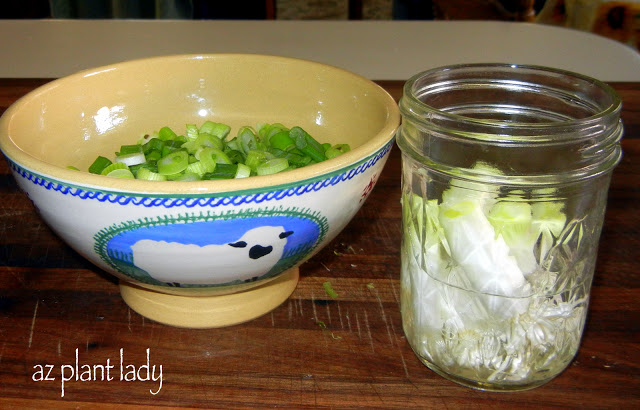
1. Cut off the white base of your green onions (use the top green part for whatever delicious meal you are cooking 😉

Green Onions
Green Onions

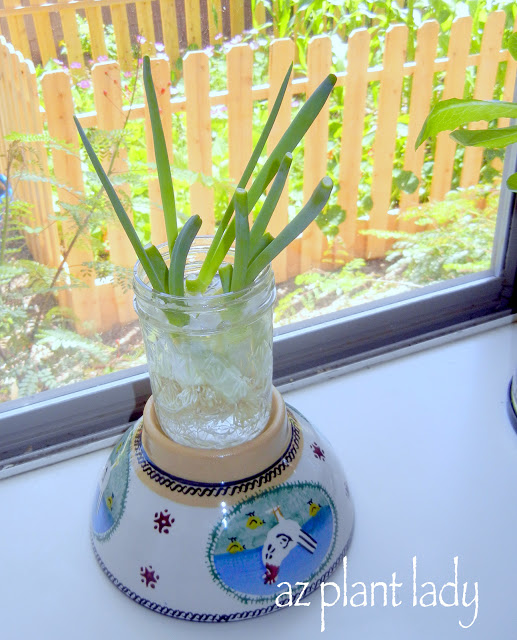
2. Place the bottom part of your green onions in a glass or jar and fill with water.  Take care NOT to cover the top of the onion with water.

3. Place in front of a sunny window and change the water every other day.

Green Onions

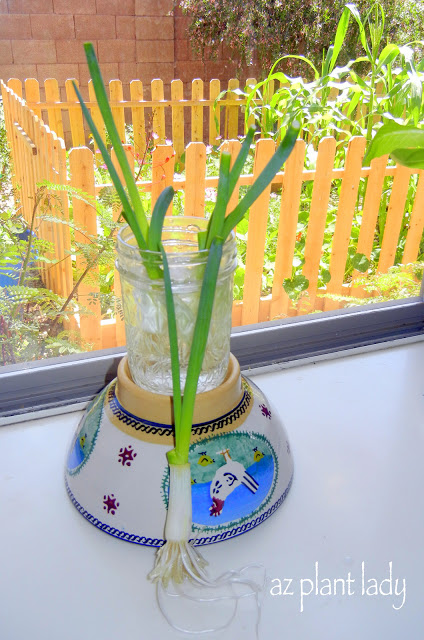
4. In only a week’s time, you will see your green onion start to regrow.  The photo above was taken after 10 days.

roots

You can see how the roots grew too.

5. Now simply slice of snip off the green tops for whatever you like to eat green onions on.

You can ‘re-use’ a green onion 2 – 3 times.  After this point, they will start to lose their ‘oniony’ flavor.

So, I hope you use this helpful tip.  It will not only save you $ at the store, but who doesn’t like more green onions?

I must confess that the heat of July keeps me indoors most of the time.

In fact, I try to make my trips out to my garden under 15 minutes or less.  I just don’t like to sweat.

But, I do have two things that I have to share with you.

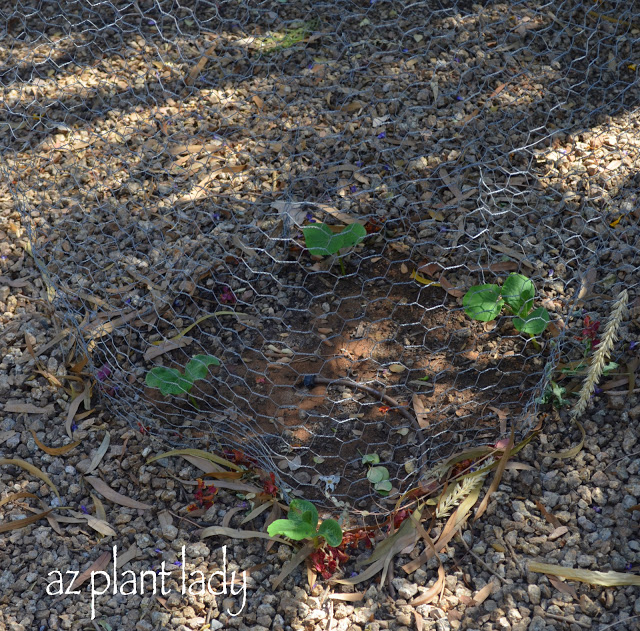
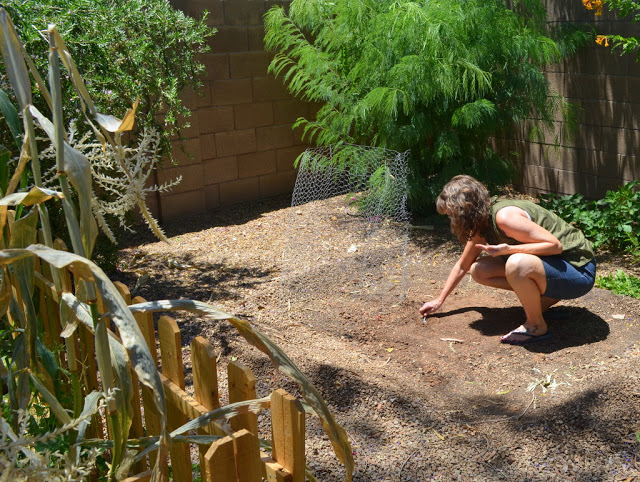
The first one is – my pumpkin seeds have all sprouted and are growing!

July Vegetable Garden

July Vegetable Garden

All four came up.

I didn’t plant them inside of my vegetable garden, because of how large they get. I learned my lesson a few years ago.  You can read my post about it if you like –  “What Is Wrong With This Picture”

July Vegetable Garden

July Vegetable Garden

I also put some chicken wire around the planting site to keep my dogs from digging up my newly planted seeds.

For water, I put a single drip emitter in the center, which is connected to the drip system of my nearby vegetable garden.

My pumpkins should be ready in October.  Right now, that seems so far away – but it will be here before we know it!

A few weeks ago, I posted about what was happening in my summer vegetable garden “Snapshot of a Summer Week in the Garden”

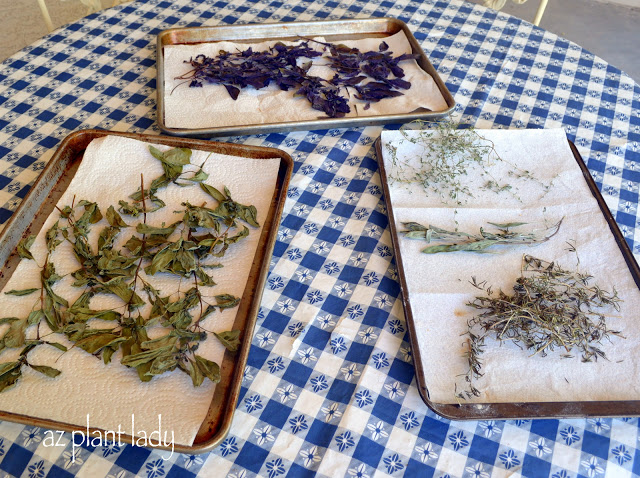
In it, I mentioned trying drying my herbs by spreading them out onto cookie sheets instead of hanging them up.

Well guess what?

July Vegetable Garden

It worked beautifully!

I placed my herbs onto paper towels and then covered them with additional paper towels to keep the dust off.

I stored them in our garage and when I checked on them a week later – they were nice and dry.

This was much easier then hanging them, so this will probably be my “go-to” method from now on.

*I can only speak to my experience of drying herbs this way in a desert climate.  I’m not sure how well it would work in more humid climates.

But, you never know until you try 🙂

Have you ever noticed that not all treasures (and by ‘treasures’, I mean vegetables) in your vegetable garden are obvious?

 Cucumber Plant

Cucumber Plant

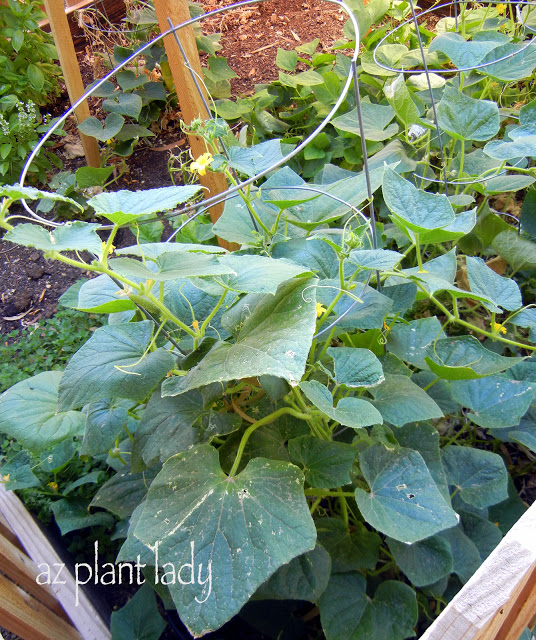
A particularly sneaky vegetable are cucumbers.

You can look at a beautiful cucumber plant and not see any cucumbers, despite the fact that there may be quite a few just ready for the picking.

Cucumbers are very easy to grow and need support to grow up onto.  I use both tomato cages and thin bamboo stakes tied into a ‘tepee’ shape.

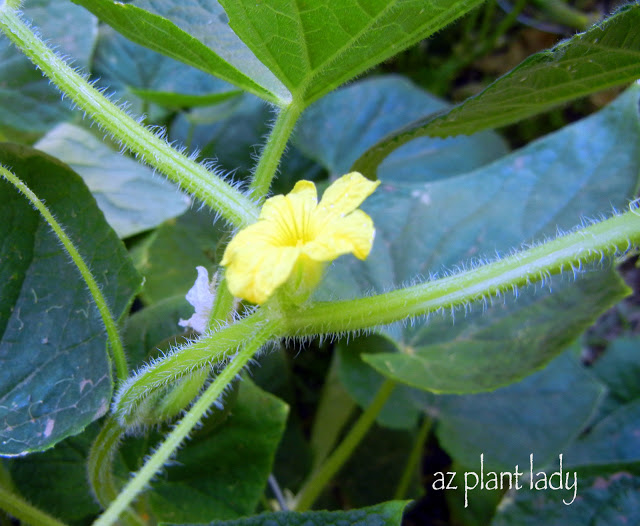
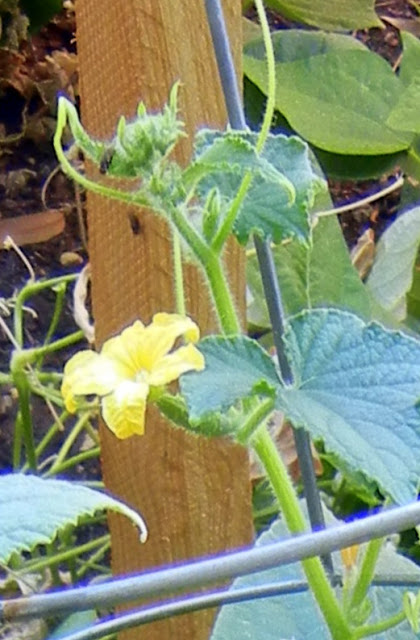
One thing you may not know about cucumbers is that each plant produces two different kind of flowers – one is male and the other is female.

 Cucumber Plant

Above, is a picture of the male flower.  They appear before the female flowers.

flowers

Female flowers have a thick base, which has the shape of a tiny cucumber. It is from the female flowers that the cucumbers are formed.

Earlier this week, I went out to check my vegetable garden and to make sure there were no pests bothering my young cucumber plants.

 Cucumber Plant

All five of my cucumber plants looked happy and I didn’t expect any cucumbers yet.

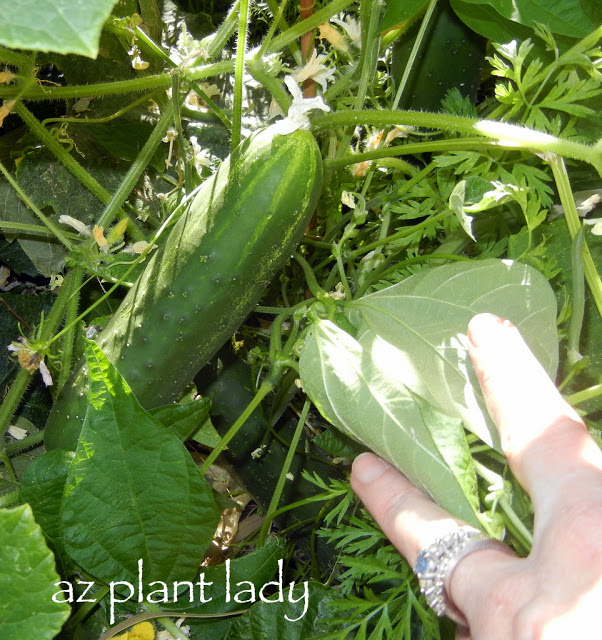
But, just to be sure, I moved the large leaves aside and found….

ripe cucumber

A beautiful, fully ripe cucumber.

In fact, there wasn’t just one, there was another cucumber as well.

So the moral of this story is to check up on your vegetables often and look beyond the large leaves.

Summer’s Delight: Roasted Sweet Corn and BBQ

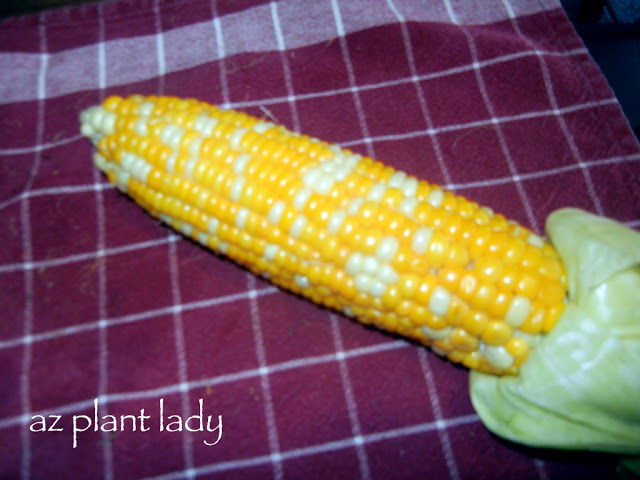
When the sun shines brightly and the aroma of barbecue wafts through the air, you know summer has arrived. But for me, nothing quite captures the essence of this season like the taste of sweet corn. For the past three summers, I’ve reveled in the joy of growing my own sweet corn, and this year promises to be just as delightful.

Sweet Corn Harvest

A Season of Growth and Anticipation

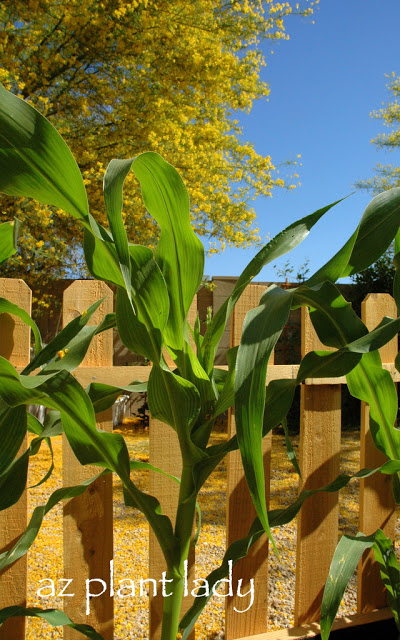
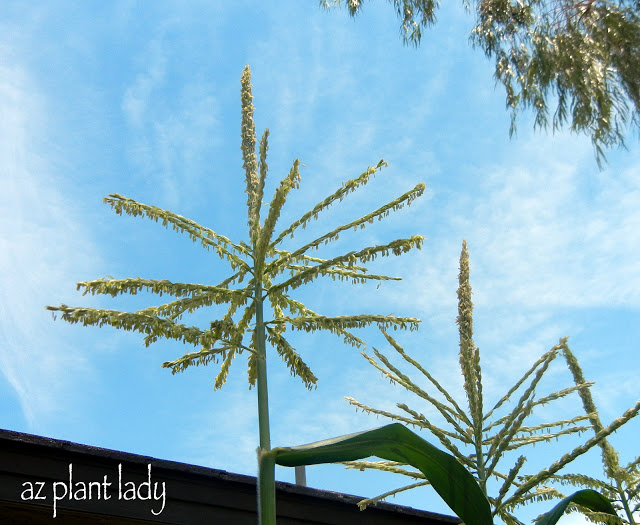
As the days grow longer and the temperatures rise, there’s a remarkable transformation happening in my backyard. It begins with the sprouting of the corn stalks, their vibrant green leaves reaching for the sky. Then, the first delicate appearance of corn silk marks the beginning of a mouthwatering countdown to the ultimate summer treat: fresh-roasted corn on the cob.

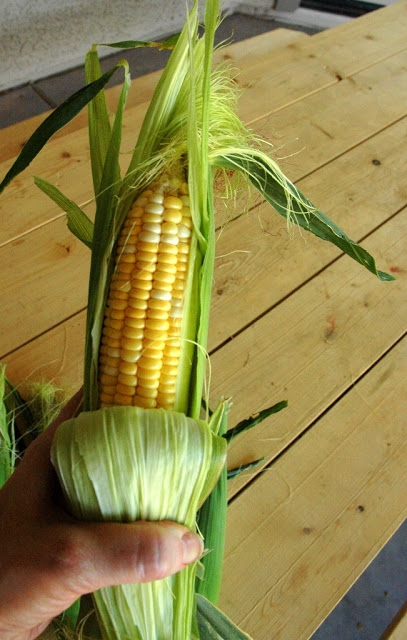
Roasted corn recipe starts with fresh corn

Easy Cultivation, Easier Cooking

Growing sweet corn is not only a rewarding experience but also surprisingly easy. However, the real magic happens when you turn those homegrown cobs into a delectable dish. In my quest for a simpler and tastier way to cook corn, I stumbled upon a game-changing roasted corn recipe that eliminates the need for boiling water and shucking corn ahead of time. The best part? It imparts a delicious, roasted flavor that will have your taste buds dancing with joy.

Instructions:

The Roasted Corn Recipe

Let’s dive right into it – here’s how you can effortlessly prepare Oven Roasted Corn on the Cob:

Ingredients:

  • Fresh ears of corn (with husks still on)
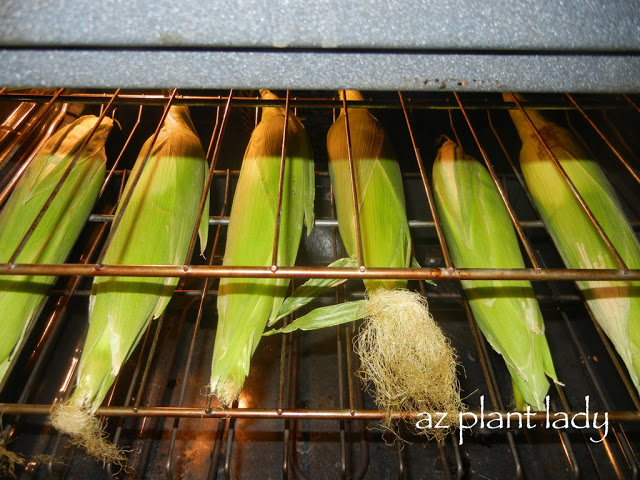
Roasted Corn Recipe baking in the oven
  1. Preheat your oven: Begin by preheating your oven to a toasty 350 degrees Fahrenheit (175 degrees Celsius).
  2. Prepare the corn: Take your whole ears of corn, ensuring that the husks are still on, and place them directly on your oven rack. This step is a game-changer because it allows the corn to roast within its natural protective casing.
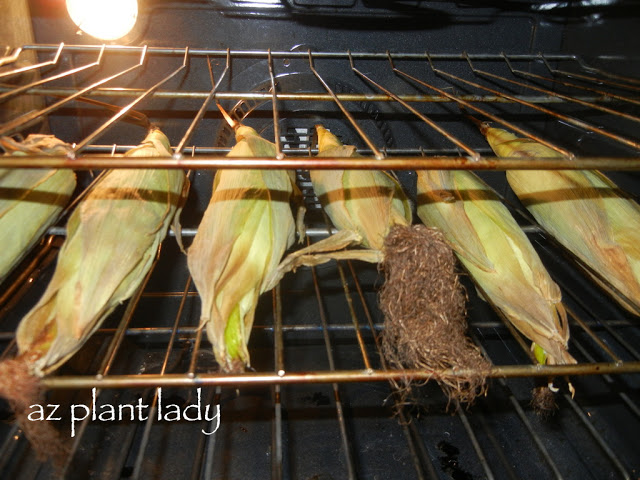
  3. Bake to perfection: Slide your corn-laden oven rack into the preheated oven and let them bake for approximately 30 minutes. You’ll be amazed at how this short time span is all it takes to fully cook your corn to perfection.
  4. Unveil the golden treasure: Once the timer goes off, carefully remove the corn from the oven. Then, with gentle hands, pull down the husks. As if by magic, the corn silk will come off easily, leaving you with pristine, golden kernels.
  5. Ready to enjoy: To add the final touch of charm to this delightful dish, use the peeled husks as convenient handles for eating your corn. It’s both practical and visually appealing, making every bite a summer sensation.

Roasted Corn Recipe

B

Roasted Corn Recipe baked and browned

Roasted Corn Recipe

There you have it – a fuss-free and incredibly satisfying way to prepare fresh-roasted corn on the cob. It doesn’t get much easier or tastier than this!

Peel down the husk and eat the corn on the cob

Roasted Corn Recipe

Summertime Roasted Corn Bliss

As you revel in the simple pleasures of summer, remember that the joy of growing your own sweet corn can be elevated to new heights with the right recipe. This Oven Roasted Corn on the Cob is not only a time-saver but also a flavor enhancer that will make your summer gatherings truly memorable.

So, fire up that oven, embrace the beauty of your homegrown corn, and savor the flavors of the season with this mouthwatering roasted corn recipe.

It doesn’t get much easier than that, does it? 


New Vegetable Garden Finally Finished!

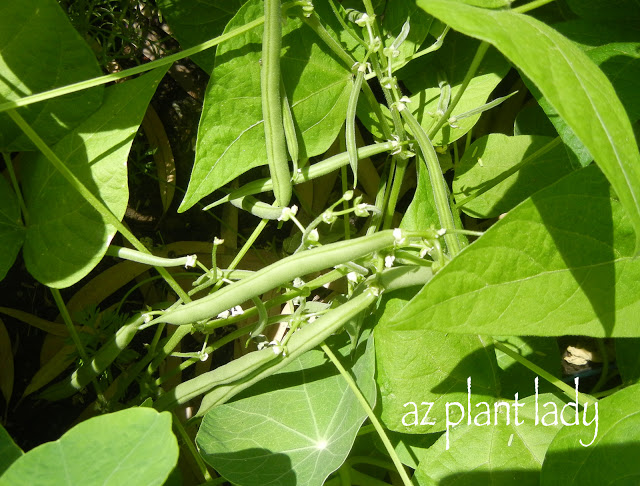
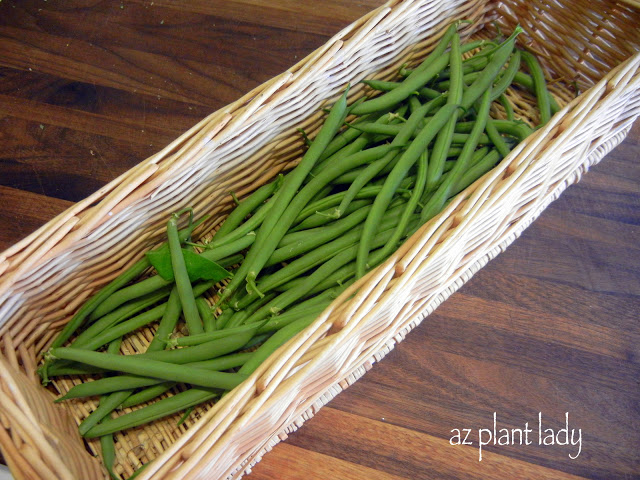
Earlier this week, I stepped into my new vegetable garden and was pleasantly surprised to discover that my bush beans were ready to be picked.

 bush beans

I was so excited.

You really have to look underneath the leaves to see the beans.

So, I ran into the house for a basket and got to work, picking beans.

 bush beans

This will be enough for my family for dinner.

But, instead of eating them now – I decided to blanch them and freeze them.

Why?  Well, so I could show you how to do it 🙂

You may wonder what ‘blanching’ is?

‘Blanching’ is the process of submerging your vegetables in boiling water for a short period of time.

This is important to do before freezing your vegetables because:

– it halts enzymes, which decreases the flavor and texture of your vegetables.

– it cleans the surface of your vegetables and kills any germs.

– it improves the color of your vegetables.

– it helps to retain vitamins.

So, how do you blanch vegetables?

Well, the process is pretty much the same for most vegetables with the only difference being the amount of time they need to be submerged in boiling water.

To blanch green beans:

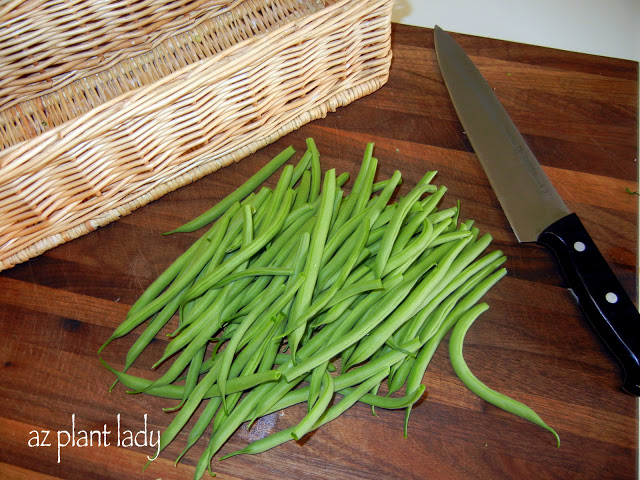
 bush beans

Cut off the stem ends.

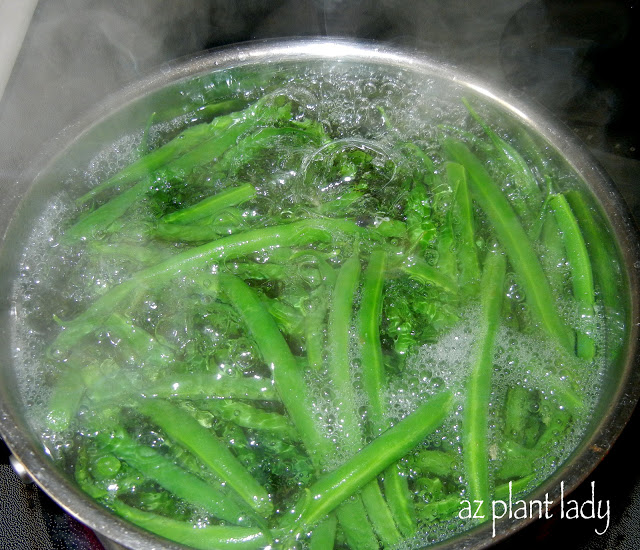
 bush beans

Add to a pot of boiling water and boil for 3 minutes.  This step varies depending on the type of vegetable (check here for more info).

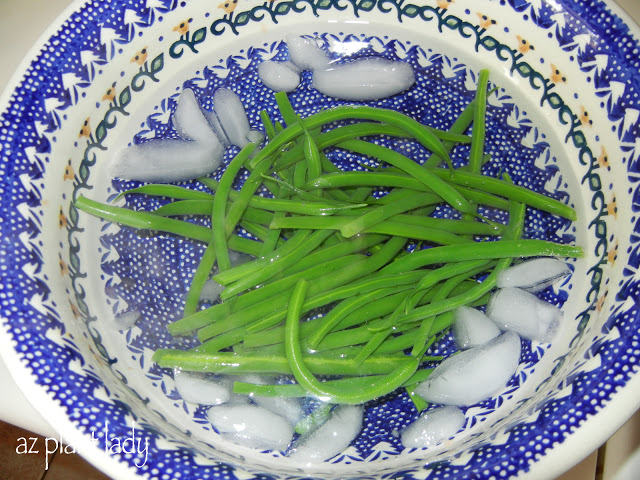
 bush beans

Immediately scoop out your beans and submerge in ice water.

Keep in the water for 3 minutes until the beans have thoroughly cooled.

 bush beans

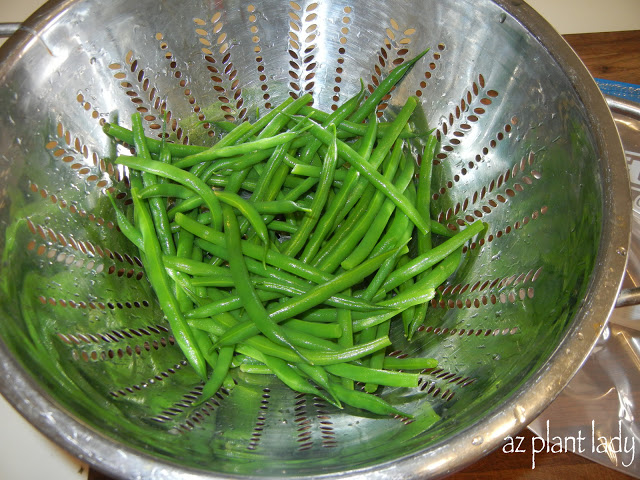
Drain off the water.

Aren’t they a pretty green color?

plastic freezer bag

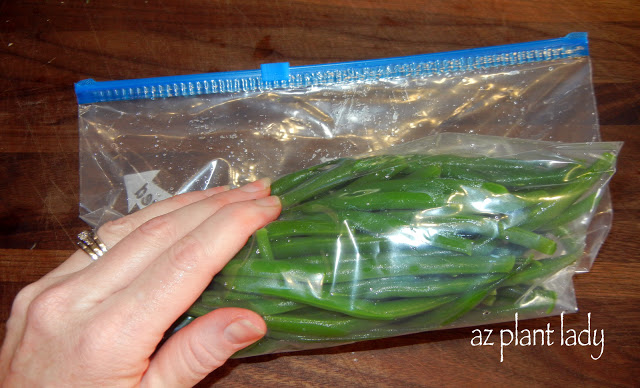
Pack into a vacuum-sealed bag or put them in a plastic freezer bag.

It is very important to remove all the air, or your vegetables will get freezer burn.

To do this, close the zipper more then halfway and then carefully ‘roll’ your beans up, pushing out all the air and then seal the bag completely.  

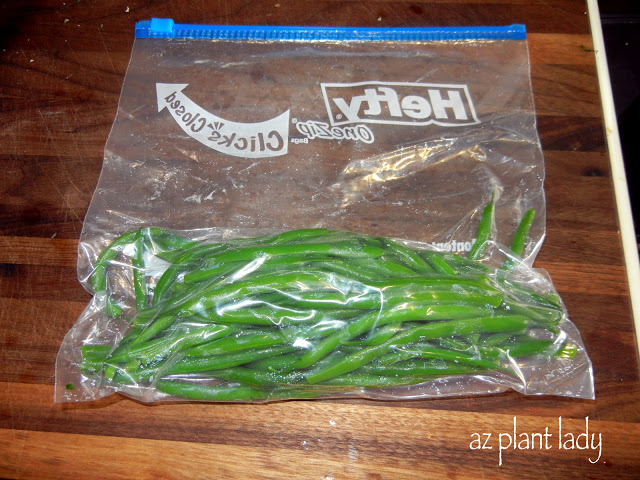
plastic freezer bag

You can see all the air is gone and now my blanched beans are ready for the freezer.

They will last up to 9 months in the freezer.   But I’m so excited about my first harvest this year that I think I will serve them to my mother on Mother’s Day.

To cook, I will simply add my frozen beans to boiling water (the same way I cook frozen beans from the grocery store).

I grew Bush Blue Lake 47 Beans.  I bought the seeds from Burpee.  I planted them in late February, although you can plant them through March in our area.

***********************************************

Guess what??

Only 6 days to go before my road trip with my mother.

I’ll share our destinations next time 🙂
This weekend, I spent a lot of time out in my vegetable gardens.  I harvested carrots, the last of the cauliflower, herbs and green beans.

I am still amazed at how much I enjoy working in the garden, growing vegetables.

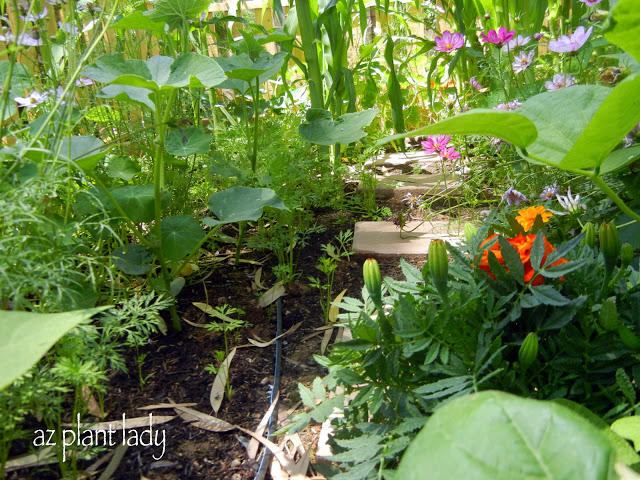
My new vegetable garden is doing very well.  Yesterday, I took a photo of it from a different perspective – at the ground level….

my vegetable gardens

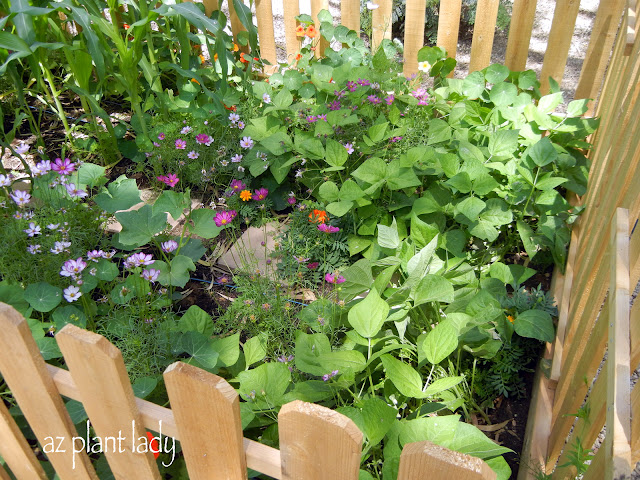
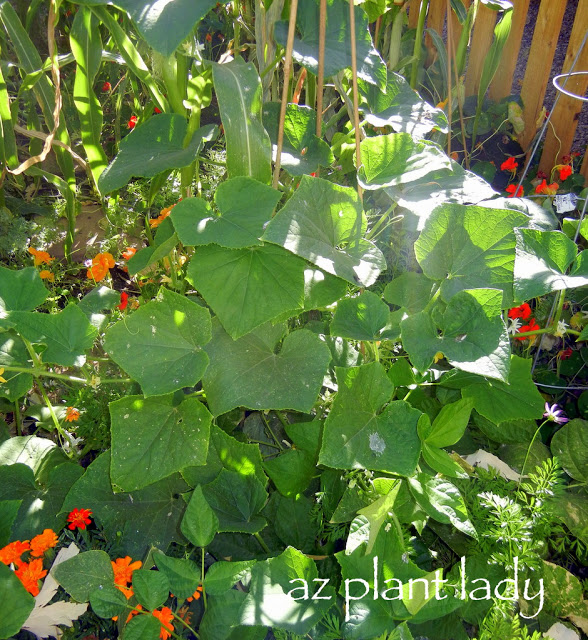
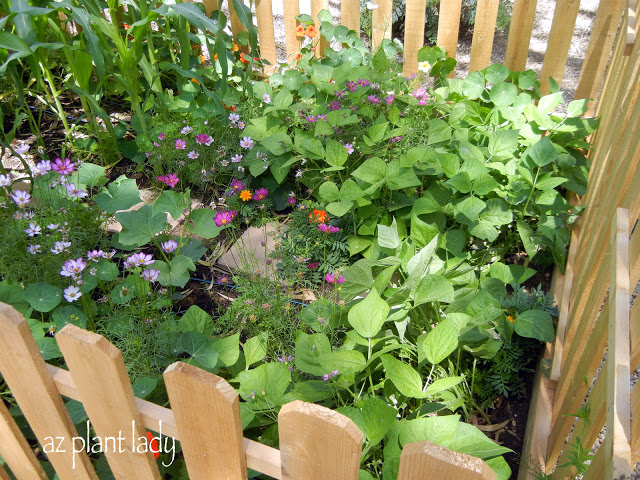
You can see the stepping stones leading their way through a ‘forest’ of bush beans, marigold, cucumbers, cosmos and corn.  It’s all very green and lush.

my vegetable gardens

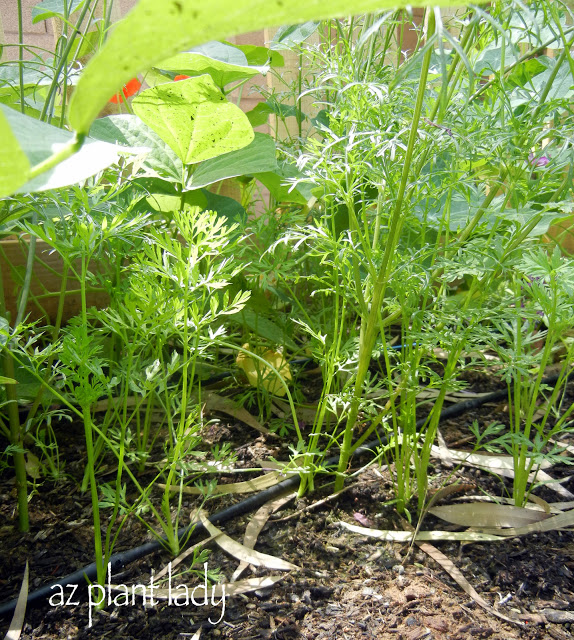
The carrot tops look like miniature trees, don’t they?

*Okay, I realize that carrots are NOT a warm-season vegetable and I have no idea how it ended up in my new vegetable garden that we planted this spring.  But it looks pretty, so they can stay – even if I don’t get any carrots.

my vegetable gardens

Here is a different view of the garden, where I spent some time harvesting green beans.

I need to start building supports for my cucumbers to climb up on.

my vegetable gardens

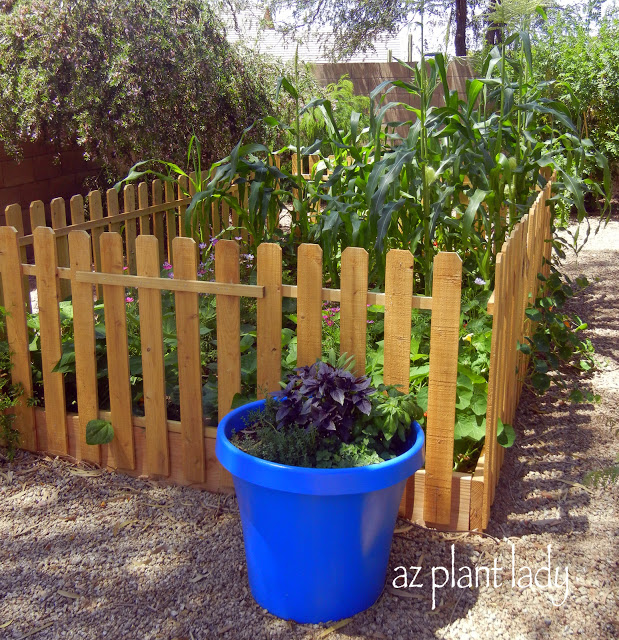
In the back part of the garden, corn is rising up quickly….I can hardly wait!

It is hard to believe that this vegetable garden was brand new only nine weeks ago…

my vegetable gardens
"Before" and "After"

If you would like to read about how we built our garden and planted it, you can visit my previous posts, if you like:

“The Beginning”

 “Vegetable Garden Progress”

“Making Progress”

“New Vegetable Garden Finally Finished”

************************

I hope you have a great week ahead!

I will be hitting the road again soon with my mom on another road trip.  Last year we visited the Midwest for 10 days.  This year we are going to a totally new area.

I can’t wait to tell you all about it and of course, I will blog from the road 🙂  

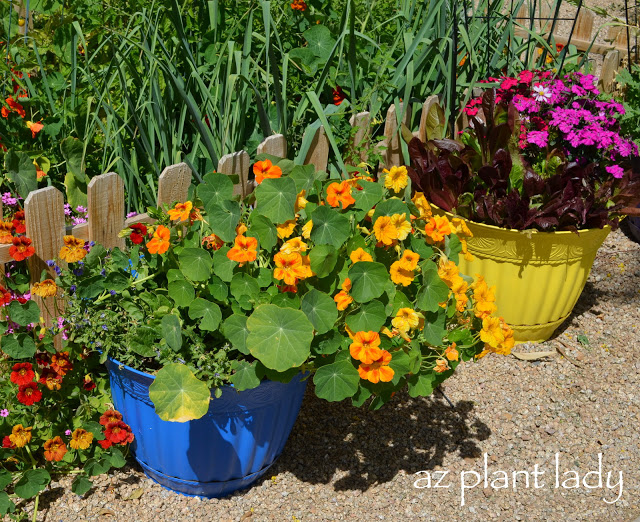
nasturtiums

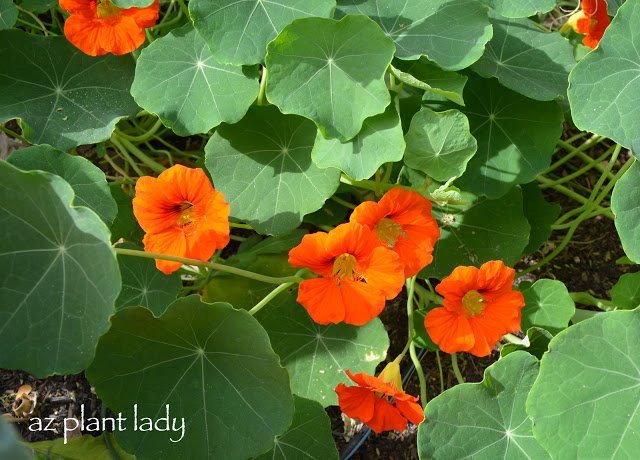
I enjoy growing nasturtiums in my vegetable garden every spring.

 growing nasturtiums

They come in a varying colors of orange and yellow.

 growing nasturtiums

They also did very well in my containers.

Now that the weather is heating up, they are beginning to fade and it will soon be time to pull them out.

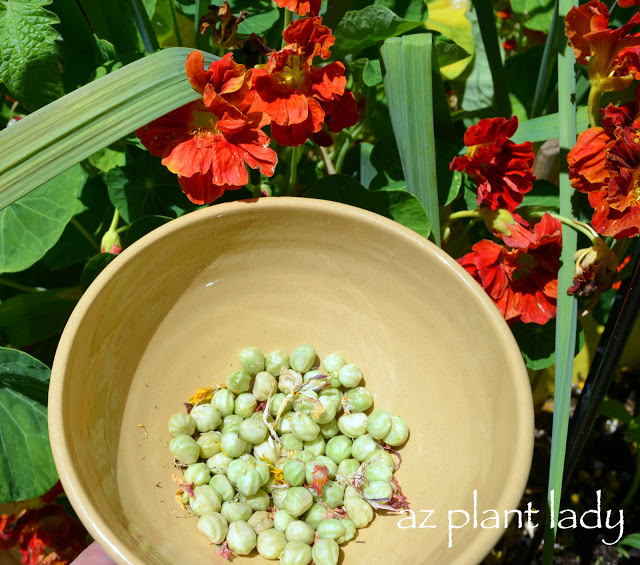
So, I decided to harvest their seeds so that I can plant them next year.

Collecting Seeds

While it can be hard to harvest small seeds from flowers – the seeds from nasturtiums are quite large, which made it easy to pick them off.

I will let them dry and then store them away for next year.

***********************

Although my nasturtiums are beginning to fade, I have other flowers that are just beginning to bloom.

I can’t wait to show them to you next time 🙂 
**I HAVE BEEN NOMINATED FOR THE TOP GARDEN BLOG AND WOULD APPRECIATE YOUR VOTE FOR AZ PLANT LADY  THERE ARE ONLY 2 DAYS LEFT FOR VOTING. **

THANK YOU SO MUCH FOR THOSE WHO HAVE ALREADY VOTED FOR ME 🙂

I have really enjoyed growing cauliflower this year.

growing cauliflower

But, we have an awful lot of it.  Much more then we can eat.

And even though my kids will eat it….I’m afraid if they see it at every meal that they will soon get very tired of it.

So, I gave a whole head away to my mother and then got to work on preserving my cauliflower so that we can enjoy it for the next six months.

growing cauliflower

It is very easy to do and this method works for broccoli as well.  It called ‘blanching’, which scalds vegetables in boiling water for a few minutes.

Blanching must be done to vegetables before they are frozen.

Why?

Well, blanching stops enzymes that would normally cause the vegetables to loose their flavor, texture and color.

In addition, blanching helps your vegetables to retain their vitamins and even improves their color.

Here is how I did it:

growing cauliflower

Cut the cauliflower in equal sized pieces – about 1 – 2 inches in size.

chopped cauliflower

 This is about 1 1/2 heads of chopped cauliflower.

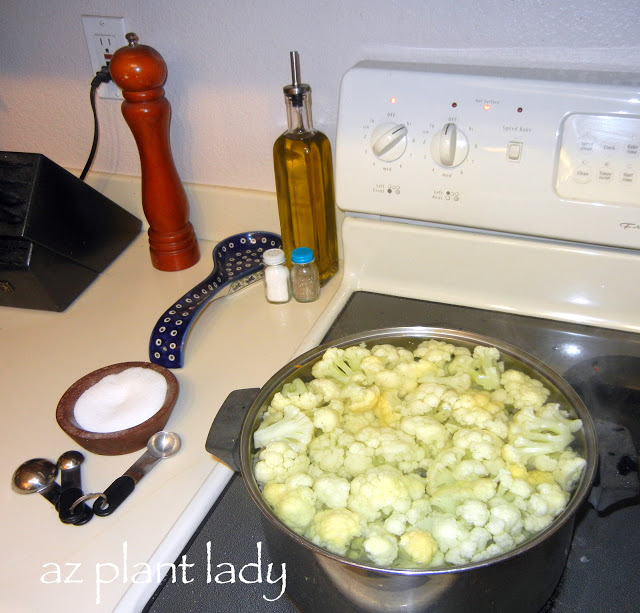
cauliflower

 Place the cauliflower in a pot filled with enough water so that the vegetables are covered.  The add 1 teaspoon of salt.

Bring the pot to a boil and then cover for 3 minutes and keep boiling.

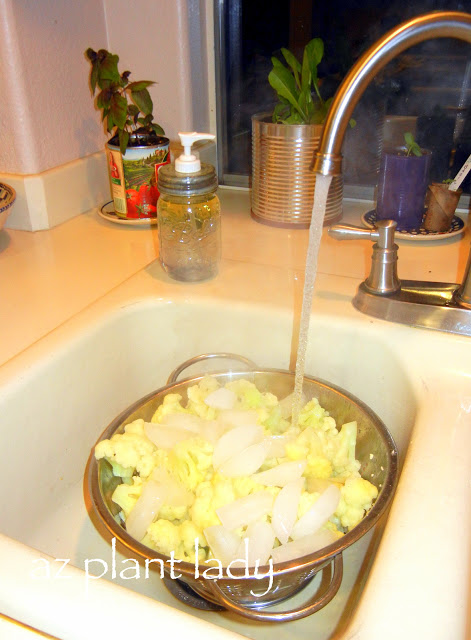
cauliflower

Immediately pour the cauliflower into a colander and cool them off with cold water and ice.

You can also dunk them in a bowl filled with ice water.

This ‘shocks’ them and stops the cooking process.

Now it is time to store your newly blanched vegetables.

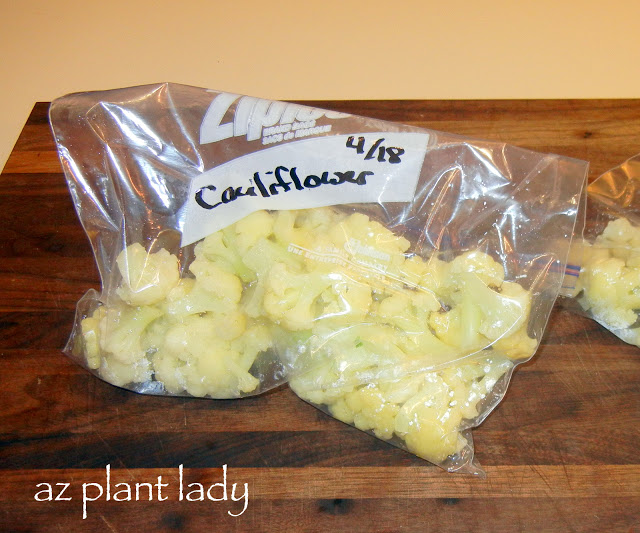
plastic freezer bags

 Divide your blanched vegetables into plastic freezer bags and squeeze all the air out before sealing the bags.

Label your bags and write the date on the bag when you blanched your vegetables.

Put in your freezer, where they will last 6 months.

So, what type of vegetables would you like to preserve this year?

**Thank you all for sending me your ideas for using cauliflower earlier this month.  I can’t wait to start using them 🙂

**************************************

I HAVE JUST BEEN NOMINATED AS A “TOP GARDEN BLOG”. 

If you enjoy reading my blog, I would very much appreciate your vote.

Just click the link below and you will find me under AZ Plant Lady.

Thank You 🙂  

*This blog post contains affiliate links. If you click through and make a purchase, I may receive a commission (at no additional cost to you). Thanks for your support in this way.*

Last winter, I was enjoying a rare moment of peace….no kids or husband in the house, the garden didn’t need any attention and no articles to write. So, I decided to see what was on television.  As I was channel surfing, I saw a gardening show and of course, I stopped and watched.

What I saw was the host and featured garden expert, showing how to grow vegetables and flowers together in containers. Since I love both vegetables and flowers, I was intrigued.  So I bought the book written by the featured garden expert and got started.

I found nice plastic containers on sale along with some tiny trellises, as well as planting mix (NOT potting soil, which gets too soggy for container plants).
Planting mix is specially formulated for containers – it has a light texture and holds just the right amount of moisture for plants.

Then, I started planting.  I came up with the vegetable and flower combinations on my own and I must admit that I was happy how they turned out…

 growing flowers in containers

The first container has purple violas, spinach, bell pepper plant and nasturtiums. I started all of these from transplants, except for the nasturtiums, which came from seed that I planted.

I periodically snip the spinach for salads and I have harvested a single bell pepper so far.  However, there are flowers on my pepper plant, so more peppers are on the way.

 growing flowers in containers

This container was planted with red and green leaf lettuce, pink dianthus and cucumbers.

I snip the lettuce for salad and the dianthus has been blooming nonstop. The only problem that I have had with this container are the cucumbers.

Cucumbers do best when started from seed, not transplants.  I have grown a lot of cucumbers over the years.  So, I placed two small trellises in the back of the container and planted cucumber seeds at their base. I picked a variety of cucumbers that were small and would do well in a container.

Unfortunately, they never came up.

I tried planting them in my regular vegetable garden and they never came up.

I tried starting them indoors and they didn’t sprout.

*I had purchased the seeds online from a very reputable seed company, but the entire package of seeds was defective.

So I planted my go-to cucumber seeds and they are starting to grow beautifully.

 growing flowers in containers

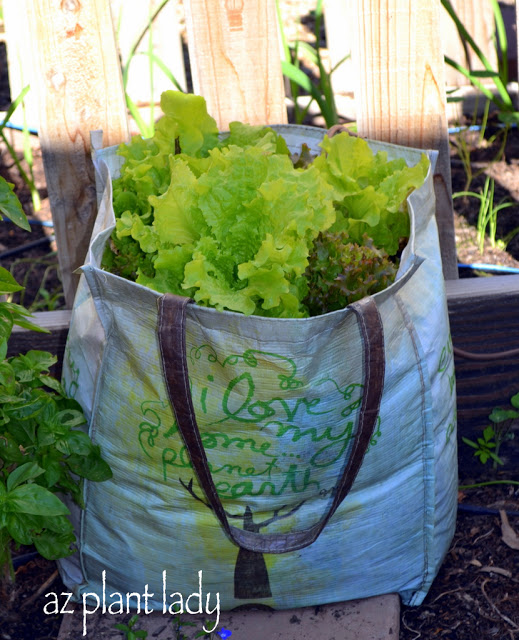
My last vegetable/flower container has romaine lettuce, sugar snap peas and Icelandic poppies.

The lettuce has done very well, BUT my little dog discovered that he likes lettuce, and he would take some little bites from the sides of the lettuce.  I simply put some plastic patio chairs around the pot and he kept away.  Later, I took the chairs away and he left the lettuce alone.

The poppies haven’t bloomed yet, but I can see their buds, so it won’t be long now.

I have been picking off sugar snap peas every time I am in the garden and eating them on the spot.

So, does the idea of growing vegetables and flowers together appeal to you?

The book I read was “Easy Container Combos: Vegetables and Flowers” by Pamela Crawford. (I haven’t been asked to promote her book – I bought it myself and really enjoyed it so much).

I can’t wait to try some different combos this summer once the lettuce fades away.  I promise I will share 🙂
**One thing I love so much about gardening is trying new things. This one was a home run for me.  

Growing Annuals: An Unusual Flower Container

Last week, I spent some time checking the vegetables my cool-season vegetable garden.  

I was looking to see how they were growing and if any were ready to harvest.  I’ve also learned (the hard way) that it’s important to check for any insect damage so you can treat it early – I got hit bad by spider mites last summer because I wasn’t paying attention.

I have been checking up on my cauliflower plants lately.  Seven days ago, the largest one looked like this…

cool-season vegetable garden

cool-season vegetable garden

Today, it looked like this…

cool-season vegetable garden

Okay, this photo doesn’t really show how big it is, so I put my hand next to it to show the scale…

cool-season vegetable garden

Now, compare this photo with the first one and you can see how big it grew in just one week!

My son, Kai and I harvested this large cauliflower by simply pulling the entire plant out of the ground. 

cool-season vegetable garden

It was quite heavy.   Of course, you can simply cut the cauliflower, but you have to pull the plant out sooner or later.  We chose sooner.

cauliflower

It was at least twice as large as the cauliflower in my local supermarket.  The photo really doesn’t show that though, but this bowl is very wide salad bowl.

cauliflower

I’ve really never noticed how pretty the cauliflower florets are before, have you?

We used some of the cauliflower in our dinner salad, which also included Romaine lettuce and carrots from our garden as well.

cauliflower

Our cauliflower is so huge, I will have to figure out other ways to serve it.

My son’s favorite is smothering it with ranch salad dressing.

I have three other cauliflower plants in the garden.  I may have to give some to my mother, since I don’t know how we will be able to eat it all.

***************************

Cauliflower is a cool-season vegetable, which does best when planted from transplants and not seed.  I have had no problems with growing mine at all – no insect problems, etc.

What is important for growing cauliflower is fertile soil and regular irrigation.

How about you?  Do you grow cauliflower?

Do you have any cauliflower recipes to share?