Nurturing Your November Garden
Okay, correct me if I’m wrong, but wasn’t it October 1st just a few days ago? It’s hard to believe that November is already here. You know what that means – Christmas is just around the corner.
Last month was a busy one in the garden. While there are not as many tasks to be done in November, there are still a few things to do.
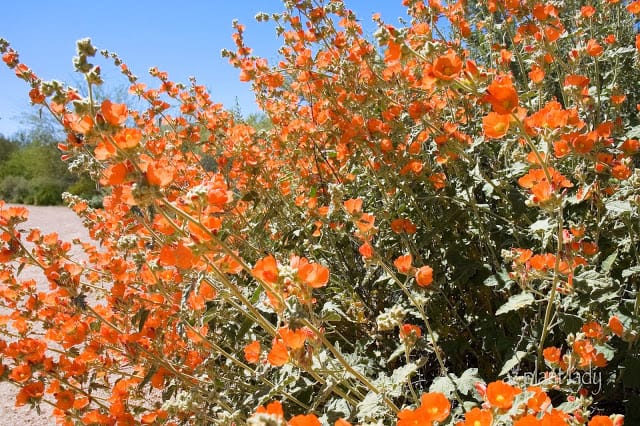
Globe Mallow (Sphaeralcea ambigua)
Disclosure: Some of the links below are affiliate links, meaning, at no additional cost to you, I may earn a commission if you click through and make a purchase.
Planting Cold-Tolerant Beauties
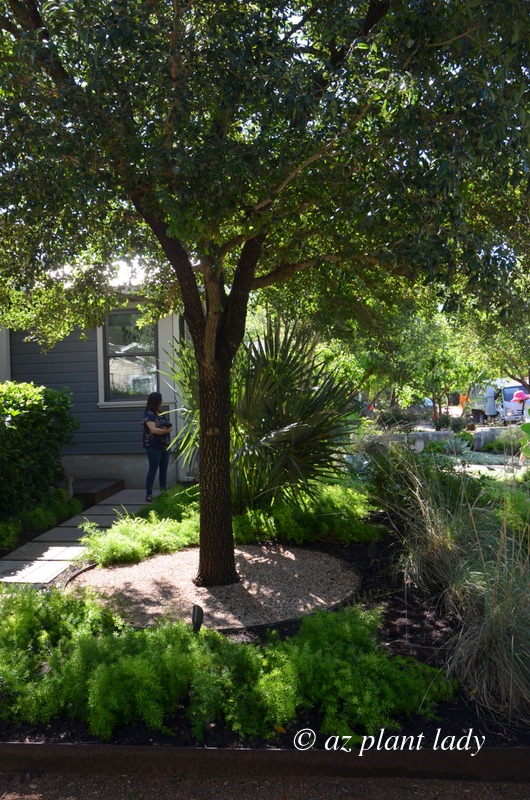
Continue planting cold-tolerant trees, shrubs, and perennials. These include Angelita Daisy (Tetraneuris acaulis), Blue Bells (Eremophila hygrophana), Globe Mallow (Sphaeralcea ambigua), Pink Fairy Duster (Calliandra eriophylla), and Valentine Bush (Eremophila maculata). All of these plants do well in full sun in your November garden.
Wait until spring to tropical flowering plants such as Lantana, Bougainvillea, and Yellow Bells since these frost-tender young plants are more likely to suffer damage from winter temperatures.
Adding Winter-Ready Shrubs and Perennials
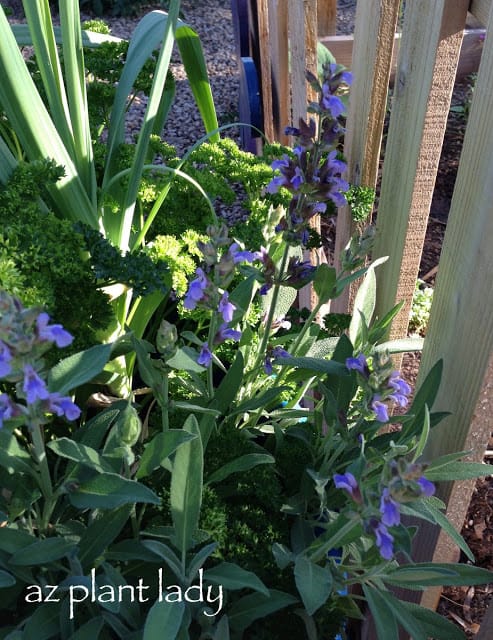
Plant Chaparral Sage and Mexican Honeysuckle in Your November Garden
Chaparral Sage (Salvia clevelandii)
Other shrubs to consider planting now include Chaparral Sage (Salvia clevelandii) and Mexican Honeysuckle (Justicia spicigera). Each of these do well in an area that receives filtered sun.
Mexican Honeysuckle (Justicia mexicana)
Mexican Honeysuckle is one of my favorites because it thrives in light shade, is frost-tolerant AND flowers much of the year.
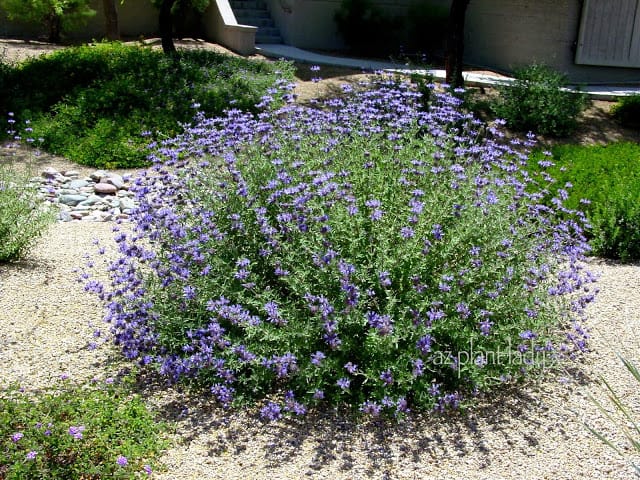
Stunning Snapdragon Penstemon
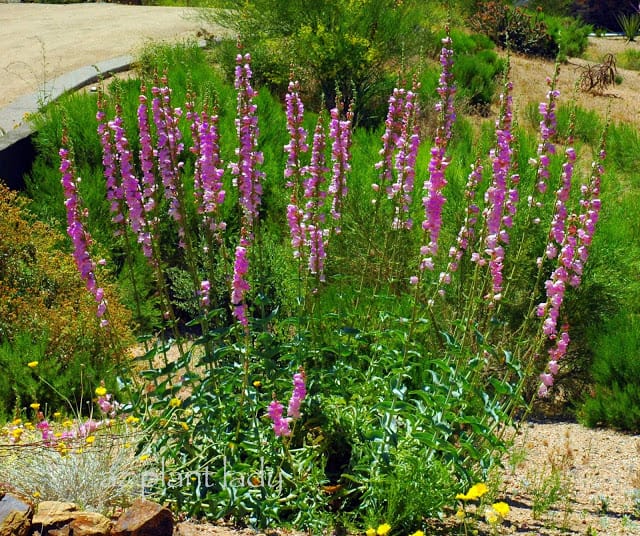
Snapdragon Penstemon (Penstemon palmeri)
Perennials are a great way to add color to the landscape and Penstemons are some of my favorites. Parry’s and Firecracker Penstemons are seen in many beautiful landscapes, but there is another that I love. Snapdragon Penstemon (Penstemon palmeri) is not often seen but is stunning. It grows up to 4 ft. tall blooms in spring and its flowers are fragrant.
It’s not always easy to find but is well worth the effort. Use it in an area that gets some relief from the afternoon sun.
Fall’s Colorful Ornamental Grass & Wildflowers
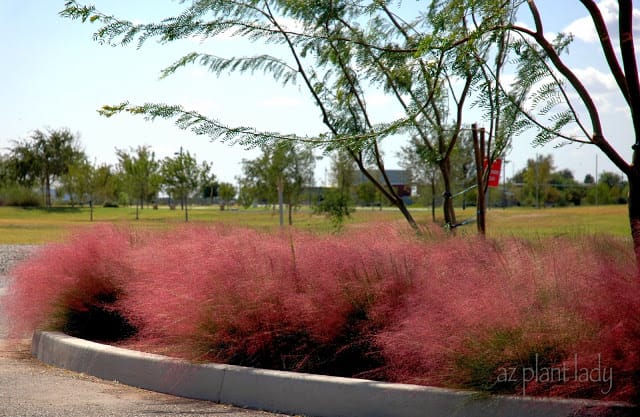
‘Regal Mist’ (Muhlenbergia capillaris ‘Regal Mist’)
You may have seen this colorful ornamental grass blooming this fall. Pink Muhly (Muhlenbergia capillaris) is a lovely green, ornamental grass in spring and summer. Once cooler temperatures arrive, it undergoes a magical transformation. Burgundy plumes appear in fall, turning this grass into a show-stopper.
‘Regal Mist’ in winter.
In winter, the burgundy plumes fade to an attractive wheat color.
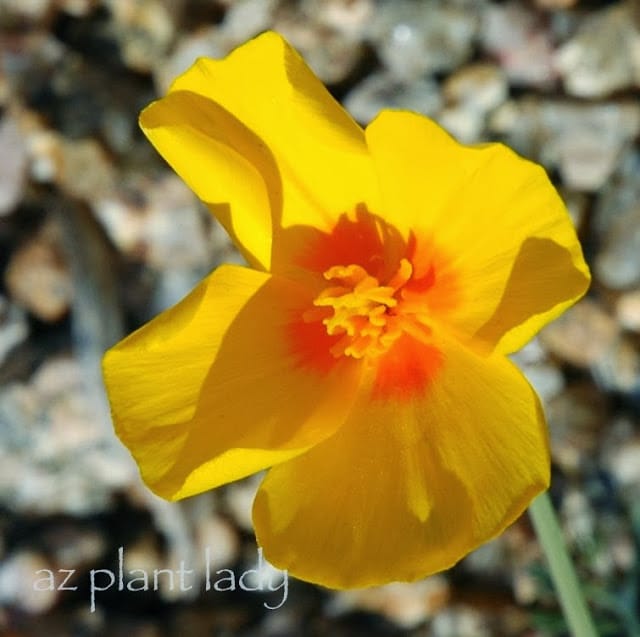
There is still time to sow wildflower seed for a beautiful spring display. My favorites are California Poppies, California Blue Bells, and Red Flax.
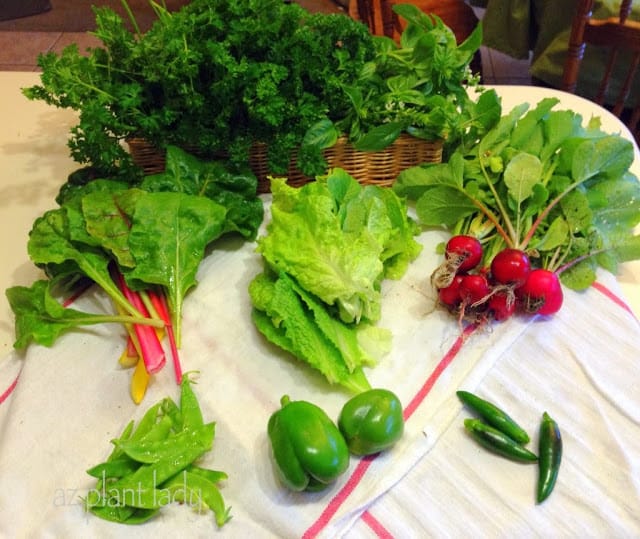
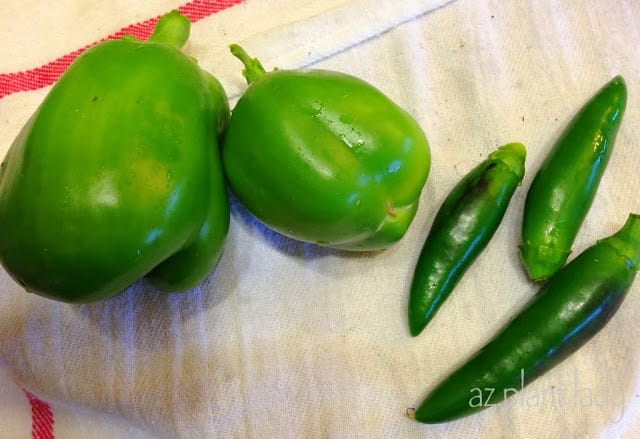
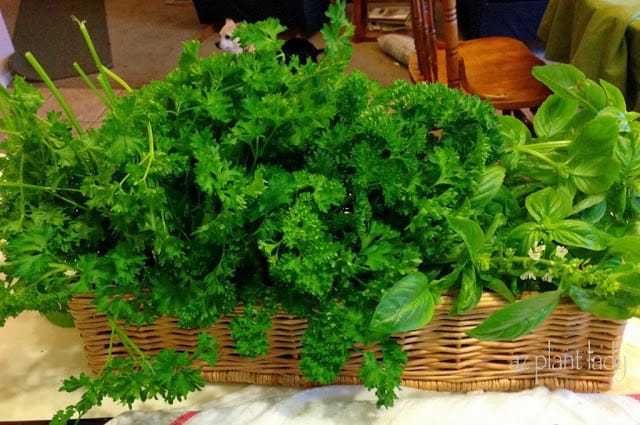
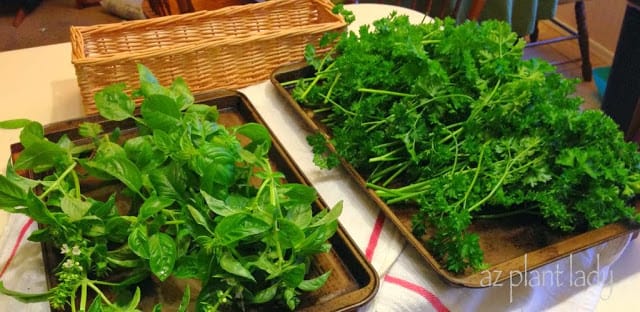
Thriving Edible Garden in November
My edible garden is usually filled with delicious things to eat in fall.
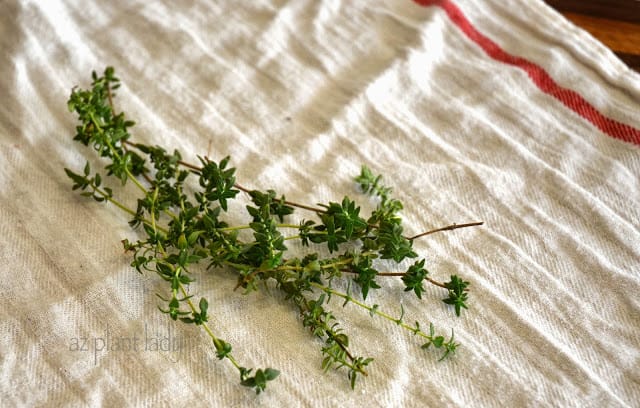
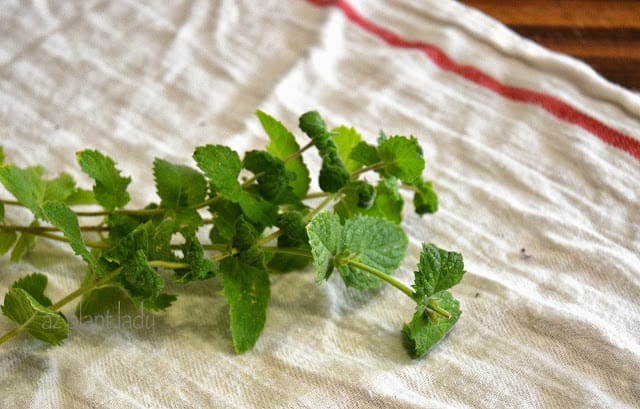
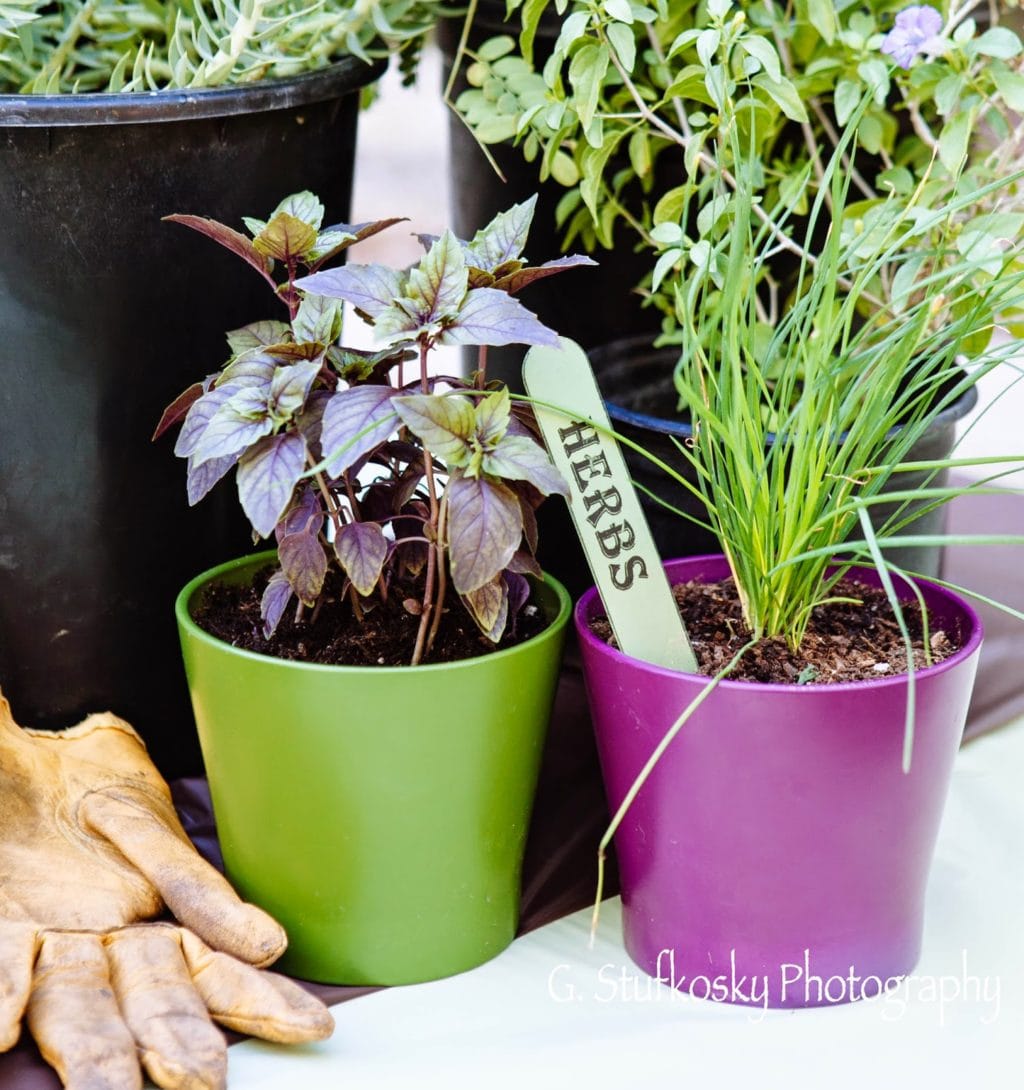
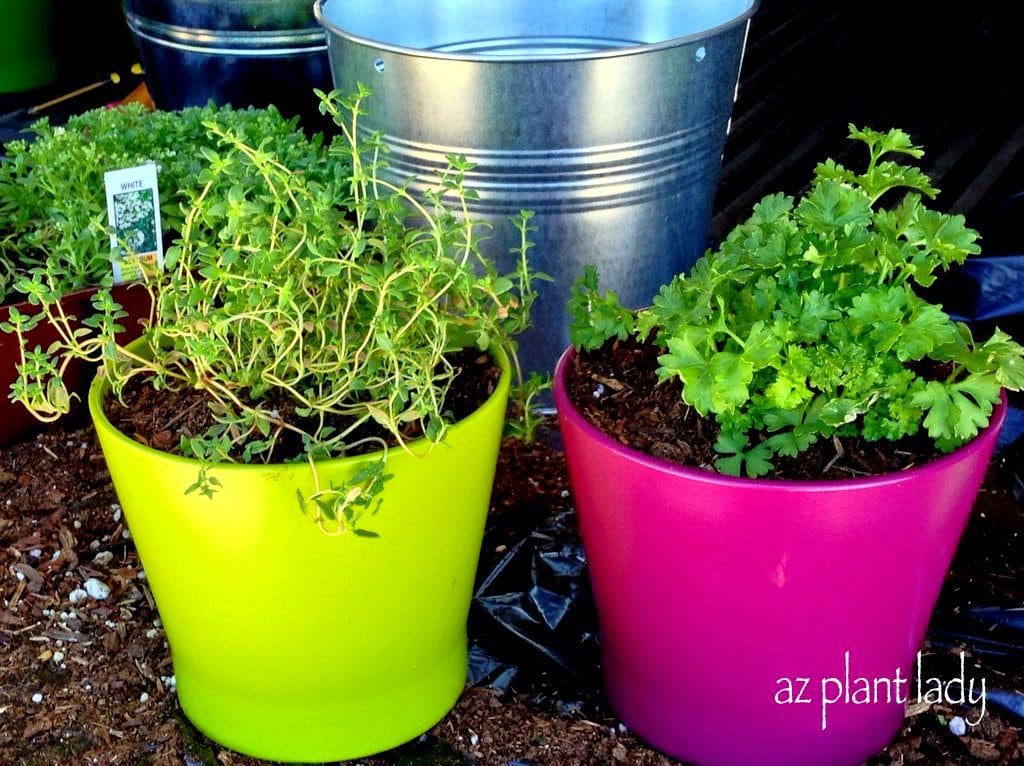
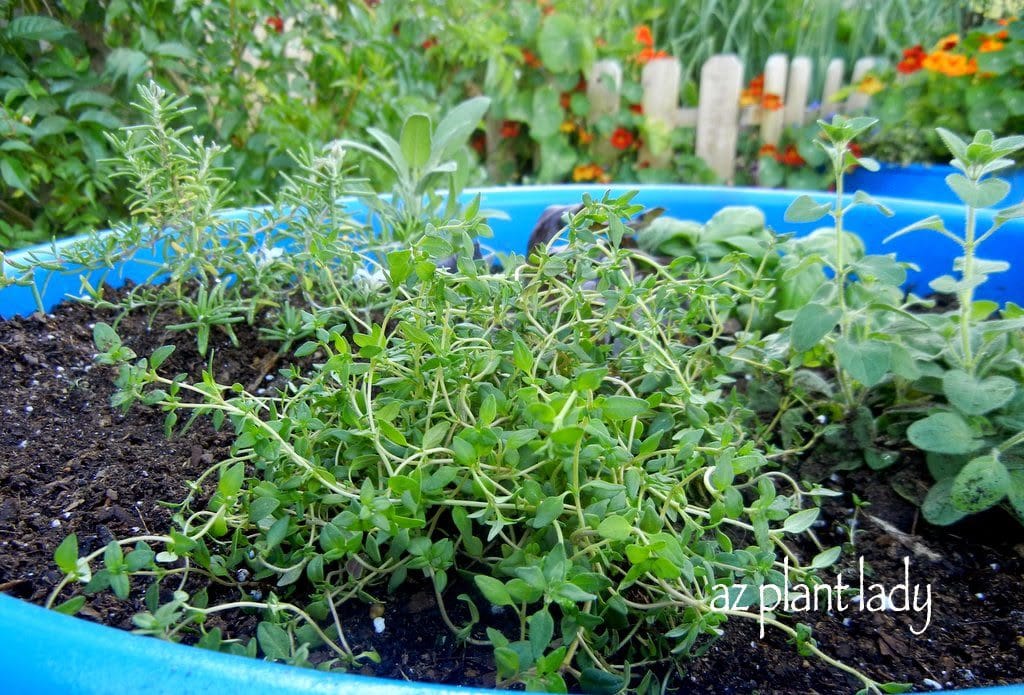
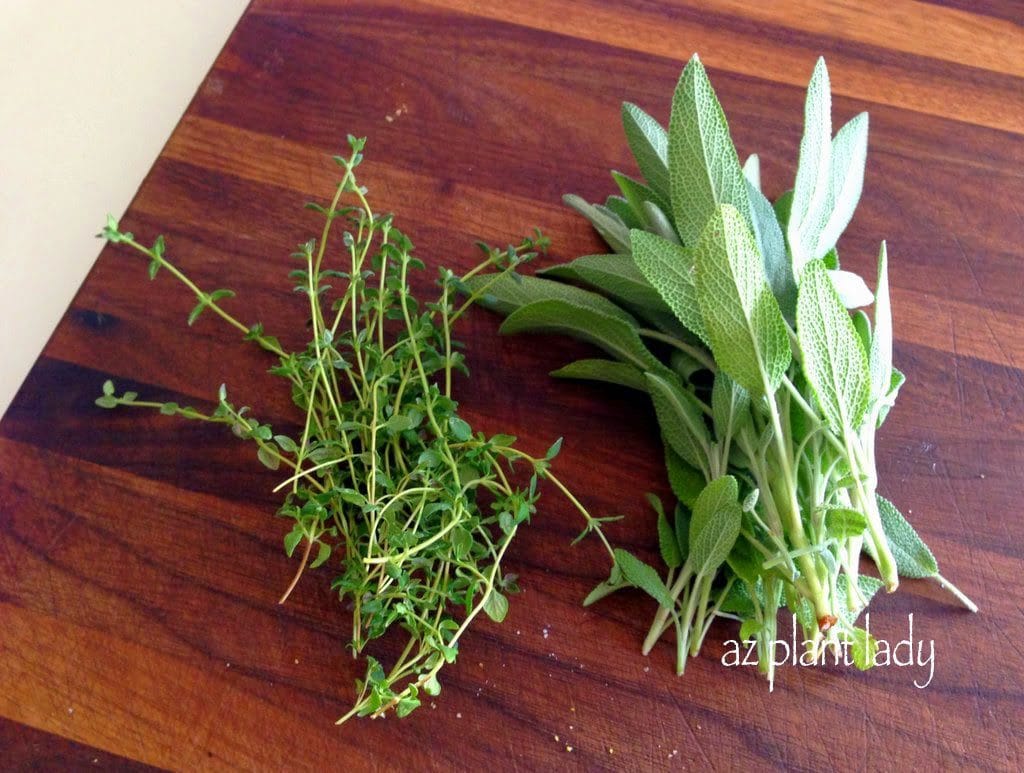
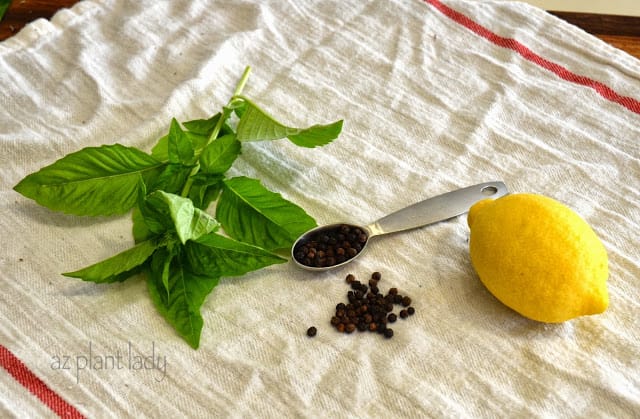
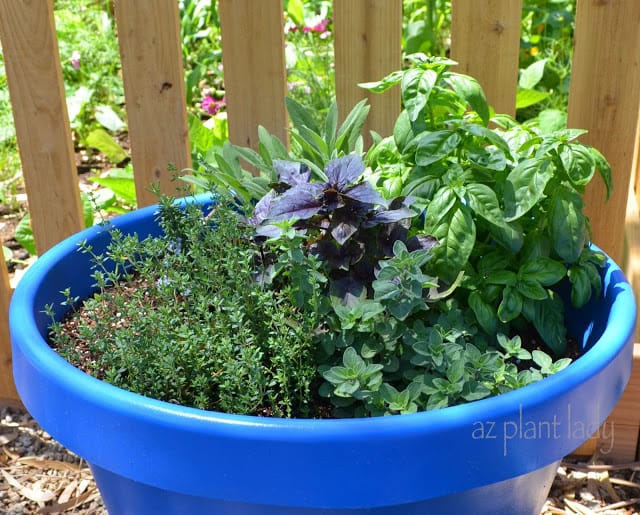
Herbs for Winter Delights
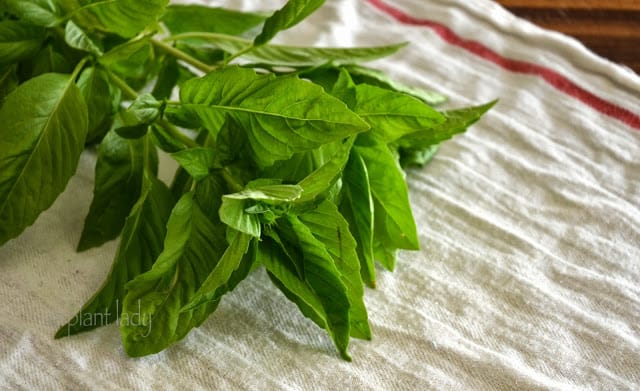
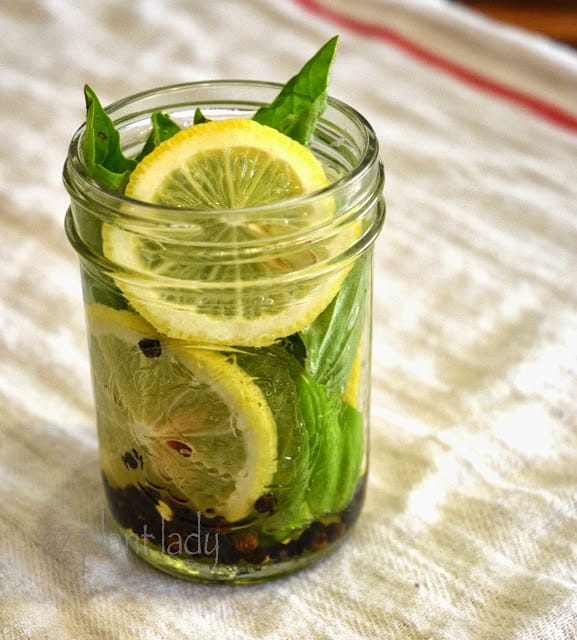
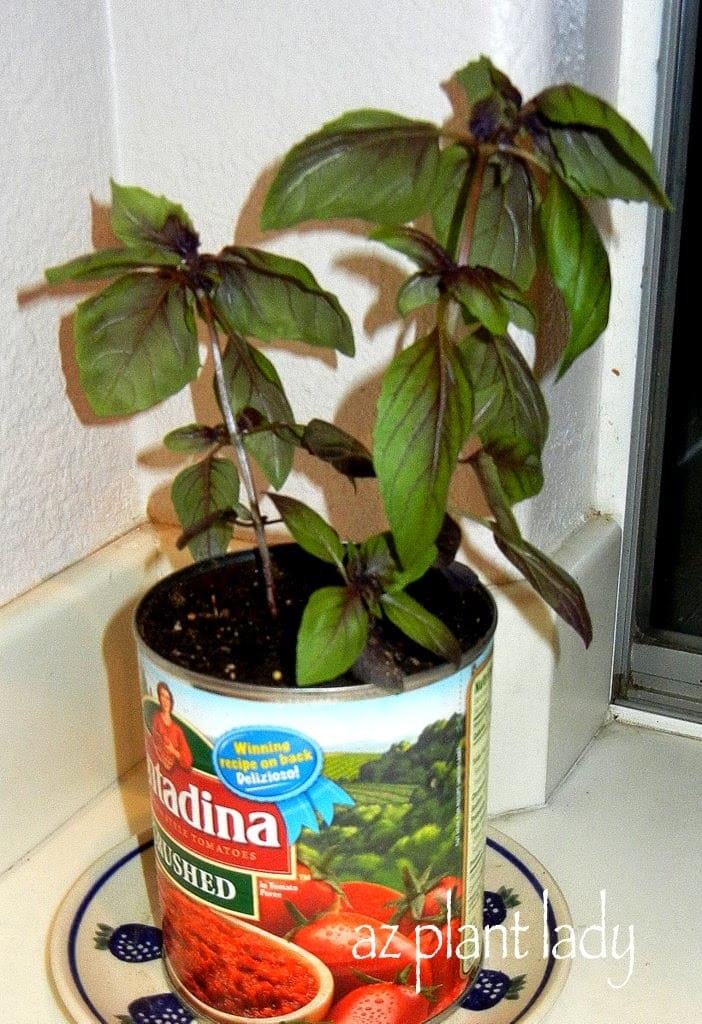
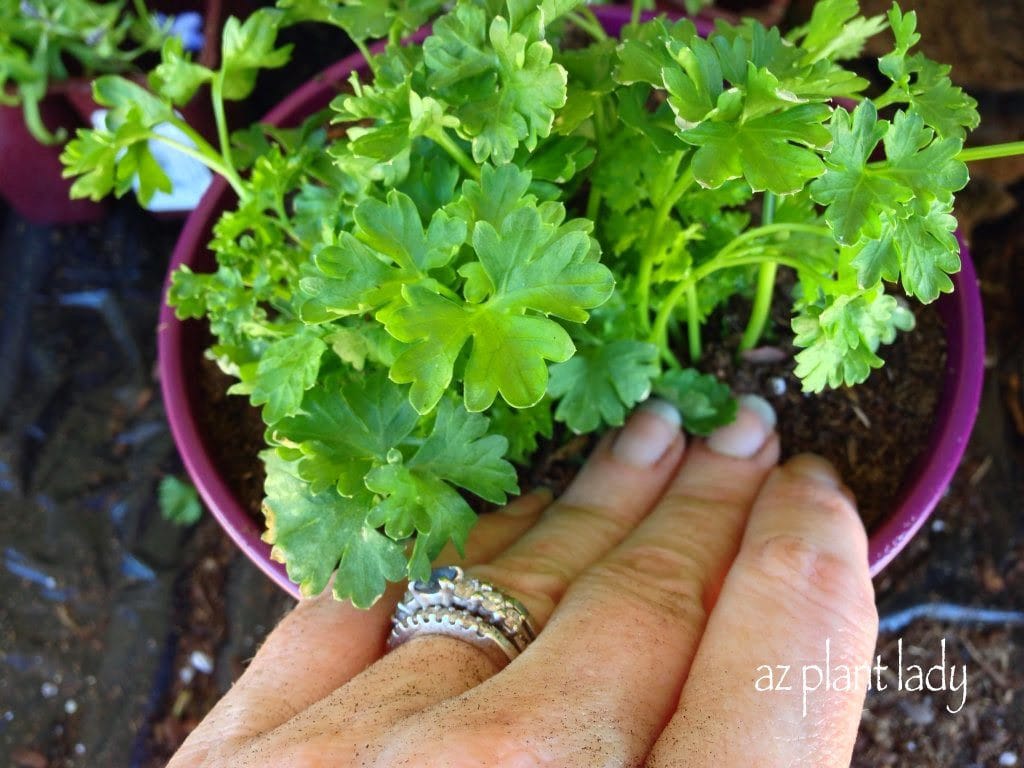
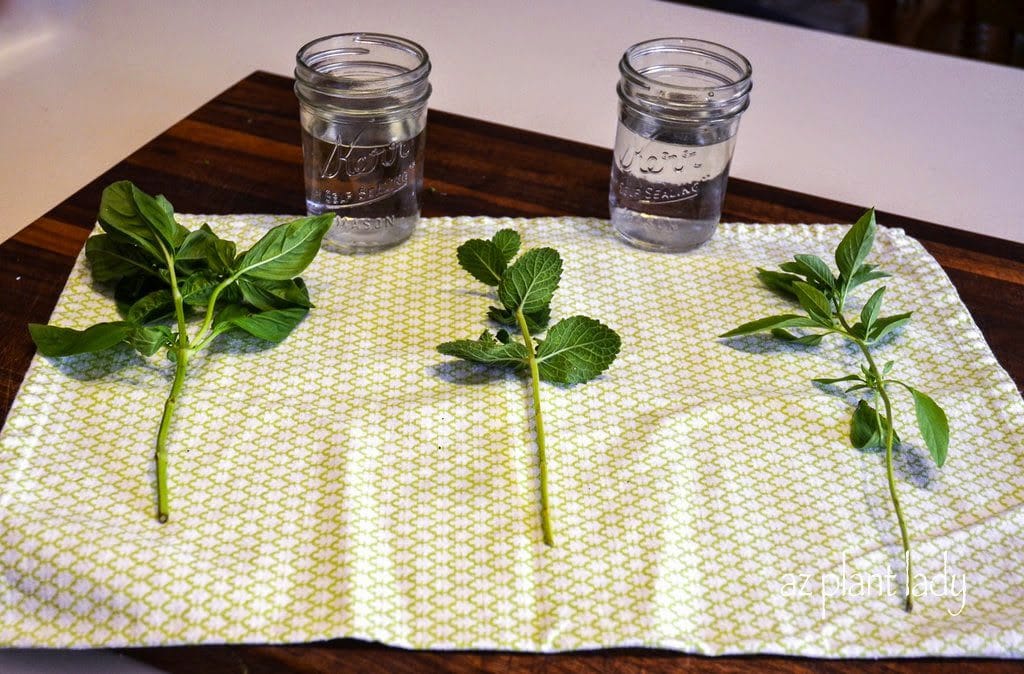
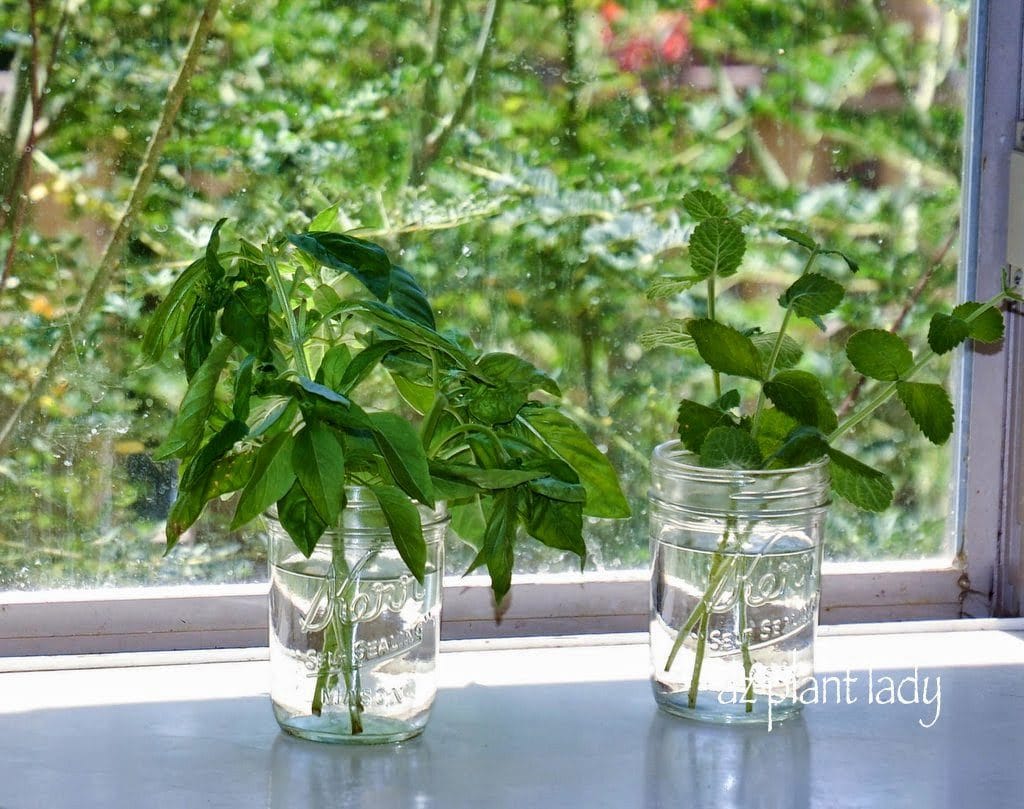
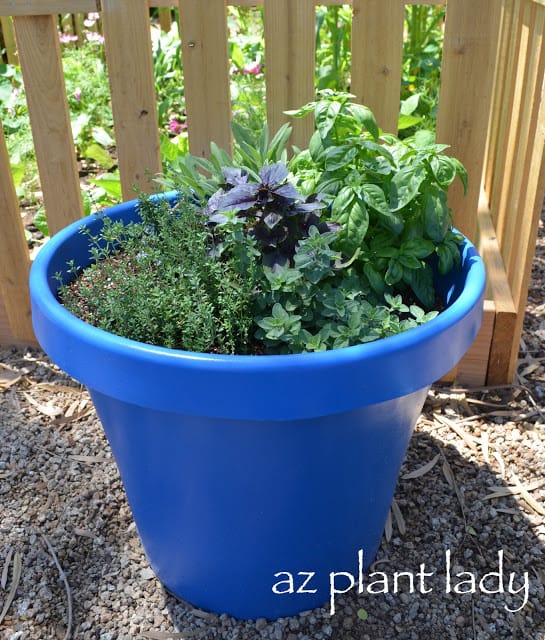
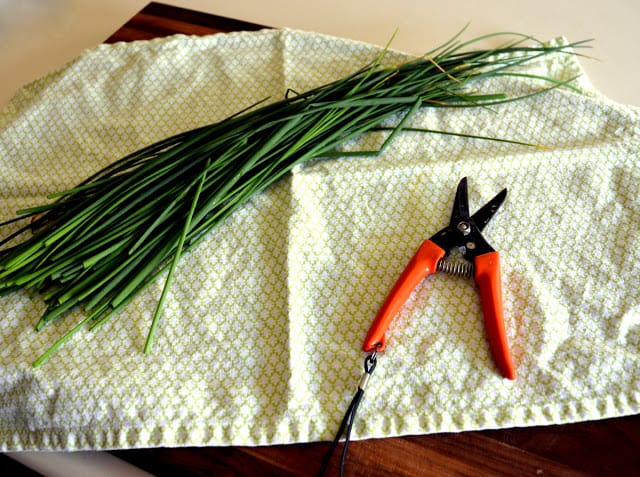
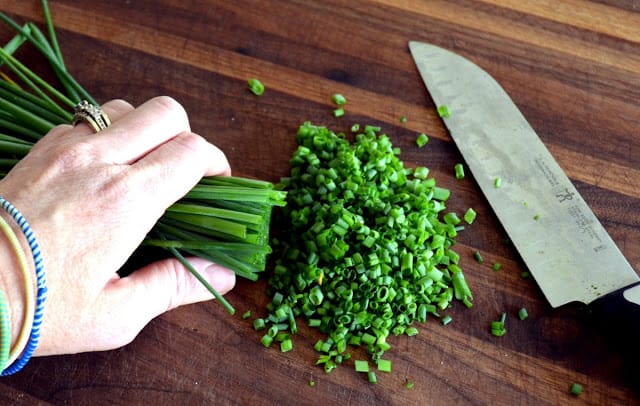
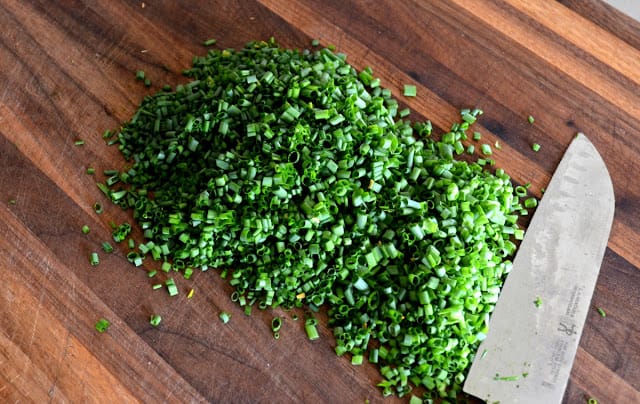
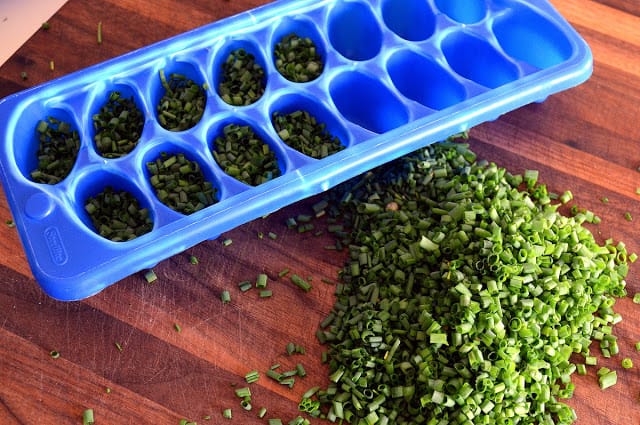
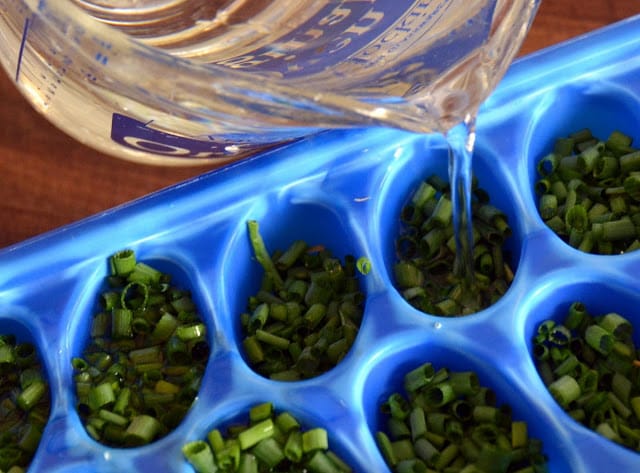
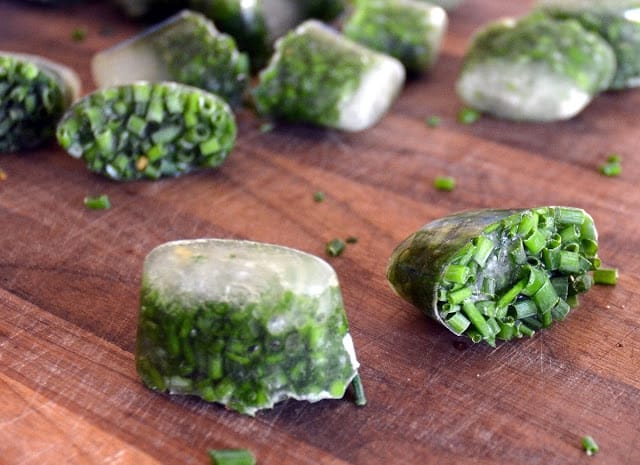
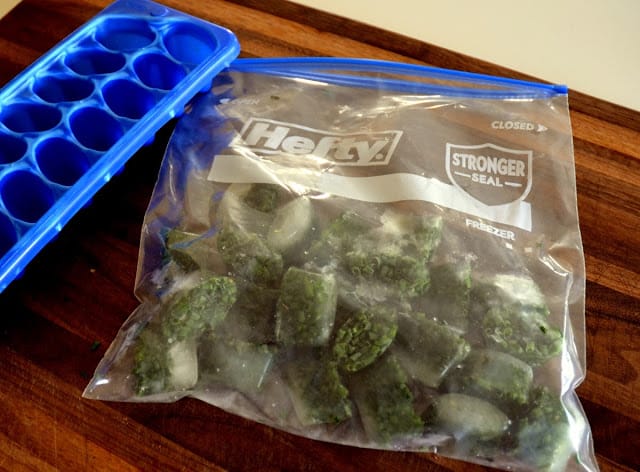
Herbs are easy to grow and most will thrive throughout the winter. The one exception is Basil, which will die once temperatures dip below freezing. Harvest your basil before the first frost arrives. You can dry it and put it into spice jars or freeze it into ice cubes.
Vegetable Planting and Care
Thin vegetable seedlings. This is easiest to do using scissors and snipping them off at the soil line so that you don’t disturb the roots of the remaining seedlings.
Check your seed packet to determine how far apart the seedlings should be.
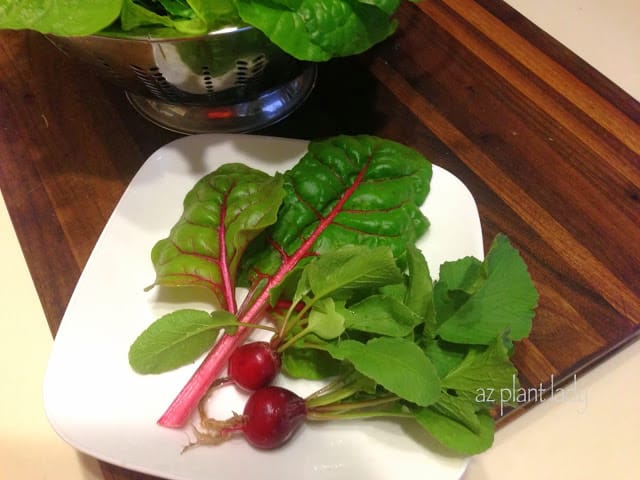
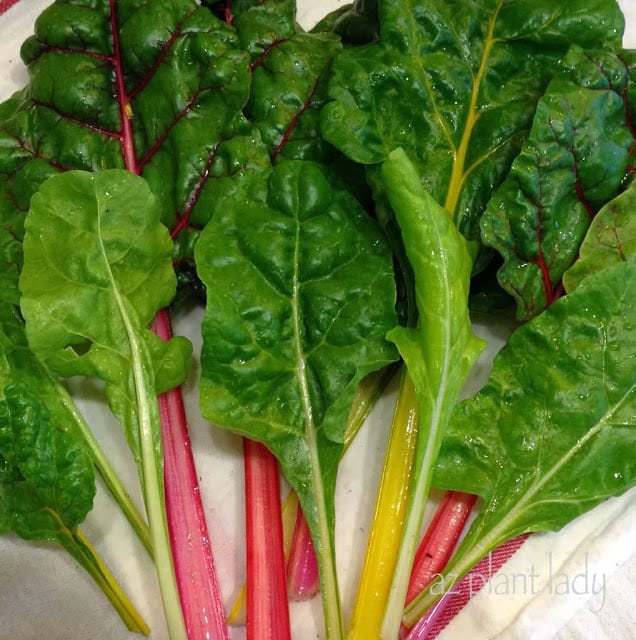
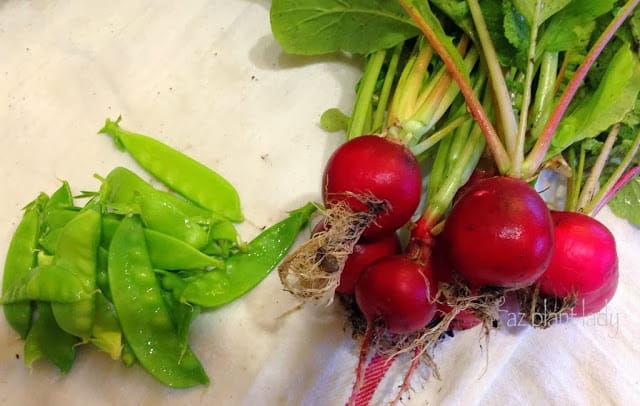
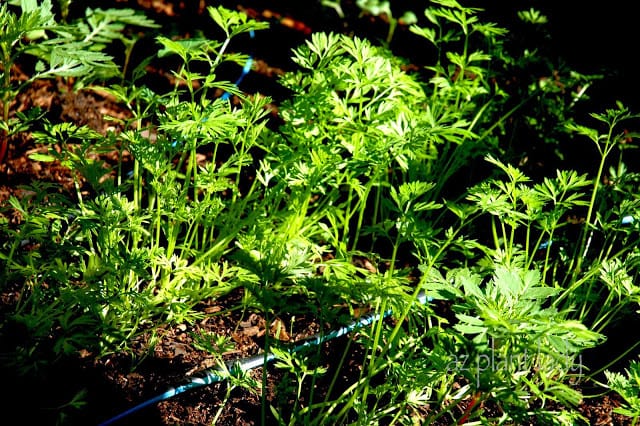
Many vegetables can be planted in November. Leafy greens like bok choy, lettuce, kale, mustard greens, and Swiss chard can be added. Sow carrots and radishes can also be planted in November.

I am so happy to be able to make salads from my own garden again instead of relying on a salad from a bag.
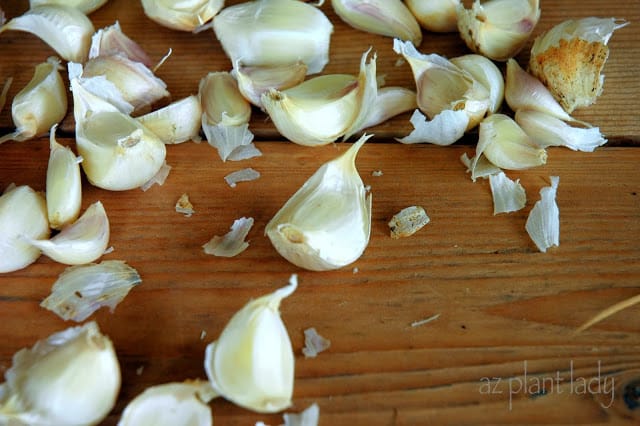
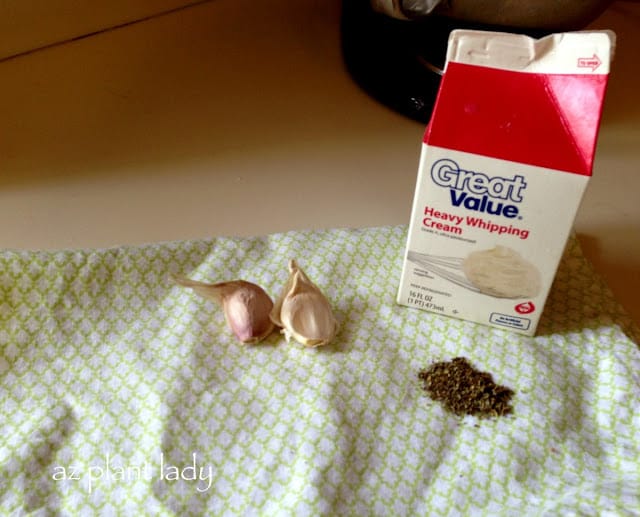
Last Chance for Garlic and More
If you haven’t done so yet, this is the last month to plant garlic in your garden. It is easy to grow, and I grab a few heads of garlic from the grocery store to plant.
Broccoli and cauliflower transplants can still be added to the garden this month. Onions, peas, and turnips can also be planted in November.
Adjusting Your Garden’s Watering Routine
If you haven’t already done so, adjust your irrigation schedule to water less frequently then you did in the summer months. More plants die from over-watering than under-watering, even in the desert Southwest.
I find that monthly gardening task lists keep me on track in the garden. This book is a great resource for Arizona gardeners:
*What will you be doing in your garden this month?