Tag Archive for: Canning

*This blog post contains affiliate links. If you click through and make a purchase, I may receive a commission (at no additional cost to you). Thanks for your support in this way.

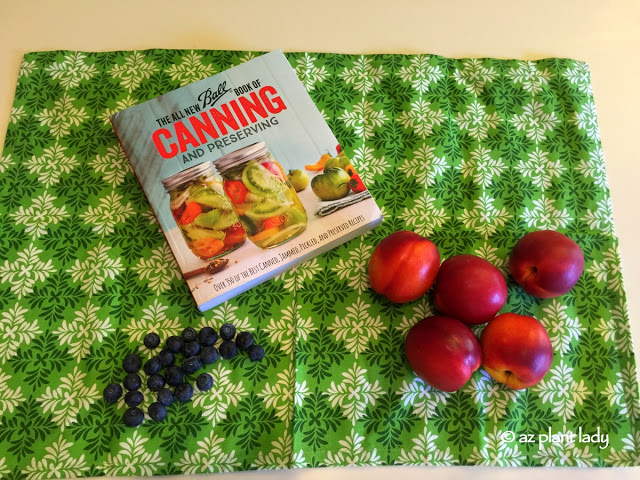
I love to can fruit, and so I was very excited when the publishers of The All New Ball Book Of Canning And Preserving: Over 350 of the Best Canned, Jammed, Pickled, and Preserved Recipes asked me to test a recipe from their book, free of charge, for my honest review. 

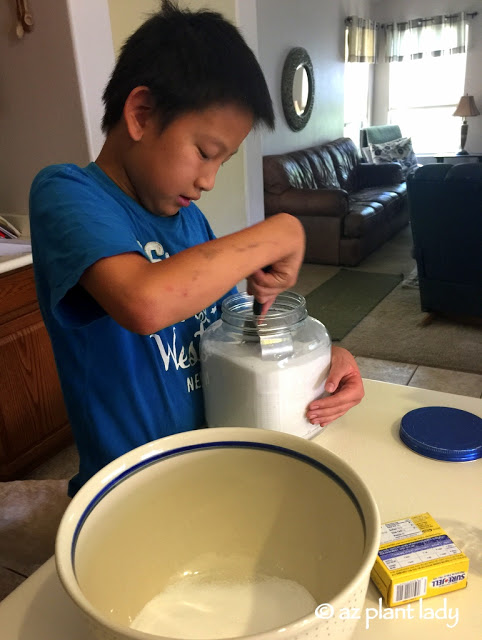
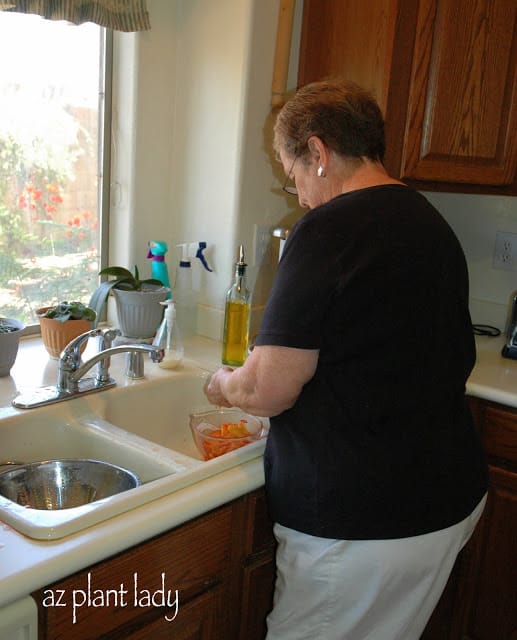
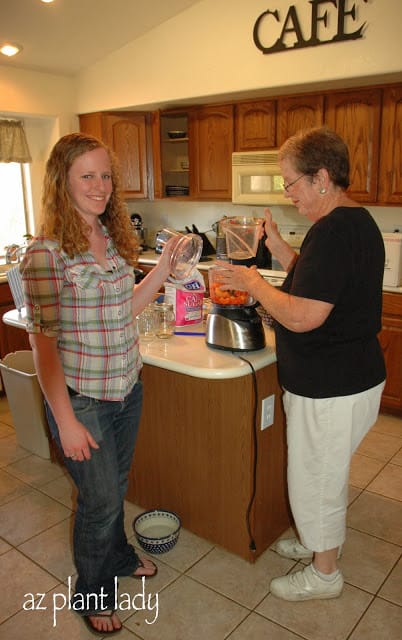
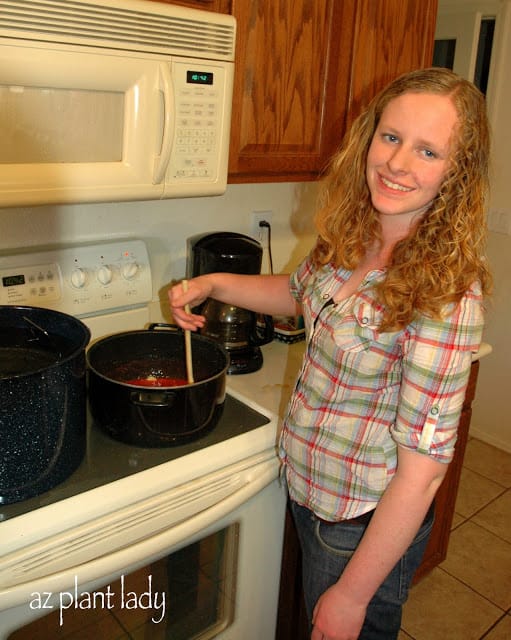
My love affair with canning began a few years ago when I made my first batch of jam, under the guidance of my mother and I have never looked back.

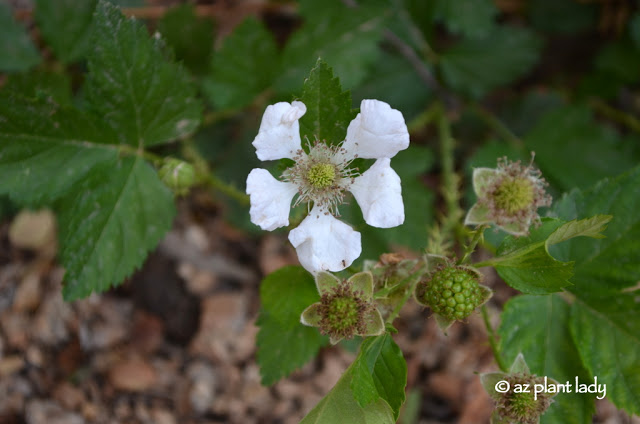
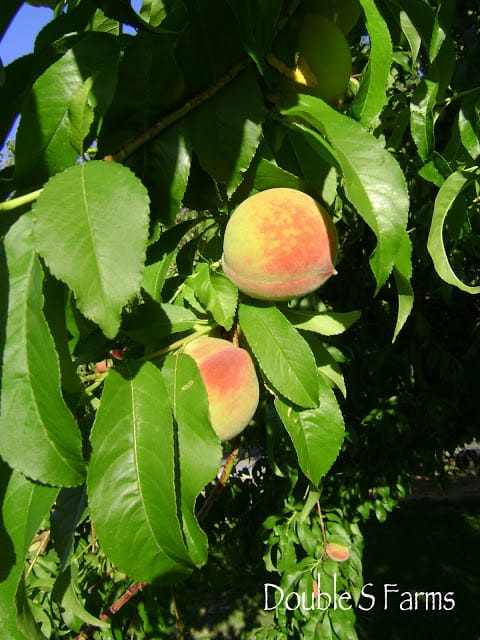
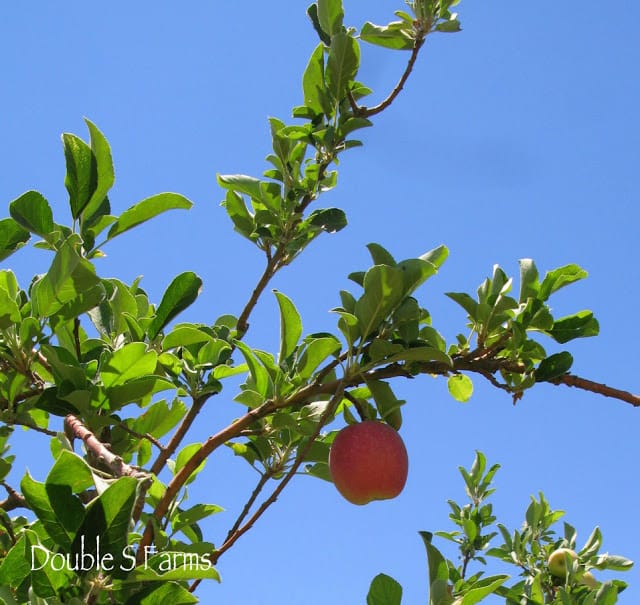
The inspiration for me wanting to learn how to can food came with the family farm, which had a mini-orchard filled with apple, peach, and plum trees.  Since then, I’ve made blackberry, peach, plum, and strawberry jams as well as applesauce.

apple and peach

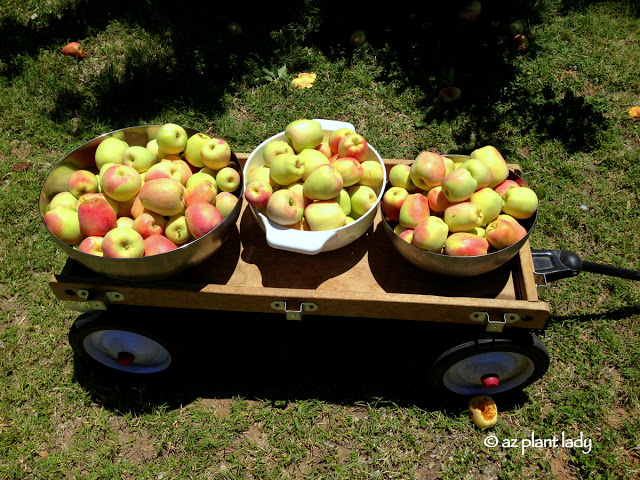
In fact, I enjoyed canning so much, that I planted apple and peach trees in my garden.

I must admit that it took me a long time to decide what recipe to choose because all of them were so tempting.  Who wouldn’t want to make blueberry-lemon jam, grapefruit marmalade, raspberry-lemonade jam, or vanilla bean-citrus marmalade?

jam recipes

In addition to creative jam recipes, there are also many delicious recipes for preserving fruits and vegetables as well as savory selections.

jam recipes

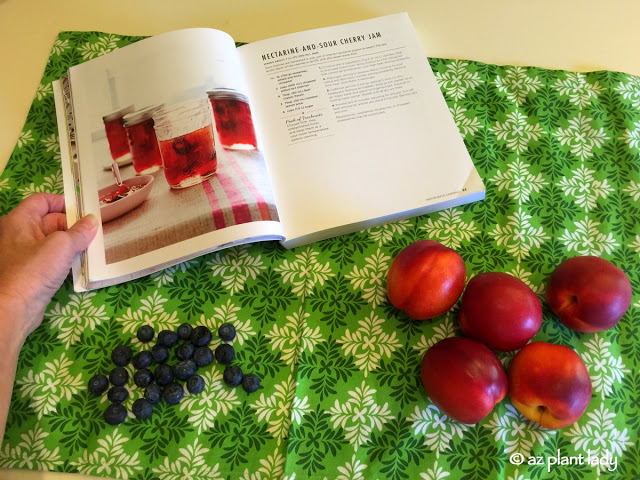
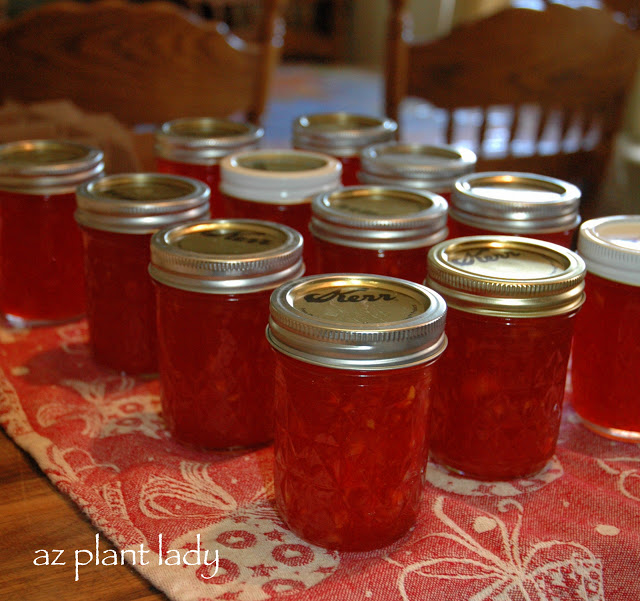
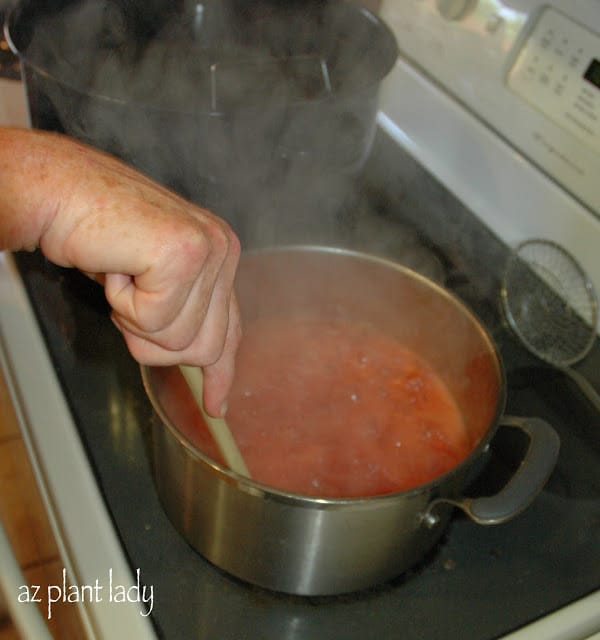
In the end, I chose to make a variation of nectarine-sour cherry jam.  

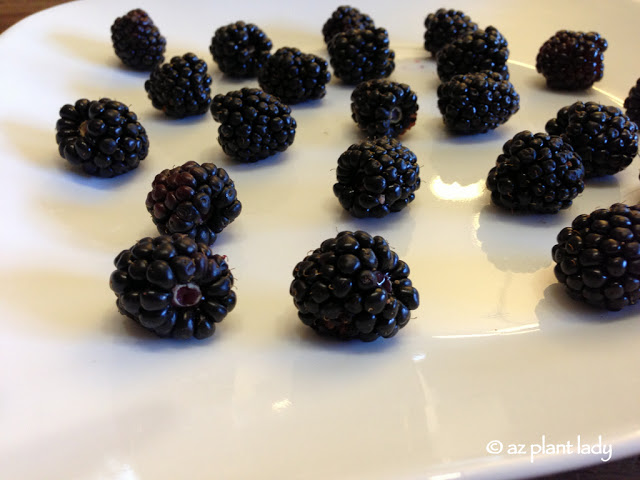
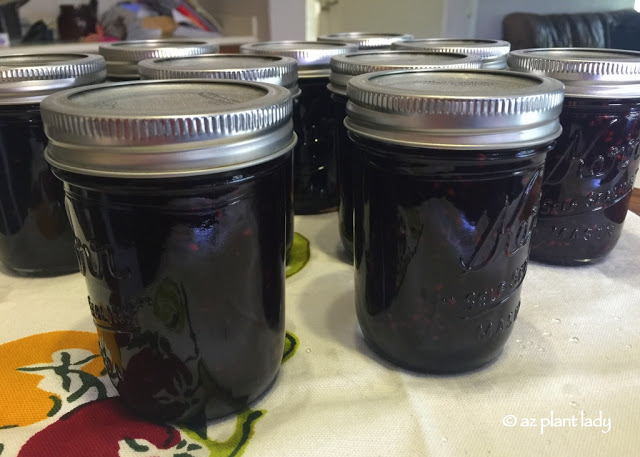
For this recipe, you could use blueberries, blackberries, raspberries, or even strawberries in place of the sour cherries.  Because my husband and kids love blueberries, that’s what I chose.

jam recipes

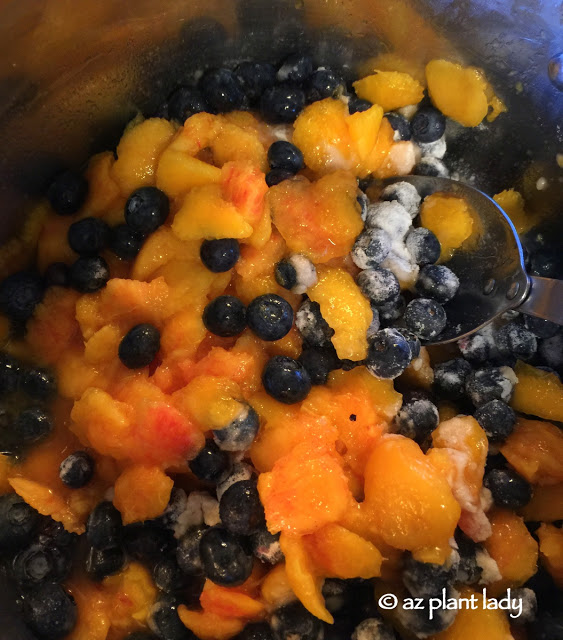
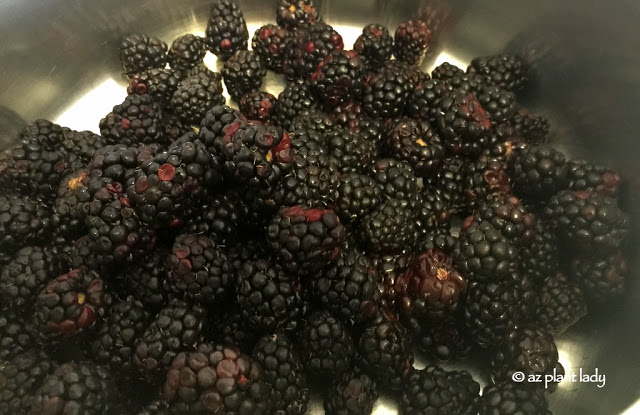
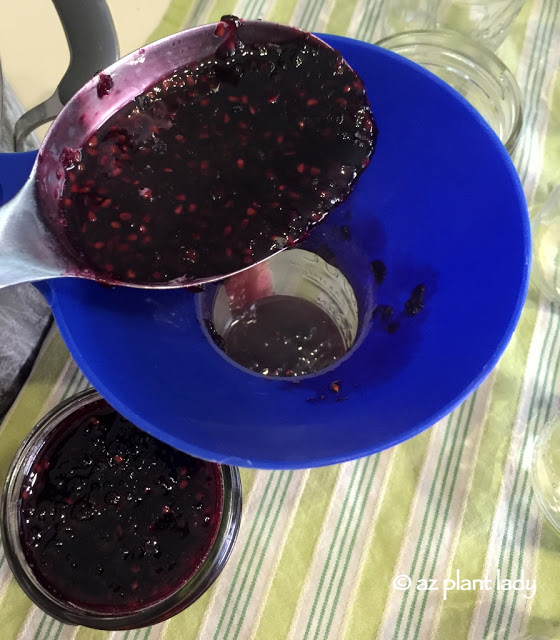
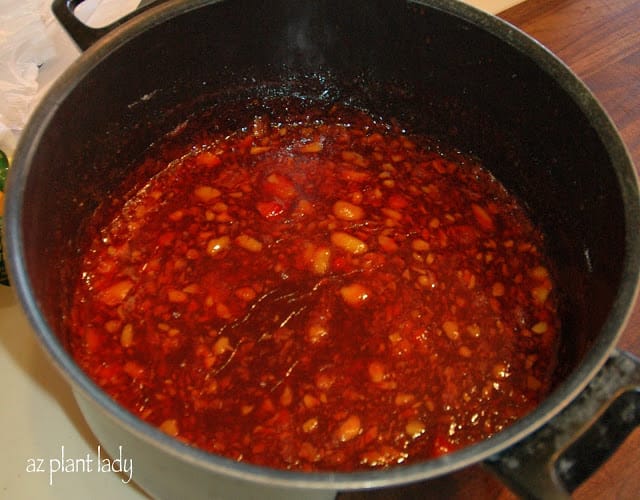
Isn’t the color combination beautiful?

jam recipes

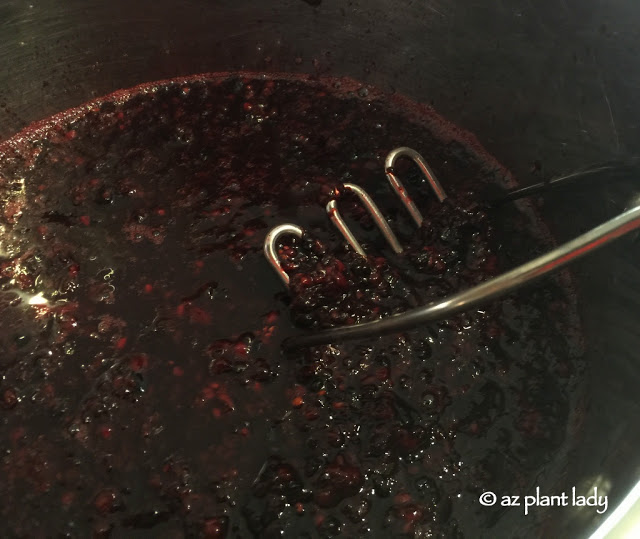
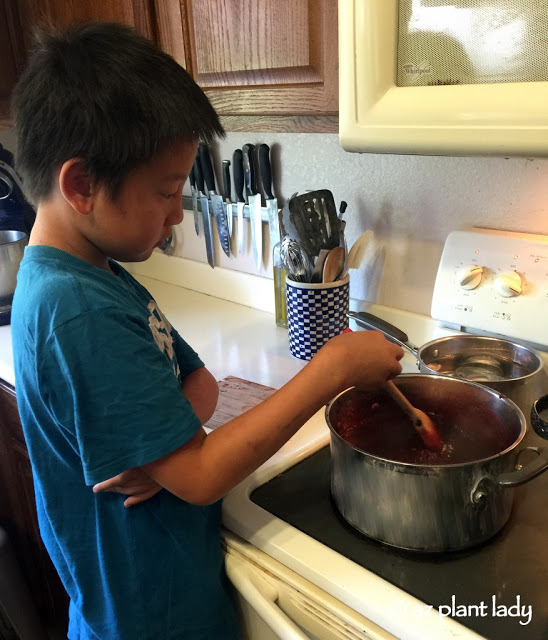
As it cooked, the jam mixture began to turn a delicious shade of purple.

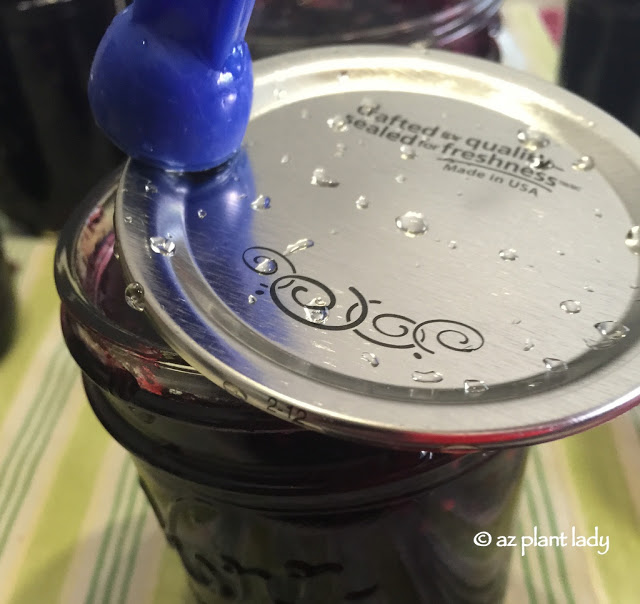
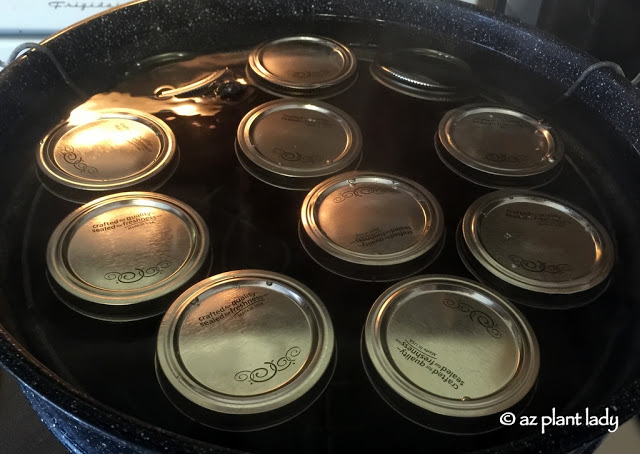
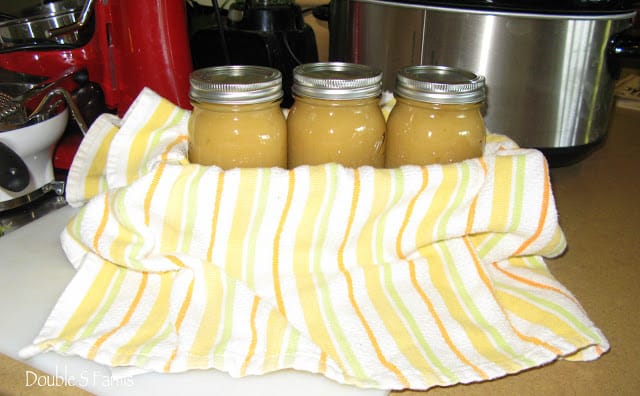
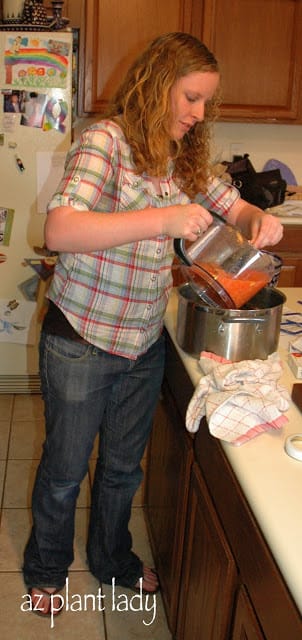
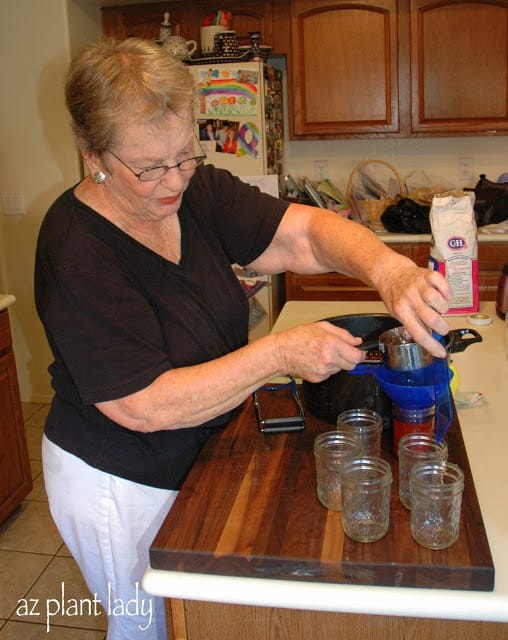
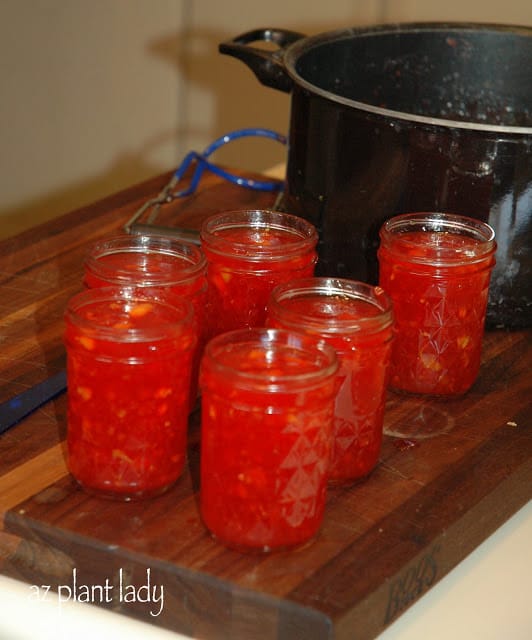
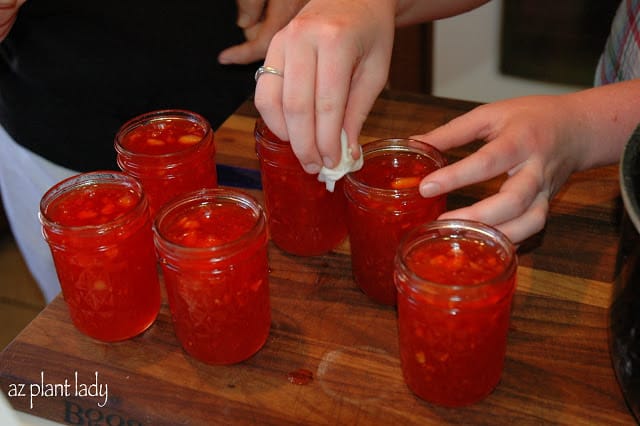
Once the jam was finished cooking, I poured it into sterilized mason jars and processed it in a boiling water canner.

jam recipes

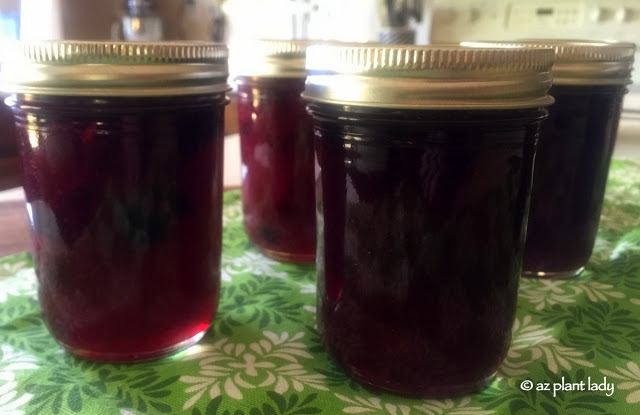
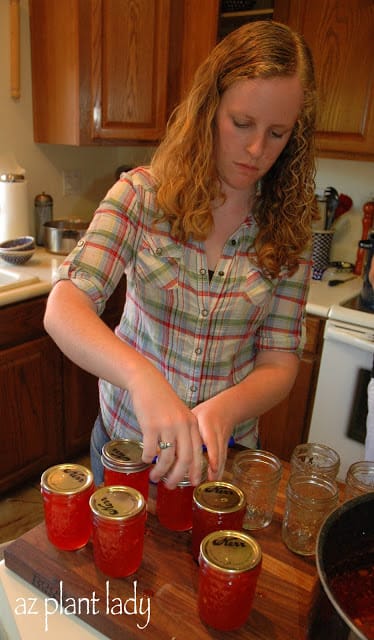
Now, I have seven jars filled with delicious jam for my morning toast.

It’s important to note that the cookbook doesn’t have a beginners section for those learning how to can and preserve fruit and vegetables – its focus is more on creative, canning recipes.

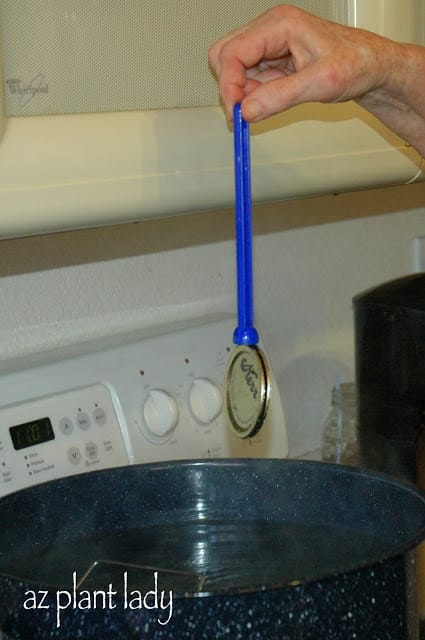
The equipment needed for canning isn’t expensive or complicated to use.

Shop Ball® and Kerr® products at FreshPreserving.com

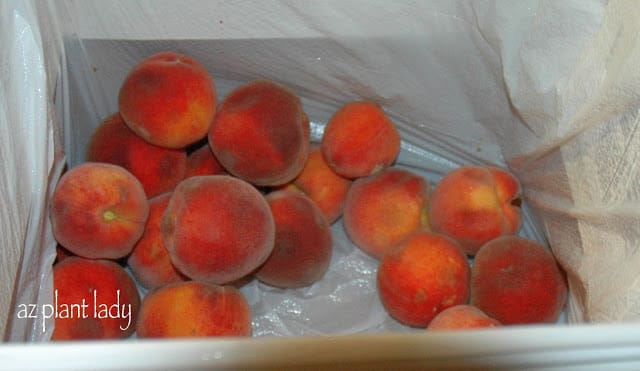
I blogged about my first canning lesson from my mom, when we made peach jam several years ago, that you can read here.

 I’ve also written about my experience at making applesauce and blackberry jam recipes.

How about you?  Do you like to can?  What is your favorite fruit, meat or vegetable to preserve?

**I received the book, “Ball Brand, Can It Forward” for free.  However, my review and opinions are my own.**

Blackberries, Jars and a Young Helper

Do you grow fruit in your garden?  

For those of us who live in warm, southern climates, you’ll often see a citrus tree or two in the growing in the backyard.  

While I do have a lemon and orange tree growing in my garden, that is just the beginning of my fruit crop.  I also have a pair of apple and peach trees that generously provide us with fruit in late spring.    

The final fruit crop that I grow isn’t found on a tree but rather on bushes.  

Blackberries, Jars and a Young Helper

Ever since I was a child in Southern California, I have loved blackberries.  We had a line of blackberry bushes growing along the back wall of our suburban home and it was often a race between us and our dog ‘Smitty’ to see who would get to them first.  

Now, I have my own blackberry bushes growing in my side garden, which are located right behind my apple trees.  

While I enjoy eating fresh fruit, I also like to make jam so that I can enjoy the fruits of my garden throughout the entire year.  

Last month, I made several batches of peach jam and last week, it was time to make my first batch of blackberry jam.    

It took a few weeks to get all of the blackberries picked from the bushes.  The reason for this is that not all the berries ripened at once, so we would freeze them after picking until the entire bush was clean of berries.

Blackberries, Jars and a Young Helper

My 13-year-old son asked if he could help me make the jam.  I was pleasantly surprised that he would want to help me, but I will take any opportunity I can to spend time with my son.

Blackberries, Jars and a Young Helper

We gathered supplies – canning jars with lids, sugar, powdered pectin and a canner.  

The first step involved mashing the blackberries in a large pot before adding the powdered pectin.

Blackberries, Jars and a Young Helper

The blackberry mixture had to be heated to a high temperature until it began to boil.

Blackberries, Jars and a Young Helper

Then it was time to add the sugar.  Jam takes a lot of sugar, but I don’t like mine overly sweet, so I decreased the amount of sugar by 1 cup.

It helps to have the sugar pre-measured before boiling the fruit mixture.

Blackberries, Jars and a Young Helper

After adding the sugar, we needed to heat the mixture back up to boiling.  It was nice to have a helper, since you have to stir the entire time.  Once it begins to boil, you have to let it continue for 1 minute before taking off the heat.  

Take a couple of minutes to scoop off any foam that accumulated on the top of the blackberry jam before filling sterilized jam jars.

blackberry jam

We carefully added the hot blackberry jam mixture into the jam jars.  It smelled so good that we were tempted to try some, but decided against it since we didn’t want to burn our mouths.

blackberry jam

Using the handy magnet utensil that came with my canning kit, I carefully put on the lids.  

At this point, you can allow the jam to cool and then enjoy it on toast or English muffin.  But, you will need to refrigerate the jam unless you want to preserve it by processing it by water bath canning.

blackberry jam

A hot water canning bath involves submerging the jars of jam in boiling water for several minutes.  This will preserve the blackberry jam and allow it to last over a year on the pantry shelf.  

Canning kits include a large pot, metal insert, funnel, magnet utensil for lids and tongs.  They are relatively inexpensive and can be found at Walmart or Amazon.  I have even seen them in my local Ace Hardware store.

blackberry jam

After a 10-minute boiling water bath, the jam was ready to be taken out carefully with tongs.    

We let them sit overnight to cool before eagerly tasting the fruits of our labors.    

It is hard to compare the delicious taste of homemade jam that was made from fruit from your own garden.  In fact, I find myself tempted to make a second piece of toast just so I can enjoy some more delicious blackberry jam.  

Of course, you don’t have to grow your own fruit to be able to make jam – simply buy some fruit at your local grocery store or farmers market.  Earlier this month, I saw 1/2 pint containers of blackberries on sale for 97¢.  

While I make jam every year, this was the first time I’ve made blackberry jam and I can’t wait until next year to make some more.  

Thankfully, I have eleven jars to last me through the next year.  

***********************  

Want to learn more about canning?  

If you are lucky, maybe your grandmother, mother, or aunt can teach you.  5 years ago, my mother taught me how to make jam and I’ve never stopped.

If you don’t have anyone to teach you, a simple Google search can help you find a class offered nearby or you can learn how to online.

I always think of the week of Memorial Day as the first ‘unofficial’ week of summer.  The weather is getting hot, the kids have their last day of school and it is also a time of harvest.

Memorial Day

For the past few weeks, my tomato and bush bean plants have been fruitful.

Every week, I blanch my tomatoes by putting them in boiling water for 45 seconds, which makes peeling them easier.

Then I remove the green part of the stem and then ‘squish’ the tomatoes to get rid of the seeds and excess liquid.

What remains the tomato, is the delicious part and I put it in a plastic freezer bag (making sure to get all the air out).  Then I freeze it until I am ready to use them to make sauce.

*My tomatoes aren’t flowering any longer, because of the hot weather – but the tomatoes are ripening.  By mid-May, you should put some sort of shade cloth protection for your tomatoes.

I am thrilled with how well my bush beans are producing.  I have six plants and they produce enough for us to eat for dinner once a week.  I take the extra and blanch them for 3 minutes and then place them in ice water before freezing them as well.

The end of May is also time that I start canning.

Memorial Day

The peaches at Double S Farms (my mother & sister’s family residence) are heavy with sweet fruit.

The trees are so generous that my other sister and I have plenty to make into jam, even after my mother has made hers.

I made three batches so far and have also tried my hand at making ‘Peach Cider Vinegar’, which I will share later.

Memorial Day

Soon, the plums at Double S Farms will ripen and then the apples, which I will can as well 🙂

Last Sunday was my son, Kai’s 10th birthday.  We had a family celebration with his grandmothers, aunts, uncles and cousins present along with his best friend.

Monday morning, Kai went on a flight in a two-seat airplane based at our local airport.

Memorial Day

Kai was excited, but also a little nervous.

His best-friend’s father was the pilot.

 two-seat airplane

Kai was strapped in and all ready to go.

 two-seat airplane

Up in the air and having a great time!

After his flight, we headed to Target with along with his best friend so he could use his gift cards.

Pokemon cards

Not surprisingly, he used them all to buy more Pokemon cards….his friend also bought some too.

Kai had the best day organizing his cards and trading with his friends.

********************

I hope you all are having a great week!

Snapshot of a Summer Week in the Garden

When my mother, sister and her family moved to Double S Farms, I had no idea that I would soon be the grateful receiver of their bountiful harvest of apples, peaches and plums.

bountiful harvest

Peaches

The peaches ripen first and I had the privilege of learning how to make my own peach jam.

bountiful harvest

I didn’t learn how to do it myself.  My mother, Pastor Farmer, taught me how.

It was a special time for me since she was teaching me something that her mother had taught her long ago.

Besides that, the jam was delicious.

After the peaches ripened, the plum were ready a few weeks later and I decided to try to make jam myself.

I was pleasantly surprised that my plum jam turned out very well.

It is now mid-March and I still have peach and plum jam to spread on my morning toast.

Now it was time to try my hand at making applesauce from the apples.

bountiful harvest

My mother rejoined me in making the applesauce and I used it later to make my signature Applesauce Spice Cake.

bountiful harvest

I enjoyed learning how to preserve fruit.  My only complaint is that I wish that I didn’t have to do it in the summer….my kitchen gets quite warm.

How about you?

Do you have a favorite fruit in your garden?

*****************

My latest Birds & Blooms blog post is sure to bring a smile…

What Do You Do With a Dirty Chicken?

Citrus, September and Lemonade….

peaches

For the past couple of weeks, I have been watching as the peaches began to ripen on the three peach trees on Double Farms.  I was especially excited for them to ripen this year because my mother, Pastor Farmer, had promised to teach how to make peach jam.

Back in January, I helped prune these neglected peach trees with my brother-in-law, Farmer Dad and blogged about it – Three Neglected Peach Trees.  As the tiny fruits started to form, my sister, Chicken Farmer, thinned out the peaches.  The result was that the peaches this year were much larger.

peaches

My mother came over with a box filled to overflowing with peaches.  You can see what was left when we were finished, above.  I was also happy to have her come over to my house because we have been rather housebound while my son Kai is recuperating from hip surgery, and it was nice to have something fun to do.

canning and making jams

My mother is no stranger to canning and making jams.  She learned much of the process from her mother.  But in today’s age of technology, there is plenty of information online about how to make jam and we did get some great tips that way, which made the process even easier.  We found great information online here.

I am a novice when it comes to canning and making jam, so I was anxious to learn.  First we blanched the peaches (put them in boiling water for 30 seconds and then plunged them into ice water).  It was very easy to remove the skins and then we cut them up into pieces.

canning and making jams

One piece of modern equipment that we used that our grandmothers definitely did not have was a food processor to partially blend the cut peaches.  My mother said that it worked much better then a potato masher which she had used previously.

canning and making jams

My newly graduated daughter, Rachele, had some extra time on her hands and wanted to help.  She poured the peaches into the pot, added lemon juice and pectin and got ready to cook them.

canning and making jams

Her job was to constantly stir the peaches.  A trick that my mother learned was to put a tablespoon of butter in the peaches, to reduce the foam and scum that floats to the top.  It really worked.  Then I added the sugar and we boiled the peaches for 1 minute on high heat.

canning and making jams

The fragrance from the peaches was just delicious.

Now, came the technical part….putting the jam into the jars without contaminating them.

canning and making jams

My mother bought a canning kit, which came with tongs for the jars, a funnel, a magnet and much more.  She carefully measured the jam until it was within 1/4″ of the top.  Then Rachele and I did the same.

canning and making jams

I realize that I am not in any of these pictures, but I promise, that I was working hard too 🙂

canning and making jams

Rachele carefully wiped the rims to make sure they were clean.  

canning and making jams

Okay, I think this is really cool.  The canning kit included a magnet that you could use to take the lids out of the boiling water, which makes it even easier not to touch them or get your fingers burned.

almost done

We were almost done!

almost done

Voila!

All of the jars sealed perfectly.  At this point, I was searching for the nearest loaf of bread so I could enjoy our new jam.  

I had such a great time spending time with my mom and daughter and learning something new.  

Now that I have had a lesson in making peach jam, I can hardly wait to make plum jam.  They are almost ripe….

**You can learn how to can and make your own jam.  The National Center for Home Food Preservation has a great website with step-by-step tutorials.