Tag Archive for: chives

Do you like using fresh herbs when you cook?

I do.  But, I don’t like buying herbs from the store because they can be expensive and often aren’t very fresh looking.
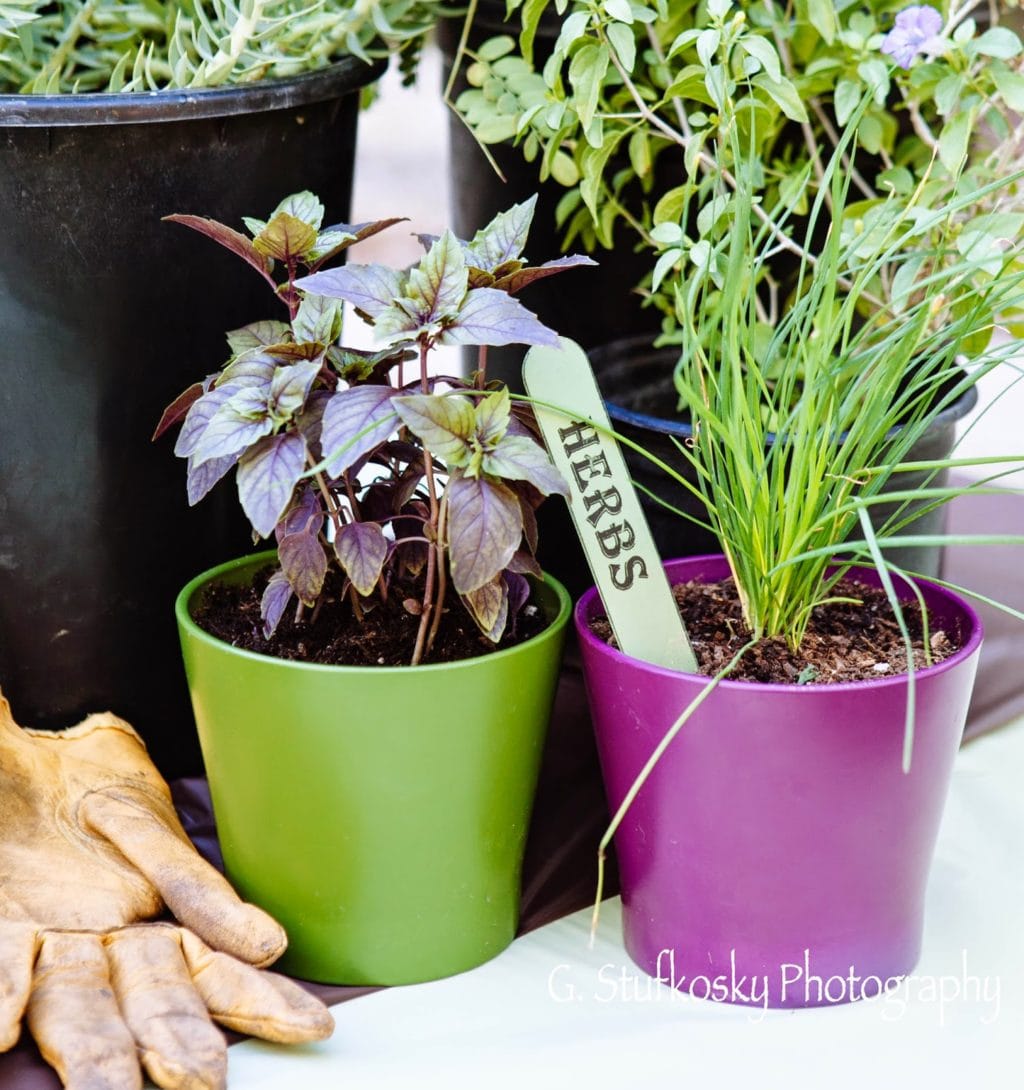
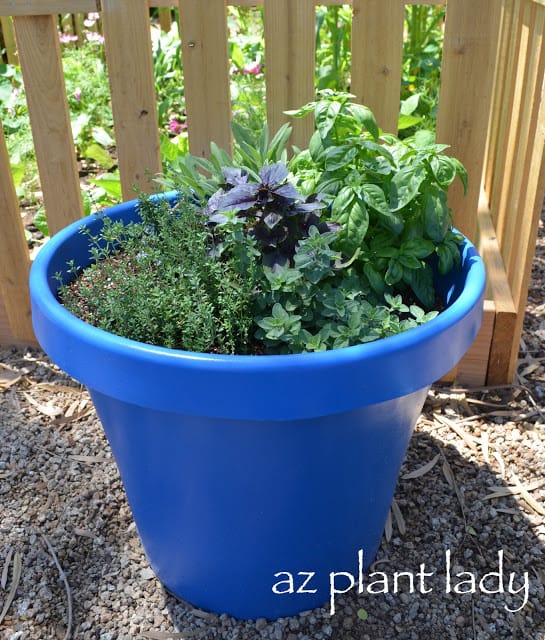
Purple basil and chives

Photo: Purple basil and chives

I enjoy growing herbs outdoors in my garden, but I also grow herbs indoors on my kitchen windowsill.  

Whether you have a garden, a balcony or a windowsill, you can grow herbs inside.
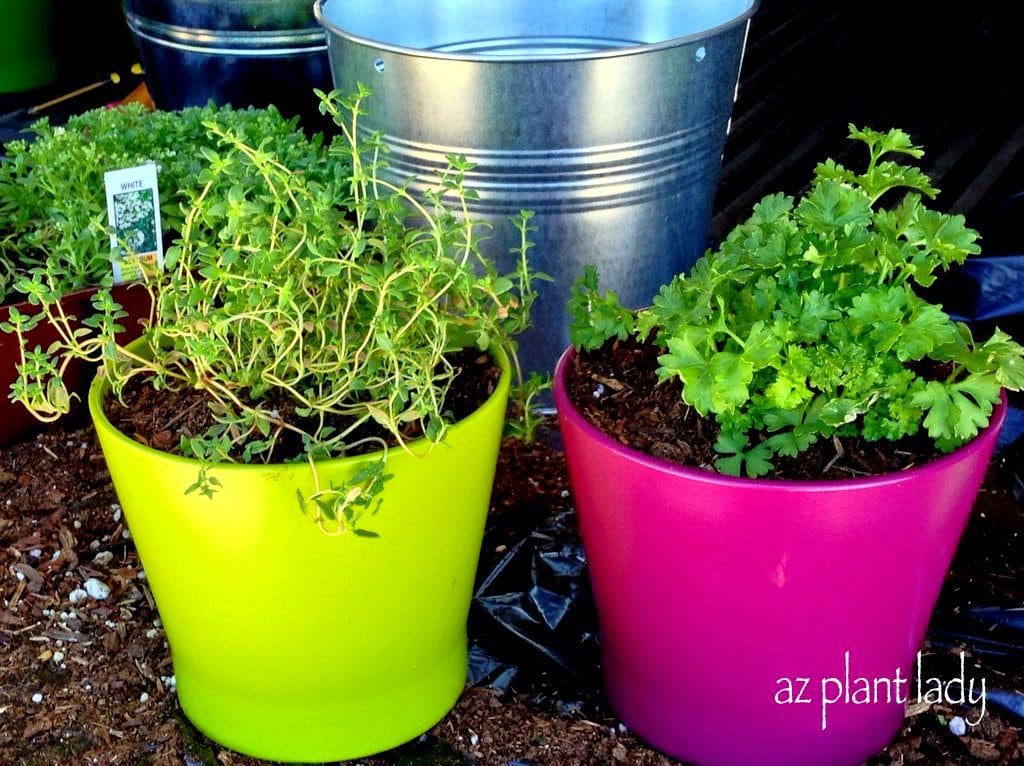
own fresh herbs

Many people grow herbs indoors during the winter time, but you can grow them inside all year long.  

So, are you ready to grow your own fresh herbs? Let’s get started…  

1. Select a place to put your potted herbs that has a sunny window. – 
A window that faces south is best, but east facing will also work.  West facing windows may be too hot in if you live in the desert, but you can experiment with it.   Herbs need at least 4 – 5 hours of sun.

It’s important to note that herbs grown indoors won’t look as compact or lush as those grown outdoors, which is due to the fact that they don’t get as much sun indoors.  

2. Choose plastic or glazed containers with holes for drainage.

It’s best to avoid terra-cotta pots, which can dry out – especially during the winter when the air in our homes can be dry from heating. 
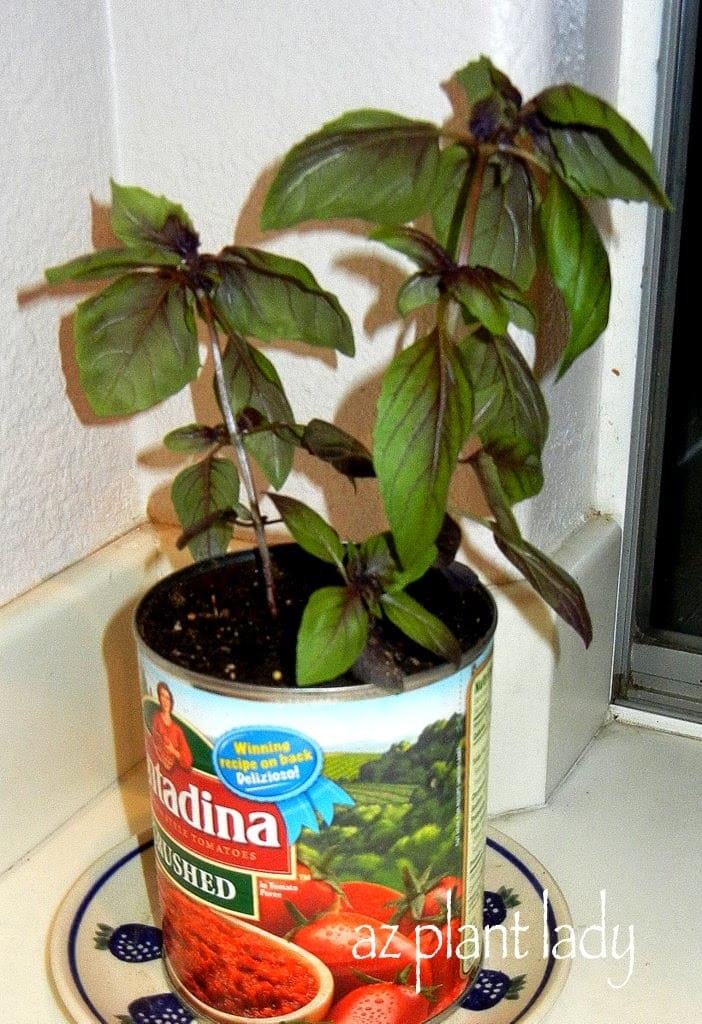
growing herbs indoors

growing herbs indoors

You can also use cans as recycled containers.  I have grown herbs in tomato cans as well as coffee cans.    

A row of cans with their labels removed, filled with herbs would add a real contemporary look to the kitchen, don’t you think?  
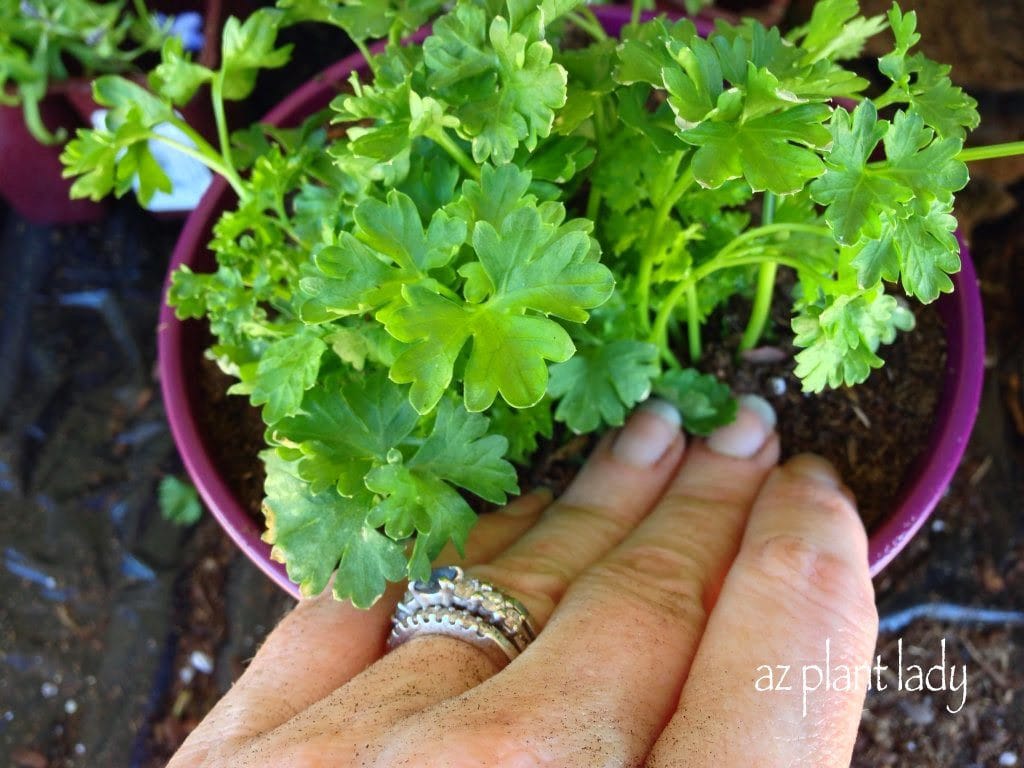
growing herbs

3. Use potting or planting mix.  
Avoid using potting soil, which is not formulated for containers and can become soggy.  

4. Select what herbs you want to grow.

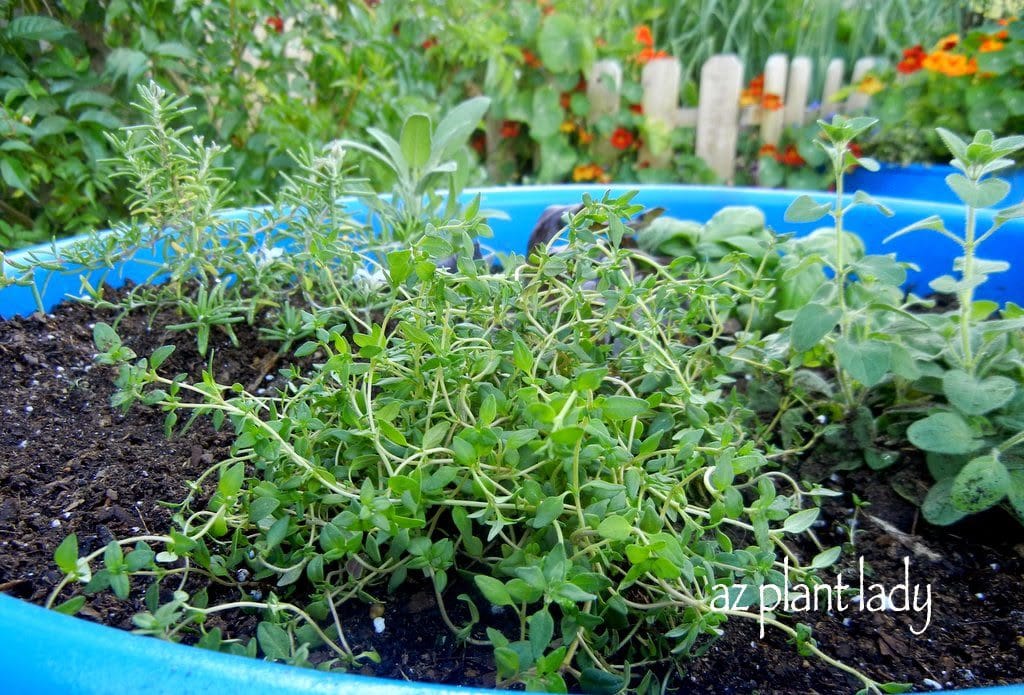
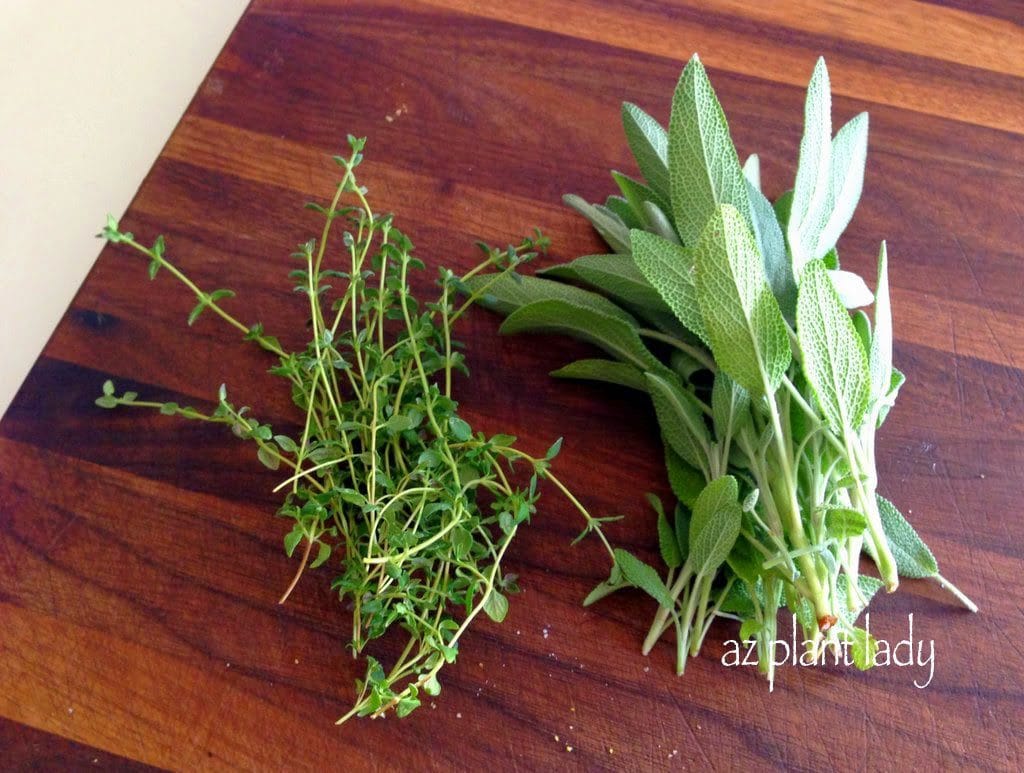
There are many different herbs that will grow well indoors, which include basil, chives, lemon balm, mint, parsley, sage and thyme.   

You can buy herb transplants from your favorite nursery or sometimes at the grocery store.
growing herbs indoors

growing herbs indoors

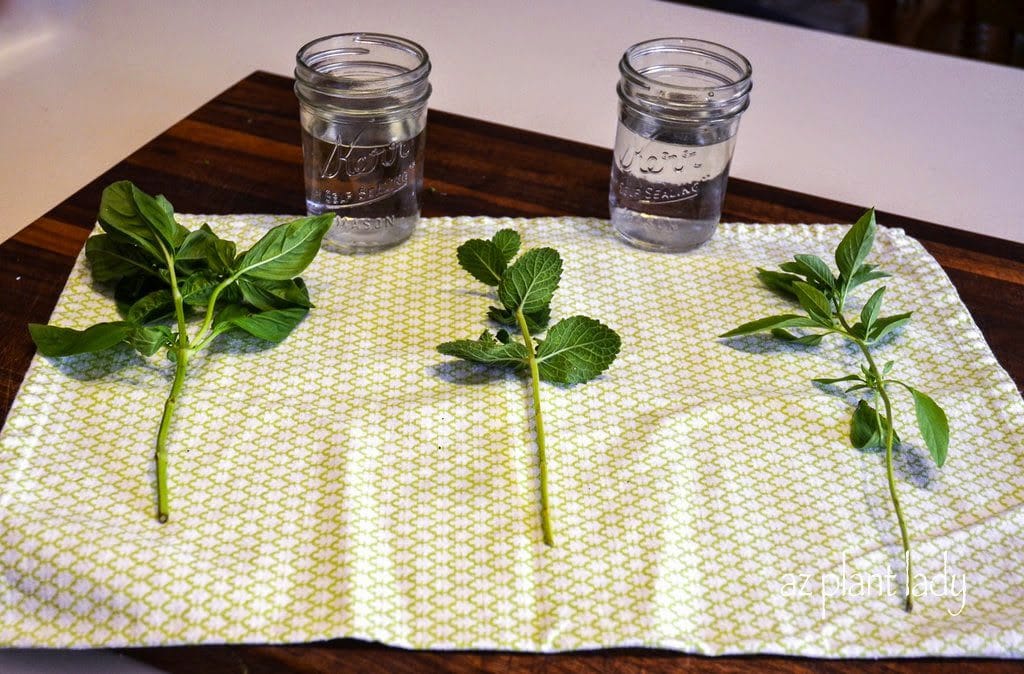
Another way to grow certain herbs is to start them from cuttings.

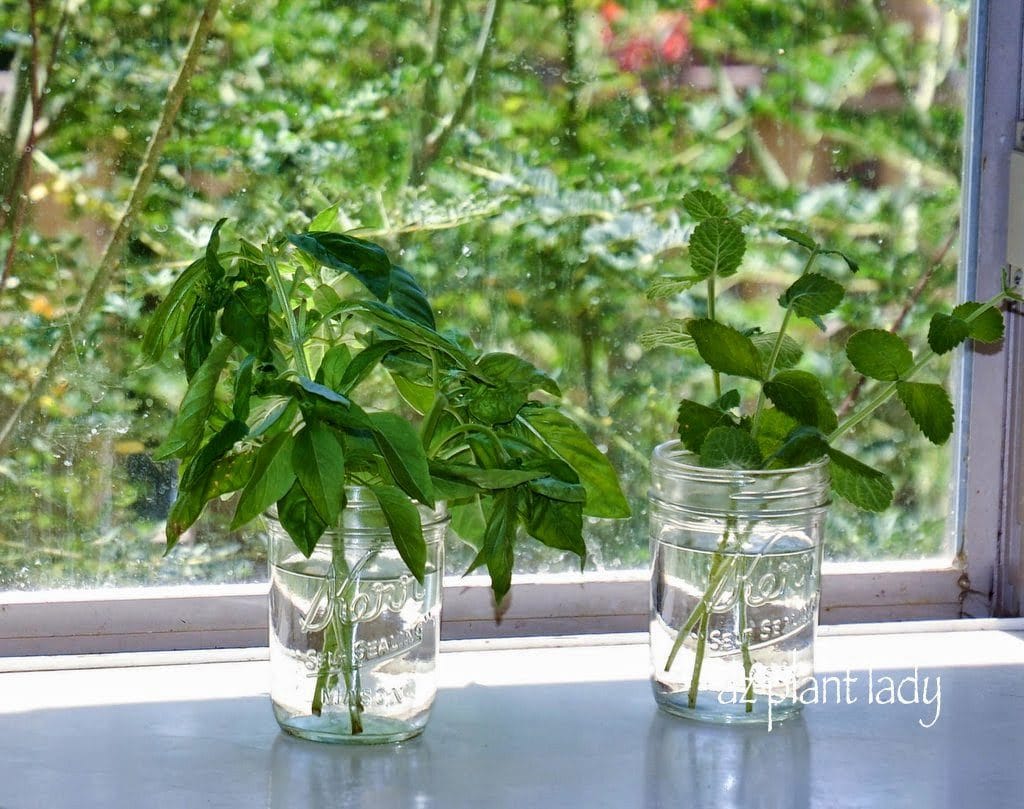
I ran out to the garden to grab two types of basil and some apple mint to show you how to do this.  
Basil and mint are both easy to start from cuttings.

Remove the leaves from the bottom as shown, above.  Place the cuttings in a glass of water so that most of the stem is submerged in water, but take care that no leaves are in the water.
growing herbs indoors

growing herbs indoors

Place in a window with bright, indirect sun.  Change the water every other day and watch for roots to develop.  Once roots have grown 1/2 – 1 inch, transplant each cutting into a container filled with potting mix and your are done!

I told you it was easy.
growing herbs

5. Water your potted herbs when the top of the soil feels dry.

Herbs don’t like soggy soil, so it’s best to allow the top of the soil to dry out before watering deeply until the water runs out the bottom.    

An easy to tell when it’s time to water is to stick your finger into the soil till you reach your first knuckle – slightly less than an inch.  If it feels barely moist, then it is time to water again.  

6. Fertilize your herbs.

When plants are grown in pots, they need to be fertilized and herbs are no different.  You can apply organic fertilizer granules and work into the top inch of soil OR you can use an organic liquid fertilizer such as fish emulsion.    

Follow directions on the granular fertilizer package when applying and guidelines for frequency.  In general, liquid fertilizer can be applied every 2 weeks.
growing herbs

Soon you will have fresh herbs close at hand and ready to use in your favorite dishes.I recently made herbs salts from my herbs, which is fun and easy to do.  The flavor that they add to food is just delicious!

Click the links below to learn how to make:

Basil Salt

Herb Salt

For more information on how to grow herbs and how to preserve them, click on the following links:

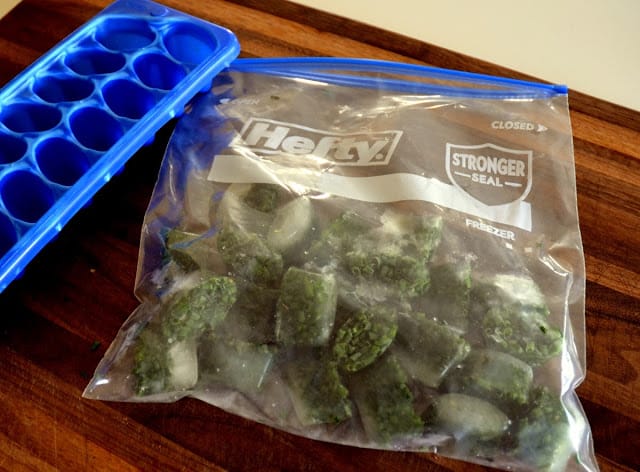
Preserve Herbs By Freezing Them Into Ice Cubes

Preserve Herbs By Drying Them

Do you grow your own herbs?

Did you know that you can preserve them by freezing them?

Freeze Herbs Into Ice Cubes

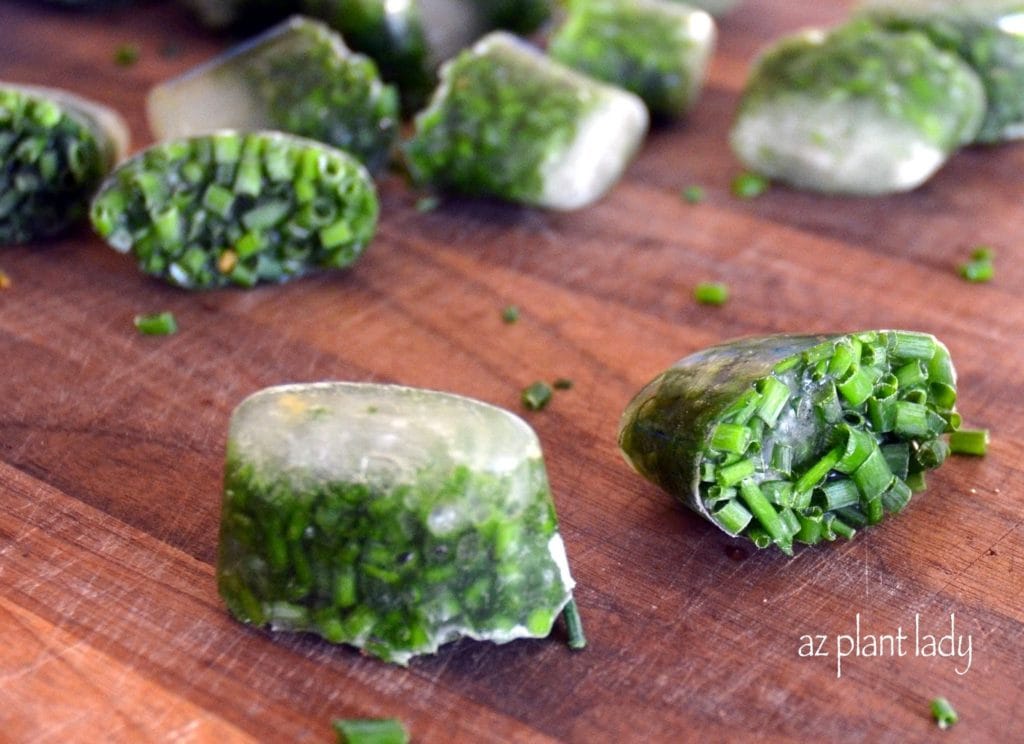
I frequently freeze my freshly-harvested herbs into ice cubes so that they are easily on hand, even when they are out of season.

“Freeze Herbs Into Ice Cubes”

Whenever I need them in my favorite dish, I simply pop out an ice cube from the freezer.

If someone asked you what your favorite food was, what would you tell them?

My daughter, Gracie, would answer by saying “anything chocolate”.

My husband would say “pizza”.

But my favorite food is a warm slice of sourdough bread with melted butter.  My idea of heaven is being surrounded with loaves of French bread and plenty of Irish butter without the carbs or calories 😉

Because I like to make things using produce from my garden, I decided to try making herb butter using the herbs that I grew and dried earlier this summer.

heavy whipping cream

Just for fun, I decided to make my own butter using some leftover heavy whipping cream (did you know that if you beat heavy whipping cream long enough that you will get butter)?

When we were kids, my mom would teach us how to make butter this way using her antique butter churn.  It was a lot of work, but it was fun.

Most of the time, I just use regular butter to make herb butter.

making your own herb butter

I beat the whip cream until it became thick and continued until it looked like this…

making your own herb butter

Your butter will start to solidify with a little buttermilk liquid left.

making your own herb butter

Drain the buttermilk and you are left with butter!  You can salt it to your taste at this point.

1. You will need a 1/2 cup of softened butter. (Store bought works just as well as butter you made yourself).

2. Add a 1/2 teaspoon of your favorite herb.  Dried basil, chives, dill, oregano, rosemary, sage or thyme work well for herb butter.  You can also use a 1/2 teaspoon of poultry or Italian seasoning instead if you like.

3. I also added 2 cloves of minced garlic, also from my garden, to the herb butter.

4. Mix it all together using a rubber spatula.

making your own herb butter

5. Place your butter mixture onto wax paper and begin to form it into a roll by folding over the wax paper and using your hands to mold the herb butter.

making your own herb butter

6. Twist the ends of the wax paper and place your herb butter into a plastic freezer bag.

preserve

7. Freeze until 2 hours before using.  You don’t have to use it all at once.  Simply cut off a few sections at a time.

You can freeze herb butter up to 6 months.

So, get started now and preserve the taste of your summer herbs by making your own herb butter.

Make some for yourself and give some away to friends.

I must say, that I was going to take a picture of my herb butter melting over a hot slice of sourdough bread.

But, I ate it before I remembered to take the picture…

**You can use your own herbs that you have dried or you can use herbs from the grocery store.

To learn how to dry herbs, check out my earlier post – “How to Grow and Dry Your Own Herbs”

What herb(s) would you add to herb butter?

fresh herbs

I love growing herbs in my garden and one of the reasons is that they thrive in our hot, dry summers with minimal fuss.

I must admit that I sometimes forget to make use of my fresh herbs, or sometimes I have more than I need. Some frost-tender herbs like basil don’t grow in winter in my garden – so either I have too much in the summer and almost none at all in winter.

Well, no more! Did you know that you could freeze your fresh herbs so you could use them during the winter months?

I tried this with my chives earlier this summer and it was so easy to do.

Here is how to do it:

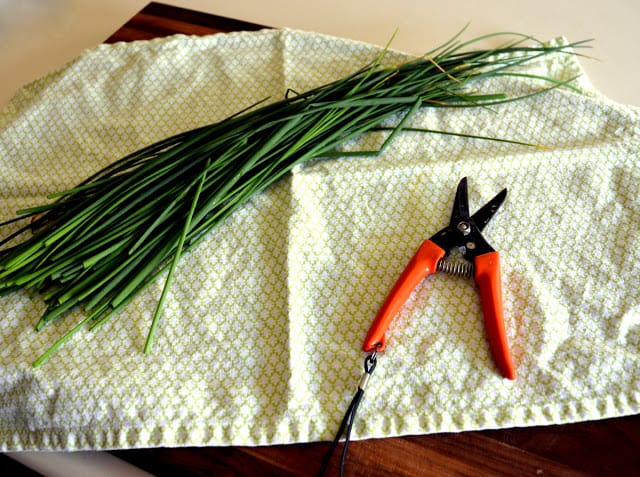
Choose your favorite herb…

Chopping herbs

 Wash them.

chopped herbs

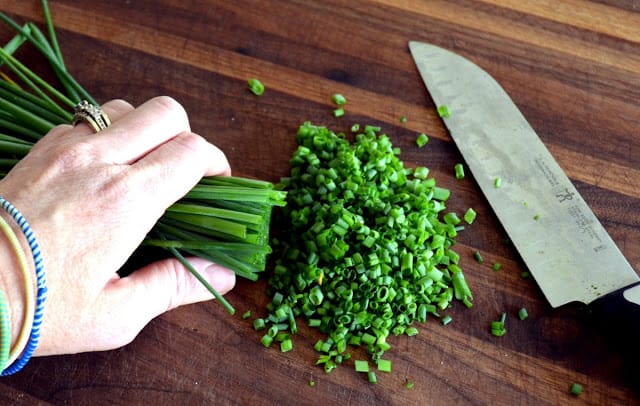
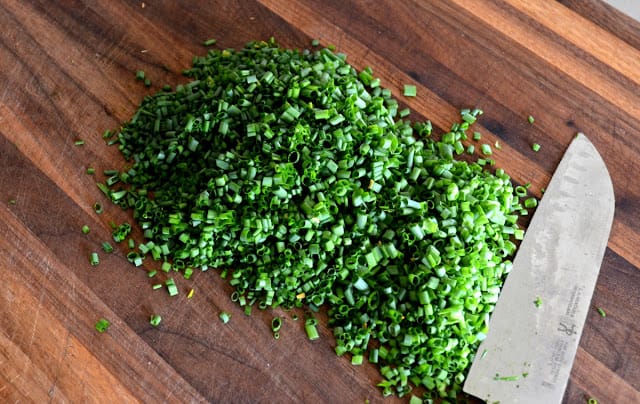
Chop them into the desired size.

chopped herbs

I just love chives.

chopped herbs

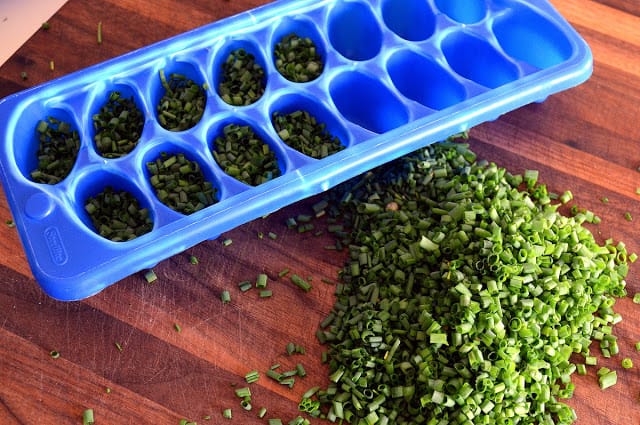
Place your chopped herbs into an ice cube tray, filling up each one about 3/4 of the way full.

Freezing herbs

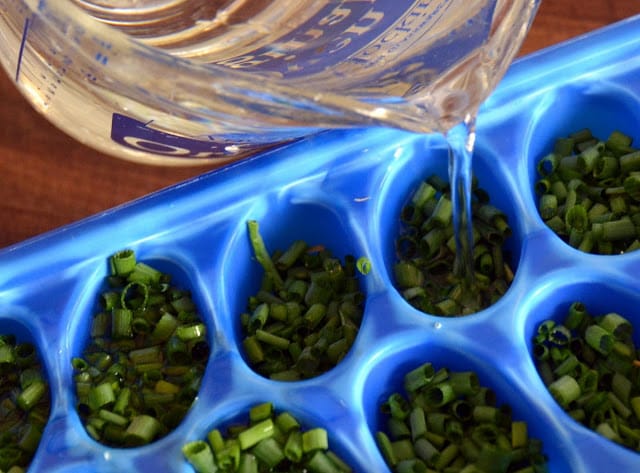
Fill up with water, taking care to allow a little room for expansion since water expands when it freezes.

Put in your freezer for a few hours.  

herb cubes

Freezing herbs

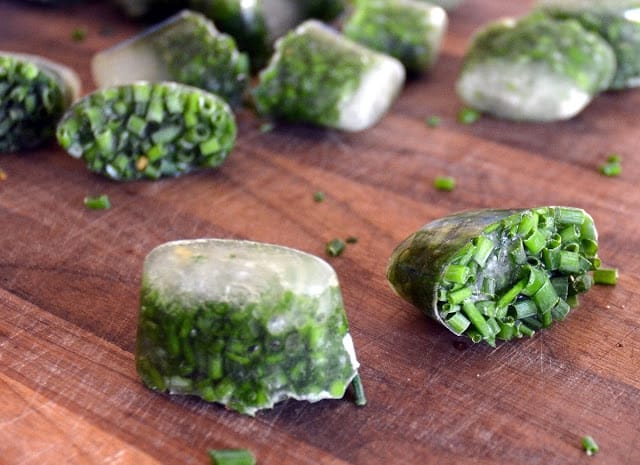
Once frozen, pop out your ‘herb cubes’ and put them in a freezer container or plastic container and store in your freezer.

herb cubes

Freezing herbs

Now, whenever you need fresh herbs when you cook, add a few ice cubes to your favorite sauce.  

**You can also freeze herbs into ice cubes using olive oil instead of water, if desired.

Another great way to preserve herbs is to dry them.I talked about how to do this in an earlier post –  “How to Grow and Dry Herbs”

I recently re-planted my herb container for the cool-season.

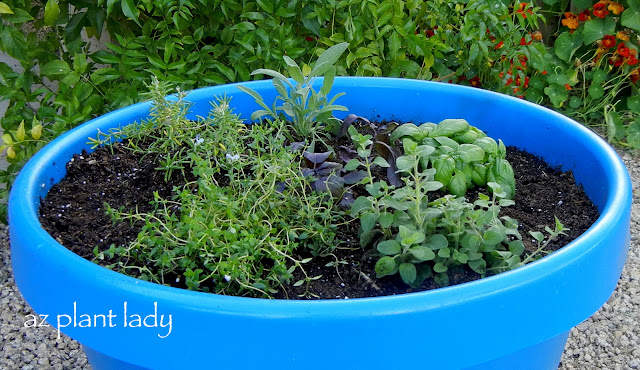
Last spring, I planted my container with rosemary, green basil, purple basil, sage, thyme and oregano. All of these herbs do well in the warm-season and I enjoyed being able to step outside the kitchen with cut fresh herbs whenever I needed them.

Herb Container

You can read the post here, to see how to grow herbs in containers.I also did a “How-To” video about this too 🙂

Okay, so now that cooler weather is on its way, I wanted to add some different herbs that would do well through the winter in my zone 9 garden.

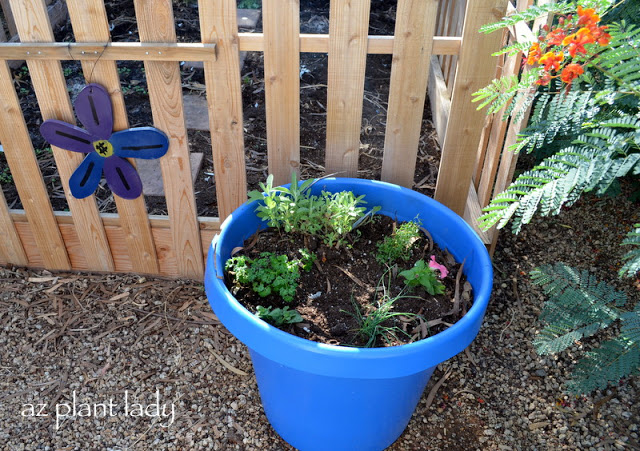
Herb Container

I planted Dill, Garlic, Lavender, Parsley, another Thyme and kept the Sage the I had originally planted.

My kids added some of their Petunias that their grandma bought them in the container too, which will add some nice color.

Other herbs that can handle cooler weather in USDA zones 9 and above are Cilantro, Chives, Fennel, Lemon Grass and Rosemary.

I highly recommend planting your own herb container.  It is very easy and so fun to be able to harvest your own herbs!