Do you have plants that need extra water this summer? I have the portable drip irrigation solution for you!
Many of us have a few plants that aren’t connected to an irrigation system. Some people don’t have an irrigation system and use a hose to water plants, which is time-consuming and inefficient.
Portable Drip Irrigation is an Alternative to Traditional Irrigation
While you can certainly haul out your hose and water each of your thirsty plants, it is not the best way. The main problem is the hose puts out water quickly and the soil can’t absorb it fast enough. As a result, much of the water runs off and doesn’t benefit the plant as much as it should.
So, if the time-consuming task of watering plants by hand isn’t your cup of tea, I’m here for you. You can make life easier by creating your own portable drip irrigation system with a recycled milk jug.
3 Steps to Create a Simple Recycled Drip Irrigation System
This solution is very easy and will have you digging through your recycle bin collecting your used milk jugs.
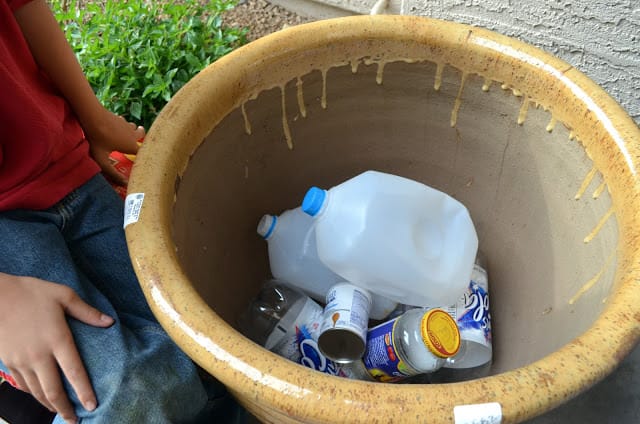
To get started, you will need an empty plastic milk jug and a nail.
1. Make the Holes:
Heat the nail using a lighter or stove burner. Then use the nail to pierce 3 – 4 small holes in the bottom of the milk jug.
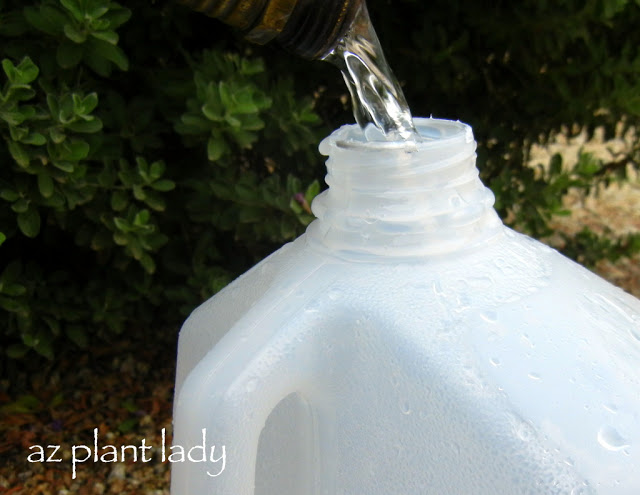
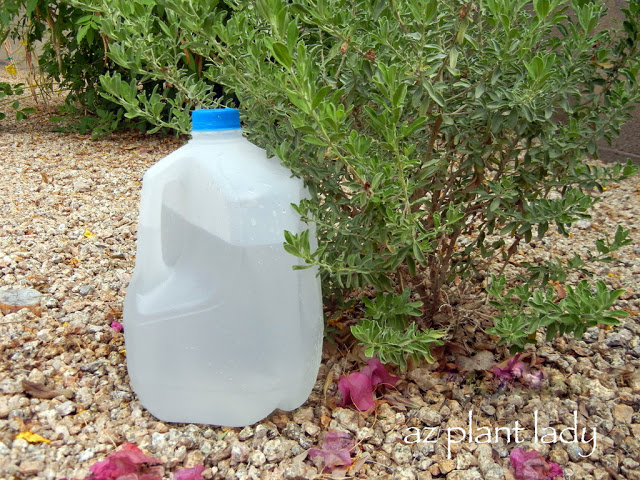
2. Fill the Jug with Water:
Fill the milk jug up with water, put the cap on and carry it upside down to the plant. Turn it right side up and set it down to the plant that needs irrigation. *You can also set the empty milk jug(s) next to your plants, bring the hose to them and fill with water that way.
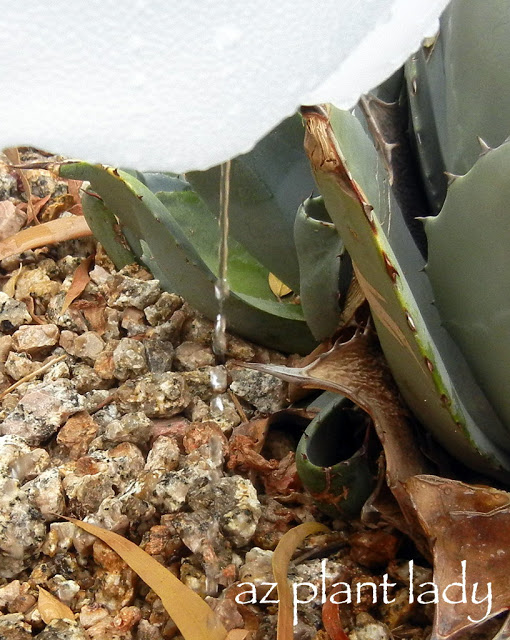
3. Portable Drip Irrigation Water Pressure
Slightly loosen the cap, which will allow the water to drip out of the holes at the bottom – this allows the water to penetrate the soil slowly, instead of running off.
Once the water has drained out of the bottom of the jug, pick up your milk jug and move it to the next plant. After you are done, bring the empty jugs inside and store until the next time you need them.
Special Note: If you live in a windy area and worry the milk jug will blow away, weigh them down with an inch of small rocks in the bottom of the jug – the rocks won’t interfere with the water dripping out.
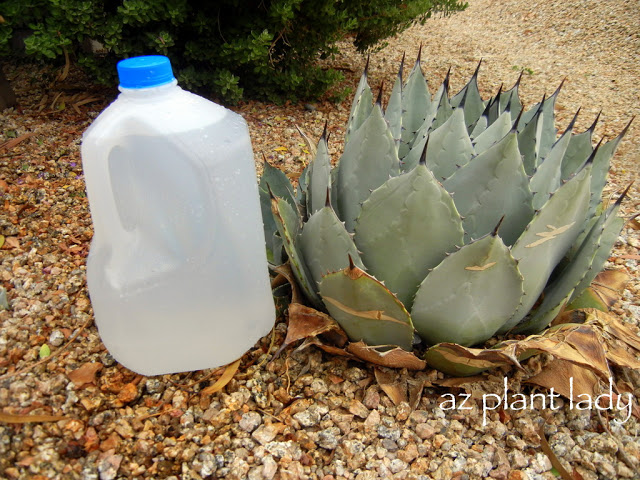
I usually recommend this method of irrigating cacti monthly in summer.
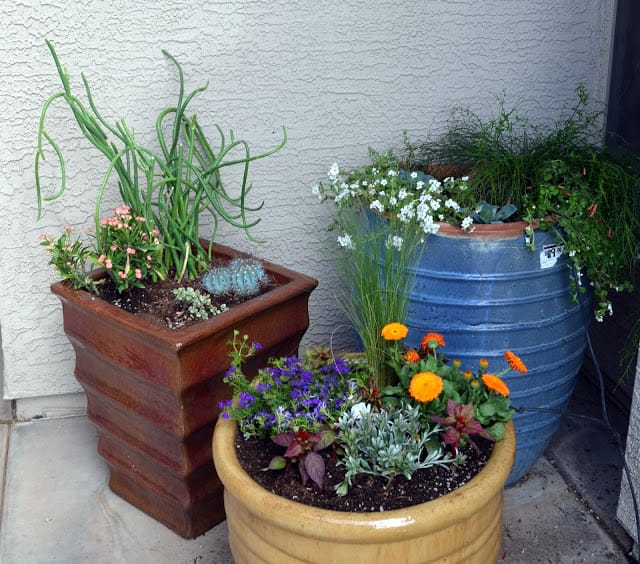
This portable drip irrigation system is a great aid for those who live in areas that are suffering from drought or where an irrigation system may not exist.
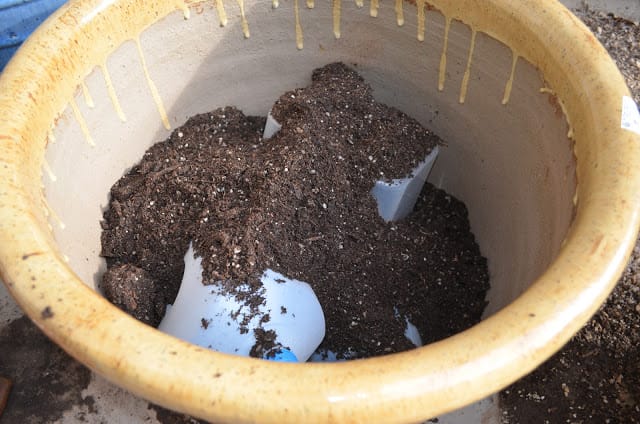
**A semi-permanent variation of this method is to create holes along the sides instead of on the bottom. Then bury the entire jug next to the plant, leaving just the top exposed. To water plants, remove the milk cap and fill with water and replace the cap.
I hope you find this DIY garden project helpful. Please feel free to share it with your friends by clicking the “Share” button below.
How To Grow Tomatoes in the Desert