Tag Archive for: Pumpkins

pumpkins_decorate_garden

Decorating with Pumpkins in Fall

Fall is my favorite season of the year. It stands to reason, pumpkins play a big part in both my garden, crafts, fall decor, and food!

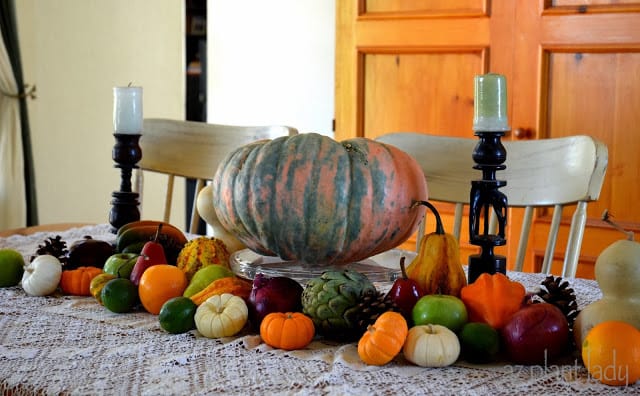
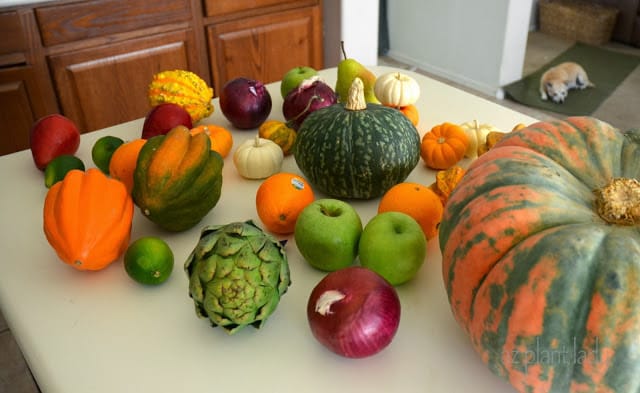
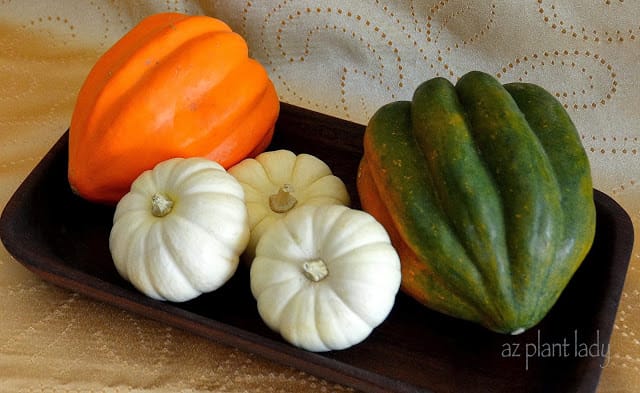
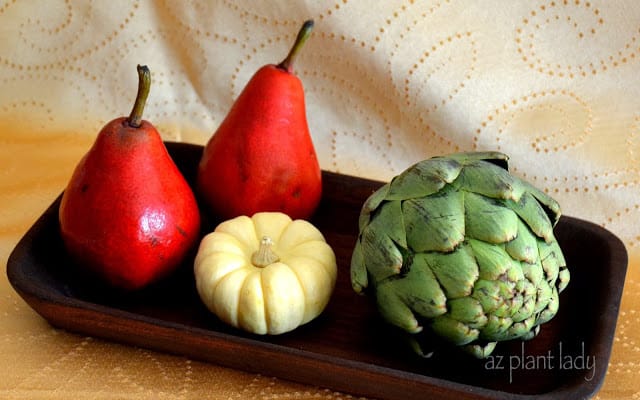
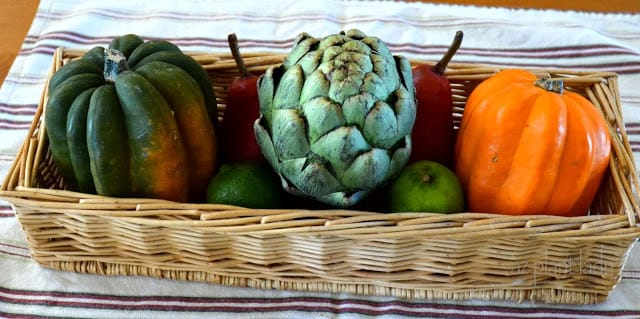
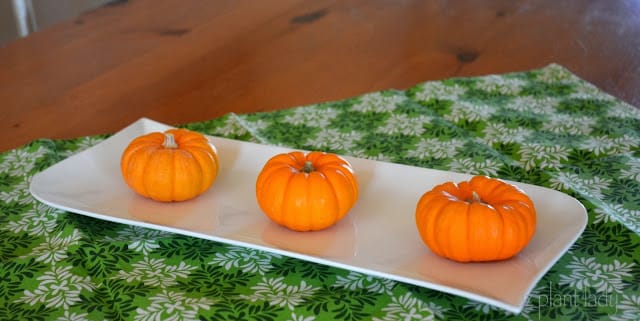
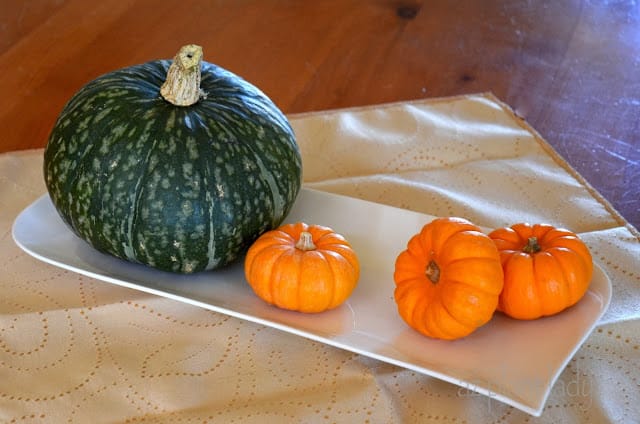
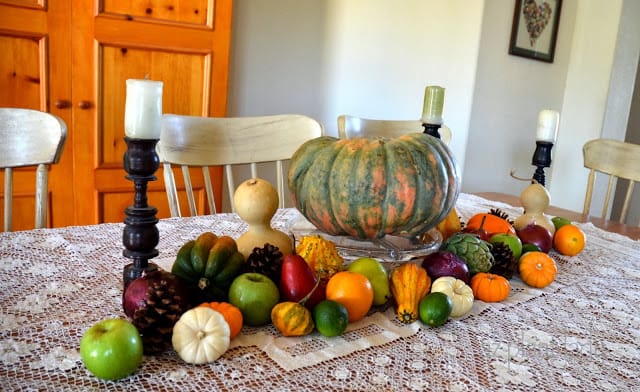
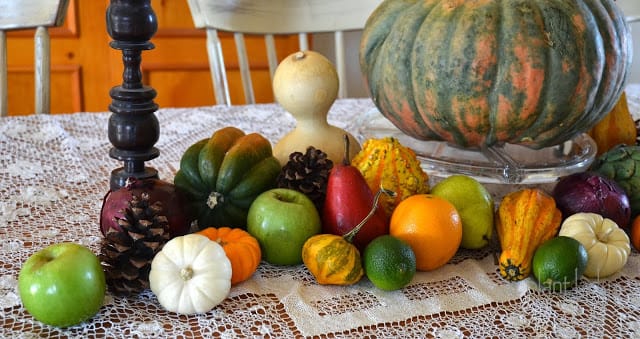
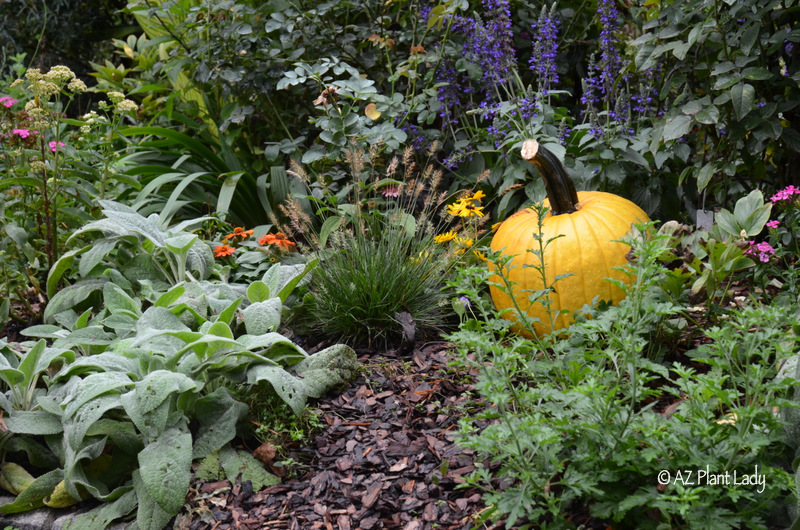
A few years ago, I visited an Atlanta garden. This is where colorful pumpkins were scattered throughout the landscape, adding fun fall interest. This year, I added uncarved pumpkins in empty containers for added interest by my front entry. Next year, I will probably add more near the vegetable garden as well as other places.

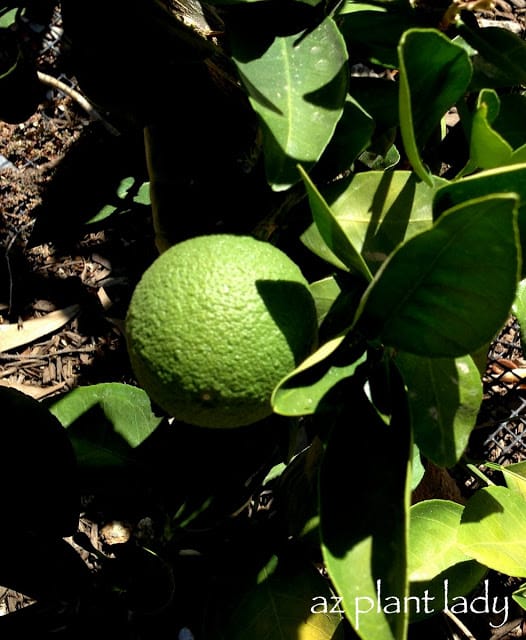
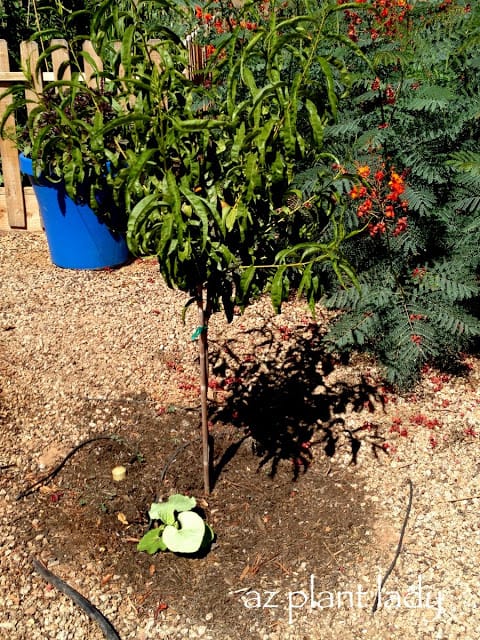
My Pumpkin Growing Journey

pumpkin

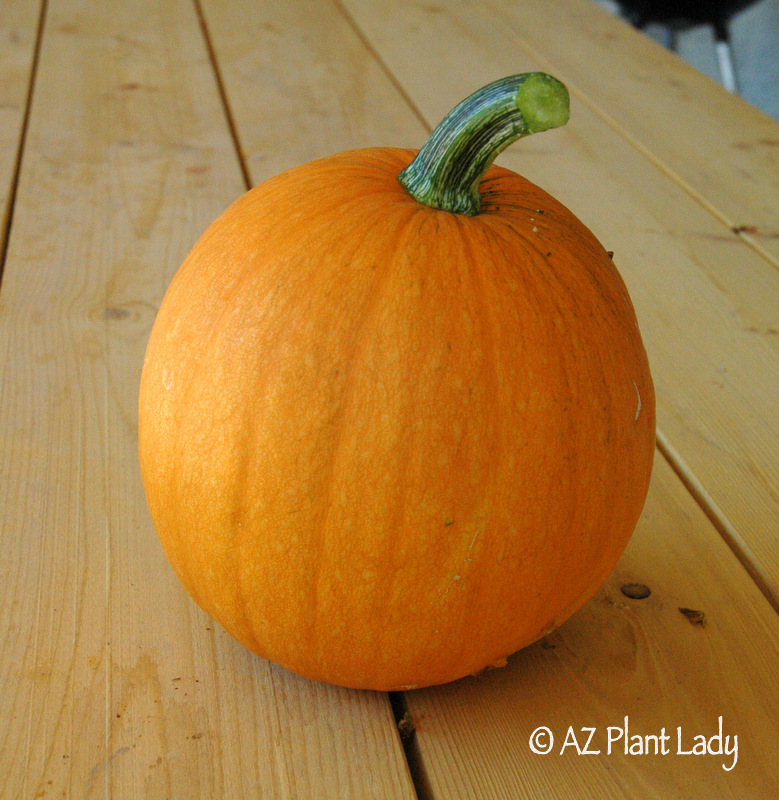
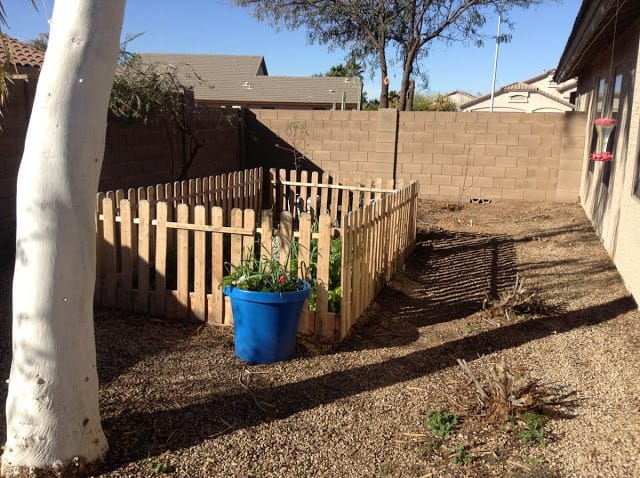
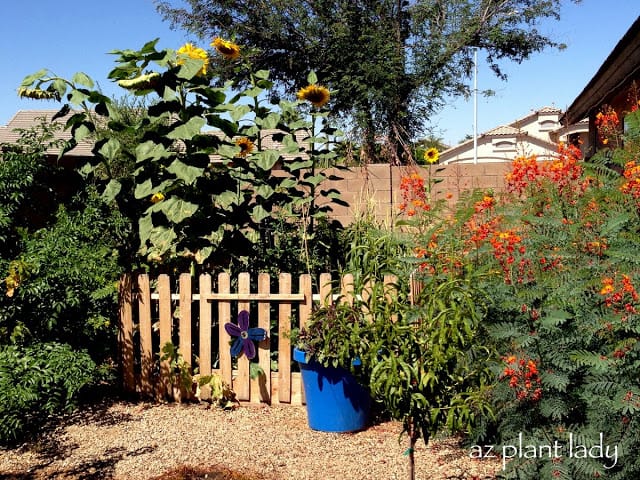
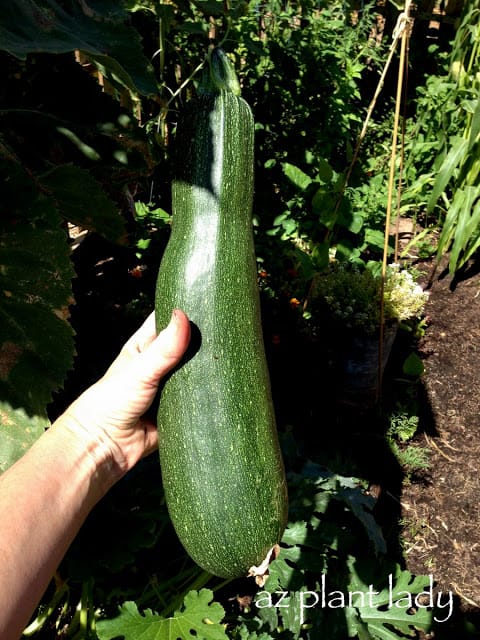
My personal pumpkin growing experience has been rather lackluster. This is the only pumpkin that I’ve successfully grown. It was years ago and I’ve only made rather half-hearted attempts since then. I do have plans to plant some new ones in late April. This means that they will ripen in mid to late July. Then I will store them in a cool, dark, dry space until October.

Homemade Pumpkins in Fall Decor

homemade pumpkins
homemade pumpkins

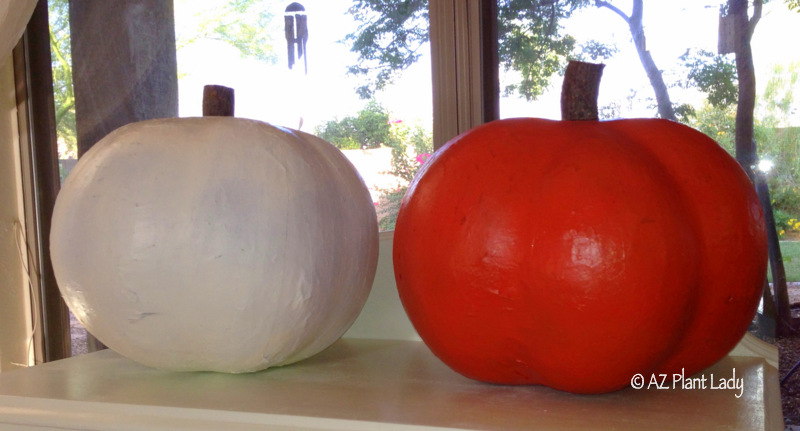
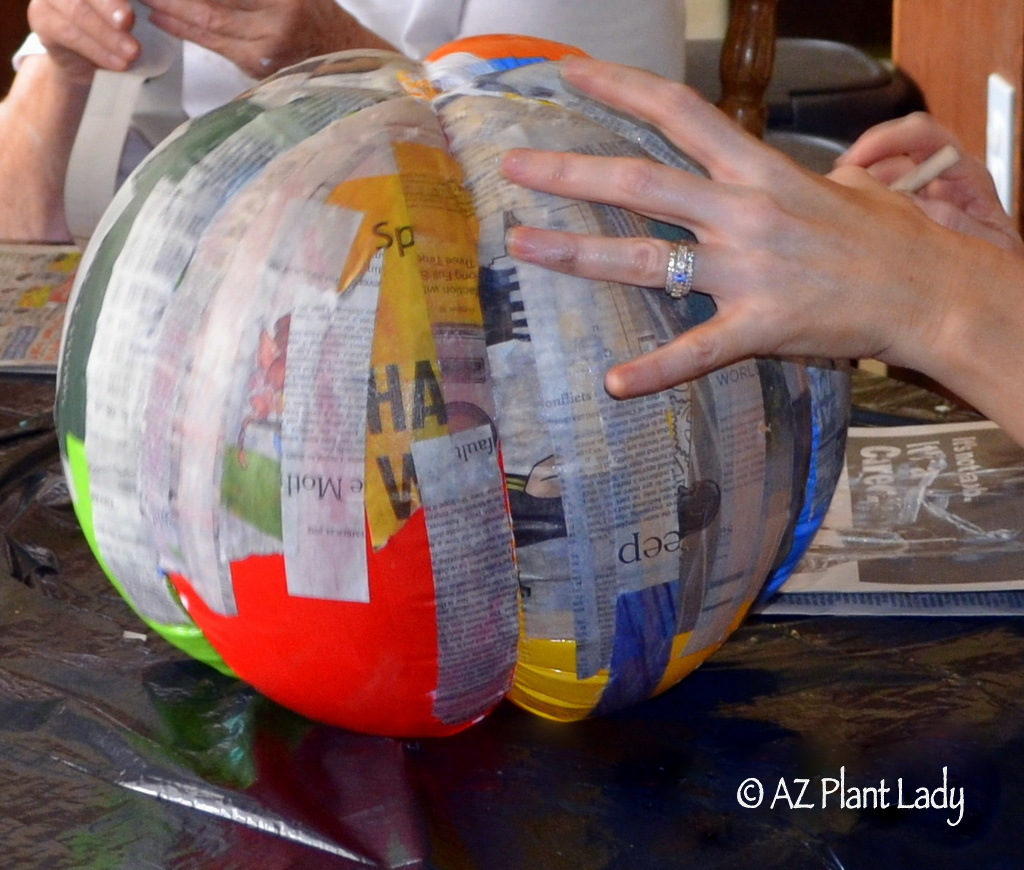
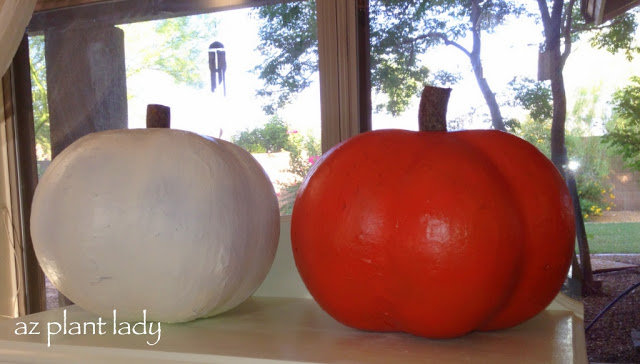
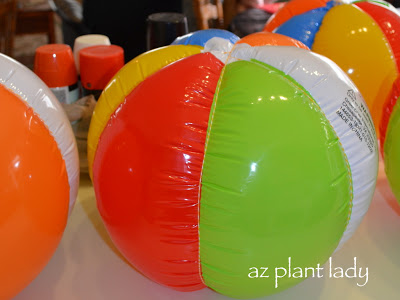
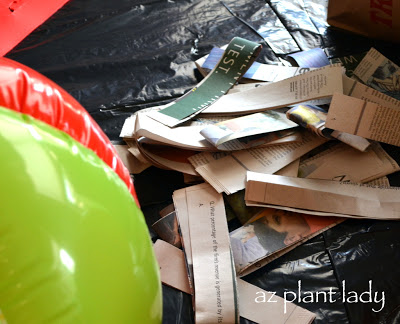
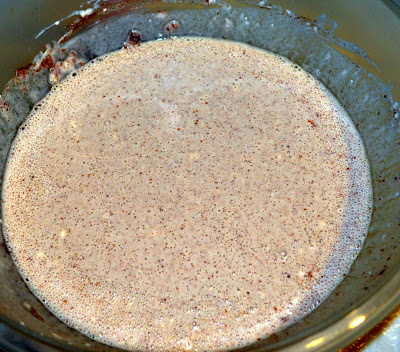
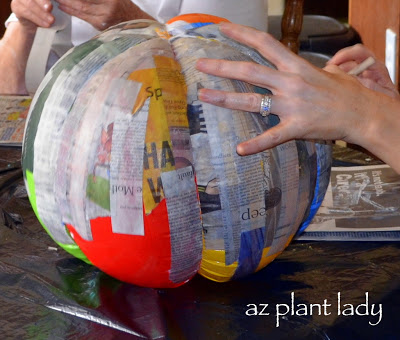
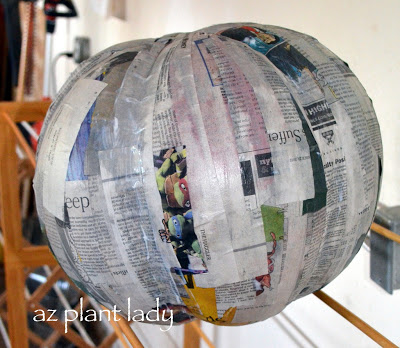
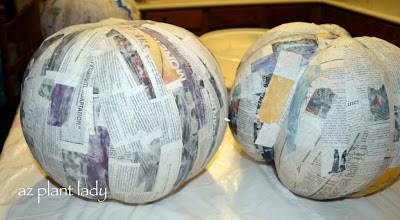
On October 1st of every year, I bring out my homemade pumpkins, which I made over 6 years ago. They are made from beach balls and newspaper dipped into a flour paste. It was a fun project. I did it with my mother. I’m so happy that they are still a part of my fall decor years later.

homemade pumpkins

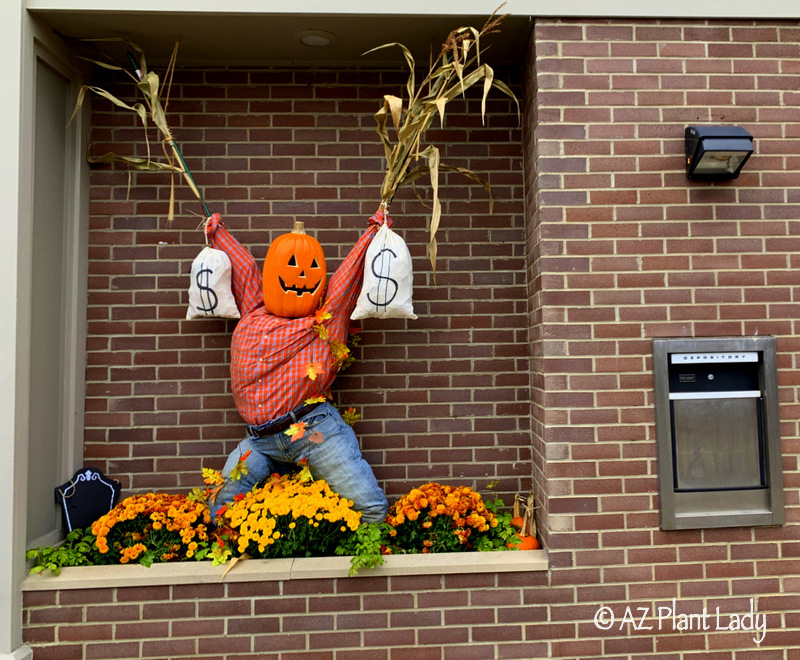
Pumpkin-Themed Scarecrow Encounter

This past week, I was visiting my oldest daughter in northern Michigan. I try to do this at least three times a year. As we were walking in the small downtown district, we came upon this comical bank robber who was caught in the act of robbing the bank. I loved the ingenuity of those who created this scarecrow with a pumpkin head!

pumpkin-bird-feeder

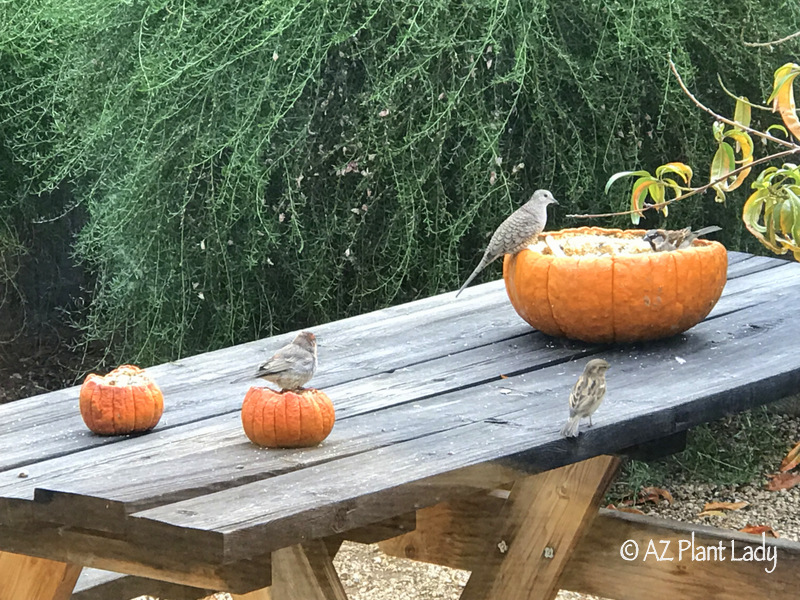
Feeding Birds with Leftover Pumpkins

Last year, once Thanksgiving was over, I sliced our remaining pumpkins in half . I placed them on the old picnic table in our side garden. The birds flocked to them. We had six different types of birds visit them regularly, eating the seeds and flesh inside. At one point, there were twelve Inca doves sitting inside of the largest half. I will be sure to do this again in a few weeks . It is so fun to watch the antics of the visiting birds.

pumpkin bread

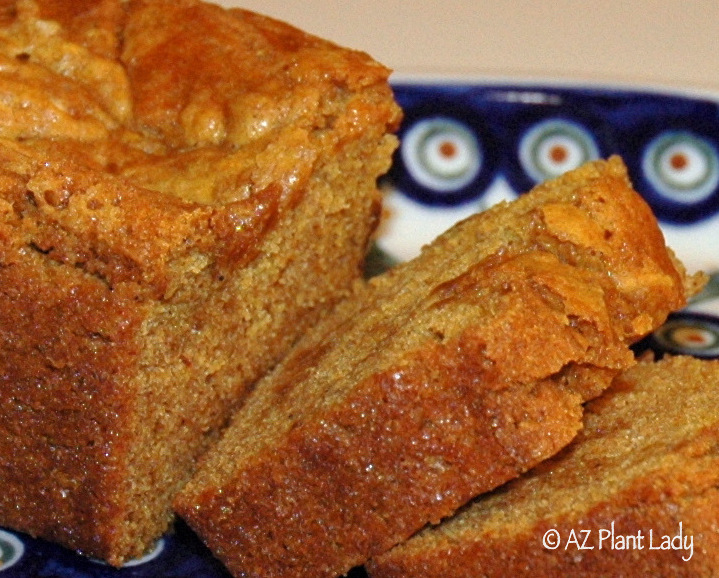
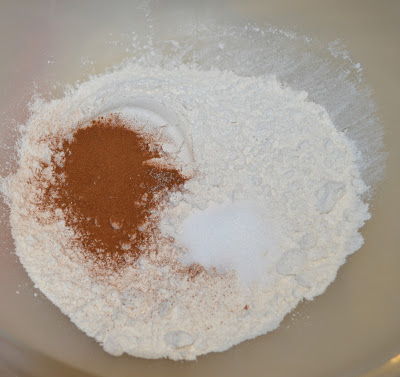
Delicious Pumpkin Bread Recipe

To finish out my pumpkins post, I have to include a photo of my famous pumpkin bread that I make every year. This is my most-requested recipe from my friends and it is so easy to make and oh so delicious!!! The recipe is unique in that there are no eggs and the texture is so moist and perfect. It makes 6 small loaves, making it a great home-baked gift at the holidays. If you would like to make this delicious pumpkin bread, here is a link to the recipe along with its rather unusual origin story.

How do you like to use pumpkins in fall?

Have you decorated your home for the fall holidays yet?  I decided to do a little something different for this fall.  Instead of spending a lot of money on fake pumpkins and other decorations that I would later need to find storage space for – I went a more ‘natural’ route with a little help from the produce aisle.

Of course, you can find the expected pumpkins and gourds.  BUT, my goal was to find other types of fruits and vegetables to use as well.

fall holidays

Here are the results of my shopping trip and the display I made.  It is all natural and while there are a few gourds and pumpkins – there are also a few other produce items that are not often found in a fall centerpiece. 

fall holidays

Here are some of what I came home with – acorn squash, artichokes, green apples, red onions, oranges, limes, a Kabocha squash, red pears and miniature pumpkins to go along with my large heirloom pumpkin.

Before creating my main centerpiece, I decided to see how many smaller arrangements I could make from my fruits and vegetables.

So, I pulled out a variety of serving dishes and vases and got started…

fall holidays

I placed a green/orange acorn squash, two gourds, an artichoke, a red pear, a white miniature pumpkin and a single lime in my sweet grass basket that I purchased in South Carolina, earlier this year.

I really like how all of these colors look like the changing leaves of fall (of which, we have very little in the desert 😉

fall holidays

A combination of red onions, limes and miniature pumpkins look great in the wooden bread bowl that my husband made for me.

The tablecloth was my grandmother’s and has seen countless wedding receptions and dinner parties while she lived.  She gave it to me before she died years ago and sadly, it doesn’t see a lot of action in my house.  

fall holidays

This may look like a smaller green pumpkin, but you would be wrong.  It is actually a Kabocha squash that I found in the produce aisle of my local supermarket.  I just love it’s small size and great color.

fall holidays

Did you know that pumpkins are considered a squash?  It makes sense then, that other types of squash, like the acorn squash, above, would look great in fall displays.

fall holidays

I think red pears are just beautiful, don’t you?

fall holidays

A long bread basket, houses two acorn squash, a artichoke and two limes and red pears.

fall holidays

A fall display doesn’t have to be fancy.  I love the simplicity of this long white serving plate with the miniature pumpkins.  A green dish towel provides great color contrast.

fall holidays

I like this arrangement too.

fall holidays

When my mother-in-law was preparing to move from her house to an apartment, she gave me this large white bowl as well as the long white serving plate.  They make the colors of fruit and vegetables really ‘pop’, like the two acorn squash, red onion, artichoke, small gourd and limes, above.

fall holidays

Gather together three pillar candles at differing heights and group fruits and vegetables underneath for a lovely centerpiece.

fall holidays

I used plain glass vases to put miniature pumpkins in.

fall holidays

To create my main fall centerpiece, I grabbed some candles from the mantle over the fireplace to add to the display for a little height.

I placed my heirloom pumpkin onto a cake plate to raise it above the other fruits and vegetables.

I grabbed a few pinecones that I had picked up over the summer during out trip to the mountains.  

fall holidays

I also used a few dried gourds that I had grown in my garden a few years ago.

As you can see, there is no right or wrong way to arrange the produce.  Just place things where you like them – I prefer larger fruits and vegetables toward the back and smaller ones in front.

Some of the produce will last longer then others.  Switch out the apples, oranges, limes and pears every week.

In addition to creating a beautiful centerpiece, using produce for decorating is natural, you can eat much of it and you don’t have to find room to store it when the fall holidays are over – I can’t tell you how many boxes of Christmas decorations I have stored away, so it is nice to not have to worry about storing my fall decorations.

So what do you think?

Will you be inspired to create your own fall display the next time you push your cart through the produce aisle?

What fruit and/or vegetables would you like to use?

It may be awfully hot outside, but my garden is awash in brightly colored flowers from my single bougainvillea, Arizona yellow bells and ‘Rio Bravo’ sage, which shrug off the summer heat.

Summer Edible Garden

Last year, we decided to create an edible garden along the side of our house.

This was a large underused area that we look out at from our kitchen, family room and bedrooms.

To get it ready for planting, we had our ghost gum eucalyptus tree removed.  It was a beautiful tree, but was quickly outgrowing this area with its overhanging limbs.

The next step involved pulling out some of the flowering shrubs along the back wall and along the side of the house.  We kept the flowering shrubs along the side wall, because they add beauty and help to break up the bare expanse of the wall.

This is what the side garden looks like today…

Summer Edible Garden

The centerpiece of the edible garden is the vegetable garden.  Right now, it is filled with corn, zucchini, tomatoes, cucumbers and sunflowers.

In front, is my colorful container filled with a variety of herbs including basil, parsley, sage and thyme.  I bought an inexpensive plastic container and spray painted it a bright blue.  The container is connected to the drip system of the vegetable garden.

Arizona sweet orange tree

In the foreground (not pictured) is our new Arizona sweet orange tree.  We planted it last year and are excited to have three oranges growing on it.

You may be thinking that three oranges is not much to be excited about, but the first couple of years after a citrus tree is planted – you are lucky to get any fruit at all.

Newly planted citrus trees shouldn’t be fertilized during the first year, because you want them to focus on root growth, not upper growth when there is not a substantial root system for them to rely on.  Since it has been a year since we have planted it, we will fertilize this year.  

new peach tree

In front of the vegetable garden are a pair of new peach trees.

I love peaches and have enjoyed the fruit from my mother’s peach trees for years.  I finally decided that I wanted to grow my own.

We got 18 peaches this year, which is a lot considering that we planted them in January.

Notice the green plant at the base of the peach tree?  It is a gourd plant that will quickly grow and cover the ground.  This will serve as a ‘living mulch’ and help to prevent weeds and shade the roots of my peach trees.

sunflower

Inside the vegetable garden, sunflower seeds are beginning to form.  It is so fun to see the birds hanging upside down trying to get to the seeds.

You can allow the birds to eat the seeds or if you want to save them for yourself, simply tie a paper bag around the flower to keep the birds away.

I’ll probably save some flowers for ourselves and let the birds enjoy the seeds of a couple of unprotected sunflowers.

zucchini plant

A large zucchini plant is growing in the background and as anyone who has grown zucchini will tell you, it is prolific.

The slightly wilting plant in the foreground is a pumpkin plant.  If you want a pumpkin for fall, then June is when you want to plant them.

It is normal for the leaves to wilt slightly during the heat of the day.  They will return to normal later in the day.

zucchini plant

Zucchini can hide underneath the large leaves of the zucchini plant.  I’m going to use this one to make my chocolate chip zucchini bread.  It’s delicious and your kids will never know there is zucchini in it 😉

I found the recipe on Pinterest and have already made it once.  My family keeps bugging me to make more.  Here is the link to the recipe, if you are interested – Chocolate Zucchini Bread

Summer Edible Garden

My tomatoes are flourishing in the natural shade provided by my sunflowers.

cherry tomato plants

One of my cherry tomato plants has even decided to expand a bit outside of the garden.

two apple trees

Behind the vegetable garden are my two apple trees, planted this January.  One is a Anna apple tree and the other is a Dorsett Golden. These apple trees do well in the desert and although they will produce apples if planted alone – they will produce more apples because they will cross pollinate each other.

It will take a few years for any apples to appear, but the blossoms in spring are just lovely.

Summer Edible Garden

Behind the apple trees are six blackberry bushes.  This year, we enjoyed the berries so much and are hoping for even more next year as they grow larger.

Blackberries won’t produce the first year after planting because the berries appear on 1-year odd canes.

Did you know that there are now thornless varieties of blackberries available?  I have one….I only wish that the other five were thornless 😉

Well, that is what I have growing in my side edible garden.

Tomorrow, I’ll share what is growing in my original vegetable garden.

What do you have growing in your garden right now?

A Summer Edible Garden: Part 2

Paper mache pumpkins painted for fall decorating

decorating for fall

Crafting Your Own Paper Mache Pumpkins for Fall: A DIY Guide

Paper Mache pumpkins? Yes please. I love decorating for fall and so I always grow some pumpkins in my garden. But, I must admit that I also use a few ‘faux’ pumpkins as well when I decorate.

Fall is the season for pumpkin decor, both natural and faux, and I relish in embellishing my space with a touch of autumnal charm. While I cultivate pumpkins in my garden, I also embrace the art of crafting ‘faux’ pumpkins for an added flair. This year, I am particularly thrilled to host our family’s annual Halloween party, given our prime neighborhood for trick-or-treating.

I visited our local craft store to buy a few extra ‘faux’ pumpkins and was shocked at how expensive they have become.  Even with a coupon, I left the store without buying any. Determined to maintain both my festive spirit and my budget, I embarked on a DIY journey to create paper mache (or papier-mâché) pumpkins. Here’s how:

beach balls used for paper mache pumpkins

The Materials You’ll Need to Make a Paper Mache Pumpkin

Before diving into the process, keep in mind that paper mache can be a bit messy, so I recommend wearing an apron and covering your work surface with plastic trash bags.

Gather the following supplies:

  • Beach balls
  • Twine
  • Newspaper strips (approximately 1-inch wide)
  • Flour and water for the paper-mache mix (1:2 ratio)
  • Optional: 1 teaspoon cinnamon to mask odor and 1 teaspoon salt to prevent mold
  • Spray paint (black, orange, or off-white)
  • A small piece of tree branch
  • Glue gun
strips of paper used to put on beach balls for paper mache pumpkins

Crafting Your Paper Mache Pumpkins – the How To

Creating the Paper Mache Base

Start by tying twine around a beach ball. Enlist someone’s assistance to hold the knot down as you secure it. This forms the foundation of your pumpkin shape.

paper mache mixture

Preparing the Paper Mache Mix

Mix flour and water in a 1:2 ratio to create your paper-mache mixture. For a pleasant fragrance and to prevent mold, consider adding a teaspoon of cinnamon and salt respectively. Dip newspaper strips into the mixture, ensuring they’re coated without excess.

paper mache mix

Applying the Paper Mache Pumpkin Strips

Layer the coated newspaper strips onto the beach ball, overlapping them to create a sturdy structure. Tear the strips to fit as needed. Allow each layer to dry before applying the next. Depending on humidity levels, drying times may vary. Using a fan can expedite the drying process.

placing paper mache strips on beach balls

Apply strips to beach ball, overlapping.  Tear the strips to whatever size you need.

How to Make Your Own Paper Mache Pumpkin

Allow to dry.  This will take longer in more humid areas.  I used a fan to help speed up the process.

Drying paper mache for making a paper mache pumpkin

Adding Depth and Color

Apply a total of four layers of paper mache, allowing ample drying time between each layer. After achieving the desired thickness, paint the pumpkin with black spray paint and let it dry. This step prevents the black and white hues of the newspaper from showing through the final coat of colored spray paint.

Bringing Your Paper Mache Pumpkin to Life

Next, apply two coats of spray paint in your chosen shade – either orange or off-white. The pumpkin’s color sets the tone for your decoration.

painted paper mache pumpkins

Finishing Touches for the Pumpkin

Complete your paper mache pumpkin by gluing a 1-inch piece of a tree branch onto the top using a glue gun. This serves as the stem of your lifelike creation.

Paint with Non-Toxic Paint

Your handmade paper mache pumpkin is ready to grace your fall decor. Although carving isn’t an option, you can paint on a ‘jack-o-lantern’ face or leave it unadorned. While the crafting process may span a couple of days due to drying times, the end result is truly satisfying.

A Budget Friendly Craft

Crafting your own paper mache pumpkins is not only a budget-friendly alternative but also a creative endeavor that allows you to infuse your space with your unique style. Whether you’re hosting a Halloween gathering or simply seeking to embrace the fall spirit, this DIY project offers a delightful way to celebrate the season. Give it a try and relish in the artistic satisfaction of crafting something truly special. I am so happy with my paper mache pumpkin results!

How to Make Your Own Paper Mache Pumpkin series of photos

Feel free to ‘Pin’ the image above to your Pinterest!