Tag Archive for: Recycle

Portable Drip Irrigation With a Recycled Milk Jug

Do you have plants that need extra water this summer? I have the portable drip irrigation solution for you!

Many of us have a few plants that aren’t connected to an irrigation system. Some people don’t have an irrigation system and use a hose to water plants, which is time-consuming and inefficient.

Portable Drip Irrigation is an Alternative to Traditional Irrigation

While you can certainly haul out your hose and water each of your thirsty plants, it is not the best way. The main problem is the hose puts out water quickly and the soil can’t absorb it fast enough. As a result, much of the water runs off and doesn’t benefit the plant as much as it should.

So, if the time-consuming task of watering plants by hand isn’t your cup of tea, I’m here for you. You can make life easier by creating your own portable drip irrigation system with a recycled milk jug.

3 Steps to Create a Simple Recycled Drip Irrigation System

This solution is very easy and will have you digging through your recycle bin collecting your used milk jugs.

To get started, you will need an empty plastic milk jug and a nail.

1. Make the Holes:

Heat the nail using a lighter or stove burner. Then use the nail to pierce 3 – 4 small holes in the bottom of the milk jug.
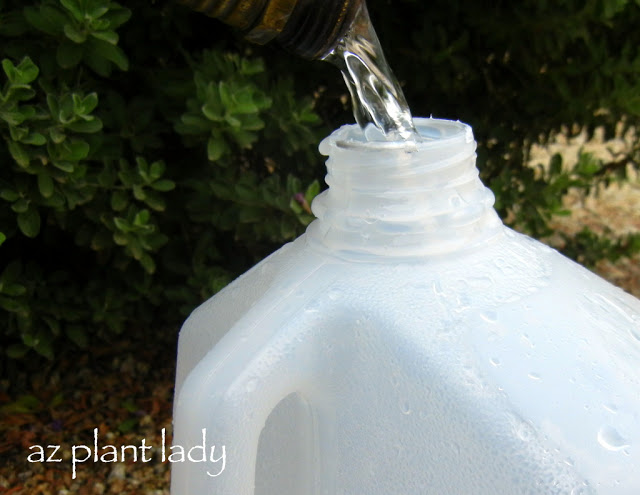
Pouring water in a jug for portable drip irrigation

2. Fill the Jug with Water:

Fill the milk jug up with water, put the cap on and carry it upside down to the plant. Turn it right side up and set it down to the plant that needs irrigation. *You can also set the empty milk jug(s) next to your plants, bring the hose to them and fill with water that way.
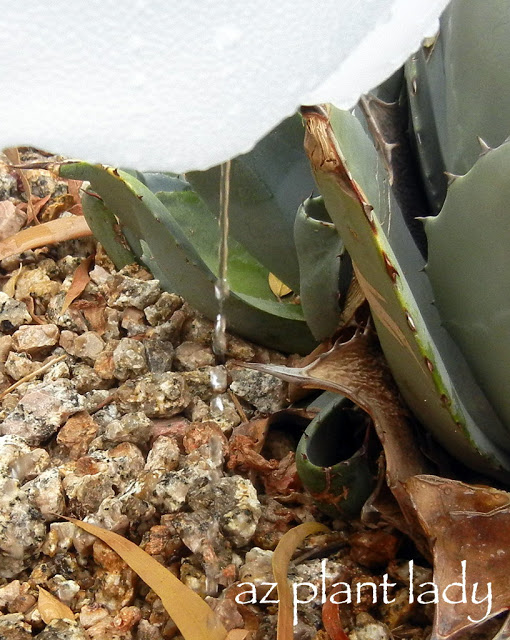
Portable Drip Irrigation at the bottom of a  Recycled Milk Jug

3. Portable Drip Irrigation Water Pressure

Slightly loosen the cap, which will allow the water to drip out of the holes at the bottom – this allows the water to penetrate the soil slowly, instead of running off.

Once the water has drained out of the bottom of the jug, pick up your milk jug and move it to the next plant. After you are done, bring the empty jugs inside and store until the next time you need them.

Special Note: If you live in a windy area and worry the milk jug will blow away, weigh them down with an inch of small rocks in the bottom of the jug – the rocks won’t interfere with the water dripping out.
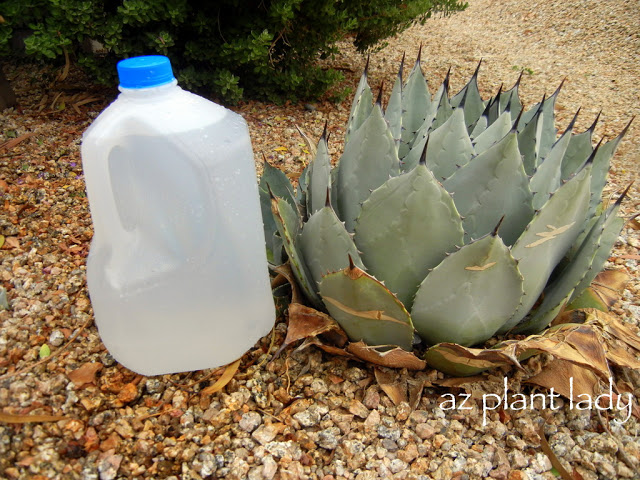
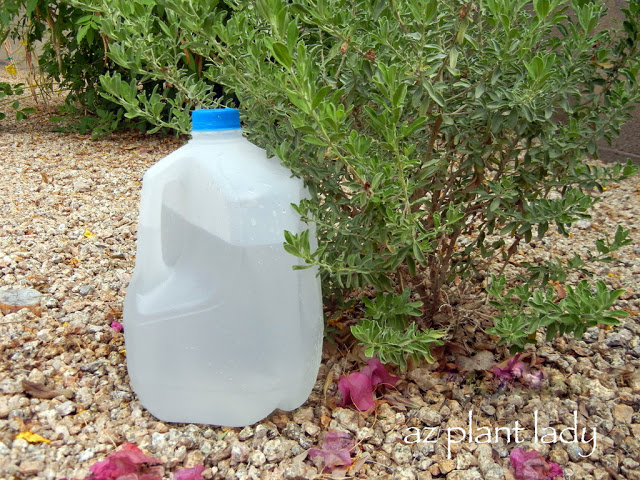
Milk jug next to an agave plant

I usually recommend this method of irrigating cacti monthly in summer.

This portable drip irrigation system is a great aid for those who live in areas that are suffering from drought or where an irrigation system may not exist.

**A semi-permanent variation of this method is to create holes along the sides instead of on the bottom. Then bury the entire jug next to the plant, leaving just the top exposed. To water plants, remove the milk cap and fill with water and replace the cap.

I hope you find this DIY garden project helpful. Please feel free to share it with your friends by clicking the “Share” button below. 

How To Grow Tomatoes in the Desert

Old Christmas Tree

Do you celebrate Christmas with a natural tree?  If so, what do you do with it once the holidays are over?

If you are like many people, your beautifully decorated tree eventually ends up at the curb waiting for trash pickup.

But, what if you could find another purpose for your old Christmas trees – one that benefits nature?

I recently did some research on the different ways that Christmas trees can be used, with some surprising results.

You can read more in my latest article for Houzz.com:

10 Ways Your Christmas Tree Can Live On After the Holidays

Last week, I decided to get rid my older pots that I have in my front entry.

Years ago, I received these plants from a client who decided that she wanted fancier pots.  So, I took them home, painted them bright colors and installed them by my front entry.

While they have served me well for the past 13 years, they weren’t very big, which limited what I could plant in them.

For quite some time, I have wanted to get some nice, large glazed pots.  I realized that it was finally time to practice what I preach to my clients…

“Choosing colorful, glazed pots is a great way to add color to the landscape.”

So, my husband and I went out searching for three pots for our front entry.

I was thrilled to find all three at our first stop – Home Depot.  The price was good and they even gave us 10% off for a small chip we noticed.  No one will see the chip since it will be on the back side.

I had my plants all selected and was ready to go.

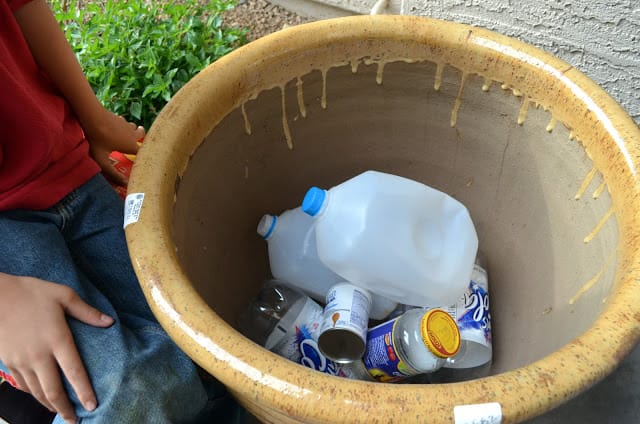
My son, Kai, offered to help.  So I told him to raid the recycle trash can and get an empty milk carton,  soda/water bottles and empty jars.

Kai looked at me like I was a little crazy, but he did as I asked.

He then put them into my new containers…

plastic containers

plastic containers

Can you guess why I had my containers filled with ‘trash’?

I’ll let you know why you’ll want to start collecting plastic containers for your next potting project in my next post…

*****************************

Today, my daughter, Rachele, is on a plane to Chicago.  She has joined the Navy.

I am so proud and happy for her!

But, I must admit that part of my heart has left with her. 

Rachele

I remember being sad when I held her by the hand and took her to her first day of preschool.  She had her pretty dress on and her curly hair was short and cute.  I stood outside her classroom for over a half hour, just watching her through the window.  

Then I went home and cried.

I have done my best as her mom and it’s time for her to stretch her wings and make her way into the world. 

This family photo was taken yesterday, just before Rachele left

This family photo was taken yesterday, just before Rachele left.

I just wish it didn’t have to hurt to let her go…

Why Adding Trash to Pots is a Good Idea