fresh herbs

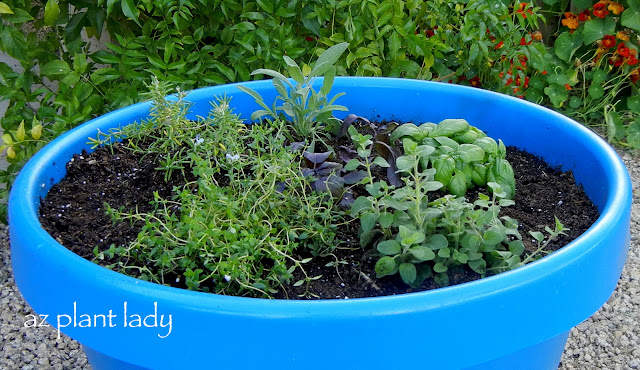
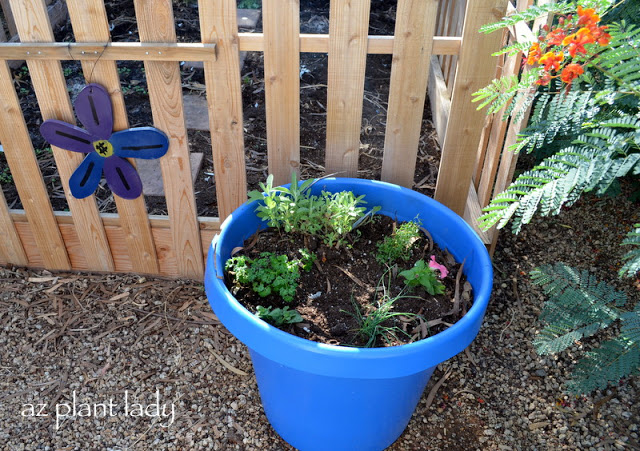
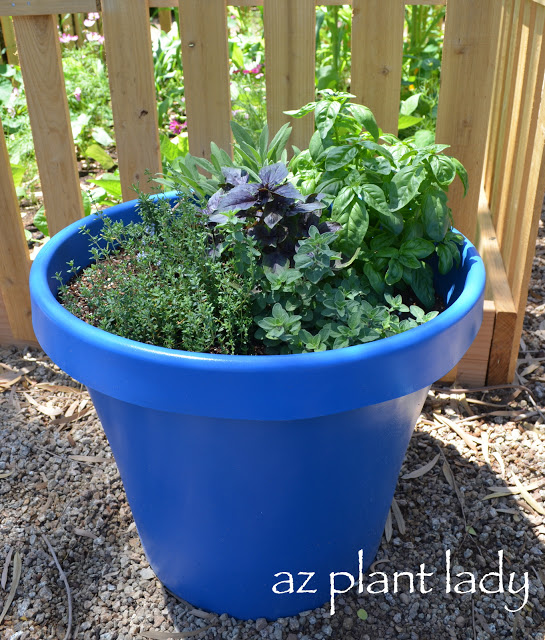
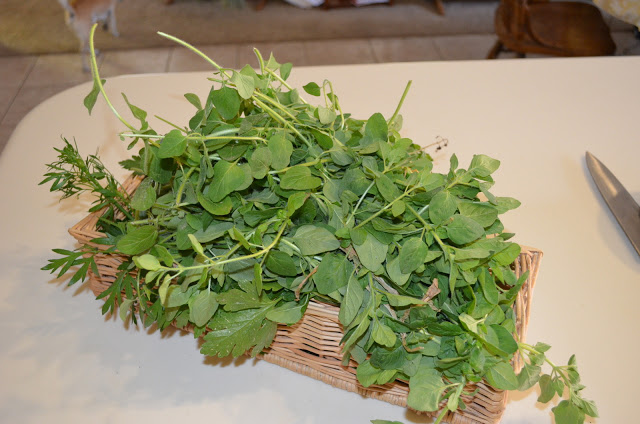
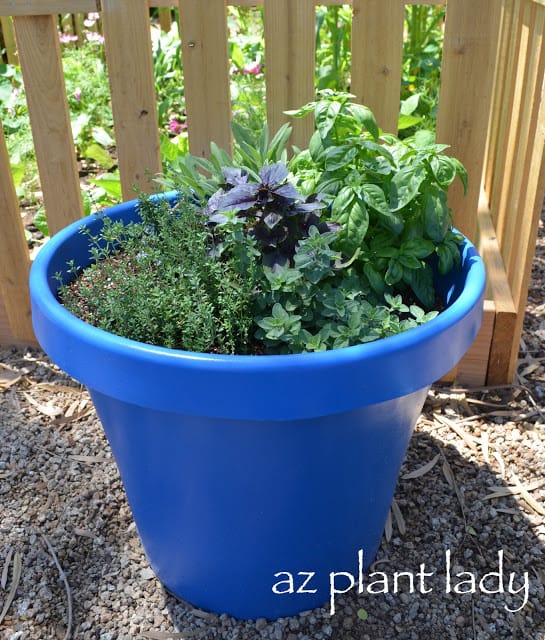
I love growing herbs in my garden and one of the reasons is that they thrive in our hot, dry summers with minimal fuss.

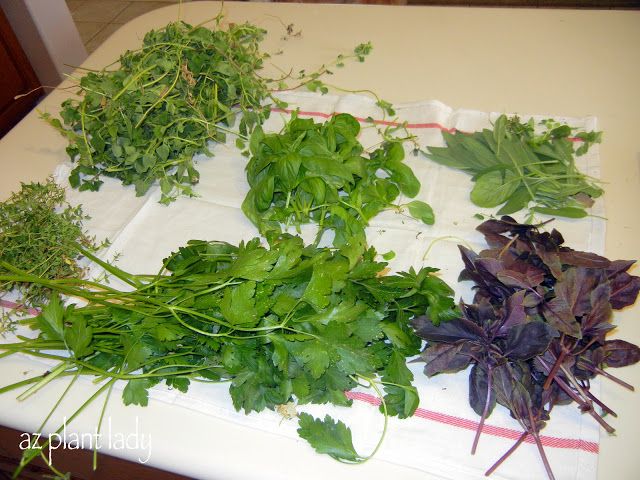
I must admit that I sometimes forget to make use of my fresh herbs, or sometimes I have more than I need. Some frost-tender herbs like basil don’t grow in winter in my garden – so either I have too much in the summer and almost none at all in winter.

Well, no more! Did you know that you could freeze your fresh herbs so you could use them during the winter months?

I tried this with my chives earlier this summer and it was so easy to do.

Here is how to do it:

Choose your favorite herb…
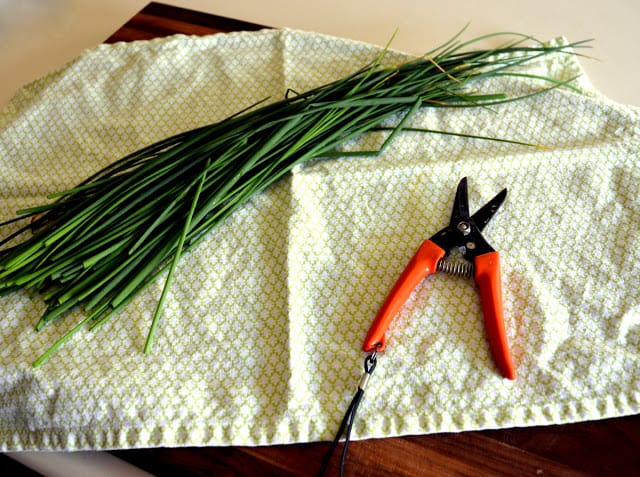
Chopping herbs

 Wash them.

chopped herbs

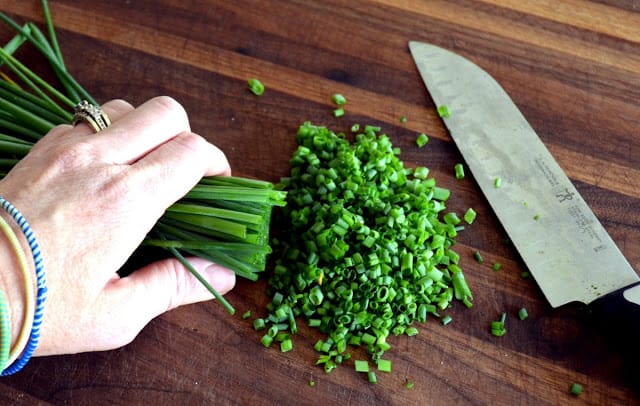
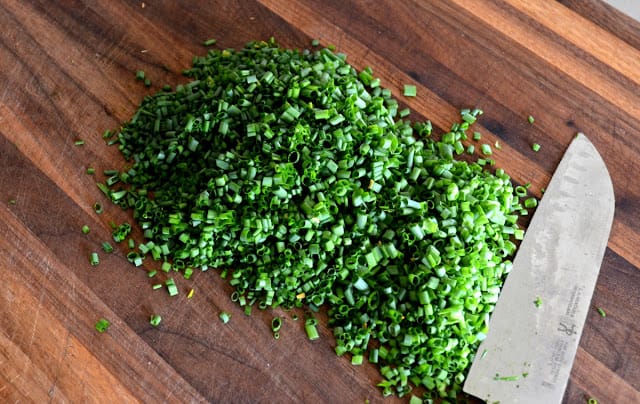
Chop them into the desired size.

chopped herbs

I just love chives.

chopped herbs

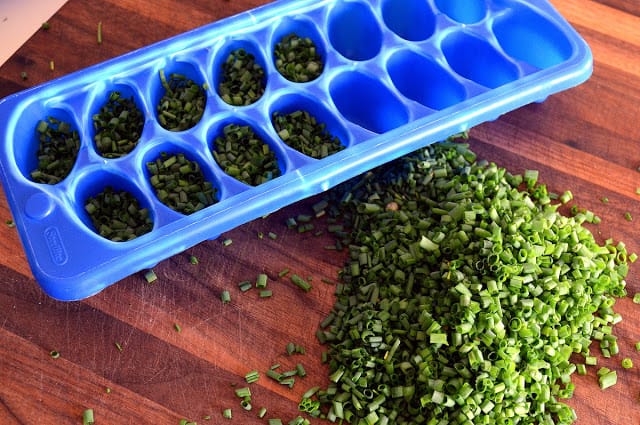
Place your chopped herbs into an ice cube tray, filling up each one about 3/4 of the way full.

Freezing herbs

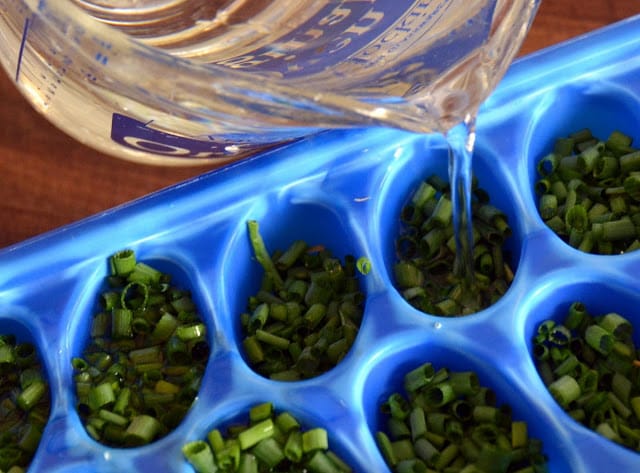
Fill up with water, taking care to allow a little room for expansion since water expands when it freezes.

Put in your freezer for a few hours.  
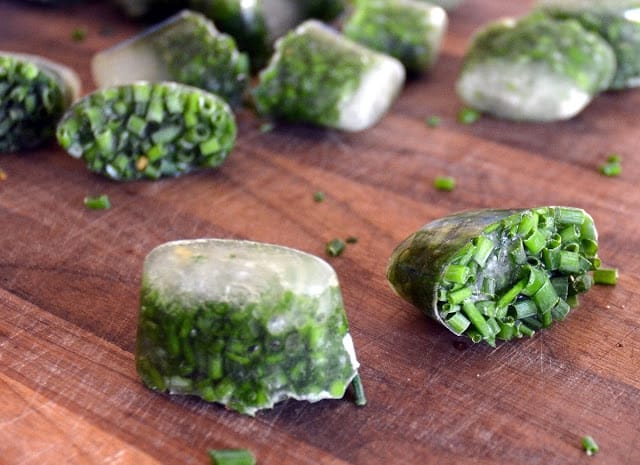
herb cubes

Freezing herbs

Once frozen, pop out your ‘herb cubes’ and put them in a freezer container or plastic container and store in your freezer.
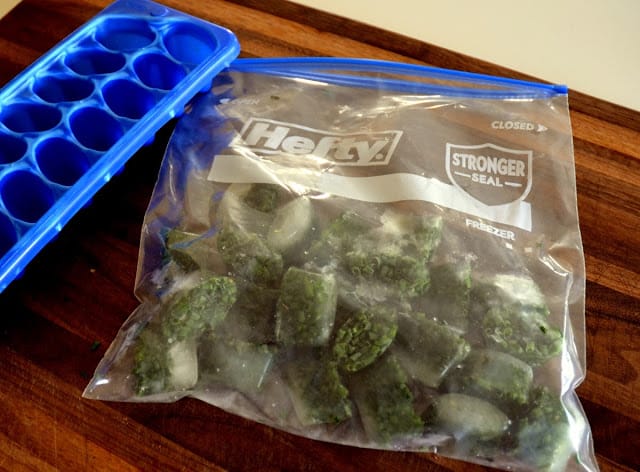
herb cubes

Freezing herbs

Now, whenever you need fresh herbs when you cook, add a few ice cubes to your favorite sauce.  

**You can also freeze herbs into ice cubes using olive oil instead of water, if desired.

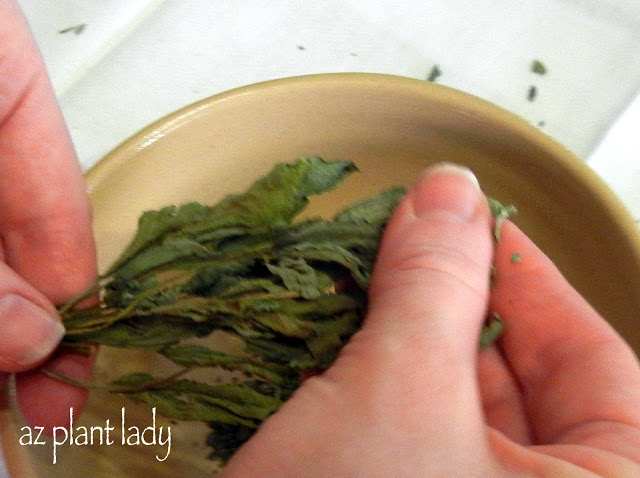
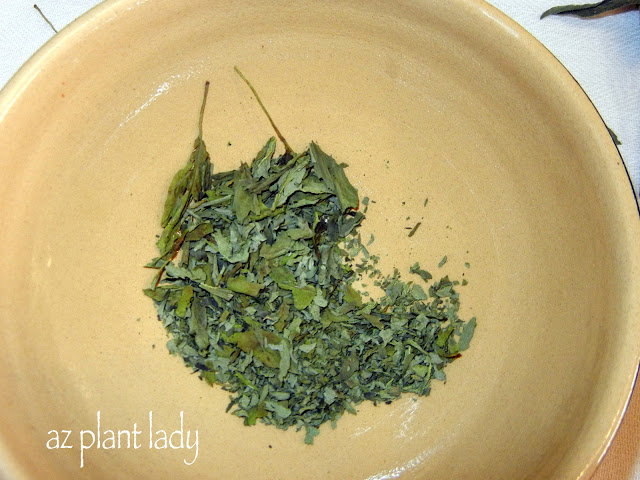
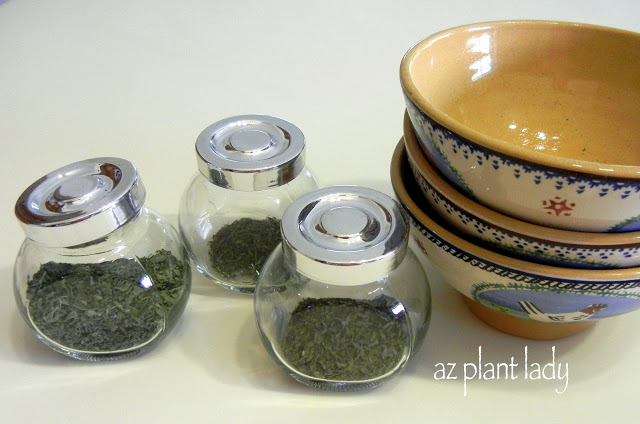
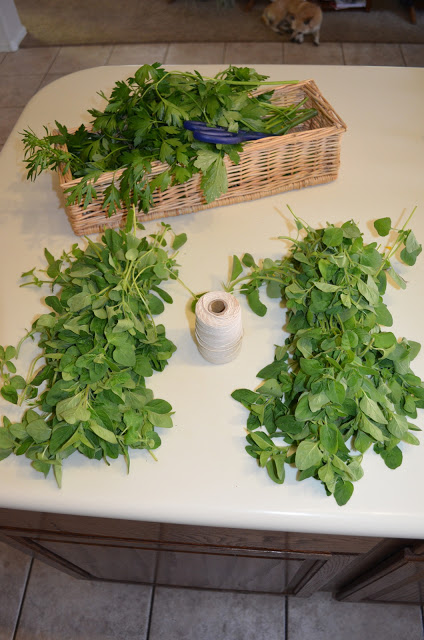
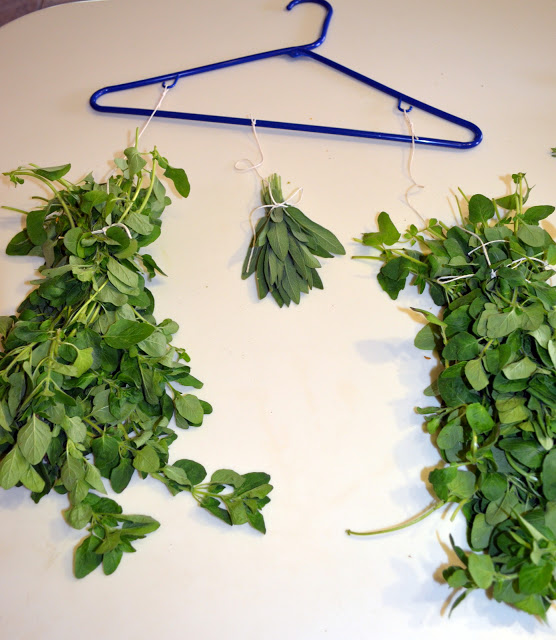
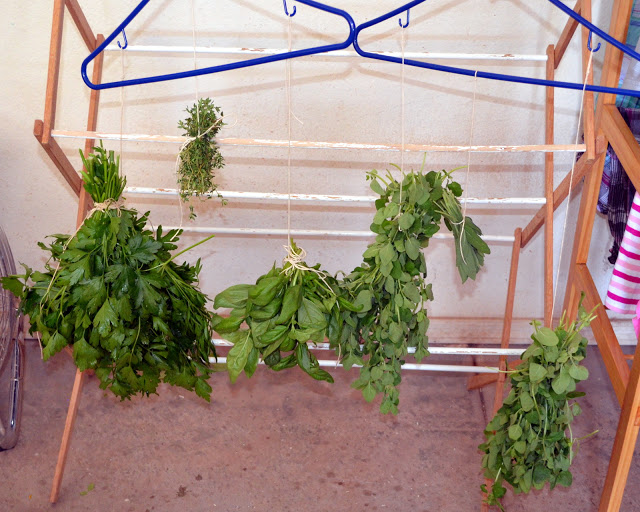
Another great way to preserve herbs is to dry them.I talked about how to do this in an earlier post –  “How to Grow and Dry Herbs”

I recently re-planted my herb container for the cool-season.

Last spring, I planted my container with rosemary, green basil, purple basil, sage, thyme and oregano. All of these herbs do well in the warm-season and I enjoyed being able to step outside the kitchen with cut fresh herbs whenever I needed them.

Herb Container

You can read the post here, to see how to grow herbs in containers.I also did a “How-To” video about this too 🙂

Okay, so now that cooler weather is on its way, I wanted to add some different herbs that would do well through the winter in my zone 9 garden.

Herb Container

I planted Dill, Garlic, Lavender, Parsley, another Thyme and kept the Sage the I had originally planted.

My kids added some of their Petunias that their grandma bought them in the container too, which will add some nice color.

Other herbs that can handle cooler weather in USDA zones 9 and above are Cilantro, Chives, Fennel, Lemon Grass and Rosemary.

I highly recommend planting your own herb container.  It is very easy and so fun to be able to harvest your own herbs!

I’m sure you all have been waiting with baited breath for the second installment of how to grow and dry your own herbs….I know I have 😉

Oregano, Basil, Sage, Purple Basil, Parsley and Thyme.

Clockwise from top left – Oregano, Basil, Sage, Purple Basil, Parsley and Thyme.

Last time we talked about how to harvest and dry your herbsThe process is so easy – the ‘air’ does most of the work for you.

Once your herbs are nice and dry, it’s time to get the herbs ready for their containers.

dry your herbs

Now, I will be the first to admit that dried herbs aren’t all that pretty.

dry your herbs

Even though they aren’t all that attractive at this point, they are full of concentrated flavors that will help you create delicious food.

I bought inexpensive glass jars at IKEA for a $1 each in which to store my dried herbs.

jar

Now it is time to get the dried leaves off, without the stems.

dry your herbs

I found the easiest way to do this was to simply press the leaves between my fingers.  They came off easily, without too many stems falling in.

dry your herbs

The few stems that fell in, were easy to pick out.  I then used my fingers to grind up my herbs to the desired size…

dry your herbs

All there is to do at this point is to pour the herbs into my glass jars…

Jars of Oregano, Thyme and Oregano

Jars of Oregano, Thyme and Oregano

My homegrown dried herbs are ready to use right away.  They also make great gifts.

Dried herbs should be stored in a dark, dry place (pantry or cupboard) and taste best when used within 6 months.  

*******************************

I hope your week is off to a good start.

I had two consults last week, which went very well.  In the summer, I don’t do too many consults because many people don’t want to spend a lot of time in the garden in the heat.  I actually enjoy this time of year because it is a bit of a break for me 🙂     

Do you love using herbs when you cook?  I do – especially basil and oregano. I also appreciate how easy they are to grow. 

How to Grow and Dry Your Own Herbs

I grow basil, oregano, rosemary, sage and thyme in my garden.  To be honest, I don’t use a lot of fresh herbs and I really should.  I tend to use dried herbs instead.

While I do like to use dried herbs when I cook – I don’t like to pay $3+ dollars for a tiny container.  So, instead of buying dried herbs
at the grocery store – I make my own.  

It is very easy to dry herbs and they make great and inexpensive gifts. Herbs are best when they are air-dried – which is the method that retains their flavor best.

Here is how I do it:

How to Grow and Dry Your Own Herbs

– I harvest my herbs, usually before they flower, for best flavor. In my herb container, there is basil, dill, oregano, rosemary, sage and thyme growing.    

– Pick your herbs in the morning and wash and dry them.  Discard any discolored leaves.  

– Using string or twine, tie your herbs into small bundles (this is especially important for basil, which as lots of moisture in its leaves).  Wrap the string a few times around each bundle to keep them from falling out as they dry.

dry herbs

Bundles of Oregano

Tie each bundle to a coat hanger.

dry herbs

Bundles of Oregano and Sage

Herbs need to hung indoors to dry.  Hang them in an area out of the sun in an area with good air circulation – I used our garage.  

dry herbs

You can hang them from a clothes rack that you use for drying your clothes, or you can tie them from almost anything.  Laying herbs on paper towels and placing them by a de-humidifier to dry is another method to dry herbs.

**To protect your herbs from dust, you can place paper lunch bags over each bundle – to do this make a hole in the bottom of each lunch bag and thread the cotton string through it before attaching the string to whatever you are hanging your herbs from.  It is okay if the herbs stick out the bottom of the bag – it’s the top which need protection from dust.

Depending on where you live, drying herbs can take as little as a week in a dry climate up to 4 weeks in more humid climates.

Come back for “Part Two” to see how I how to crush and store dried herbs.

*If you are interested in growing herbs, learn how I planted my herb container here.