Tag Archive for: Herbs

Do you like to use fresh herbs when you cook?

What if you could just step outside your door and snip some herbs without having to go to the store? 

Have you seen how expensive fresh herbs are at the supermarket by the way? And, who wants floppy herbs when they can have fresh ones?

I am often asked whether it is easy to grow herbs in the desert garden and I always answer, “yes!”
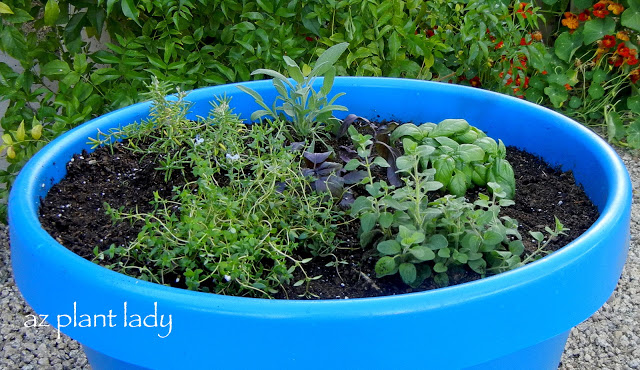
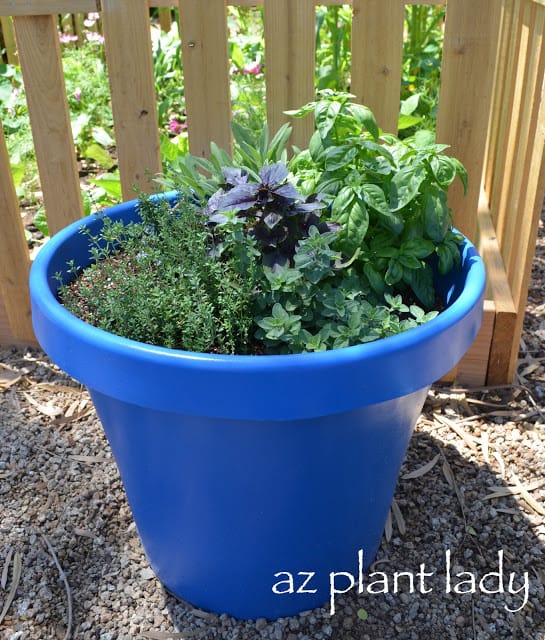
container herb garden

Herbs come from mostly arid regions and so they flourish in our climate. They also like the sun, which we have plenty of.

One of my favorite ways to grow herbs in containers. In fact, they do extremely well in pots – especially when planted together. Imagine having a variety of herbs growing in a container near your kitchen door.

It’s easy to do and here is how:

1. Place your container in an area that receives at least 6 hours of sun.
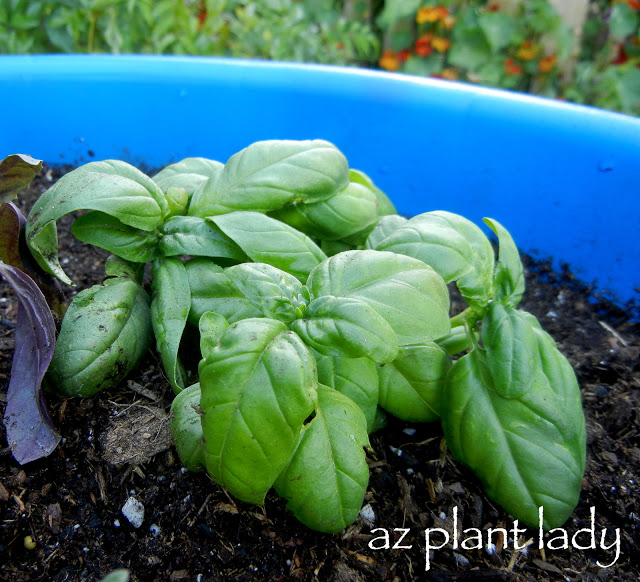
Basil, container herb garden

Basil

2.  Fill your container with planting mix, which is sterile, has a light texture and is specially formulated for container plants.  It retains just the right amount of moisture for plants. Potting soil can become soggy.

3. Add a slow-release fertilizer, such as Osmocote, and work it into the top 2-inches of soil.
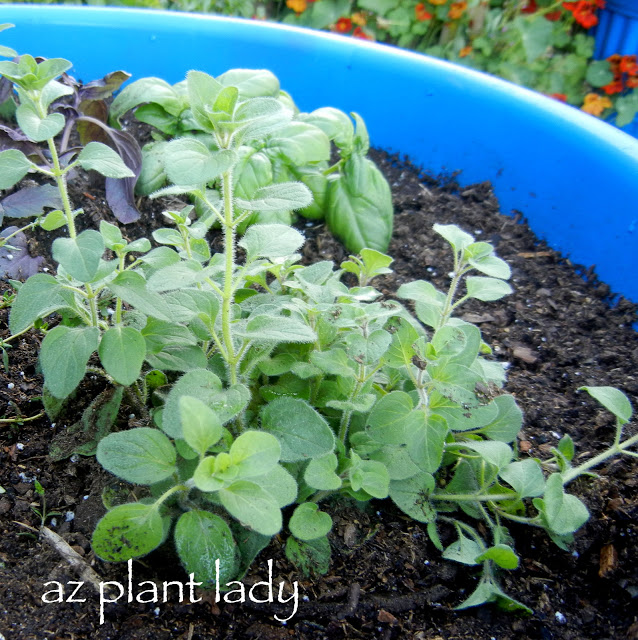
Oregano

Oregano

4. Plant your herbs. Oregano, rosemary, sage, and thyme are easiest to grow when you start out with transplants. Basil grows easily from seed, but can you also use transplants?
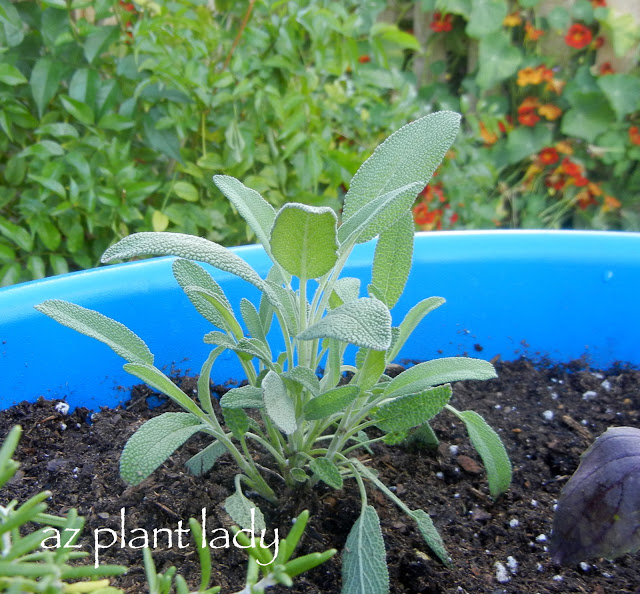
Sage

Sage

5. Water deeply. Do not wet the foliage when you water them as they prefer to stay dry.
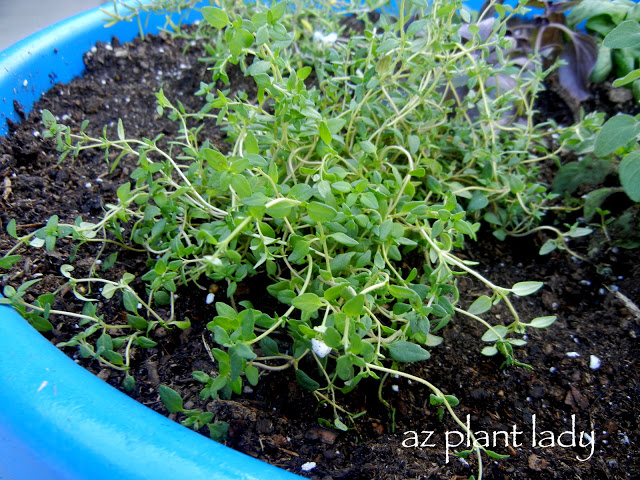
Thyme

Thyme

6. Herbs like to dry out between watering. To check when they need water, simply stick your finger down to 1-inch deep – if the soil is moist, don’t water. However, if it’s almost dry, then water deeply until water runs out the bottom drainage hole.
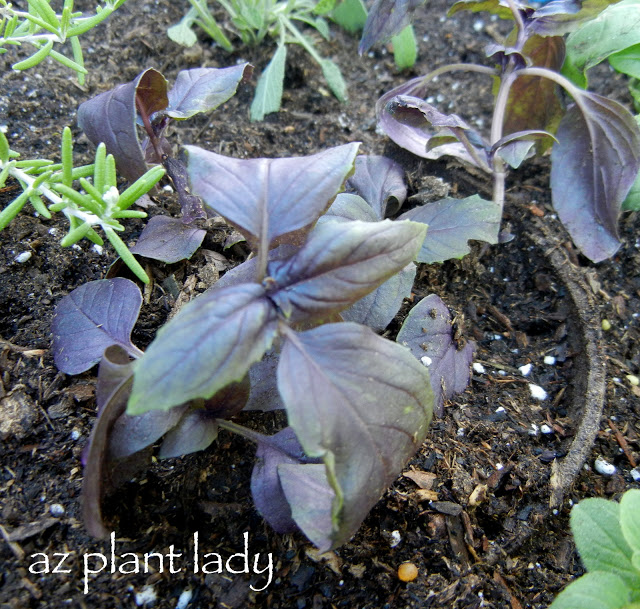
container herb garden

Purple Basil (Not the healthiest specimen, but it was the only one they had – it was over-watered at the nursery).

7.  Don’t add any additional fertilizer after planting.  Herbs don’t like extra fertilizer since it causes them to grow larger leaves with fewer oils, which is what gives them their flavor.

I like to place my herbs near my vegetable garden.

Here in the desert, we can grow herbs all year long. However, I do like to dry herbs like basil, which don’t live through our winters.

I encourage you to dip your toes into growing your own herbs. You can find transplants at your favorite nursery, so find a sunny spot and get started!

Click below for my container gardening tips…

Creative Container Gardening Tips

A Breath of Fresh Air: Creating Natural Air Fresheners

Have you ever sprayed air freshener in your home? Does it ever smell like the fragrance described on the can? I must confess that I have used air-fresheners in the past, but I’ve never happy with how my house smelled afterward. To me, the fragrance is so ‘artificial,’ and I also wonder if there are some ingredients in them that maybe aren’t good to inhale.

Create Natural Air Fresheners From the Garden

Discover the Beauty of Natural Fragrances

So, I was intrigued when I heard about ‘natural’ air fresheners made from plants – many of which I have in my garden.

Imagine your home filled with the natural fragrance of citrus paired with your favorite herbs drifting throughout – no overpowering, artificial fragrance, just subtle, refreshing scents.  

How to Make Your Own Natural Air Fresheners

The combinations are endless, and the fragrance is released into the air by adding the contents and enough water to fill a small pot at least 1/2 – 3/4 full. Heat to boiling and then turn the heat down to low and allow it to simmer for a couple of hours. That’s it!

So are you as excited about creating your own ‘natural’ air fresheners as I am? 

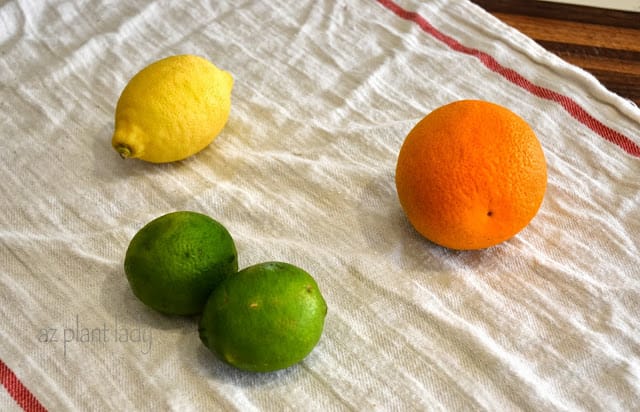
citrus of all kinds are great in a freshener

Natural Ingredients for Your Unique Fragrance

Let’s get started with some ingredients that you can use for your unique fragrant combination(s):

Citrus Delights

All types of citrus are refreshing and can serve as the base of your air freshener.  I chose lemons, oranges and limes.  But, if you have a grapefruit tree that is overly generous with its fruit, they would work well too!

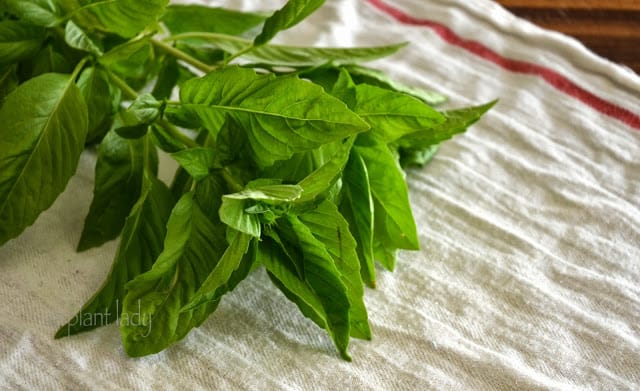
Create Natural Air Fresheners from basil

A Touch of Herbs

Now let’s grab some herbs for your natural air fresheners from the garden or the grocery store).

  1. Basil
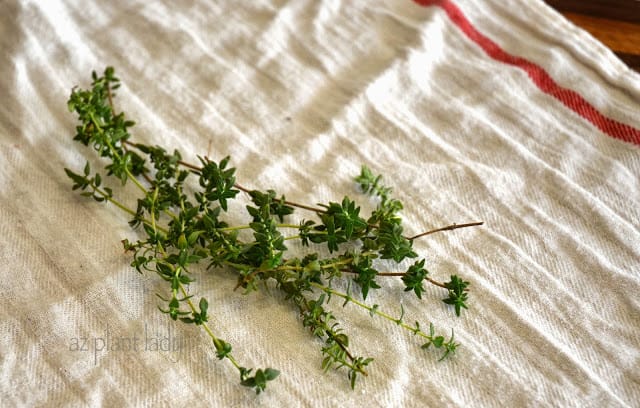
Create Natural Air Fresheners from Thyme

2. Thyme

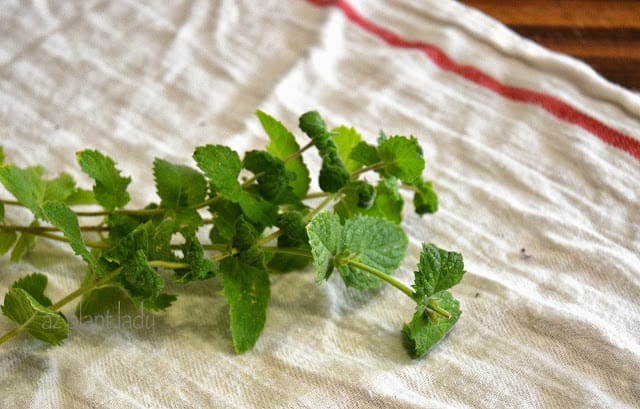
Create Natural Air Fresheners from mint

3. Mint

Rosemary and lavender would also work great. I also use vanilla extract and peppercorns in my mixtures.

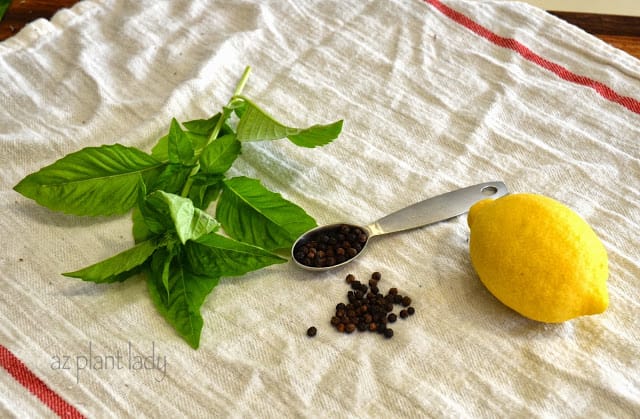
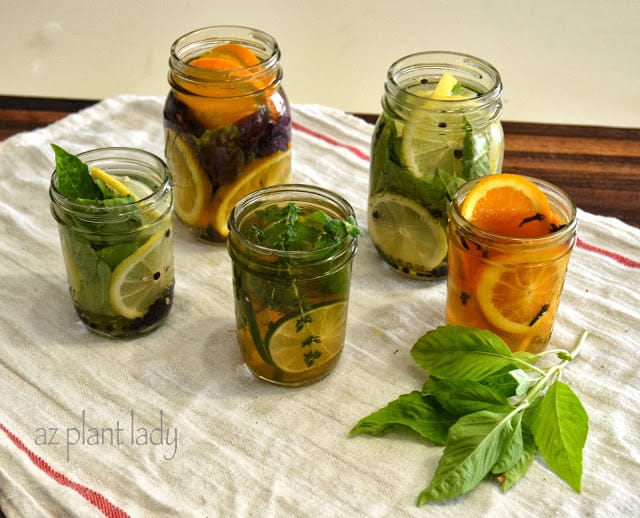
Ingredients for air fresheners

Crafting Your Natural Air Freshener

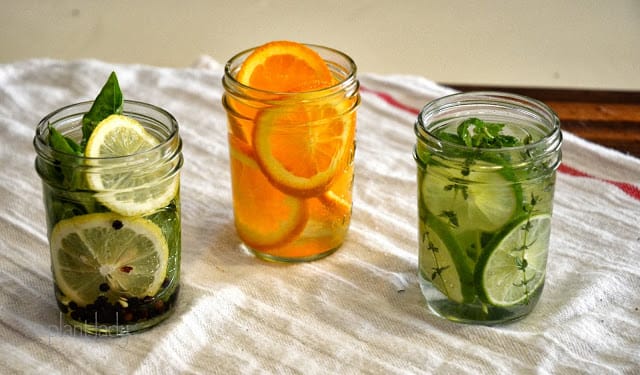
Here are a few that I made.

Cooking (and eating) Italian food is some of my favorite – even though I have no Italian ancestry that I know of.  

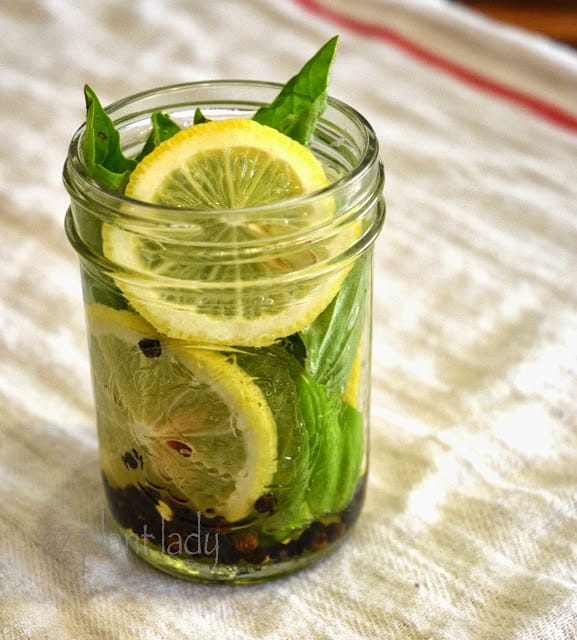
I used 1 sprig of basil, 1 teaspoon of black peppercorns and a few slices of lemon – it makes my home smell fresh as I imagine an Italian kitchen would smell like.

Add these ingredients to jars and fill them with water to the top. For this project, I used Ball mason jars.

Lemon and basil scented Italian freshener

I think it looks pretty, don’t you? Of course, if you are going to use use them right away, skip the jar and add directly to a small pot. Pour more water until it reaches 3/4 full, heat to boiling, lower the heat to low and enjoy for a few hours – KEEP an eye on the water level and add more as needed – DON’T let it dry out.

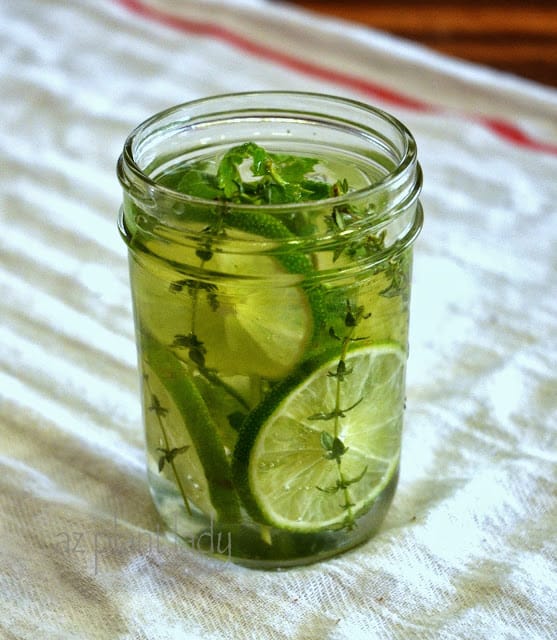
Lime, thyme, and mint in a ball jar

More Natural Fragrance Combinations

Here is another combination that I like.

A few slices of lime, 4 – 5 sprigs of thyme, a sprig of mint and a teaspoon of vanilla extract.

You can make one air freshener at a time, or create a few and store them in the refrigerator for a week. You can freeze them for longer until ready to use – just make sure to freeze them in a freezer-safe container such as a wide-mouth jar.

Lastly, this is my favorite combination, and only has two ingredients.

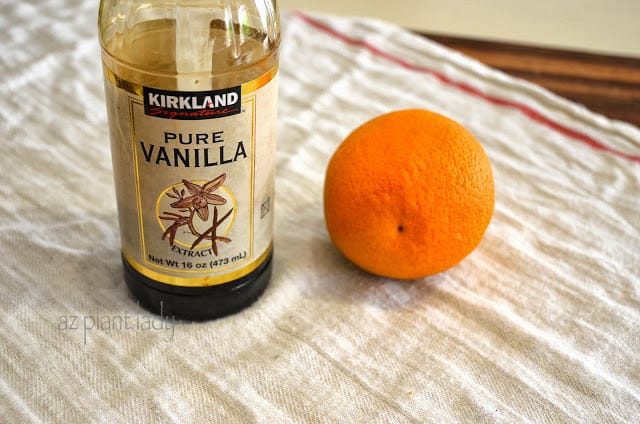
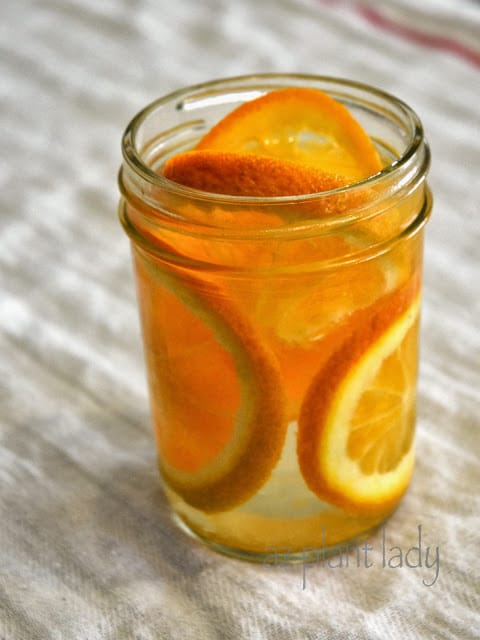
Oranges and vanilla extract

Oranges and vanilla extract.

I sliced half an orange and added 1 teaspoon of vanilla extract.

The fragrance reminds me of orange cream – YUM!

You can also add cinnamon sticks or a few whole cloves to this mixture for a spicier fragrance.

Oranges and vanilla extract

Exploring Natural Fragrance Variations

If you have ever stepped into a Williams & Sonoma store, they have their own natural air freshener recipe:

  • Lemon slices
  • Rosemary sprigs
  • 1 teaspoon of vanilla extract

In addition to the ingredients I’ve used, here are some others that you can experiment with to create your own unique natural air freshener.

Citrus or apple peels, almond, coconut, or peppermint extract along with herbs like ginger, nutmeg, ground cinnamon, whole cloves, bay leaves, basil, sage, lavender, oregano, and rosemary.

Create Natural Air Fresheners From the Garden

Freshen Your Home Naturally

So if you want to add a little freshness to your home, don’t waste your time spraying artificial fragrance through your home. You can create wonderful combinations of scents using items from your garden, refrigerator, and pantry.

I hope you enjoy making these natural air fresheners as much as I do!

5 Surprising Ways to Use Citrus Fruit For Home and Kitchen

I enjoy DIY projects – particularly when they involve things that I have grown in my garden.

It seems that a lot of the things that I make from the garden include herbs.  I have dried herbs, frozen them into ice cubes and have done homemade herb butter.

Using herbs from my garden when I cook always gives me a special satisfaction, and my food tastes great too!

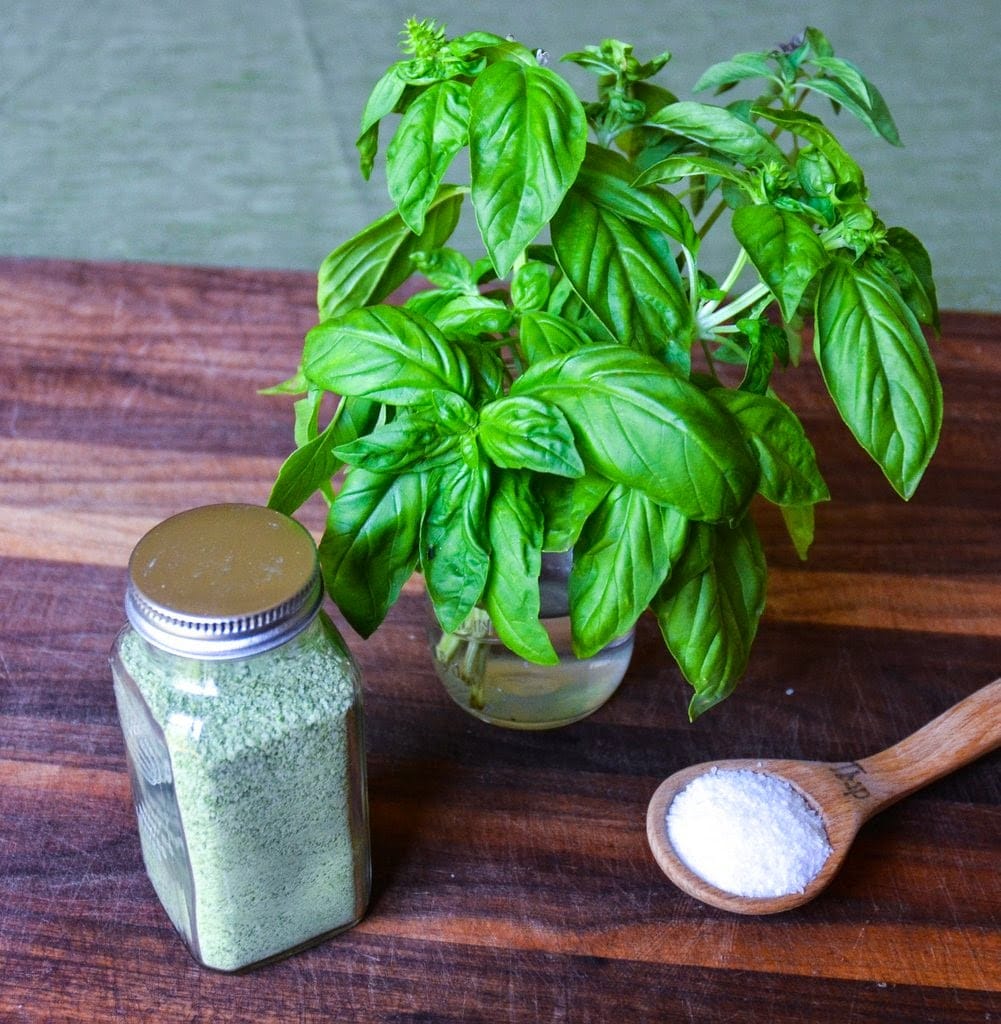
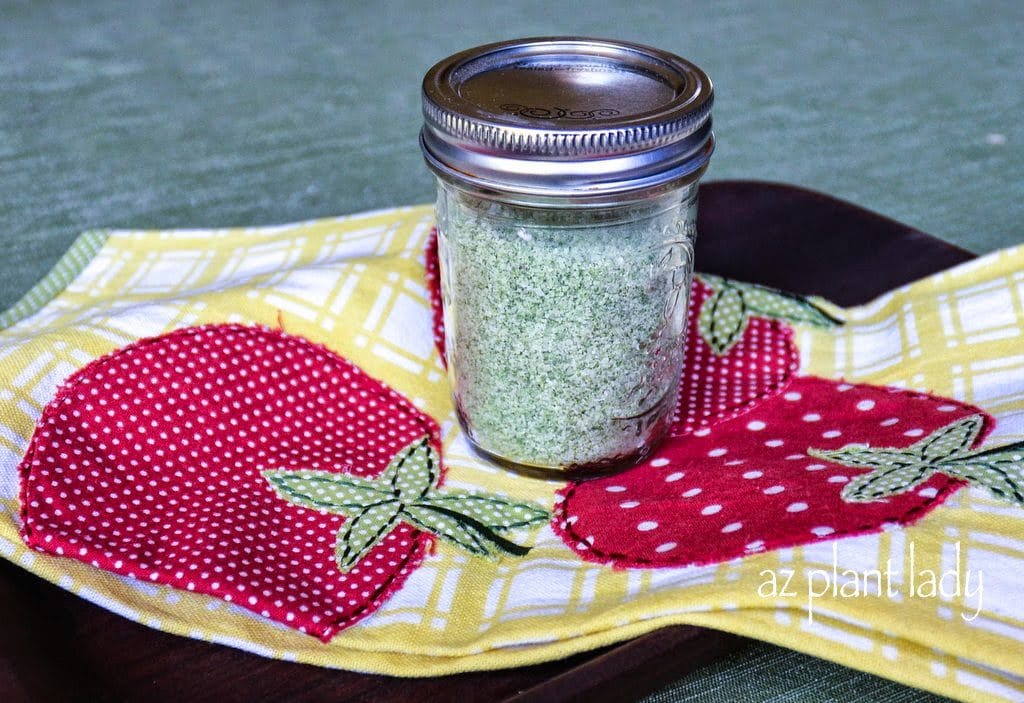
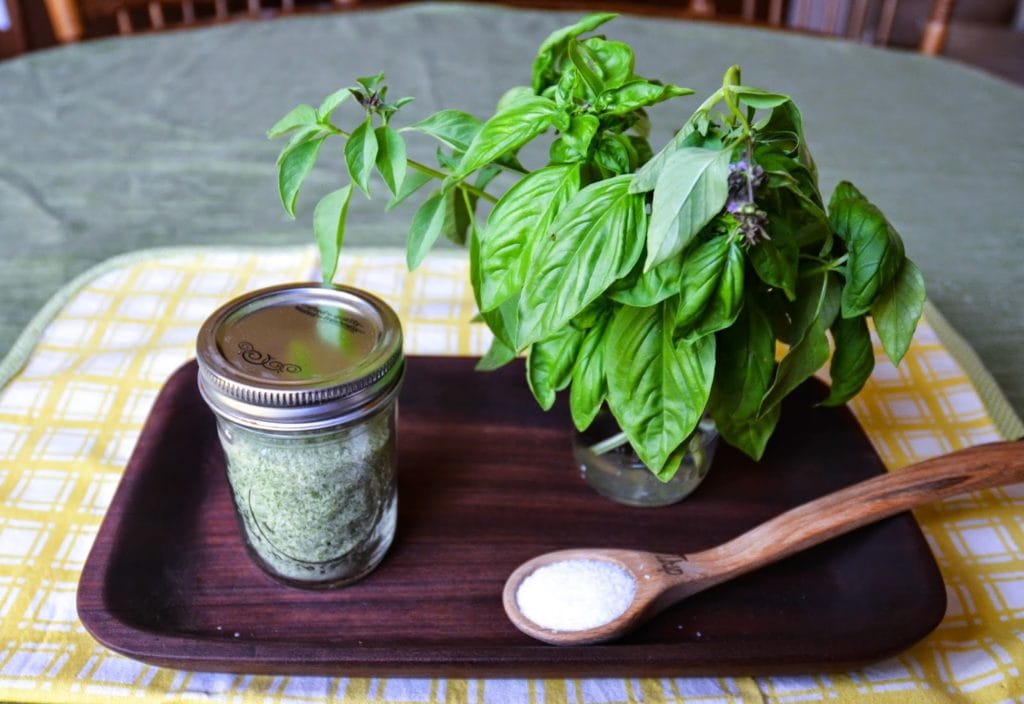
Basil herb Salt

Photo: Basil herb Salt

Today, I am excited to share with you how to make basil herb salt.  If you haven’t heard of herb salts before, they are referred to as ‘gourmet salts,’ which are very popular in the foodie community.  

Herb salts are easy to make – especially if you have a food processor.  The salt helps to preserve the fresh flavor of your favorite herbs, and they add fabulous flavor to your favorite dishes.  

Gourmet salts also make great gifts.

Basil herb Salt

It is hard to find anyone who doesn’t love basil and the flavor it adds to so many different dishes.  I enjoy making Italian food and am often using basil.  Usually, I tear or chop some fresh basil leaves and add them as flavoring.  

Basil salt can be used in a variety of ways including sprinkling into your favorite tomato sauce, on top of a fresh-baked pizza, adding to bruschetta or simply sprinkling some on the top of fresh tomatoes.   Are you ready to get started?    

You will need fresh basil (either from your garden or the store) and kosher salt – pretty simple!  

Grab your food processor, a baking sheet and a glass jar with a lid.

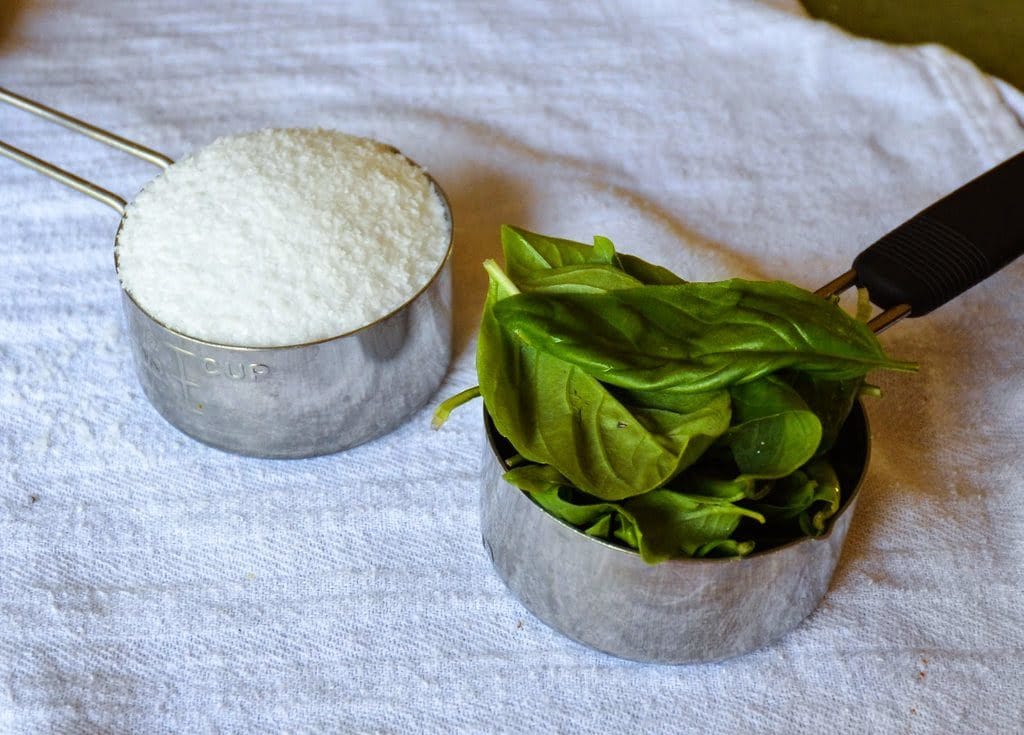
kosher salt and basil leaves

1. You will need 1/2 cup each of kosher salt and basil leaves.  

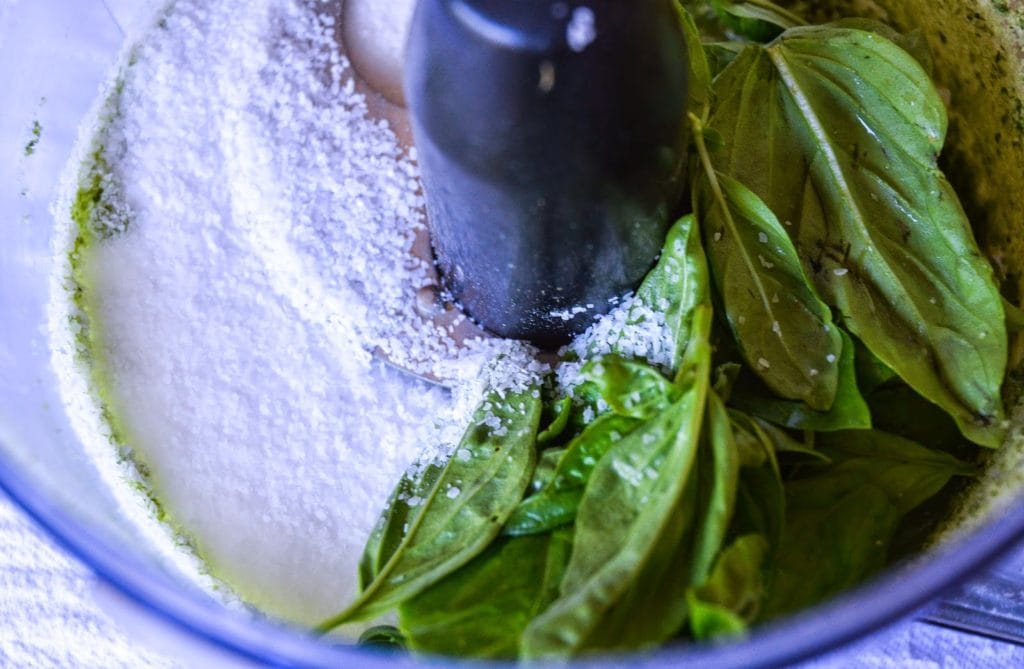
basil and kosher salt

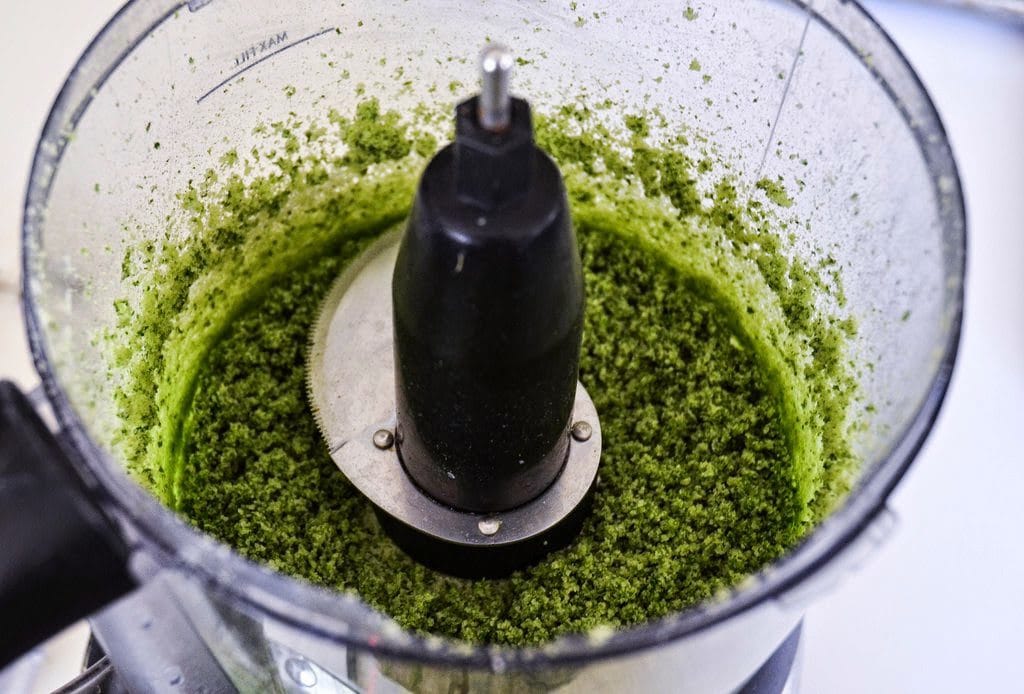
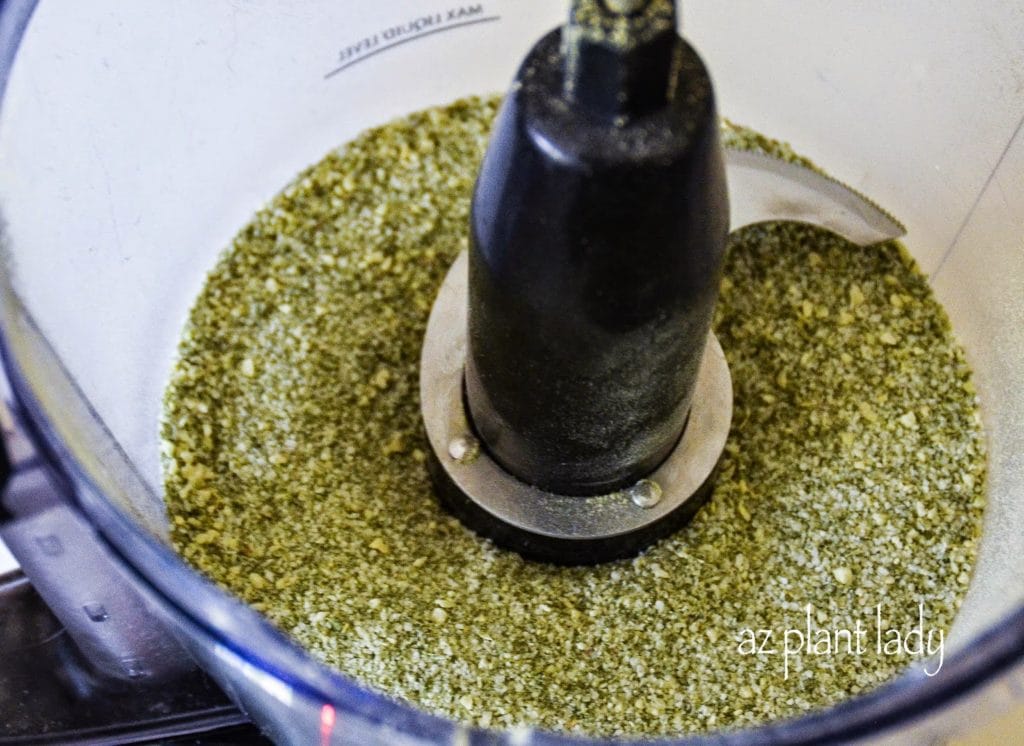
2. Add the basil and kosher salt to your food processor and pulse for 30 seconds.

Got Basil? Create Delicious Herb Salt

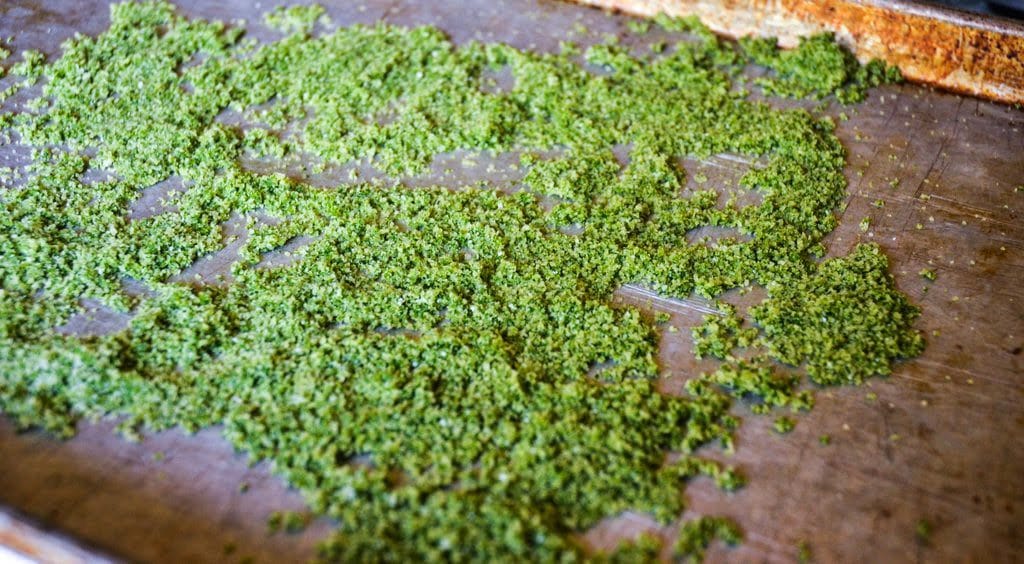
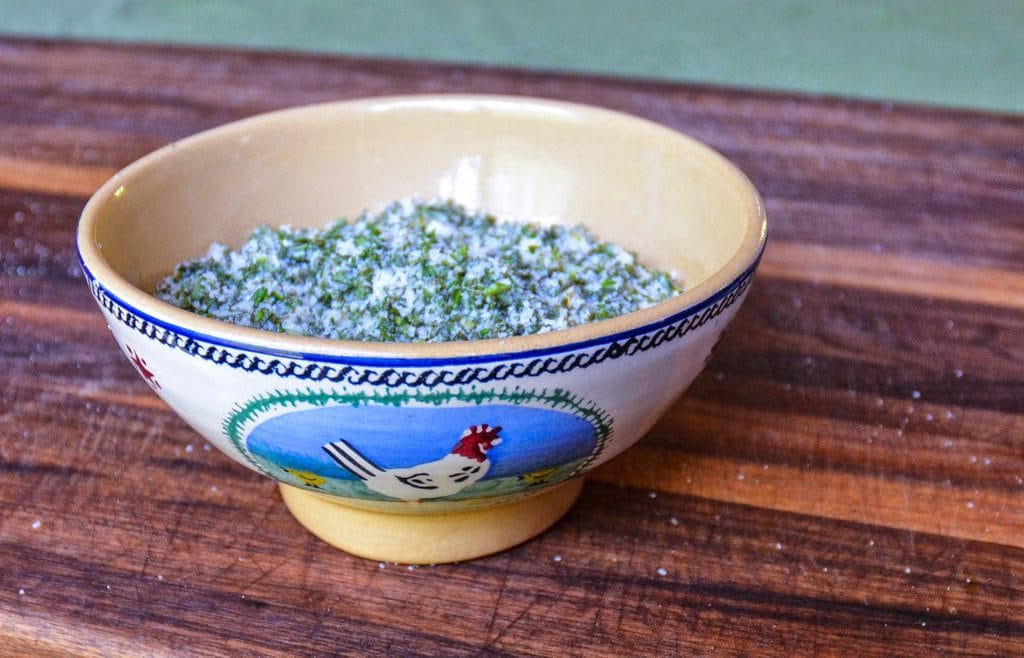
The finished mixture should look like this.

Got Basil? Create Delicious Herb Salt

3. Pour the mixture out onto a baking sheet in a thin layer.  The mixture will be somewhat moist.

Got Basil? Create Delicious Herb Salt

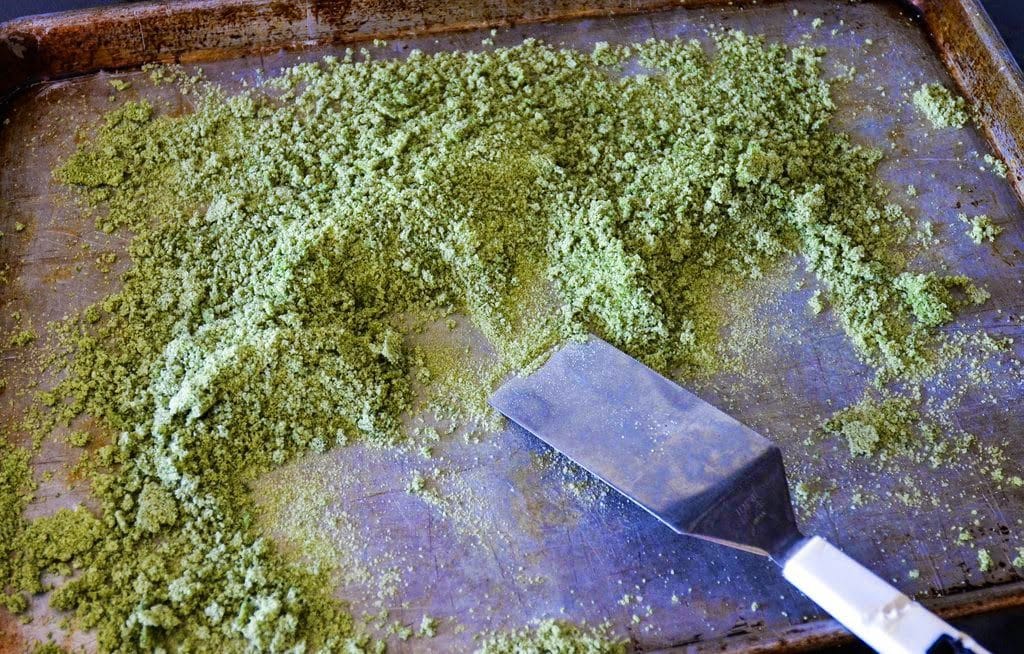
4. Bake for 20 minutes in a preheated 225-degree oven.  After the first 10 minutes, lightly mix the basil salt mixture and bake for another 10 minutes – this helps it to dry out completely.

basil salt mixture

5. Put the dried basil salt mixture back into the food processor and blend to remove any remaining lumps.  *Make sure that the food processor is dry beforehand.

basil salt into a glass container

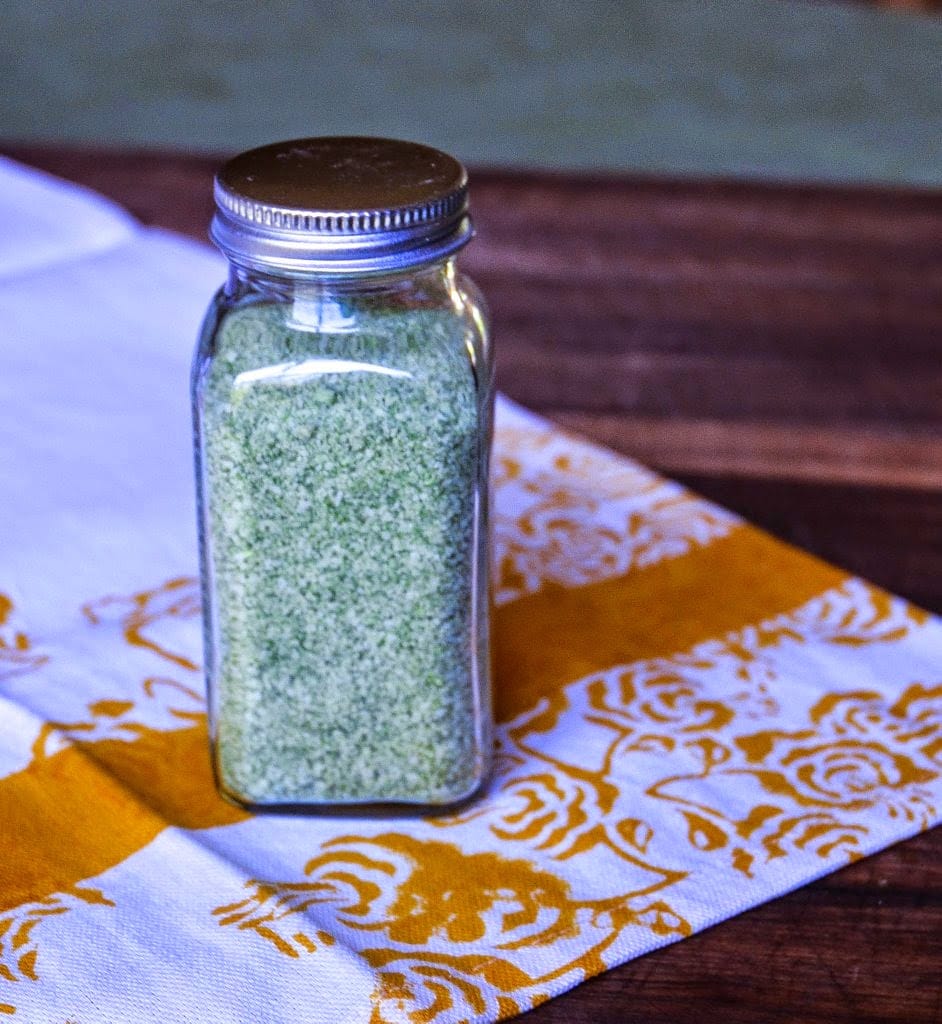
6. Put your basil salt into a glass container with a tight-fitting lid.

That’s it – you are done!

I must admit that this is a pretty easy project and the food processor does most of the work.    

Keep your basil salt in a dark, cool space where you keep your other herbs/spices to help preserve its flavor.  Use it within a few months for the best flavor.  

*******************************  

This is one of the rare times that I didn’t have to spend any extra money on a DIY project – I had the basil growing in my garden, the kosher salt was in the pantry, and I used a mason jar that I had on hand.

Basil Salt

I made three batches of basil salt and will keep one for myself and start using it right away.  The rest I plan on giving away as gifts.    

Gifts from the garden and kitchen are personal and much appreciated by others.  Last year, I gave away homemade jam from my peach tree.  This year it will be basil salt.  

I can’t wait for my basil plant to grow more leaves so I can make more!

Herbes de Provence

Photo: ‘Herbes de Provence’ salt

**Basil salt is just the beginning of different types of herb salts you can make.  In my next post, I will show you how to make a customized herb salt blend as well as some ideas of other herb salts you can make.    

What would you use basil salt to flavor?

I enjoy growing herbs for two reasons.  First, they are easy to grow and second, I love to use them when I cook.

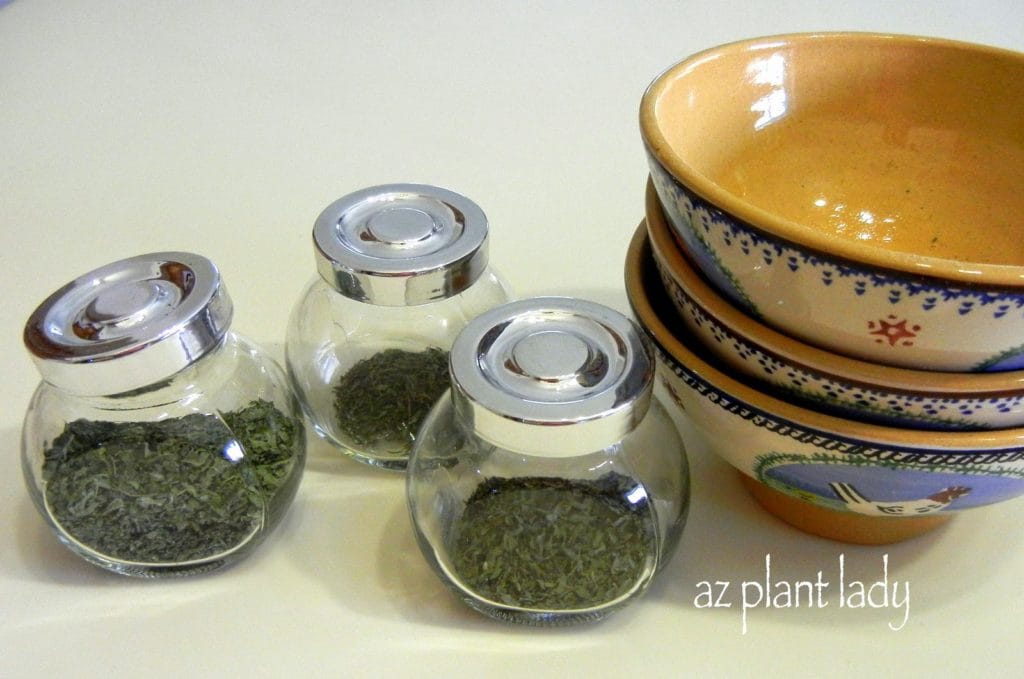
dried herbs

In addition to fresh herbs, I also use dried herbs from time to time, especially in winter when some of my favorite herbs (basil) aren’t growing.

While drying herbs is rather simple, there are some guidelines to follow, which I wrote a blog post about…

“How to Grow and Dry Your Own Herbs”

Do you have a favorite herb that you like to use when you cook?

Have you ever been on live television?  

If you had asked me a year ago, I would have said “no”.  I had done some filming for “how-to” gardening videos for SheKnows.com – but they weren’t live and took place in my back garden.  Somehow, live TV is quite different.

Last time, I told you about my upcoming appearance on our local ABC station to talk about creative container gardening tips.

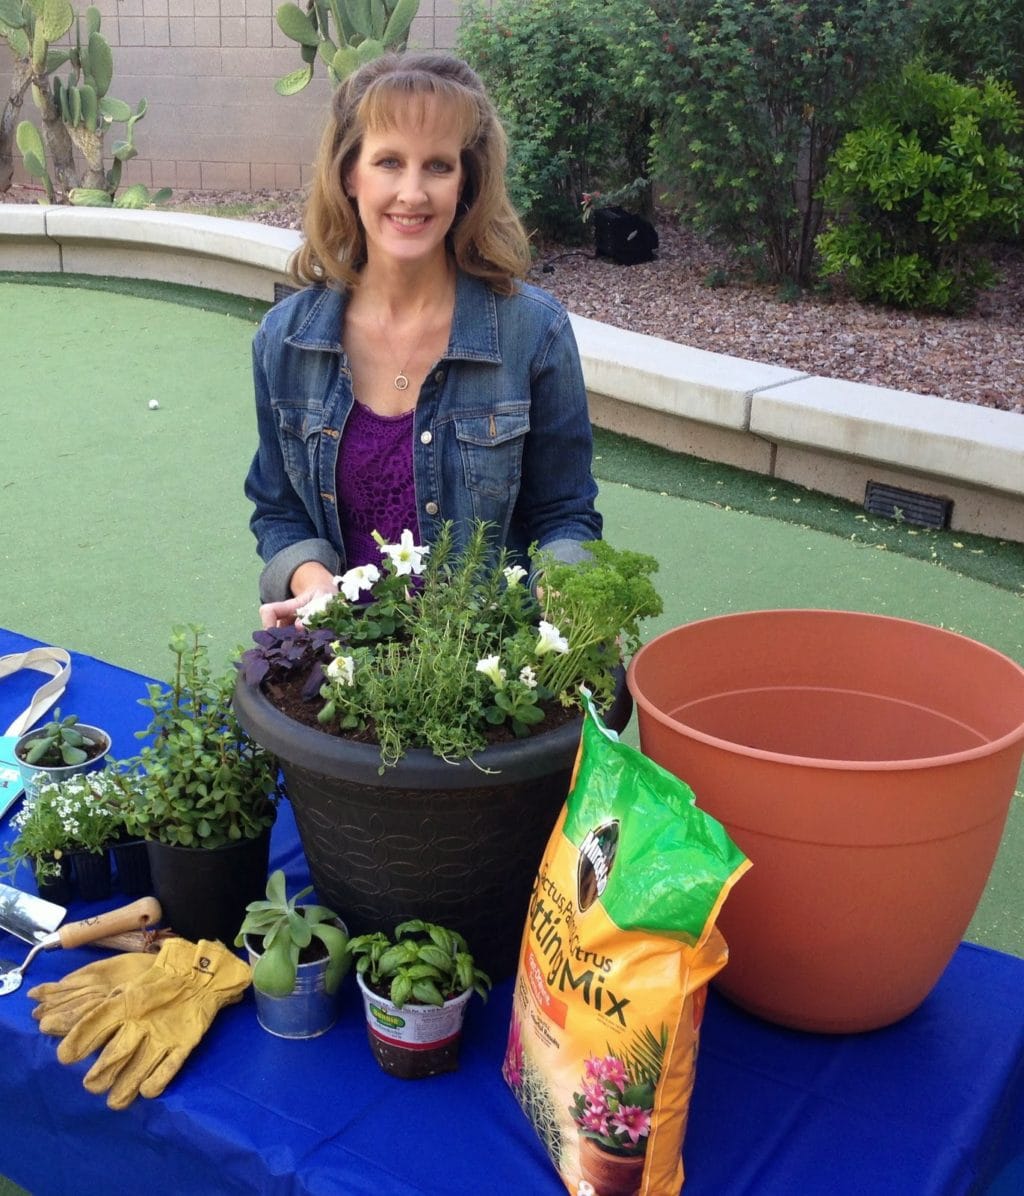
Posing next to my newly-planted container filled with purple basil, thyme, rosemary and parsley.  White petunias add beauty to the pot.

Posing next to my newly-planted container filled with purple basil, thyme, rosemary and parsley.  White petunias add beauty to the pot.

This was the second time that I had been asked to appear on Sonoran Living, which is a local morning program.

Last time I was on the show, I spoke about ‘Fuss Free’ Plants.  This time, I would be talking about  creative tips for container gardening.  
So, I went shopping for my ‘props’.  I decided to plant an herb container as well as a pot filled with vegetables and flowers.  I bought several medium-sized pots, a variety of potting mixes and of course, plants.

 Sonoran Living

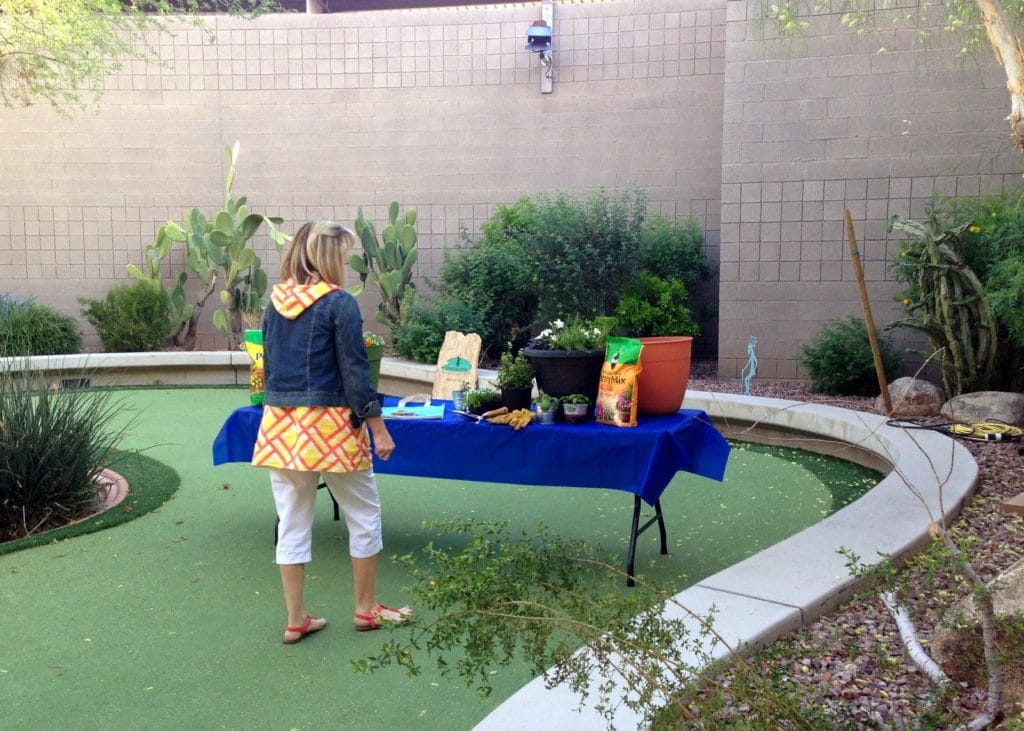
My sister came along with me to help with the props and setting up.  I had planted the pots ahead of time, so setting up wasn’t too difficult.
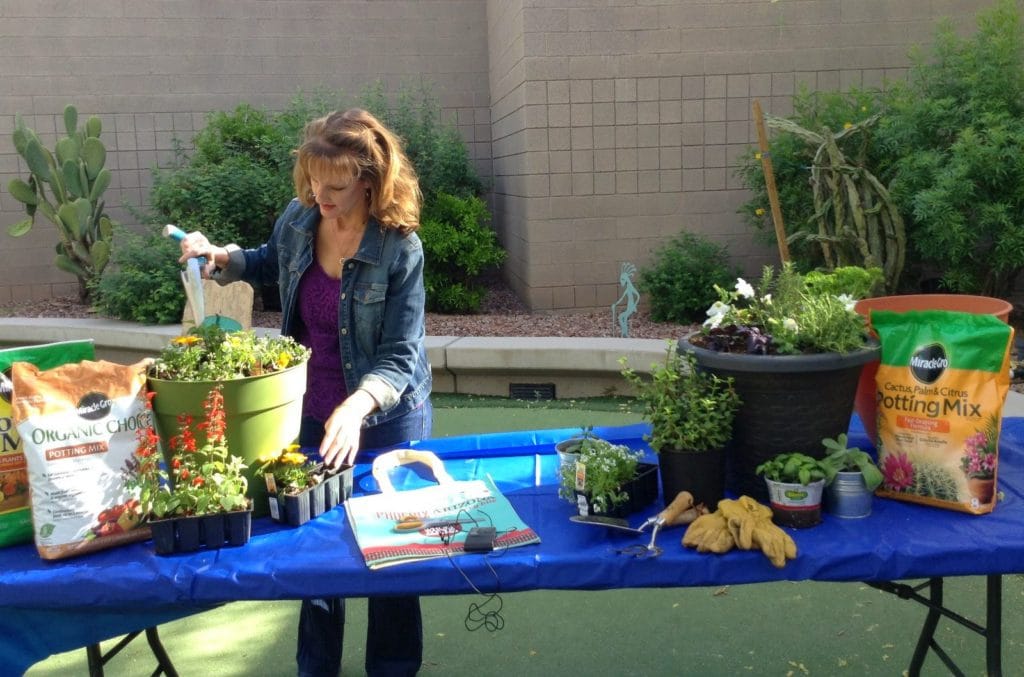
The main focus of the demonstration would be the three pots, the potting mixes and the recyclable grocery bag.

They tell you to bring a lot of props, which look good on television.  So, I brought gardening gloves, some hand tools and extra plants to help ‘set the stage’. My microphone was there for me to put on and I was almost ready.  

 Sonoran Living , Finishing up planting my vegetable/flower container.

Finishing up planting my vegetable/flower container.

Last time I was on the show, mine was the first segment.  It went very fast and we were back on the road before the show was over.

This time, I was to go last.  So after everything was set up, my sister and I were invited to wait in the staff break room.

To say that I wasn’t nervous would be an exaggeration.  But, I was not as nervous as my first time.  It’s actually not as hard as doing a “how-to” video where you have to talk to the camera.  On the show, I am talking to a person who asks me questions so I don’t speak directly to the camera at all.  If you lose your train of thought, they are there to get you back on track.

Of the tips I shared on air – using recycled, plastic containers to fill the bottom of large pots as well as using a recycled grocery bag as a container were the most popular with the hosts.

I had a great time and hope to be invited back again.

Below, is the link for my container gardening segment and at the end you see where I accidentally got involved in a conversation at the end about “Dancing With the Stars”.

“CREATIVE CONTAINER GARDENING TIPS”

I hope you enjoy it and come away with some helpful tips that you can use when creating your own container garden.

**You can view my first appearance on Sonoran Living where I talk about “Fuss-Free Plants” here.

sustainable landscape

When most people think of a ‘sustainable landscape’, they view one that is boring, filled with few plants which is why they are often surprised to see how beautiful they are.

Over the past couple of weeks, we have talked about small steps that you can take toward a more sustainable landscape and today, we will finish up our series with a few more steps you can take in your own garden.

Re-think what you plant in pots.

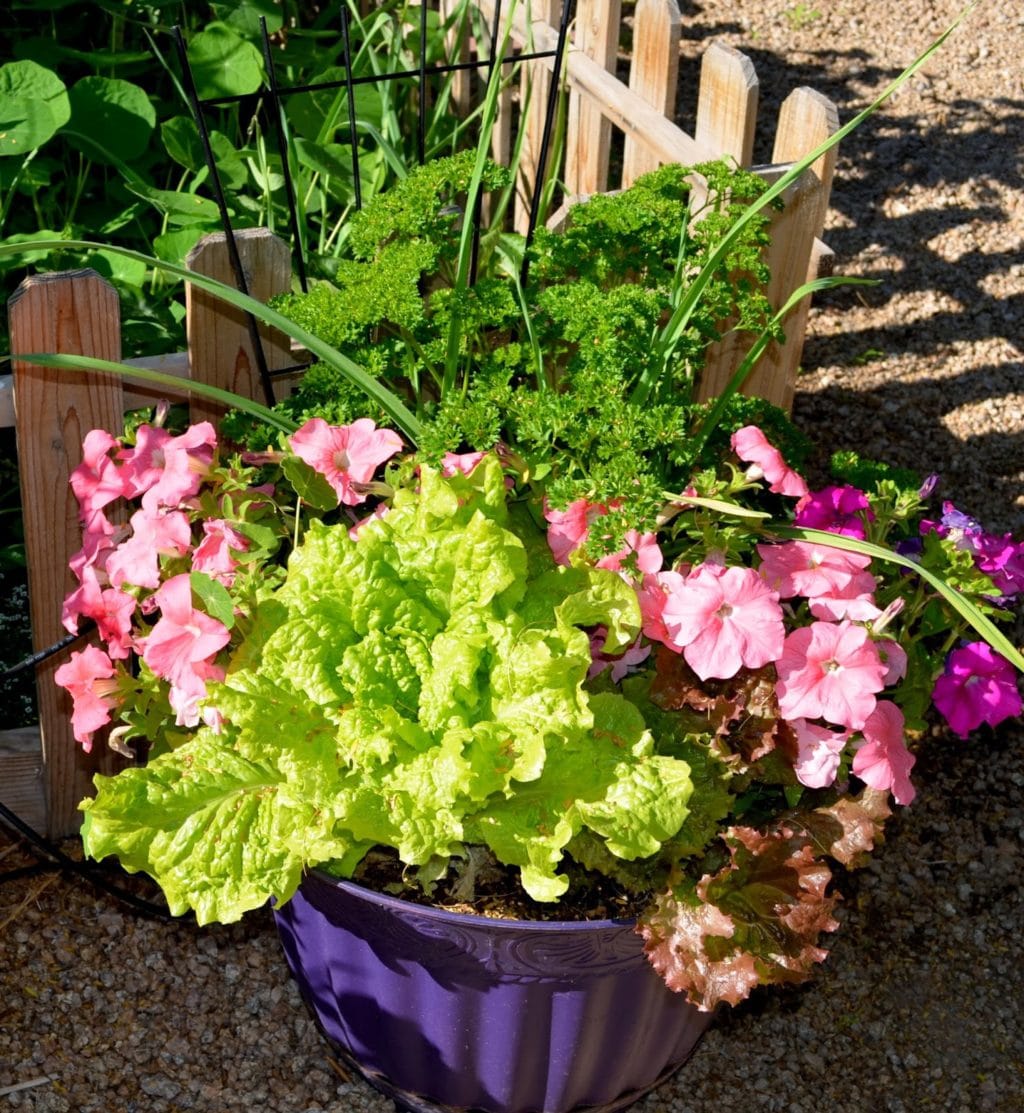
Leaf lettuce, garlic, parsley growing along side petunias

Leaf lettuce, garlic, parsley growing along side petunias.

If you are like most people, you have a few pots that you fill with flowering annuals, which you fertilize on a semi-regular basis.

But, how about thinking outside of the box about what we add to pots.

For example, did you know that many vegetables do great in pots and are also attractive?  I like to grow vegetables in my pots and add a couple of annual flowers in for a little color.

A Few New Ideas for Sustainable Landscapes

While some flowering annuals can be a bit fussy (pansies, for example) – herbs are not.  They look great in pots, are on hand whenever you need a bunch of fresh herbs for cooking and they don’t need as much water and fertilizer as flowers.

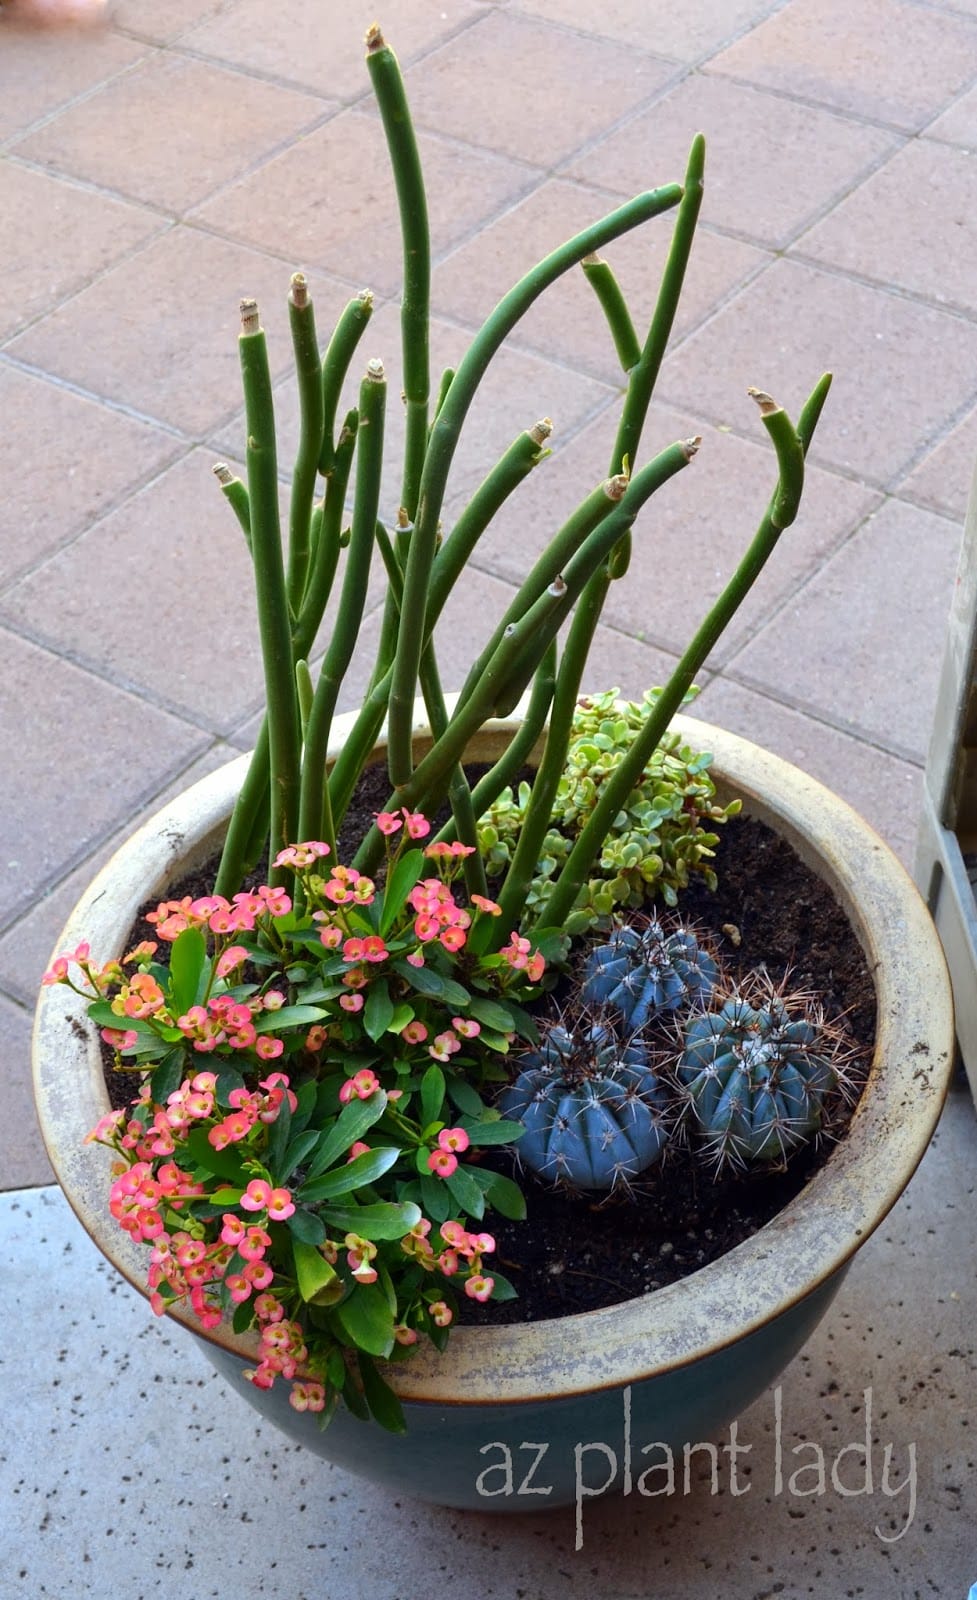
Crown-of-Thorns, Lady's Slipper, Elephant's Food and a cactus

Crown-of-Thorns, Lady’s Slipper, Elephant’s Food and a cactus.

Succulents make beautiful pots with their varied textures.  Because the store water inside, they do not need as much water as other container plants.

A Few New Ideas for Sustainable Landscapes

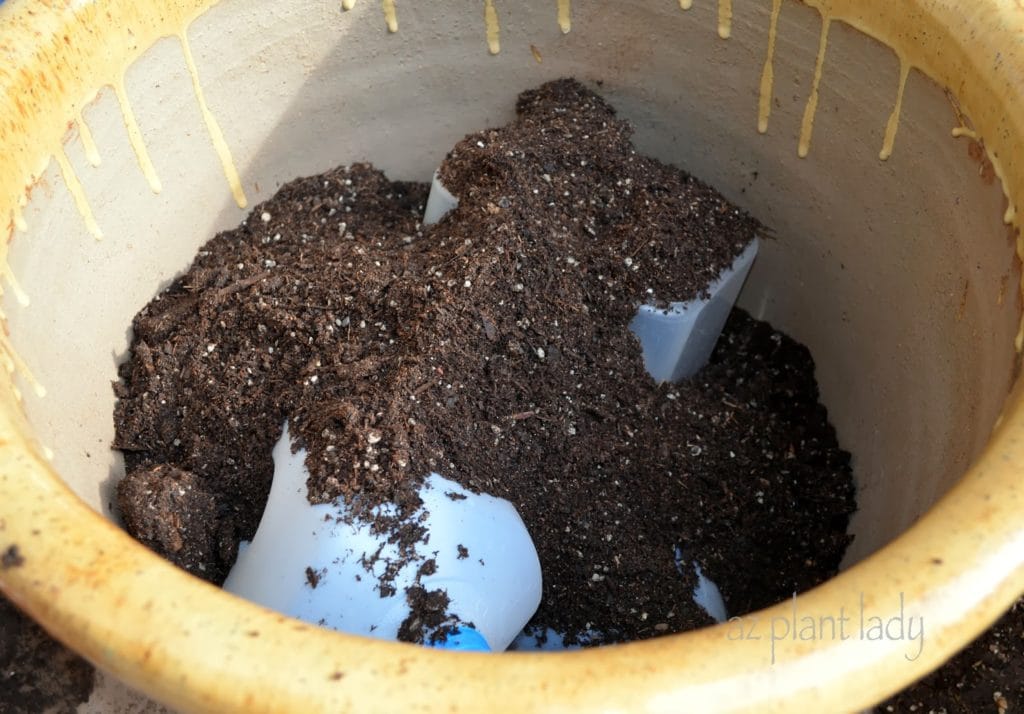
A helpful tip for planting a large container – fill the bottom third with recyclable plastic bottles.  Most plant’s won’t reach to the bottom of large containers and it is a waste of money to fill up the entire pot with expensive potting soil.  Another bonus is that it also makes your pot a bit lighter.

Use natural or recycled materials when possible.

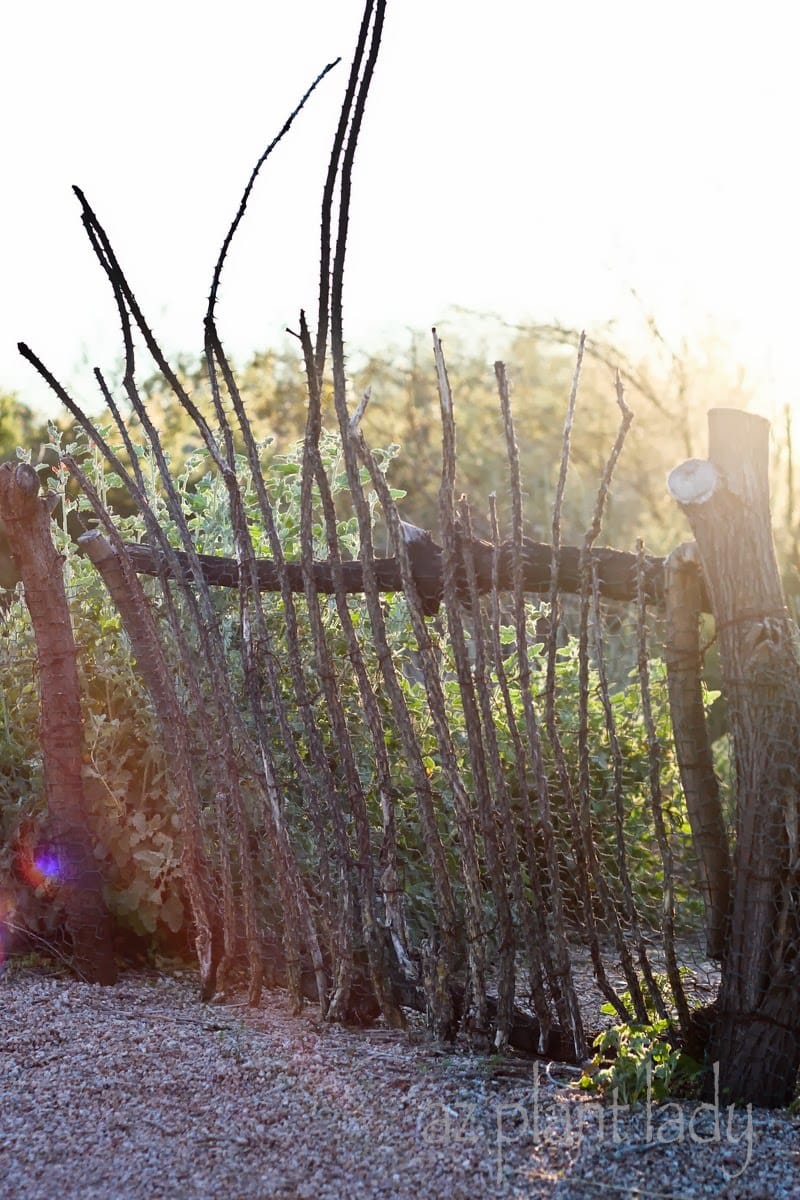
Gate made from old Ocotillo canes and tree branches

Gate made from old Ocotillo canes and tree branches.

Often, when we are adding elements to our landscape, we overlook the many things that are recycled or natural that can fill that need.

For example – did you know that you can create a ‘living’ fence made from Ocotillo canes?  It’s true! I have seen them my local nursery.

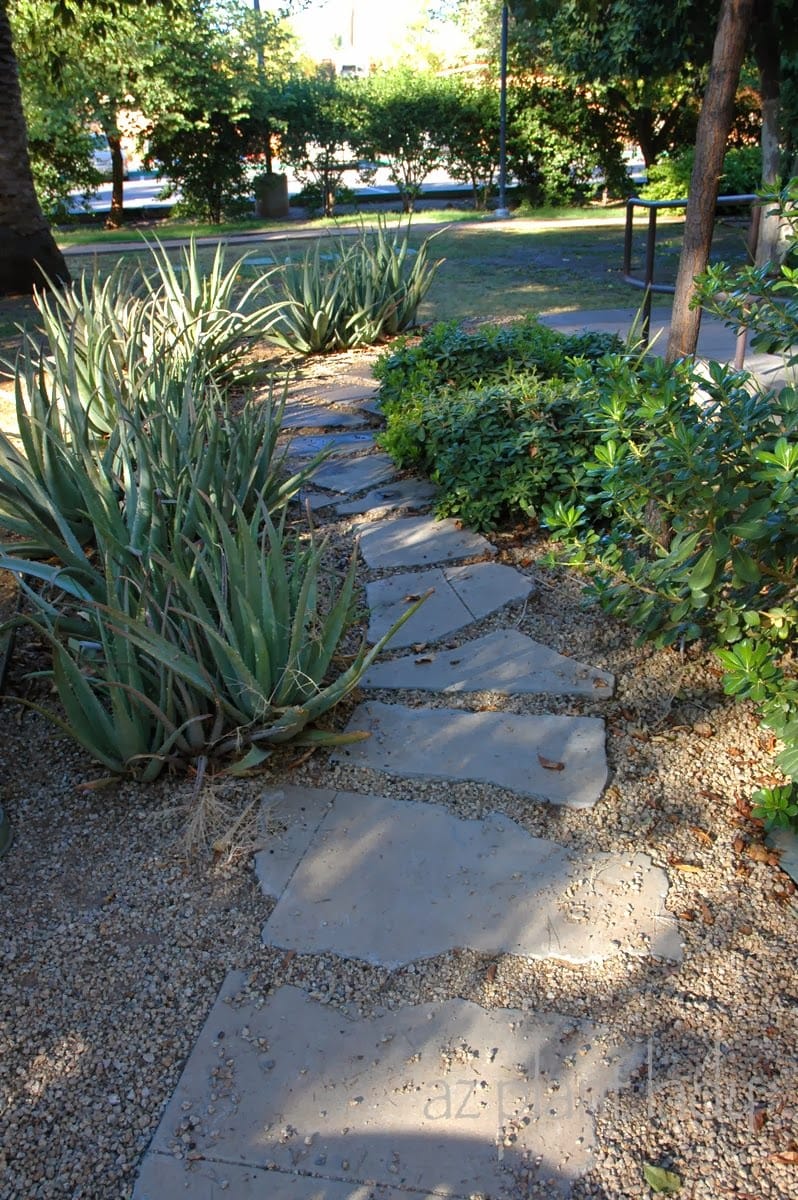
Pathway made from recycled, broken concrete

Pathway made from recycled, broken concrete.

If your landscape needs a path – instead of buying new pavers or step stones, use recycled, broken concrete.  Or use natural stone products like flagstone.

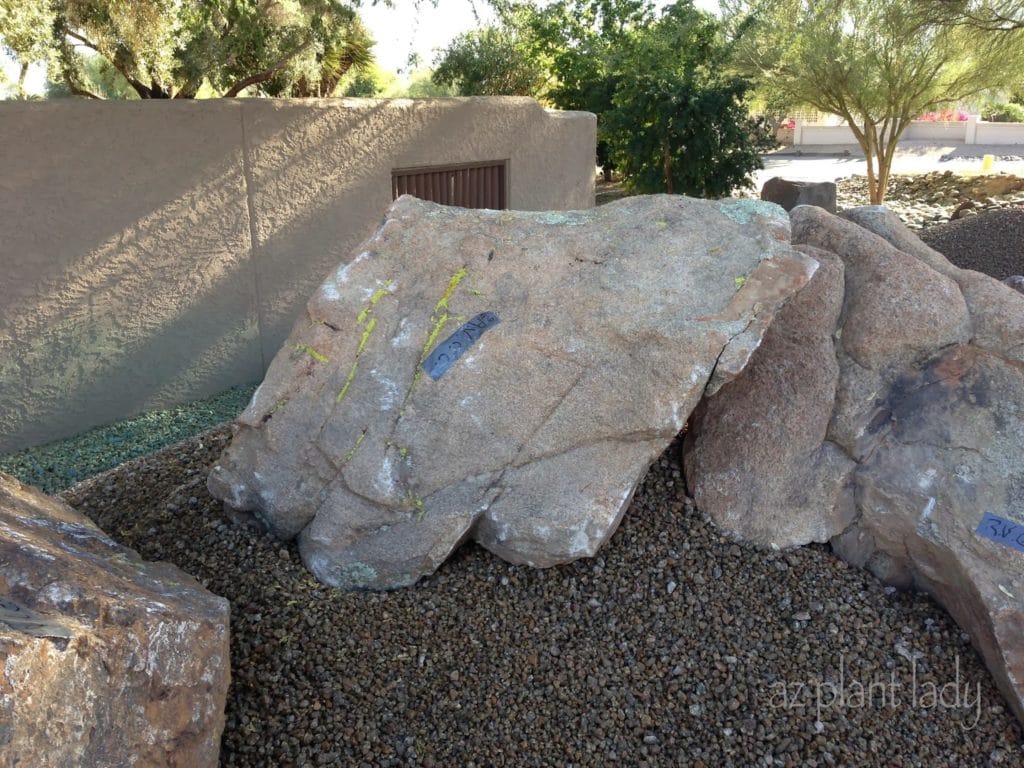
Sustainable Landscapes

It is hard to overstate how boulders can help a landscape go from ‘okay’ to ‘fabulous’.

Boulders add both height and texture without needing any water or pruning.  In addition, boulders make plants look better when they are planted alongside.

Sustainable Landscapes

Eliminate or decrease the use of pesticides.

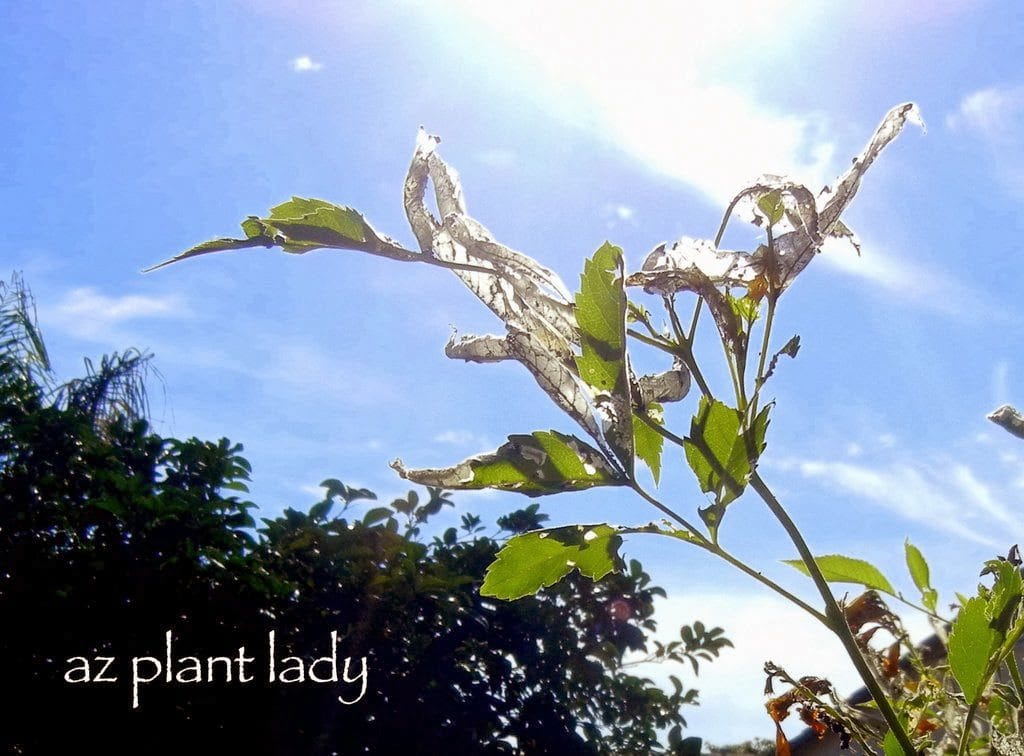
Leaf-roller caterpillar damage on Yellow Bells shrub

Leaf-roller caterpillar damage on Yellow Bells shrub.

Our first reaction when seeing insects damage on our plants is to run for the nearest pesticide in our misguided attempt to rescue our plants.

But, did you know that most plants can handle some damage from insects without any problem?

In fact, once damaging insects take up residence in our favorite plants – soon after new bugs come along that devour the bad bugs.

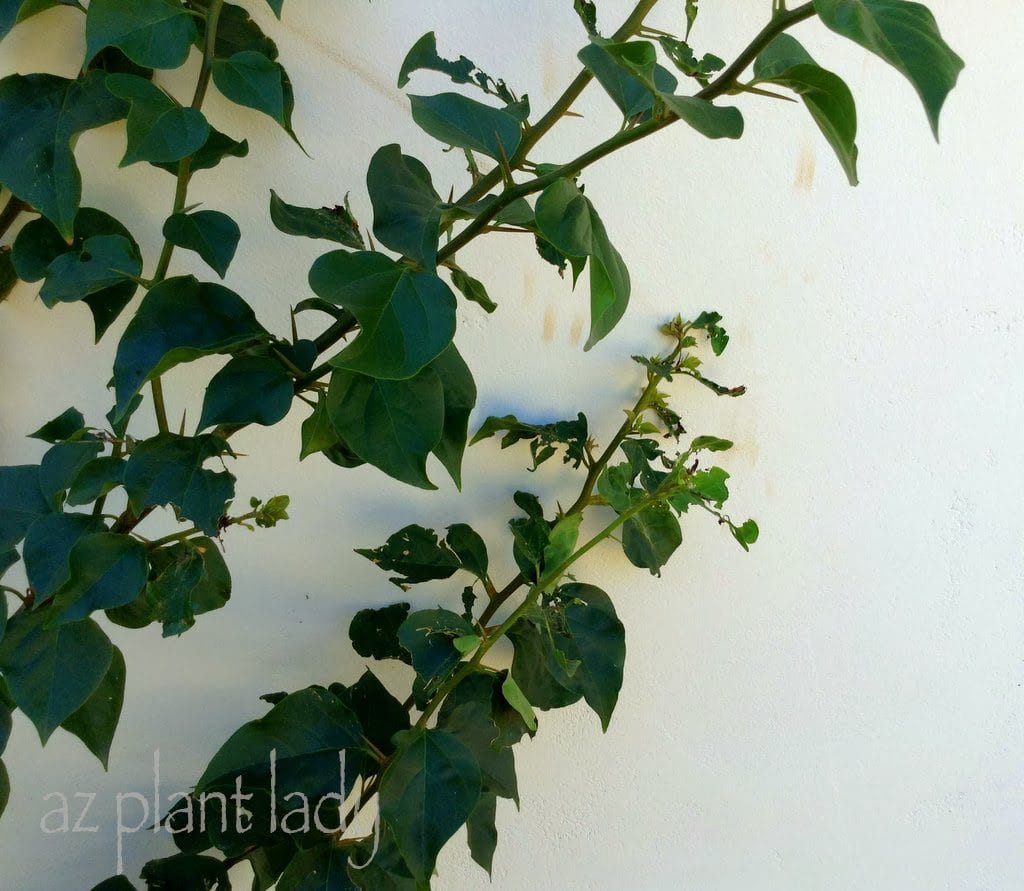
Bougainvillea Looper Caterpillar damage

Bougainvillea Looper Caterpillar damage.

If you see something is eating the leaves of your plants, you have several options that are not harmful to the environment:

– Ignore it

– Prune off the affected foliage

– Pick off the insects (or spray off with water).

– Apply an organic pesticide such as insecticidal soap or BT (Bacillus thuringiensis).

You can also help to prevent damaging insects by planting ‘companion’ plants, which bad bugs do not like.  For example, planting garlic around roses helps to keep aphids away.

********************

I hope you have enjoyed this series of posts on sustainable landscaping.  My hope is that I have helped to inspire you to make some changes to your landscape to make it more sustainable.

I’d love to hear your thoughts or any ideas that you have done in your own garden to make it more sustainable.

For a complete listing of these posts with links, click here.

Yesterday on Facebook, I showed you a photo of my latest project and encouraged you to guess what I was going to do next…

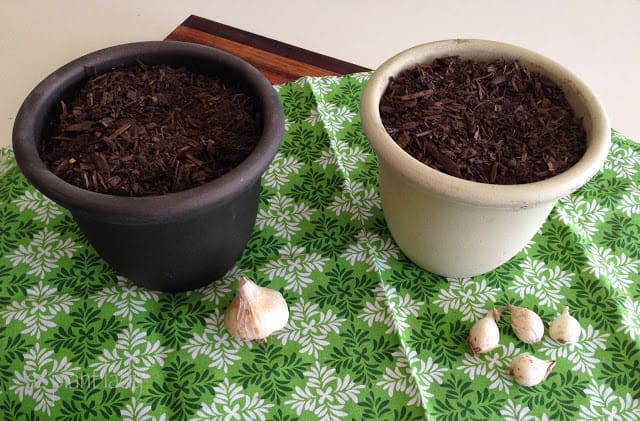
growing garlic and onions

As you can see, I have two pots filled with potting soil.  In front of the pots are a head of garlic (grown in my garden) and onion sets (not grown in my garden 😉

So, what do you think I will do with the garlic and onion sets?

Hint: I am not planning on harvesting the garlic and onions in spring.

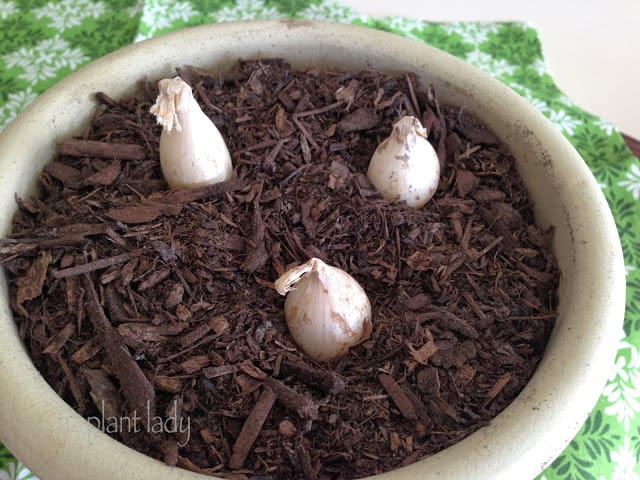
growing garlic and onions

I am growing the garlic and onions in order to use the ‘green parts’ to flavor my favorite dishes.

Garlic ‘greens’ like a mild form of garlic while onion ‘greens’ have a mild onion flavor.

You can dice them, much like you would chives and sprinkle them onto garlic bread, on salads or on your favorite Asian or Italian cuisine.

After you snip off some greens, they will grow back.

growing garlic and onions

You can grow them in pots in front of a sunny window or out in your garden.

In my zone 9a garden, I can grow them outdoors if I wanted to, but I like having some food crops growing on my kitchen windowsill in winter, where there are easily within my reach.

 basil, parsley and chives

Other food crops that I like to grow in front of my kitchen windowsill include basil, parsley and chives.

planting the garlic and onion

When planting the garlic and onion sets, be sure to plant them with the pointed side upward and then cover with 1 1/2 inches of soil.

growing garlic and onions

I like to use a regular spoon for planting small things like this.

Now all they need is some water.  *An easy to tell when to water them is to stick your finger into the soil, up to your first knuckle.  If it feels dry, then water.

Of course, you can steal out into your vegetable garden and snip off some of your onion and/or garlic greens now and then.  But, you don’t want to do that too often because these green leaves make the ‘food’ for the garlic and onions growing underneath the soil.

kitchen scraps

**Last winter, I had a real garden growing on my windowsill, using what most of us would call ‘kitchen scraps’.  You can read more about that gardening adventure here.

fresh herbs

I love growing herbs in my garden and one of the reasons is that they thrive in our hot, dry summers with minimal fuss.

I must admit that I sometimes forget to make use of my fresh herbs, or sometimes I have more than I need. Some frost-tender herbs like basil don’t grow in winter in my garden – so either I have too much in the summer and almost none at all in winter.

Well, no more! Did you know that you could freeze your fresh herbs so you could use them during the winter months?

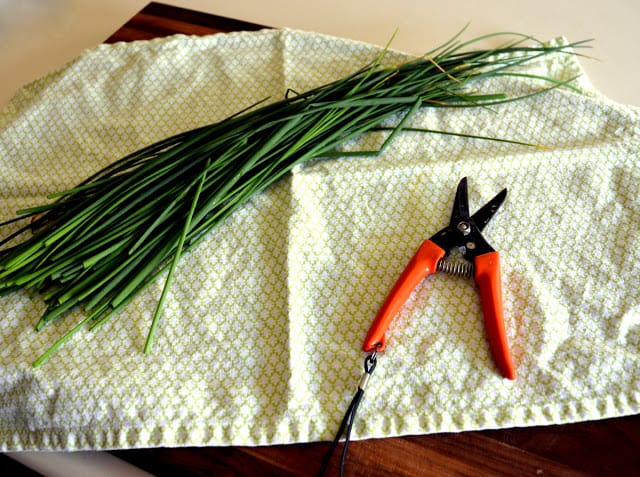
I tried this with my chives earlier this summer and it was so easy to do.

Here is how to do it:

Choose your favorite herb…

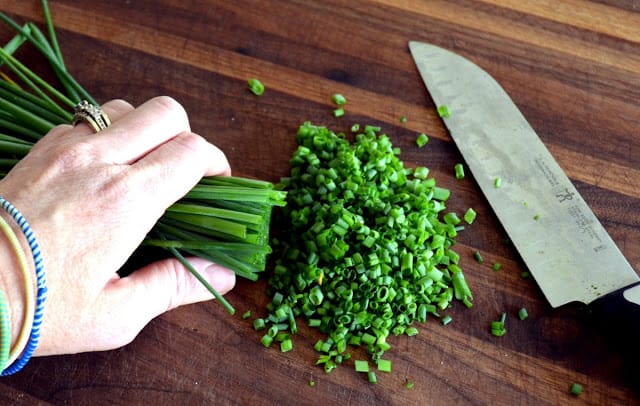
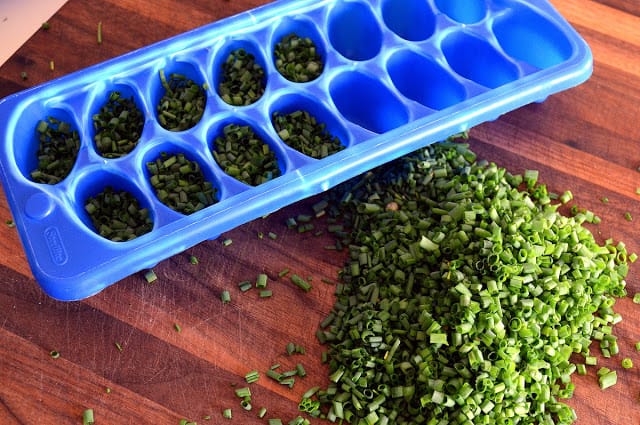
Chopping herbs

 Wash them.

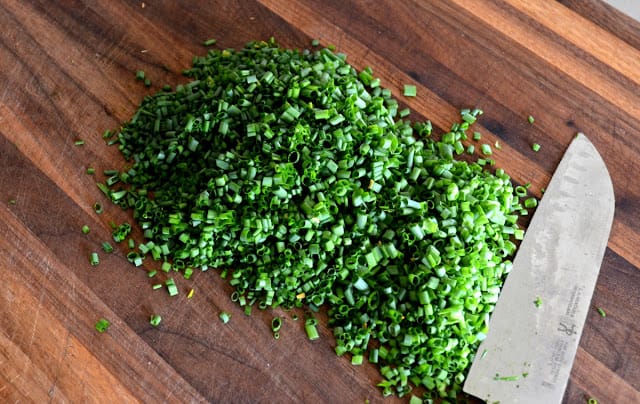
chopped herbs

Chop them into the desired size.

chopped herbs

I just love chives.

chopped herbs

Place your chopped herbs into an ice cube tray, filling up each one about 3/4 of the way full.

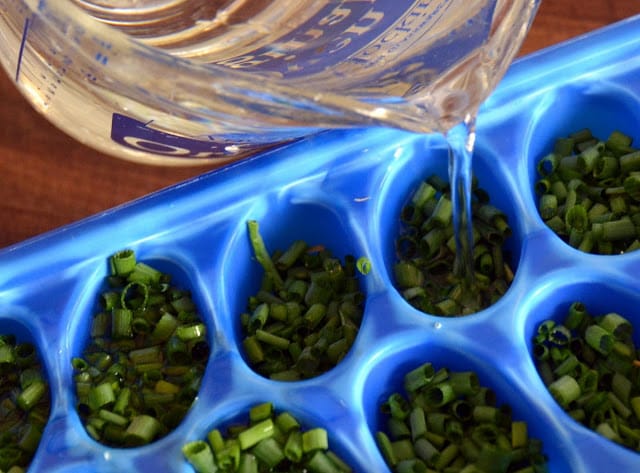
Freezing herbs

Fill up with water, taking care to allow a little room for expansion since water expands when it freezes.

Put in your freezer for a few hours.  

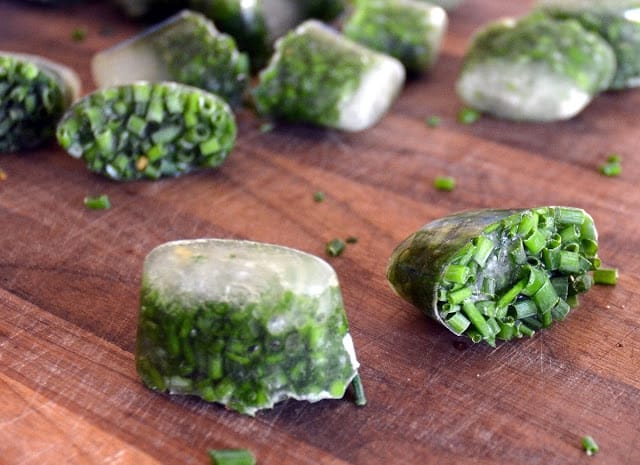
herb cubes

Freezing herbs

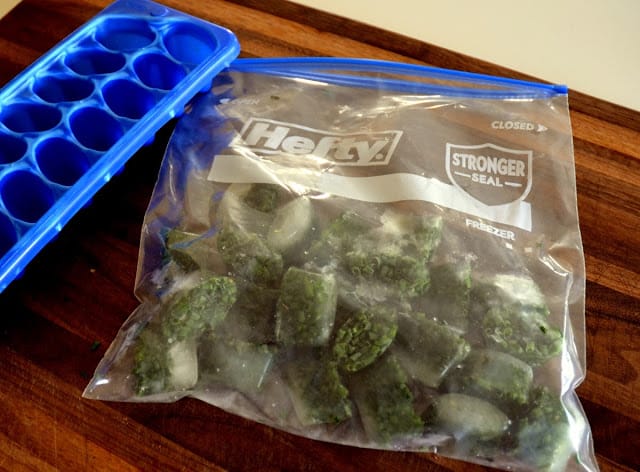
Once frozen, pop out your ‘herb cubes’ and put them in a freezer container or plastic container and store in your freezer.

herb cubes

Freezing herbs

Now, whenever you need fresh herbs when you cook, add a few ice cubes to your favorite sauce.  

**You can also freeze herbs into ice cubes using olive oil instead of water, if desired.

Another great way to preserve herbs is to dry them.I talked about how to do this in an earlier post –  “How to Grow and Dry Herbs”

I have a confession to make…

Sometimes I am a lazy gardener.  Are you shocked?  Will this revelation cause you to stop reading my blog?  

In my defense, I must say that life gets rather busy and at the end of a long day, I forgo the opportunity to do some needed garden maintenance.

However, my reluctance to perform needed maintenance has a rather beautiful benefit…

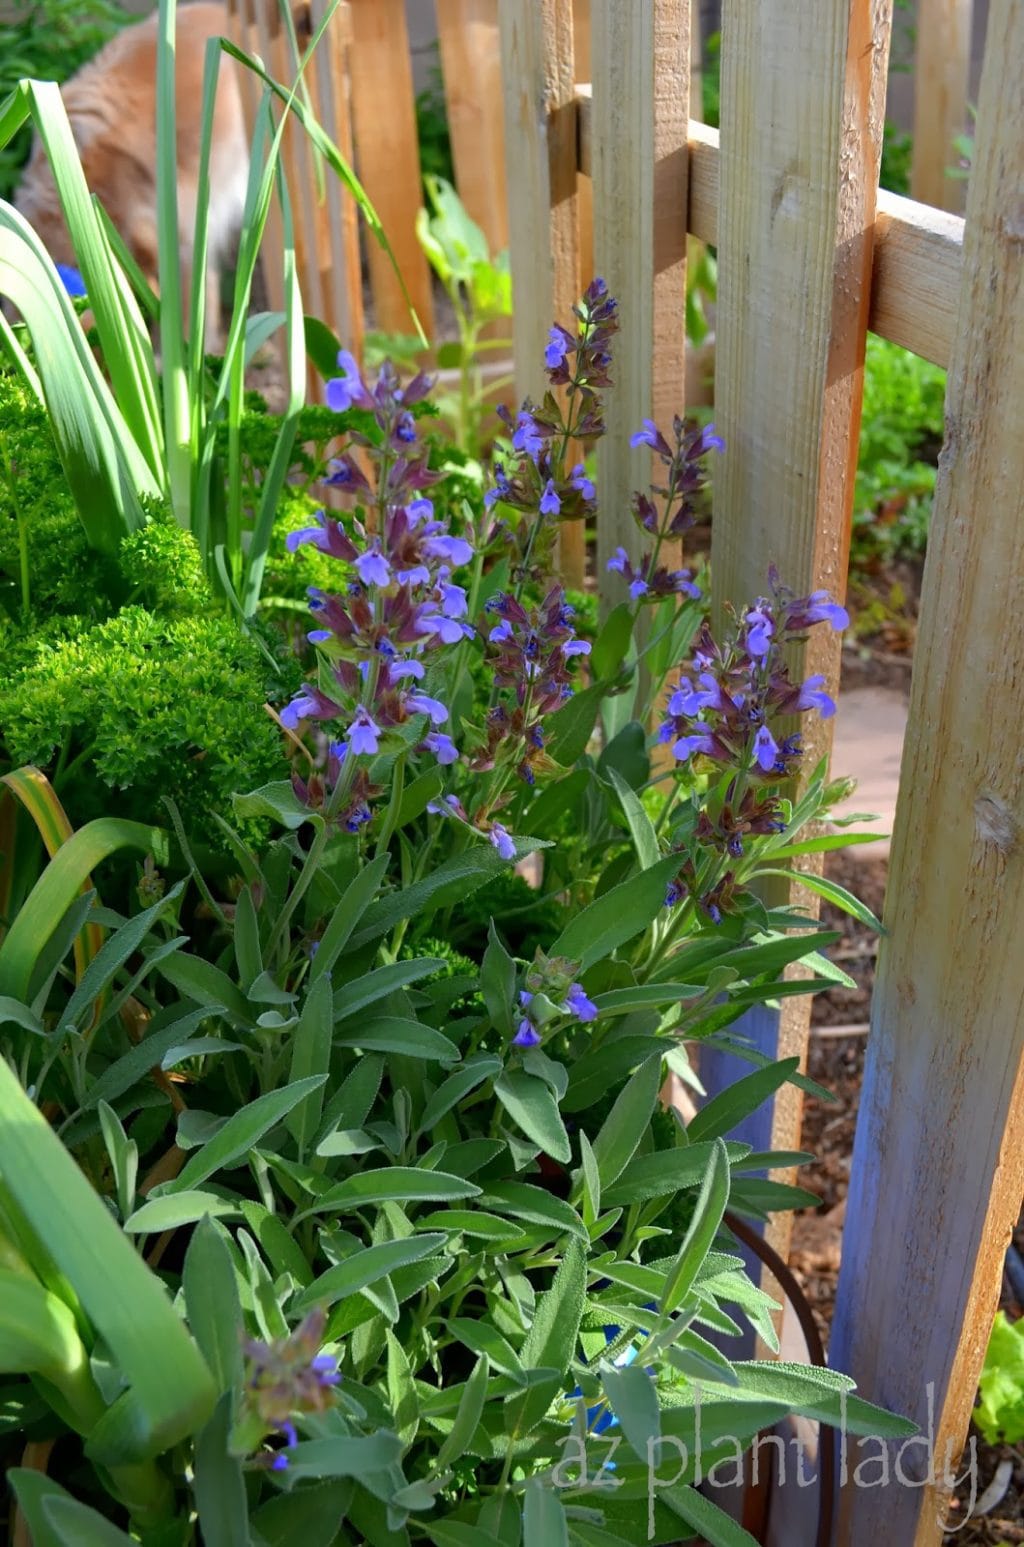
Neglected Herbs

Neglected Herbs

My herbs begin to flower in the absence of harvesting their leaves.

Now, I like growing herbs and harvest them so that I can use them both dried and fresh.

But, there are times that I don’t get out to harvest the leaves.  When herbs are allowed to grow without harvesting the leaves – they begin to flower.

My sage (above) has beautiful purple flowers, don’t you think?

Neglected Herbs

Neglected Herbs

Now, my green and purple basil plants are beginning to flower as well.

Herbs are best harvested before the begin to flower for the best taste.

So, what do you do when they start to flower?  Well, you have two options…

– You could let them flower for a couple of weeks and enjoy their beauty.

– Or you could prune them back severely and let the leaves grow back so you can harvest them.

What do you think I should do?

Garden in May

Do you ever wonder what you should be doing in your garden in a particular month?

As a freelance writer, I write a few monthly gardening articles and newsletters.

So, instead of writing an entirely new blog post, here is my latest “What To Do In The Garden” article for the Southwest that I wrote for Houzz.com

(I hope you don’t think I am lazy, but I would rather not write the same thing twice 😉

Southwest Gardener’s May Checklist