Tag Archive for: Oregano

Do you like to use fresh herbs when you cook?

What if you could just step outside your door and snip some herbs without having to go to the store? 

Have you seen how expensive fresh herbs are at the supermarket by the way? And, who wants floppy herbs when they can have fresh ones?

I am often asked whether it is easy to grow herbs in the desert garden and I always answer, “yes!”

container herb garden

Herbs come from mostly arid regions and so they flourish in our climate. They also like the sun, which we have plenty of.

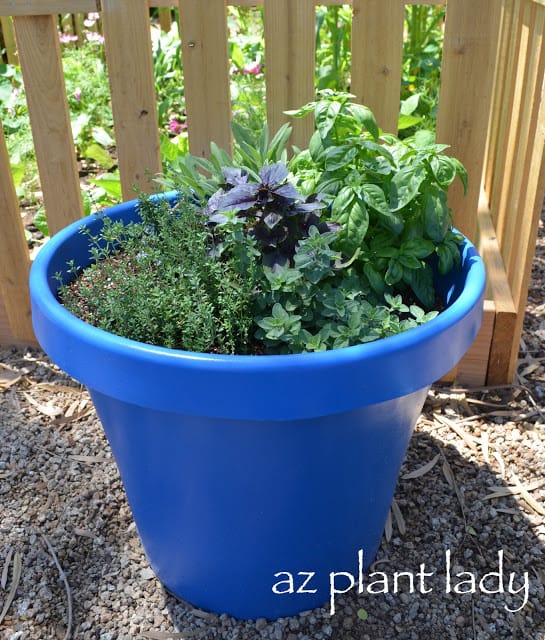
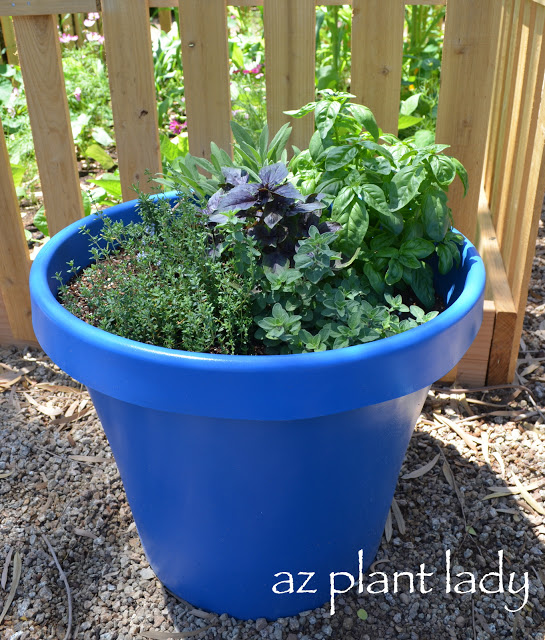
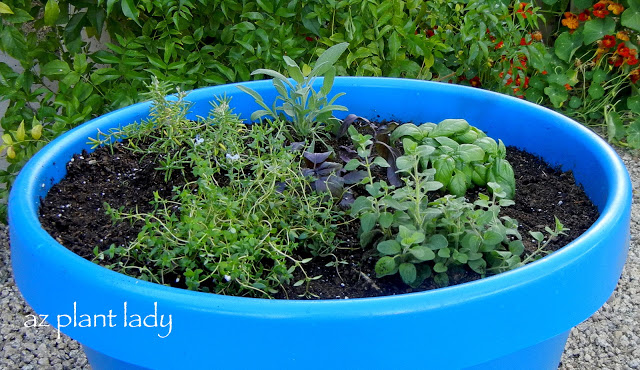
One of my favorite ways to grow herbs in containers. In fact, they do extremely well in pots – especially when planted together. Imagine having a variety of herbs growing in a container near your kitchen door.

It’s easy to do and here is how:

1. Place your container in an area that receives at least 6 hours of sun.
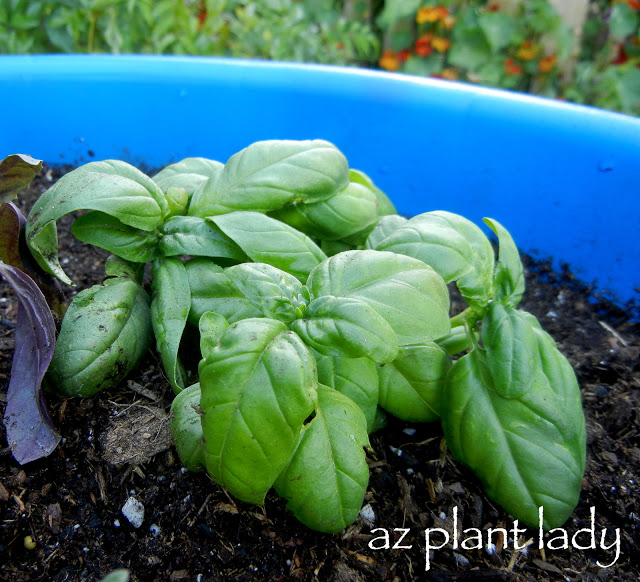
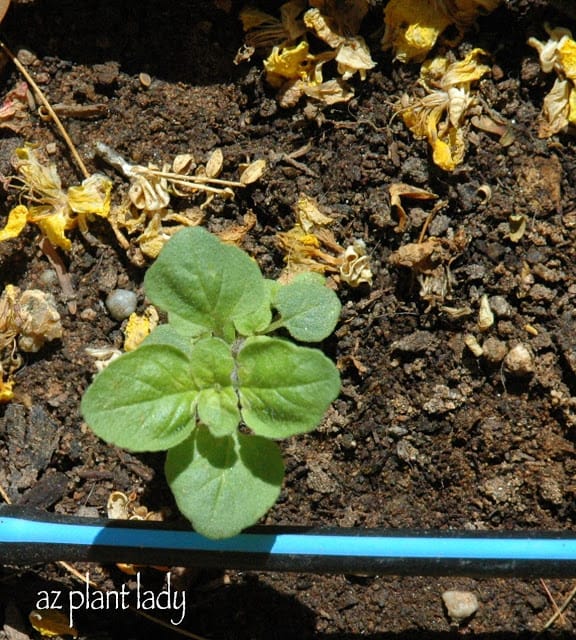
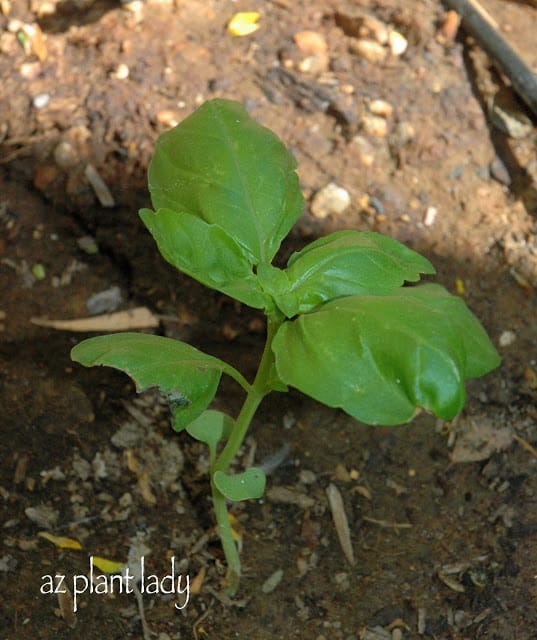
Basil, container herb garden

Basil

2.  Fill your container with planting mix, which is sterile, has a light texture and is specially formulated for container plants.  It retains just the right amount of moisture for plants. Potting soil can become soggy.

3. Add a slow-release fertilizer, such as Osmocote, and work it into the top 2-inches of soil.
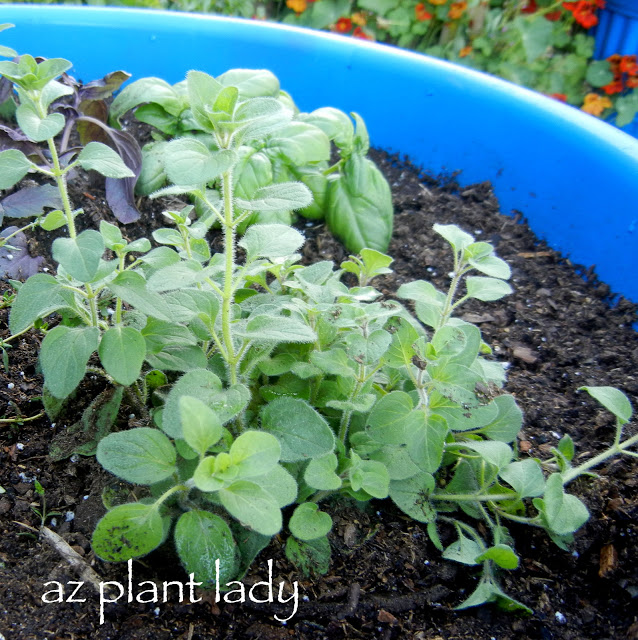
Oregano

Oregano

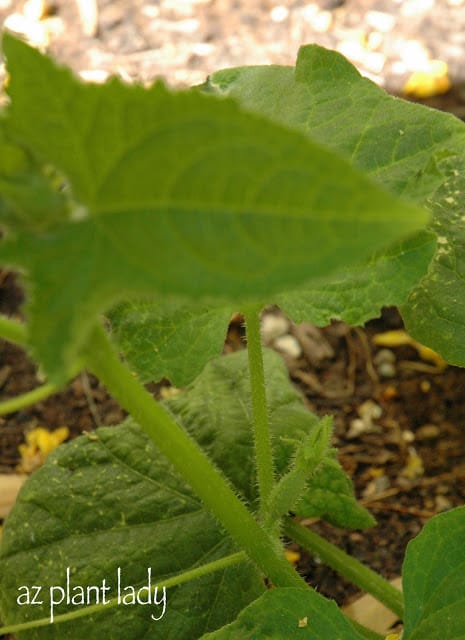
4. Plant your herbs. Oregano, rosemary, sage, and thyme are easiest to grow when you start out with transplants. Basil grows easily from seed, but can you also use transplants?
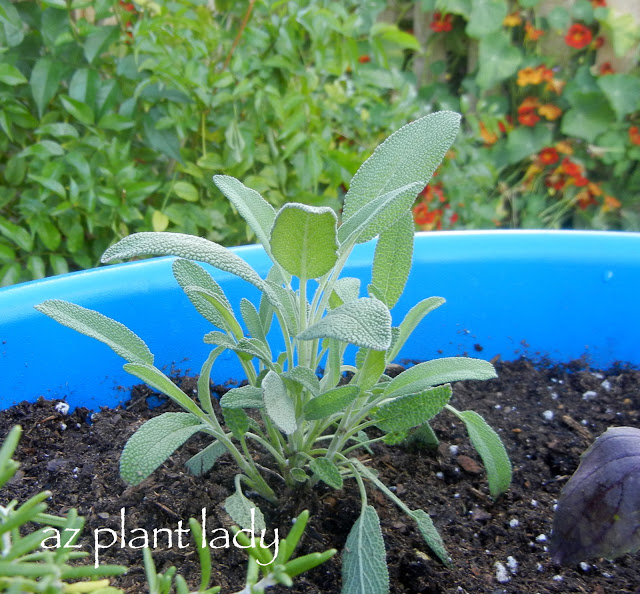
Sage

Sage

5. Water deeply. Do not wet the foliage when you water them as they prefer to stay dry.
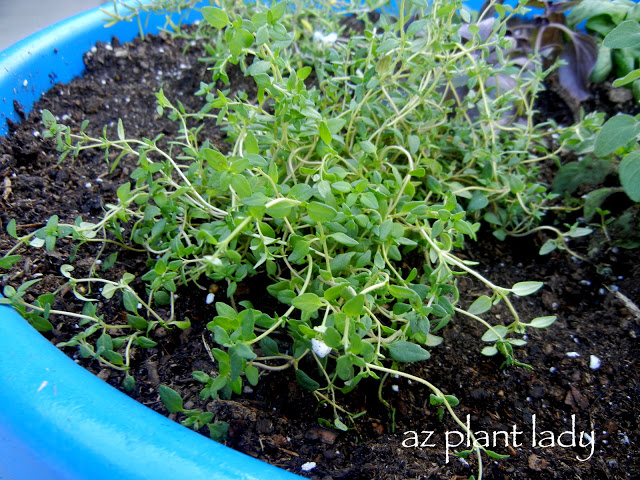
Thyme

Thyme

6. Herbs like to dry out between watering. To check when they need water, simply stick your finger down to 1-inch deep – if the soil is moist, don’t water. However, if it’s almost dry, then water deeply until water runs out the bottom drainage hole.

container herb garden

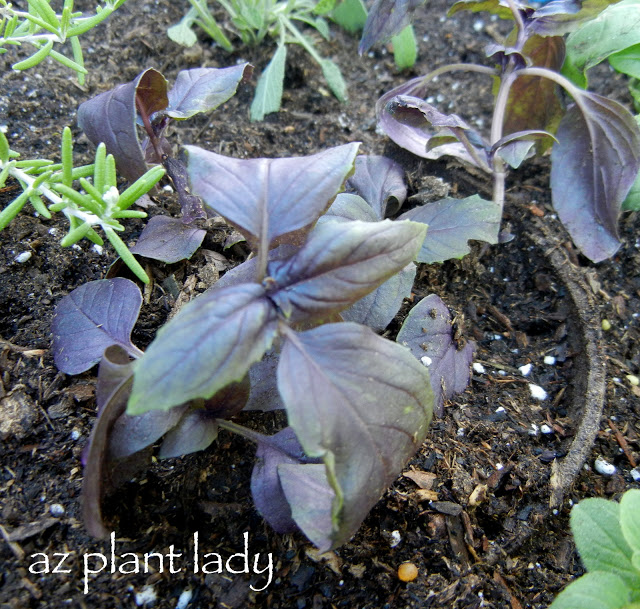
Purple Basil (Not the healthiest specimen, but it was the only one they had – it was over-watered at the nursery).

7.  Don’t add any additional fertilizer after planting.  Herbs don’t like extra fertilizer since it causes them to grow larger leaves with fewer oils, which is what gives them their flavor.

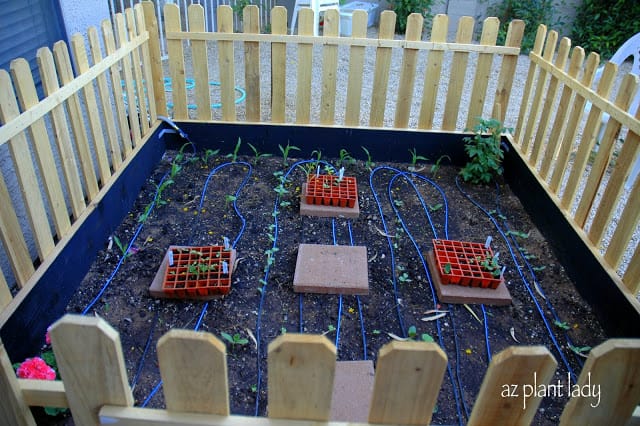
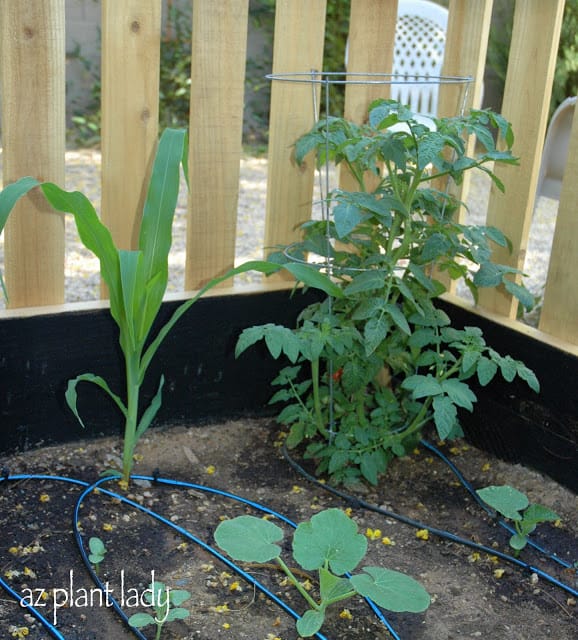
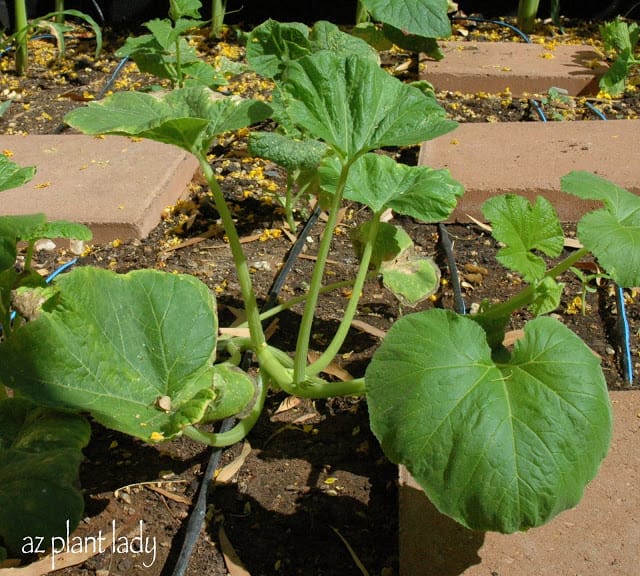
I like to place my herbs near my vegetable garden.

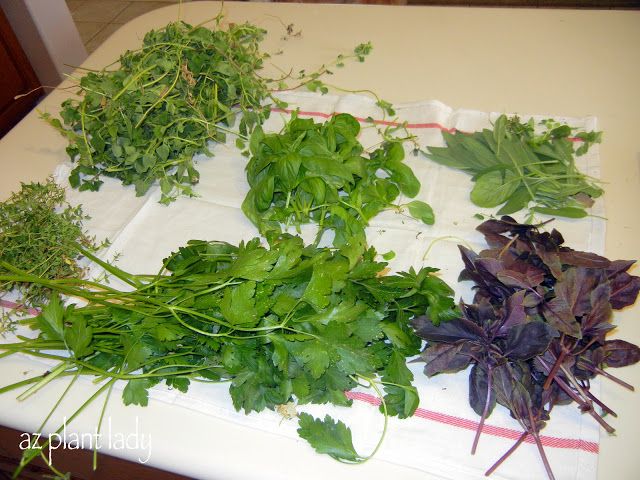
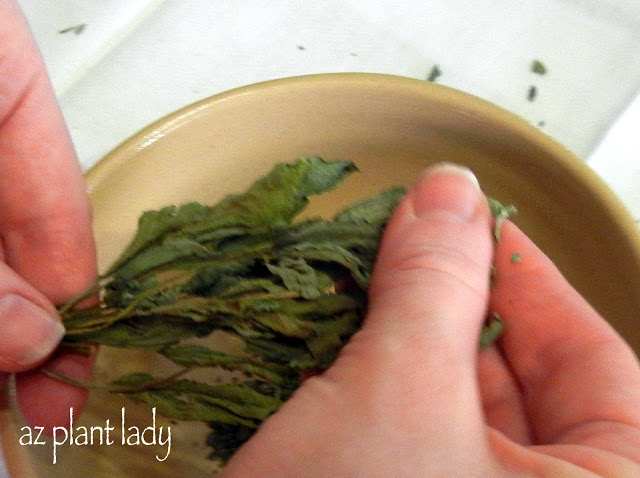
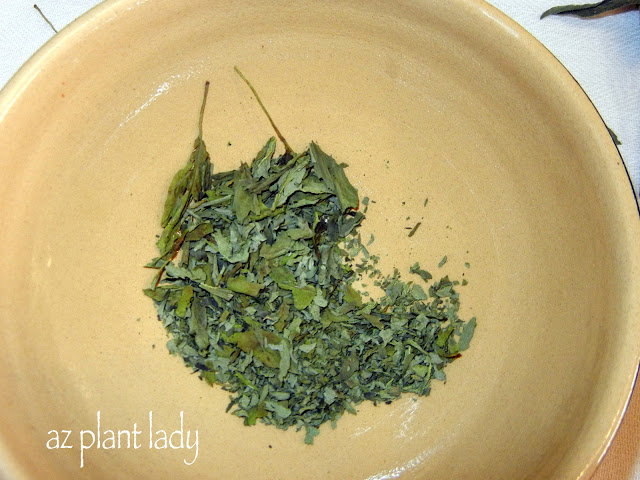
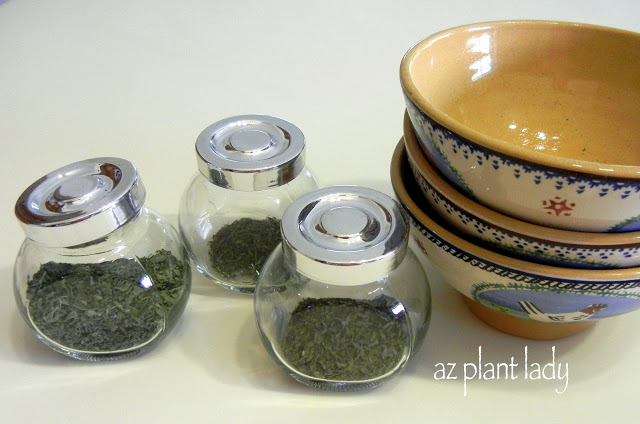
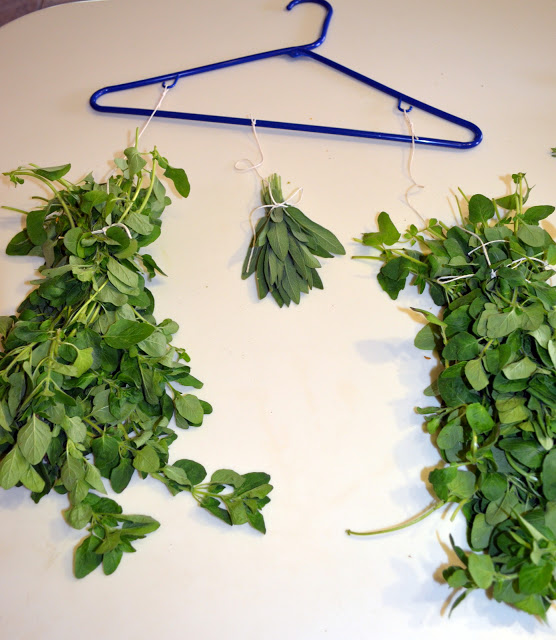
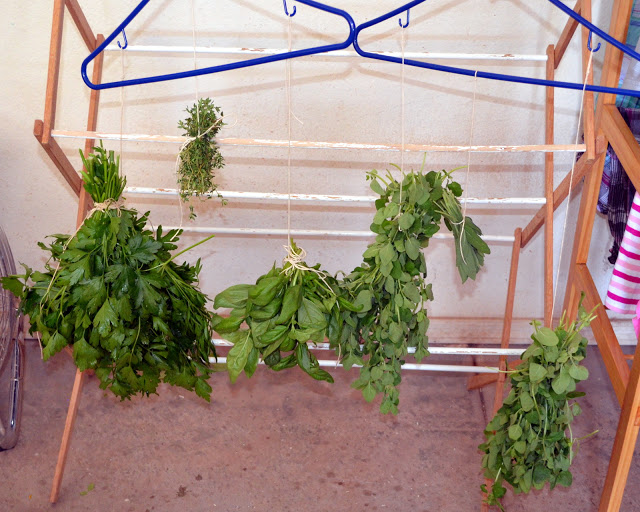
Here in the desert, we can grow herbs all year long. However, I do like to dry herbs like basil, which don’t live through our winters.

I encourage you to dip your toes into growing your own herbs. You can find transplants at your favorite nursery, so find a sunny spot and get started!

Click below for my container gardening tips…

Creative Container Gardening Tips

If someone asked you what your favorite food was, what would you tell them?

My daughter, Gracie, would answer by saying “anything chocolate”.

My husband would say “pizza”.

But my favorite food is a warm slice of sourdough bread with melted butter.  My idea of heaven is being surrounded with loaves of French bread and plenty of Irish butter without the carbs or calories 😉

Because I like to make things using produce from my garden, I decided to try making herb butter using the herbs that I grew and dried earlier this summer.

heavy whipping cream

Just for fun, I decided to make my own butter using some leftover heavy whipping cream (did you know that if you beat heavy whipping cream long enough that you will get butter)?

When we were kids, my mom would teach us how to make butter this way using her antique butter churn.  It was a lot of work, but it was fun.

Most of the time, I just use regular butter to make herb butter.

making your own herb butter

I beat the whip cream until it became thick and continued until it looked like this…

making your own herb butter

Your butter will start to solidify with a little buttermilk liquid left.

making your own herb butter

Drain the buttermilk and you are left with butter!  You can salt it to your taste at this point.

1. You will need a 1/2 cup of softened butter. (Store bought works just as well as butter you made yourself).

2. Add a 1/2 teaspoon of your favorite herb.  Dried basil, chives, dill, oregano, rosemary, sage or thyme work well for herb butter.  You can also use a 1/2 teaspoon of poultry or Italian seasoning instead if you like.

3. I also added 2 cloves of minced garlic, also from my garden, to the herb butter.

4. Mix it all together using a rubber spatula.

making your own herb butter

5. Place your butter mixture onto wax paper and begin to form it into a roll by folding over the wax paper and using your hands to mold the herb butter.

making your own herb butter

6. Twist the ends of the wax paper and place your herb butter into a plastic freezer bag.

preserve

7. Freeze until 2 hours before using.  You don’t have to use it all at once.  Simply cut off a few sections at a time.

You can freeze herb butter up to 6 months.

So, get started now and preserve the taste of your summer herbs by making your own herb butter.

Make some for yourself and give some away to friends.

I must say, that I was going to take a picture of my herb butter melting over a hot slice of sourdough bread.

But, I ate it before I remembered to take the picture…

**You can use your own herbs that you have dried or you can use herbs from the grocery store.

To learn how to dry herbs, check out my earlier post – “How to Grow and Dry Your Own Herbs”

What herb(s) would you add to herb butter?

fresh herbs

I love growing herbs in my garden and one of the reasons is that they thrive in our hot, dry summers with minimal fuss.

I must admit that I sometimes forget to make use of my fresh herbs, or sometimes I have more than I need. Some frost-tender herbs like basil don’t grow in winter in my garden – so either I have too much in the summer and almost none at all in winter.

Well, no more! Did you know that you could freeze your fresh herbs so you could use them during the winter months?

I tried this with my chives earlier this summer and it was so easy to do.

Here is how to do it:

Choose your favorite herb…

Chopping herbs

 Wash them.

chopped herbs

Chop them into the desired size.

chopped herbs

I just love chives.

chopped herbs

Place your chopped herbs into an ice cube tray, filling up each one about 3/4 of the way full.

Freezing herbs

Fill up with water, taking care to allow a little room for expansion since water expands when it freezes.

Put in your freezer for a few hours.  

herb cubes

Freezing herbs

Once frozen, pop out your ‘herb cubes’ and put them in a freezer container or plastic container and store in your freezer.

herb cubes

Freezing herbs

Now, whenever you need fresh herbs when you cook, add a few ice cubes to your favorite sauce.  

**You can also freeze herbs into ice cubes using olive oil instead of water, if desired.

Another great way to preserve herbs is to dry them.I talked about how to do this in an earlier post –  “How to Grow and Dry Herbs”

I’m sure you all have been waiting with baited breath for the second installment of how to grow and dry your own herbs….I know I have 😉

Oregano, Basil, Sage, Purple Basil, Parsley and Thyme.

Clockwise from top left – Oregano, Basil, Sage, Purple Basil, Parsley and Thyme.

Last time we talked about how to harvest and dry your herbsThe process is so easy – the ‘air’ does most of the work for you.

Once your herbs are nice and dry, it’s time to get the herbs ready for their containers.

dry your herbs

Now, I will be the first to admit that dried herbs aren’t all that pretty.

dry your herbs

Even though they aren’t all that attractive at this point, they are full of concentrated flavors that will help you create delicious food.

I bought inexpensive glass jars at IKEA for a $1 each in which to store my dried herbs.

jar

Now it is time to get the dried leaves off, without the stems.

dry your herbs

I found the easiest way to do this was to simply press the leaves between my fingers.  They came off easily, without too many stems falling in.

dry your herbs

The few stems that fell in, were easy to pick out.  I then used my fingers to grind up my herbs to the desired size…

dry your herbs

All there is to do at this point is to pour the herbs into my glass jars…

Jars of Oregano, Thyme and Oregano

Jars of Oregano, Thyme and Oregano

My homegrown dried herbs are ready to use right away.  They also make great gifts.

Dried herbs should be stored in a dark, dry place (pantry or cupboard) and taste best when used within 6 months.  

*******************************

I hope your week is off to a good start.

I had two consults last week, which went very well.  In the summer, I don’t do too many consults because many people don’t want to spend a lot of time in the garden in the heat.  I actually enjoy this time of year because it is a bit of a break for me 🙂     

Do you love using herbs when you cook?  I do – especially basil and oregano. I also appreciate how easy they are to grow. 

How to Grow and Dry Your Own Herbs

I grow basil, oregano, rosemary, sage and thyme in my garden.  To be honest, I don’t use a lot of fresh herbs and I really should.  I tend to use dried herbs instead.

While I do like to use dried herbs when I cook – I don’t like to pay $3+ dollars for a tiny container.  So, instead of buying dried herbs
at the grocery store – I make my own.  

It is very easy to dry herbs and they make great and inexpensive gifts. Herbs are best when they are air-dried – which is the method that retains their flavor best.

Here is how I do it:

How to Grow and Dry Your Own Herbs

– I harvest my herbs, usually before they flower, for best flavor. In my herb container, there is basil, dill, oregano, rosemary, sage and thyme growing.    

– Pick your herbs in the morning and wash and dry them.  Discard any discolored leaves.  

– Using string or twine, tie your herbs into small bundles (this is especially important for basil, which as lots of moisture in its leaves).  Wrap the string a few times around each bundle to keep them from falling out as they dry.

dry herbs

Bundles of Oregano

Tie each bundle to a coat hanger.

dry herbs

Bundles of Oregano and Sage

Herbs need to hung indoors to dry.  Hang them in an area out of the sun in an area with good air circulation – I used our garage.  

dry herbs

You can hang them from a clothes rack that you use for drying your clothes, or you can tie them from almost anything.  Laying herbs on paper towels and placing them by a de-humidifier to dry is another method to dry herbs.

**To protect your herbs from dust, you can place paper lunch bags over each bundle – to do this make a hole in the bottom of each lunch bag and thread the cotton string through it before attaching the string to whatever you are hanging your herbs from.  It is okay if the herbs stick out the bottom of the bag – it’s the top which need protection from dust.

Depending on where you live, drying herbs can take as little as a week in a dry climate up to 4 weeks in more humid climates.

Come back for “Part Two” to see how I how to crush and store dried herbs.

*If you are interested in growing herbs, learn how I planted my herb container here.

Well, I have to admit, that in the past, I did not truly understand the allure of vegetable gardening.  Sure, I had to grow my own plot of vegetables in college for my horticulture class – but that was for a grade.  I also dutifully helped people create their own gardens, but I never had one for myself.  

That was then, and this is now….I am completely hooked on vegetable gardening!  Each morning, I go out to see how my plants are doing and the kids hurry home for school and check to see if there have been any changes.  Their favorite thing to do is to find the newly ripened cherry tomatoes to eat – they never make it to our salads.

vegetable gardening

Vegetable gardening

I just love this view outside of my family room window.  I can see the tops of my corn just over the fence and my flowering Palo Verde in the background.  The Palo Verde flowers are providing a nice layer of mulch for my garden.

At first, it seemed like it was taking a long time for my small plants to begin growing.  I celebrated each time a tiny seedling germinated, but it seemed to take a while for them to really get going.  But, that is probably because I was watching them so closely every day, which reminds me of the saying “A watched pot never boils.” 

That is where pictures help to provide a healthy dose of reality for me.  Below, is a picture I took of our little garden, just two weeks after planting from seed….

vegetable gardening

Vegetable gardening

*The transplants in the seed trays were for an upcoming service project and I also gave some to my mother for her garden.

Now, I know that I did not organize my plantings very well and probably have done quite a few things wrong, but that is what is fun about gardening.  You can learn so much just by doing.  For example, you should have three rows of corn in order for them to pollinate each other.  Since I do not have that much corn, I will have the kids help with the pollination, so they can learn even more about how things grow.

That is where pictures help to provide a healthy dose of reality for me.  Below, is a picture I took of our little garden, just two weeks after planting from seed….

vegetable gardening

*The transplants in the seed trays were for an upcoming service project and I also gave some to my mother for her garden.

Now, I know that I did not organize my plantings very well and probably have done quite a few things wrong, but that is what is fun about gardening.  You can learn so much just by doing.  For example, you should have three rows of corn in order for them to pollinate each other.  Since I do not have that much corn, I will have the kids help with the pollination, so they can learn even more about how things grow.

Below is a picture taken two weeks ago of my tomato plant in the right back corner and there is such a difference.

vegetable gardening

You can see above my tomato plant has grown quite a bit in just four weeks and I have pumpkin growing in the foreground ( I realize that we sowed the pumpkin seedlings too early and will probably have pumpkins this summer, but the kids were so excited to grow some right now).

Now, come see the garden at just six weeks after sowing the seeds.  I must admit, that I am a little bit proud of our garden 🙂

vegetable gardening

The corn is now taller then the fence and I can see the corn flower starting to emerge.  

vegetable gardening

Our single tomato plant is growing so beautifully and produces quite a few tomatoes for us.  I will be planting a lot more tomato plants next time – maybe give each of the kids their own plant.

vegetable gardening

Our climate is ideal for growing watermelon and I cannot wait to see the flowers start to appear on our watermelon plants.

watermelon

The  flowers are starting to appear on our cucumber plants.

cucumber

I love the large leaves of the pumpkin plant.

pumpkin

My tiny oregano plant is starting to look more like a little plant then just a couple of leaves.  *This is a macro-view and the plant is actually still quite small.

oregano plant

You can tell that I have already started to use some of my basil 🙂

basil

My sunflowers are starting to grow tall.

And I can see that flowers are almost ready to appear….

sunflowers

Some years, it seems that we go straight from winter into summer and skip over spring.  But this year, we have had a lovely spring, but now that temperatures are climbing into the 90’s, I have covered some of the garden in shade cloth (the corn are too tall and do not require shade).  This helps to protect the leaves and vegetables from becoming sunburned.  

My daughter, Ruthie, is so proud of our little garden and made me a sign for the garden for Mother’s Day.  She cut it out of wood (with her dad’s help) and painted it for me.

our garden

Thank you so much for letting me show you how our garden is growing.

I will post another update soon, probably as soon as I see some flowers.

Have a great day!