Tag Archive for: sage

Do you like to use fresh herbs when you cook?

What if you could just step outside your door and snip some herbs without having to go to the store? 

Have you seen how expensive fresh herbs are at the supermarket by the way? And, who wants floppy herbs when they can have fresh ones?

I am often asked whether it is easy to grow herbs in the desert garden and I always answer, “yes!”
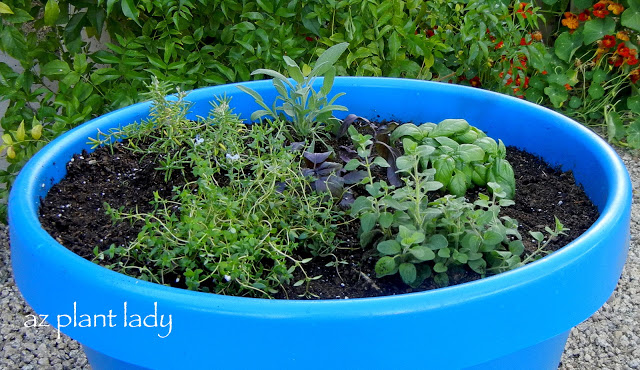
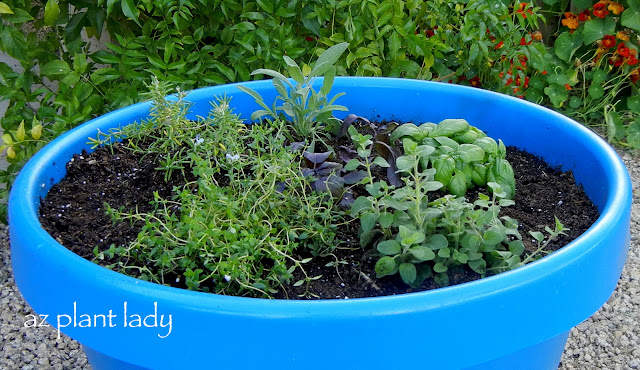
container herb garden

Herbs come from mostly arid regions and so they flourish in our climate. They also like the sun, which we have plenty of.

One of my favorite ways to grow herbs in containers. In fact, they do extremely well in pots – especially when planted together. Imagine having a variety of herbs growing in a container near your kitchen door.

It’s easy to do and here is how:

1. Place your container in an area that receives at least 6 hours of sun.
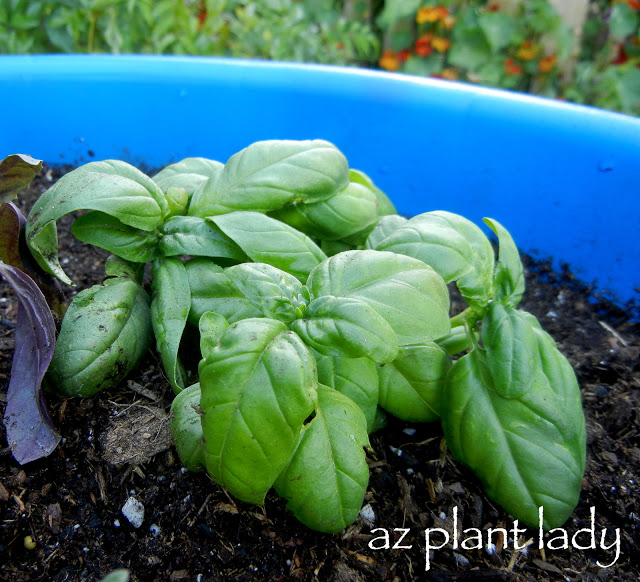
Basil, container herb garden

Basil

2.  Fill your container with planting mix, which is sterile, has a light texture and is specially formulated for container plants.  It retains just the right amount of moisture for plants. Potting soil can become soggy.

3. Add a slow-release fertilizer, such as Osmocote, and work it into the top 2-inches of soil.
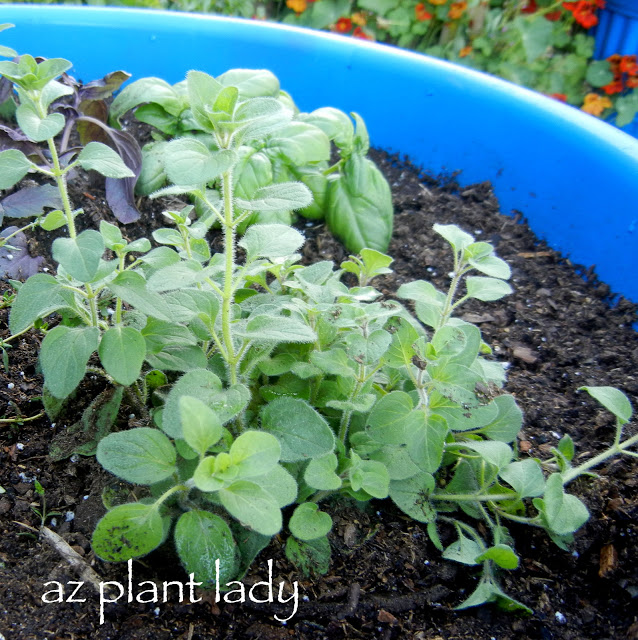
Oregano

Oregano

4. Plant your herbs. Oregano, rosemary, sage, and thyme are easiest to grow when you start out with transplants. Basil grows easily from seed, but can you also use transplants?
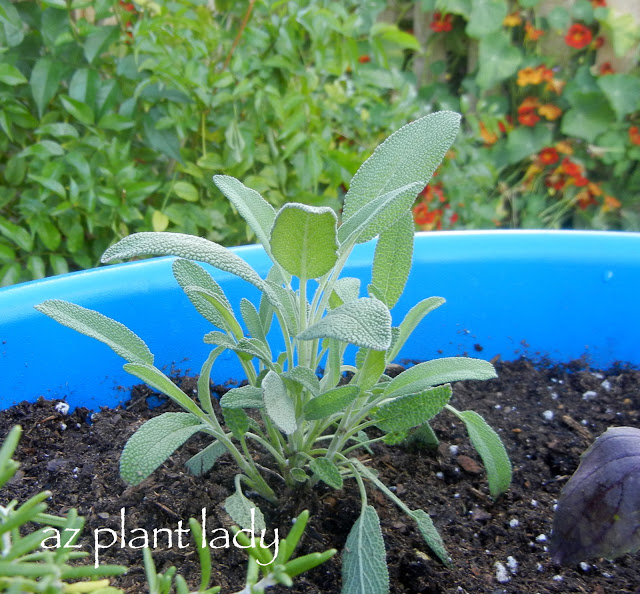
Sage

Sage

5. Water deeply. Do not wet the foliage when you water them as they prefer to stay dry.
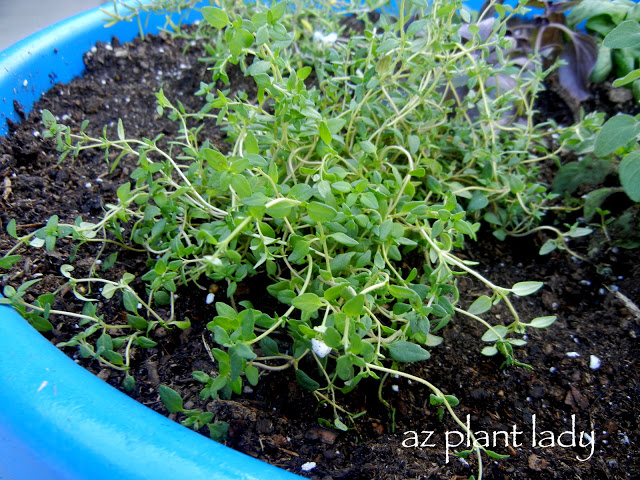
Thyme

Thyme

6. Herbs like to dry out between watering. To check when they need water, simply stick your finger down to 1-inch deep – if the soil is moist, don’t water. However, if it’s almost dry, then water deeply until water runs out the bottom drainage hole.
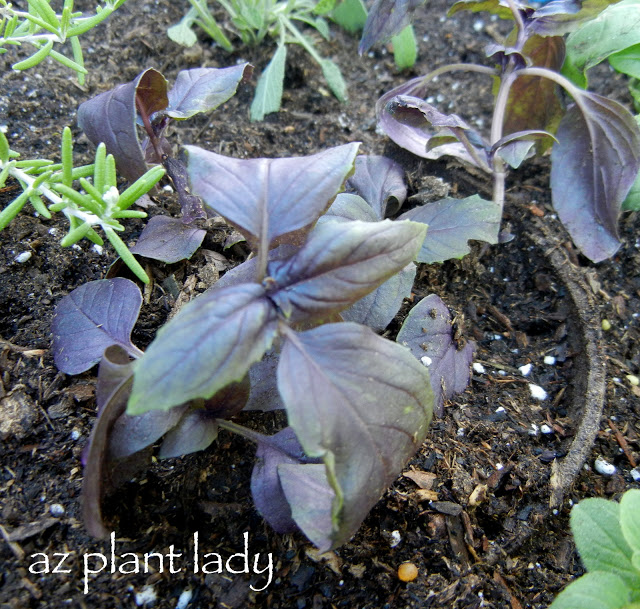
container herb garden

Purple Basil (Not the healthiest specimen, but it was the only one they had – it was over-watered at the nursery).

7.  Don’t add any additional fertilizer after planting.  Herbs don’t like extra fertilizer since it causes them to grow larger leaves with fewer oils, which is what gives them their flavor.

I like to place my herbs near my vegetable garden.

Here in the desert, we can grow herbs all year long. However, I do like to dry herbs like basil, which don’t live through our winters.

I encourage you to dip your toes into growing your own herbs. You can find transplants at your favorite nursery, so find a sunny spot and get started!

Click below for my container gardening tips…

Creative Container Gardening Tips

Many of us are familiar with how over-pruning can take away much of the beauty of flowering shrubs and contribute to their early death.

But, have you ever wondered what they look like on the inside?

I found this ‘ugly’ example alongside the drive-thru of Taco Bell.

Over Pruned Shrubs

Over Pruned Shrubs

It isn’t pretty, is it?

The side of the ‘Green Cloud’ Texas Sage was sheared away because it was growing over the curb.

The result of planting the shrub too close, OR the wrong plant in the bad space.

You can see the thin layer of leaves that cover the shrub and the dark, interior where sunlight seldom reaches.

This isn’t healthy for your shrubs, shortens their lifespan, and increases the amount of water they require.

If this resembles your shrub(s), the good news is that you can often fix them.

Over Pruned Shrubs

Imagine going from the shrub on the left to the one on the right.

It is possible and often a specific type of pruning known as ‘rejuvenation pruning’ is the way to do this.

In my online shrub pruning workshop, I love teaching my students how to rejuvenate their over-pruned shrubs.

It’s important to note that not all shrubs respond to rejuvenation pruning, but Cassia (Senna species), Sage (Leucophyllum species), Ruellia, Fairy Duster (Calliandra species), and Lantana shrubs respond well as long as they aren’t too old and healthy.

I encourage you to declare your landscape free of shrubs pruned into balls, cupcakes, and squares and transform it into one filled with beauty 🙂

I am always on the lookout for new things to make from the garden.

Recently I learned how to make specially flavored salts using herbs from my garden.  ‘Herb salts’ have become a popular flavoring tool in the culinary community and they are very easy to make.

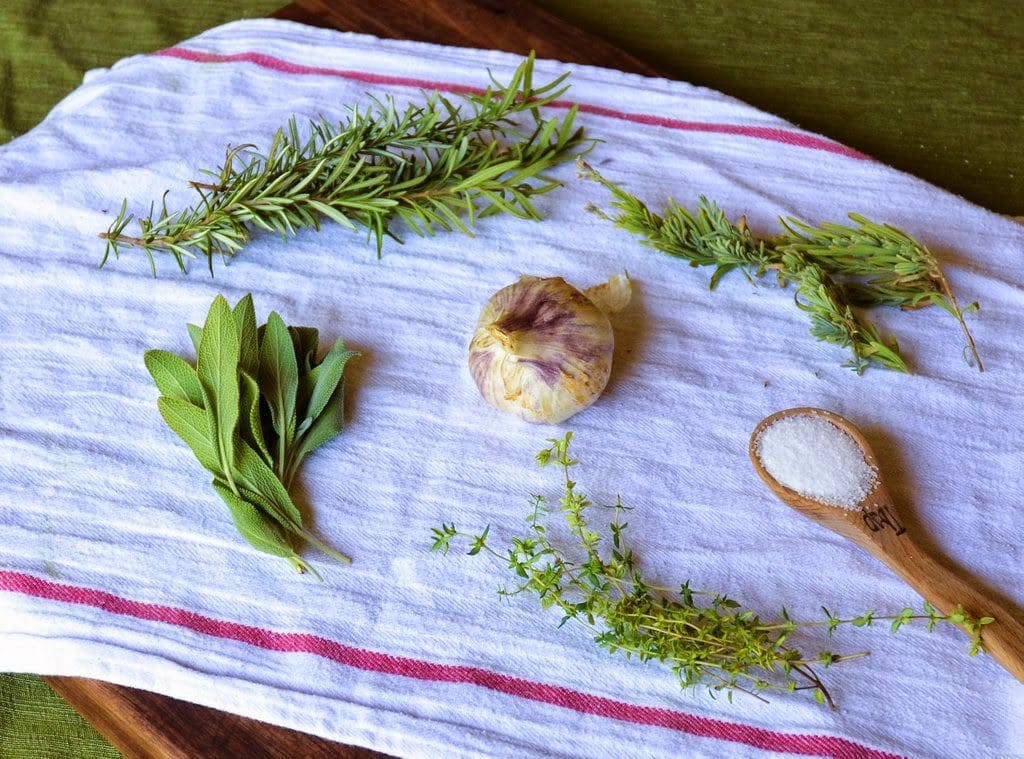
The process of making herb salts starts out looking like this…

making herb salts

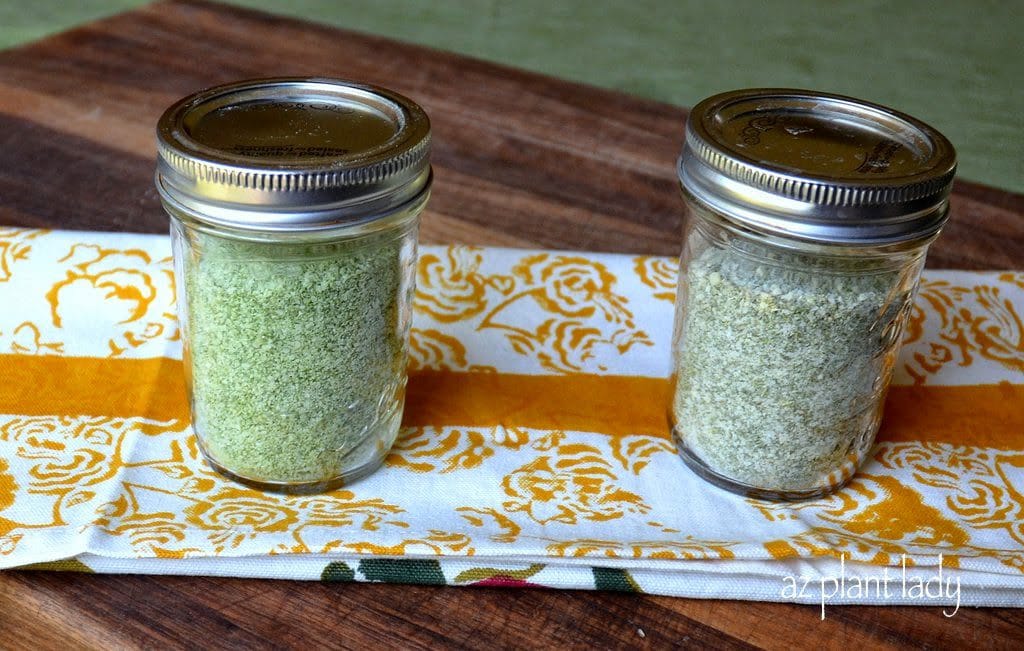
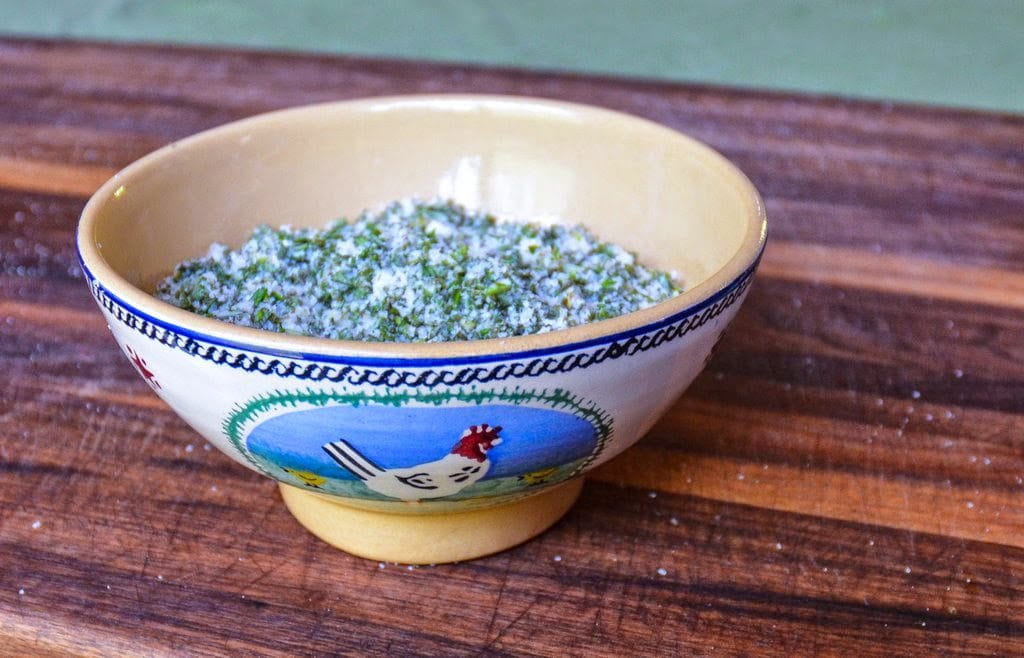
And ends up transformed into this…

making herb salts

Are you interested in making your own herb salts?   

Summertime means that many of my herbs are actively growing and I sometimes run of ways to use all of the fragrant leaves of them.  

Herb or ‘gourmet’ salts are a great way to preserve herbs while adding a new twist to flavoring my favorite foods.

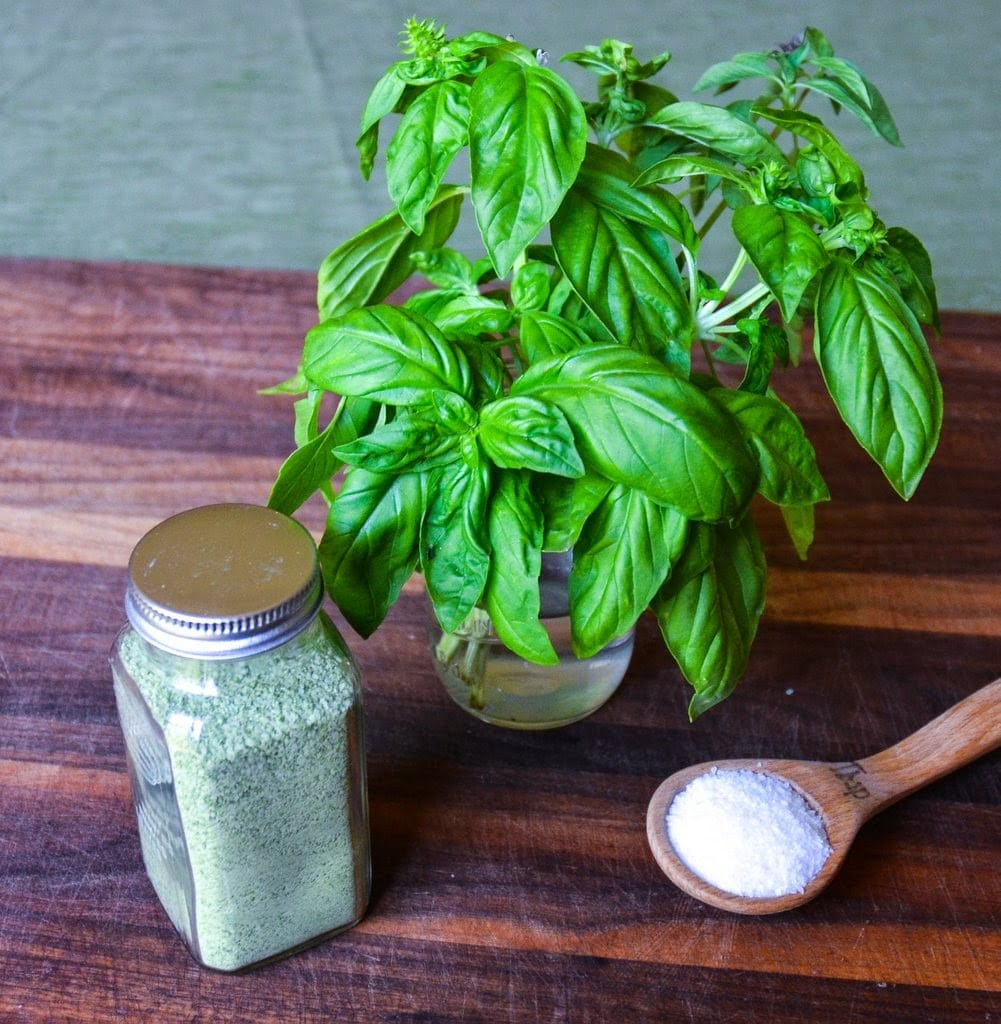
Basil Salt

Photo: Basil Salt

In my last post, I shared how to make basil salt using two ingredients – fresh basil leaves and kosher salt.  

Today, I’d love to show you how to make your own unique herb salt blend.

DIY Herb Salt Blends From the Garden

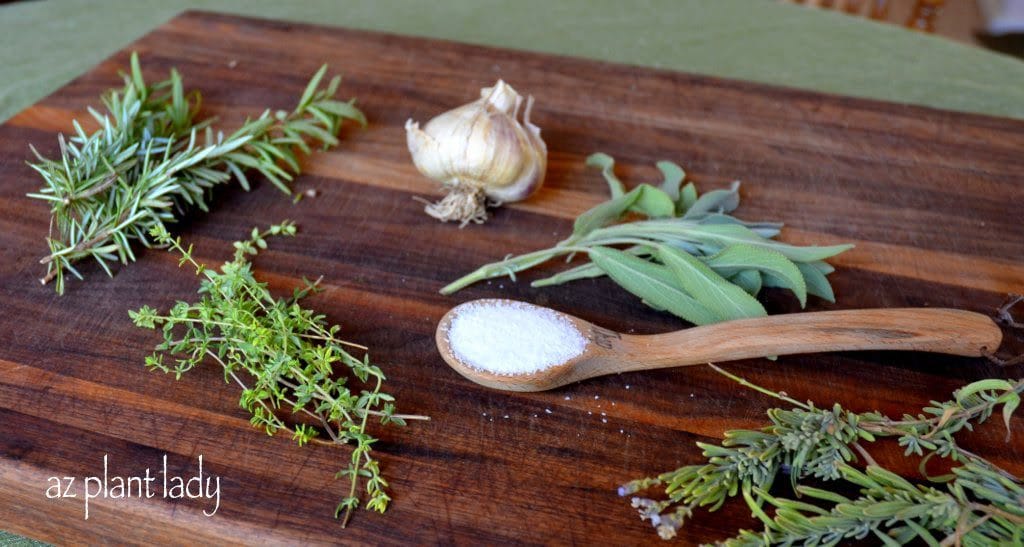
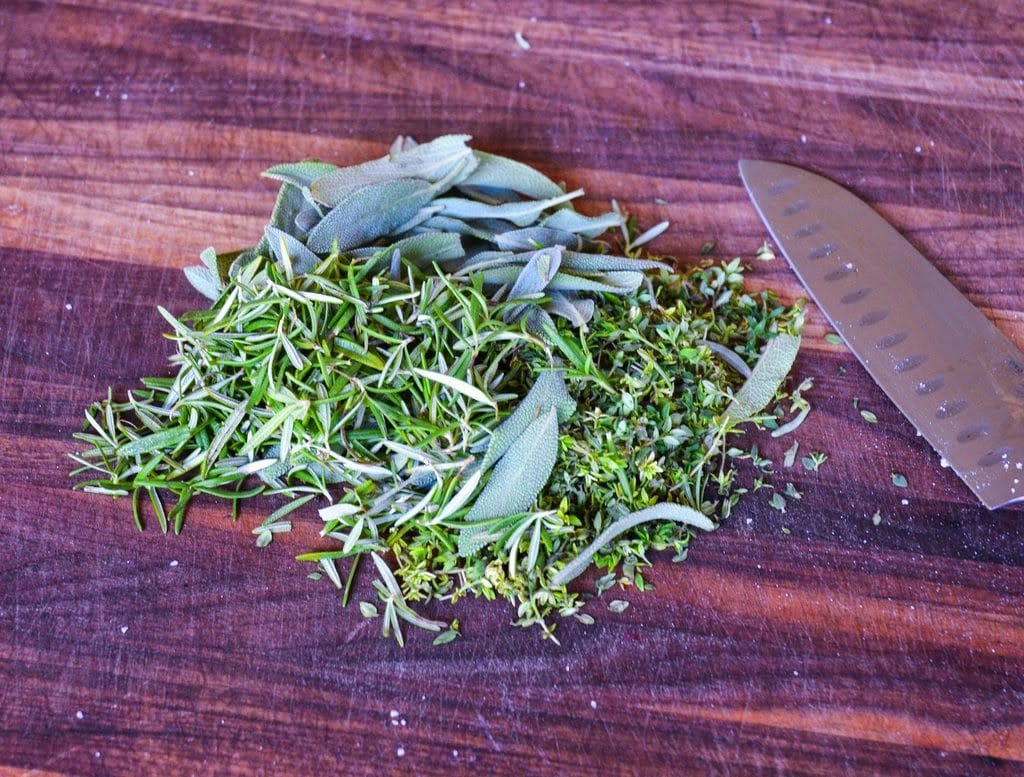
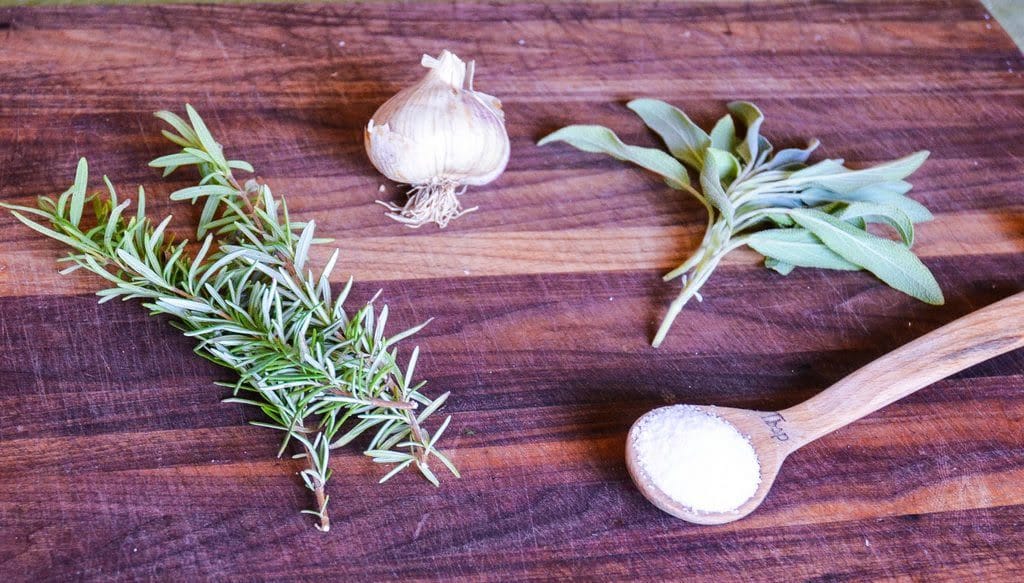
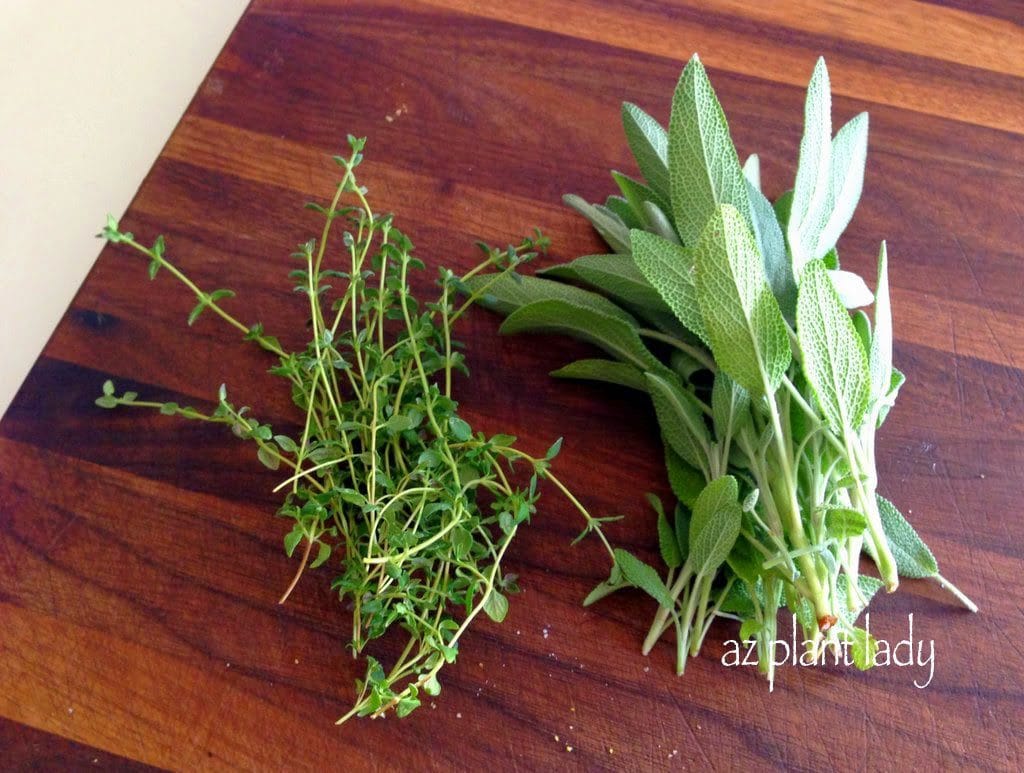
For my herb salt blend, I went out into the garden and looked for a variety of herbs that I love to cook with.  I found rosemary, sageand thyme. I then grabbed a head of garlic and kosher salt. I must admit that I was thrilled that I had all these herbs growing in my garden.  I grew the garlic too! 

For equipment, you should have a cutting board, a sharp knife for chopping, a baking sheet and a glass jar with a lid.  

You can make this recipe using a food processor, but it is optional.

DIY Herb Salt Blends From the Garden

1. You will need 2/3 cup rosemary, 2/3 cup sage and 2/3 cup thyme leaves.  These are the amounts I used to get the flavor I liked, but you can play around with the ratio of each herb or choose different herbs to get the flavor you want.  

DIY Herb Salt Blends From the Garden

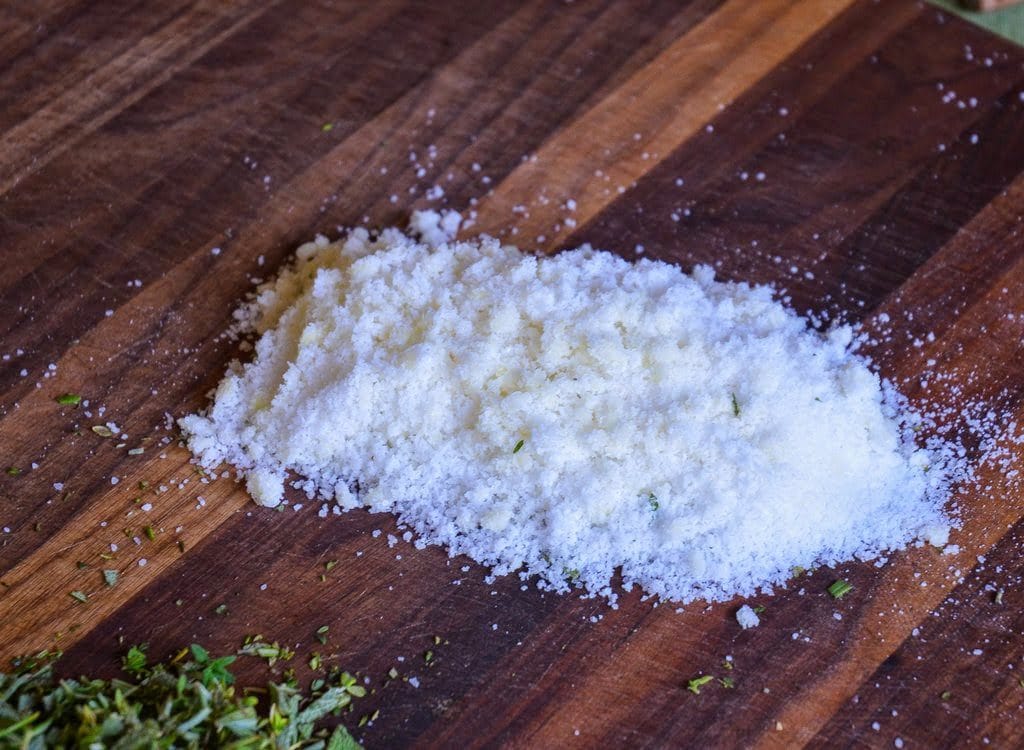
2. Place 1/2 cup kosher salt on your cutting board and add 5 peeled garlic cloves and chop them together.  The garlic should be finely minced at this point.

DIY Herb Salt Blends From the Garden

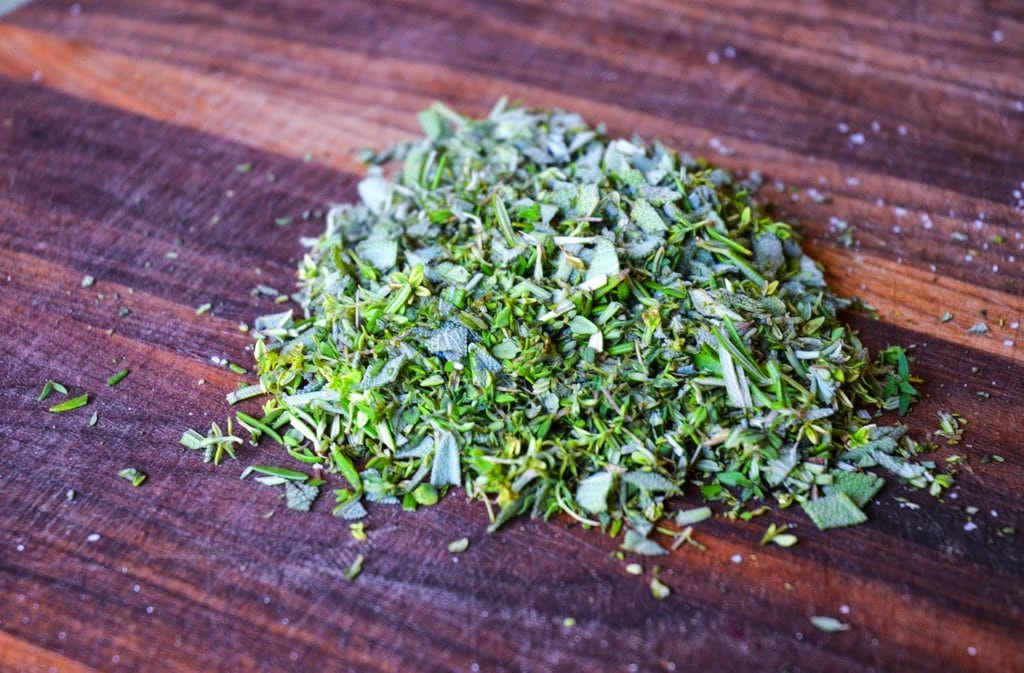
3. Chop all of the herbs together.

DIY Herb Salt Blends From the Garden

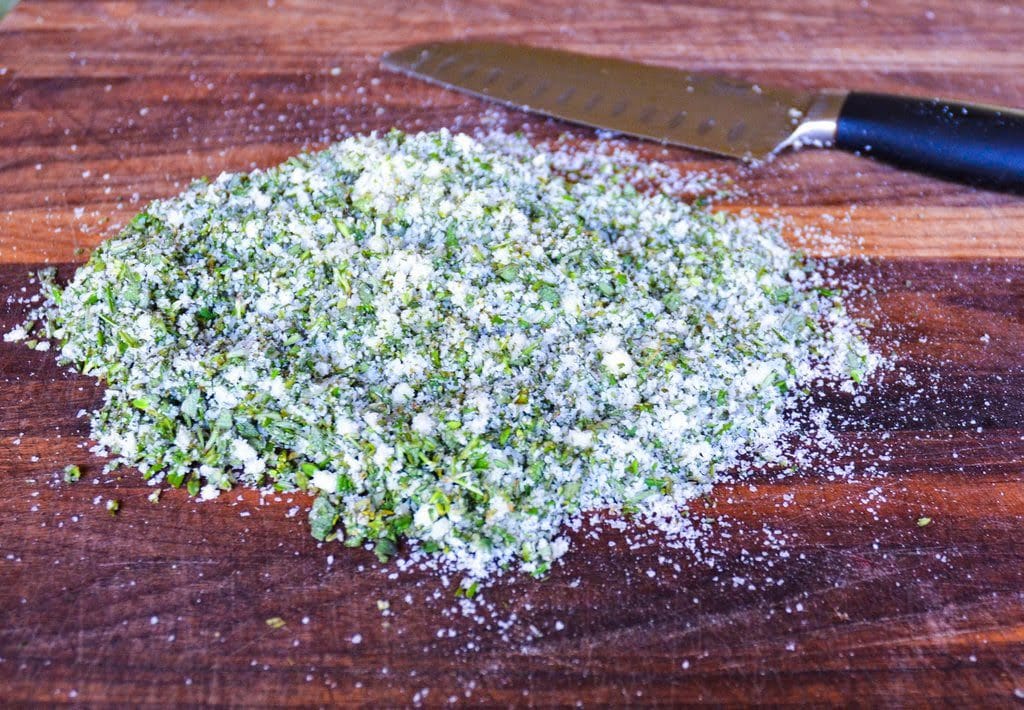
4. Combine the salt/garlic and the herbs together and continue chopping until finely chopped.

**You can use a food processor for steps 3 & 4 instead of chopping.  Simply put all ingredients in at once and pulse for 30 seconds. 
 herb salt

At this point you can use your herb salt to flavor a roast of beef, chicken or pork before cooking or to flavor roasted vegetables.  But, if you aren’t using the herb salt right away, continue on…  

DIY Herb Salt Blends From the Garden

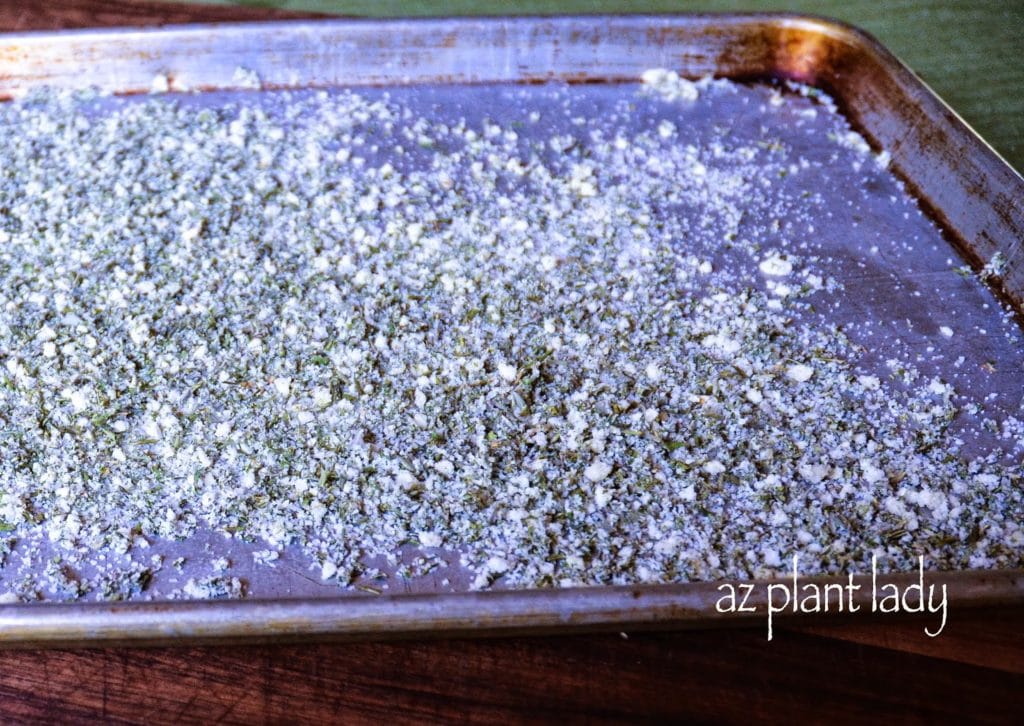
5. Put your herb salt mixture onto a baking sheet in a thin layer and bake in a 200 degree oven for 30 minutes.  This step dries out the herb mixture.  You can also allow it to air dry over a couple of days instead of putting it into the oven.

DIY Herb Salt Blends From the Garden

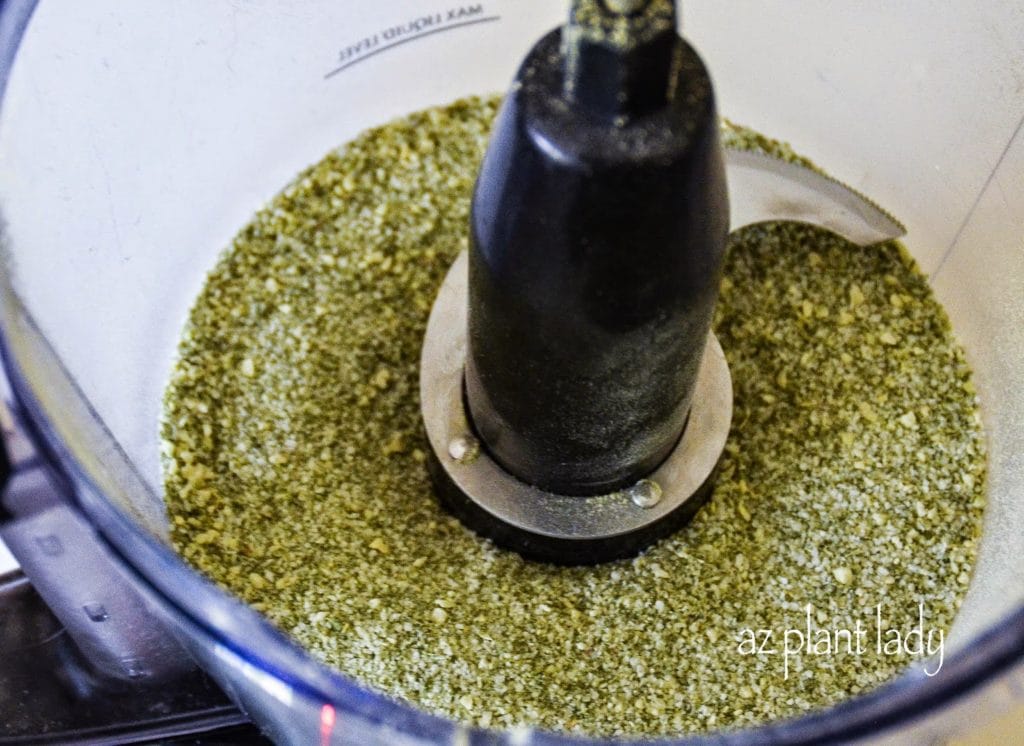
6. Place your dried mixture into a food processor and pulse for 30 seconds to get rid of any lumps.

If you don’t have a food processor, you can put the dried mixture into a Ziploc bag and roll it with a rolling pin until it is finely ground up.

Herb salts

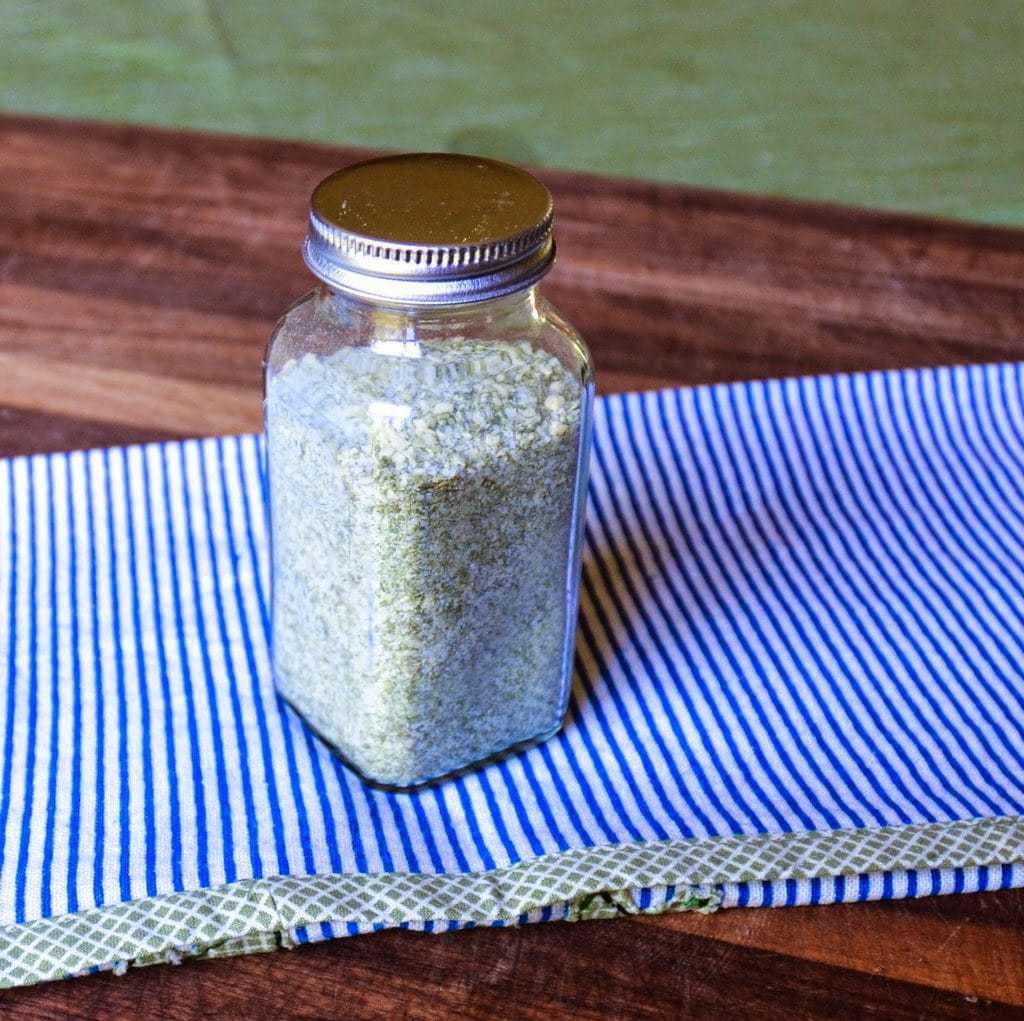
7. Put your herb salt into a glass jar with a tightly-fitted lid.  Store in a dark, dry place with your spices and dried herbs to preserve its flavor.

I will use my herb saltblend to flavor a pork loin, baked chicken or even a beef roast.  It would also taste great when sprinkled on roasted vegetables or put into soups, don’t you think? 

As you can imagine there are a number of different types of herb salts that you can make.  Here are a few different combinations that you might want to try:

Rosemary Sage Garlic Salt

Photo: Rosemary Sage Garlic Salt

All of these herb salt blends can be made following the same steps as I have done for my herb salt blend – except where noted.

Rosemary Lemon Pepper Salt – 1/3 cup rosemary leaves, 2 tablespoons lemon zest, 1 teaspoon freshly ground black pepper and 1/2 cup kosher salt.
*(Increase cooking time to 1 hour)

Rosemary Sage and Garlic Salt – 1/2 cup of rosemary leaves, 1/2 cup sage, 5 peeled garlic cloves and 1/4 cup kosher salt.

Sage Thyme and Garlic Salt – 1/2 cup sage, 1/2 cup thyme, 5 peeled garlic cloves and 1/4 cup kosher salt.

If your garden is filled with herbs, this is a creative way to use them in the kitchen or give them as gifts.  Even if you don’t have a garden filled with herbs, you can find fresh herbs at your local grocery store or farmers market.

So, how about you? What would herb(s) would your ideal herb salt contain?

Do you like using fresh herbs when you cook?

I do.  But, I don’t like buying herbs from the store because they can be expensive and often aren’t very fresh looking.

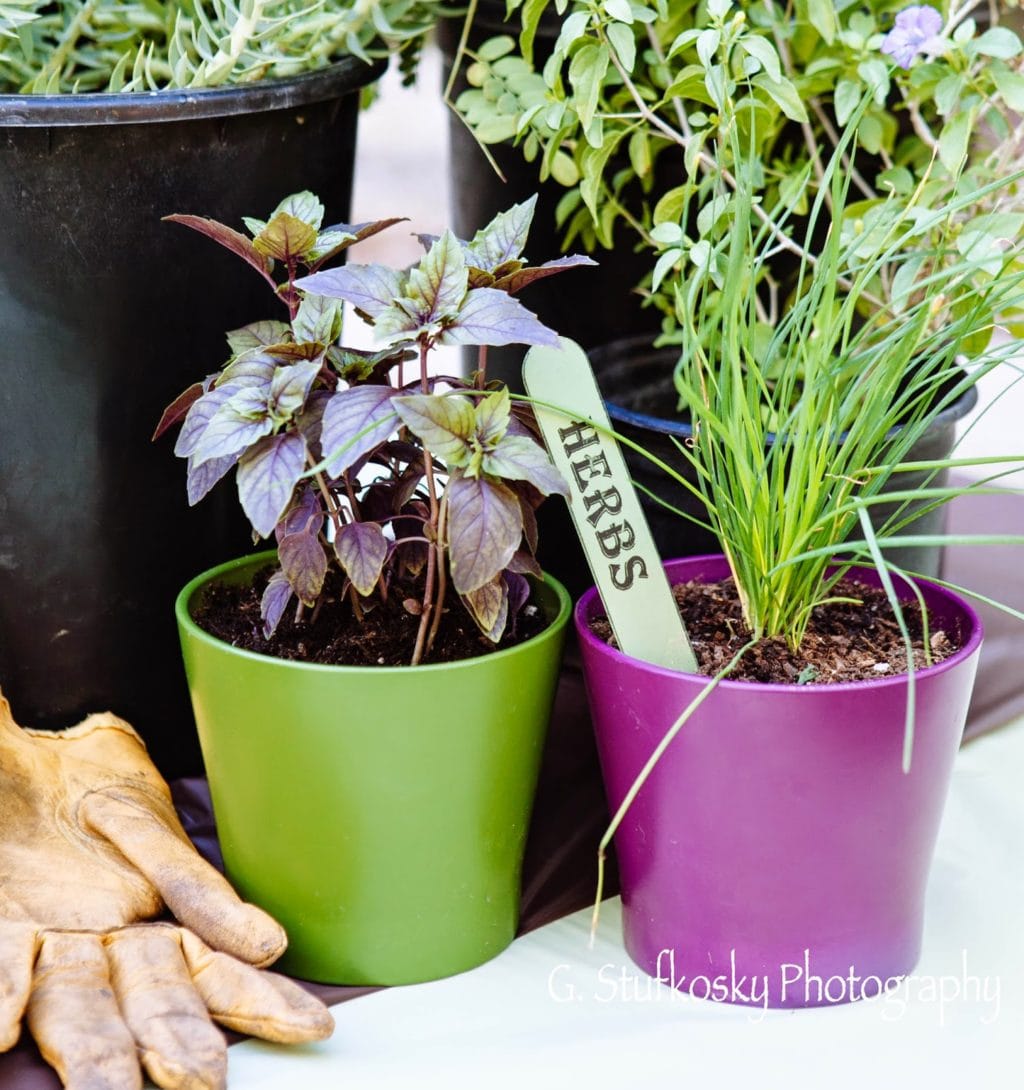
Purple basil and chives

Photo: Purple basil and chives

I enjoy growing herbs outdoors in my garden, but I also grow herbs indoors on my kitchen windowsill.  

Whether you have a garden, a balcony or a windowsill, you can grow herbs inside.

own fresh herbs

Many people grow herbs indoors during the winter time, but you can grow them inside all year long.  

So, are you ready to grow your own fresh herbs? Let’s get started…  

1. Select a place to put your potted herbs that has a sunny window. – 
A window that faces south is best, but east facing will also work.  West facing windows may be too hot in if you live in the desert, but you can experiment with it.   Herbs need at least 4 – 5 hours of sun.

It’s important to note that herbs grown indoors won’t look as compact or lush as those grown outdoors, which is due to the fact that they don’t get as much sun indoors.  

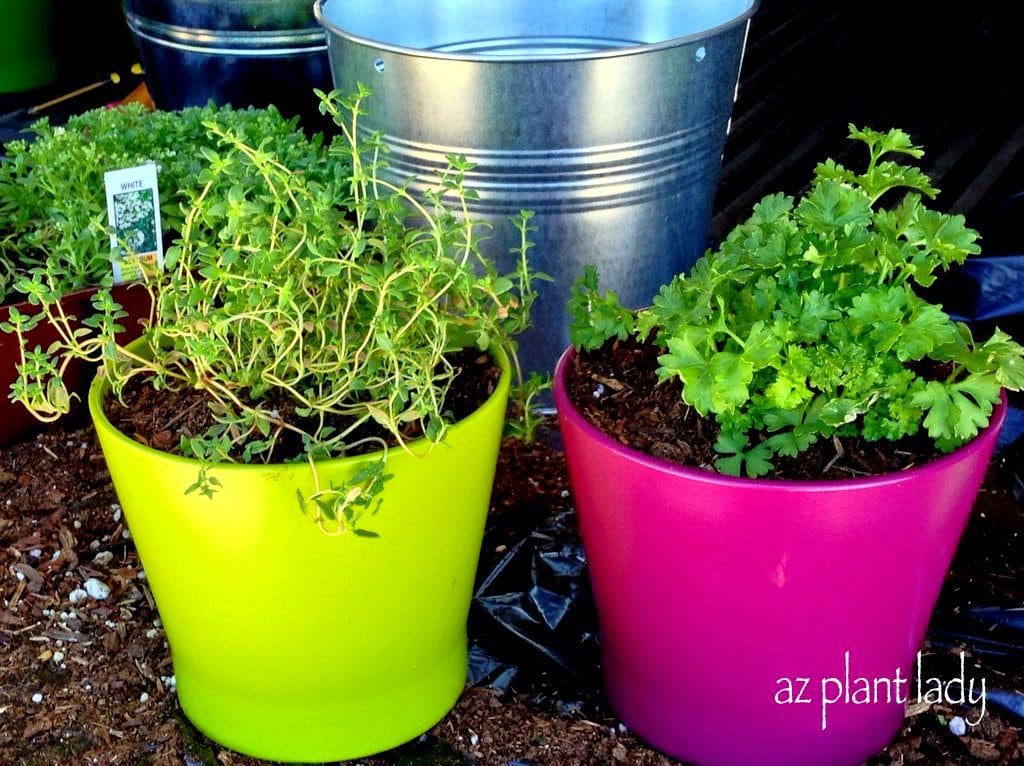
2. Choose plastic or glazed containers with holes for drainage.

It’s best to avoid terra-cotta pots, which can dry out – especially during the winter when the air in our homes can be dry from heating. 

growing herbs indoors

growing herbs indoors

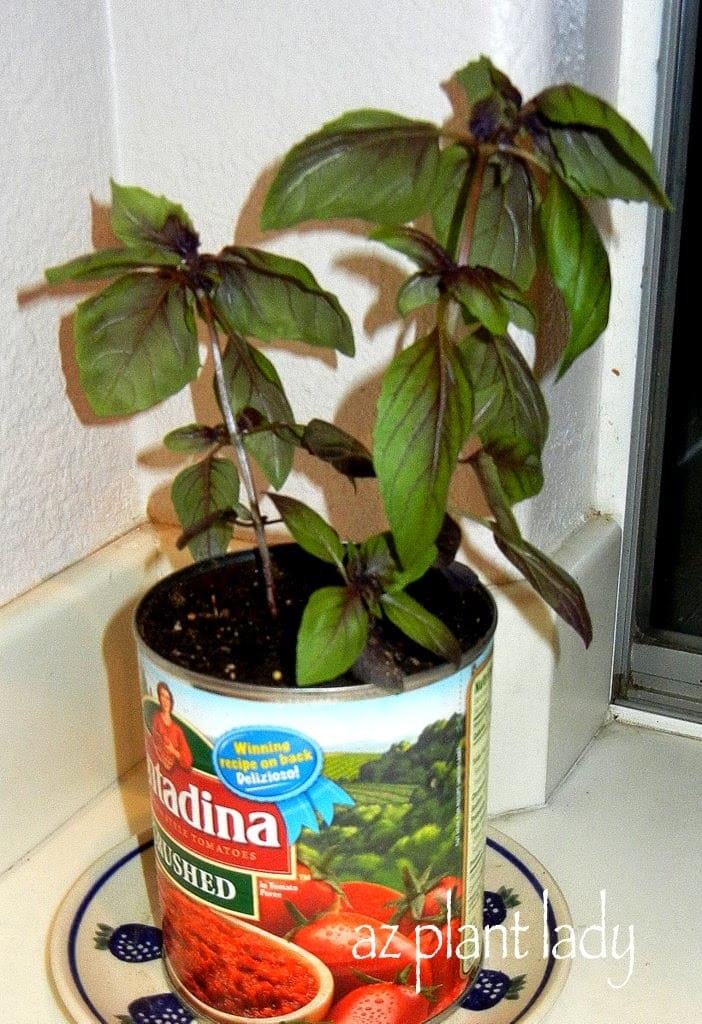
You can also use cans as recycled containers.  I have grown herbs in tomato cans as well as coffee cans.    

A row of cans with their labels removed, filled with herbs would add a real contemporary look to the kitchen, don’t you think?  

growing herbs

3. Use potting or planting mix.  
Avoid using potting soil, which is not formulated for containers and can become soggy.  

4. Select what herbs you want to grow.

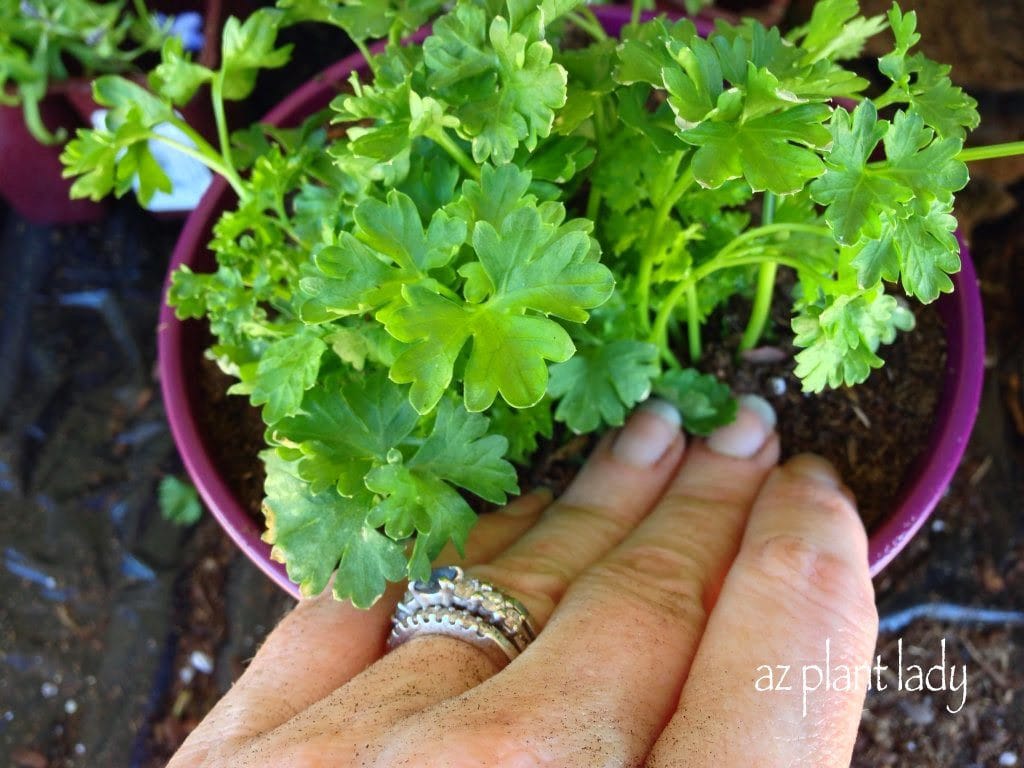
There are many different herbs that will grow well indoors, which include basil, chives, lemon balm, mint, parsley, sage and thyme.   

You can buy herb transplants from your favorite nursery or sometimes at the grocery store.

growing herbs indoors

growing herbs indoors

Another way to grow certain herbs is to start them from cuttings.

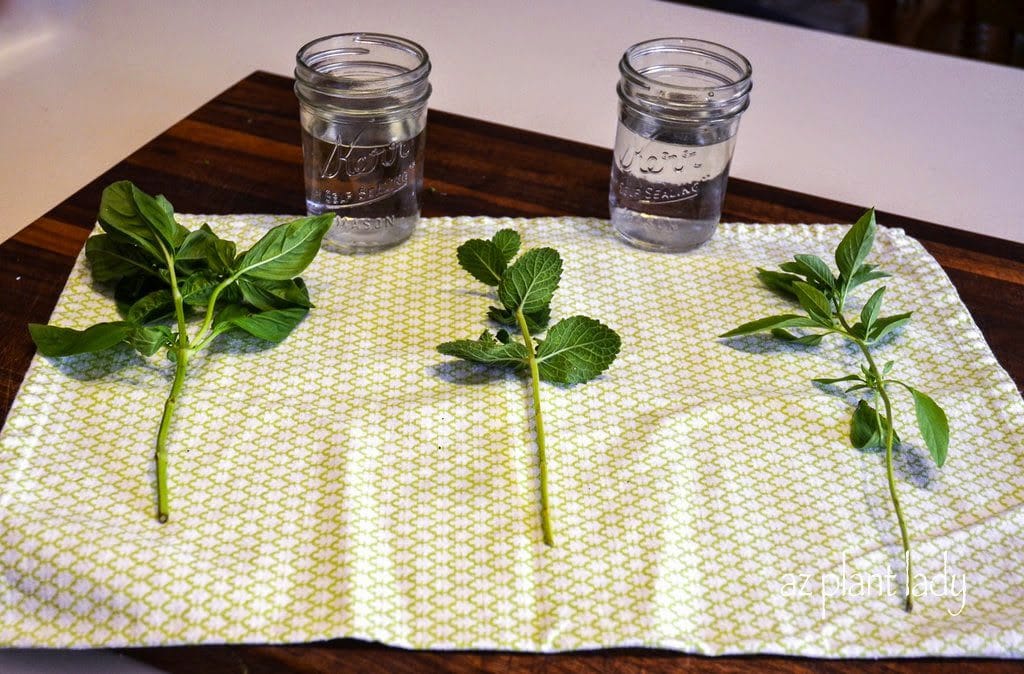
I ran out to the garden to grab two types of basil and some apple mint to show you how to do this.  
Basil and mint are both easy to start from cuttings.

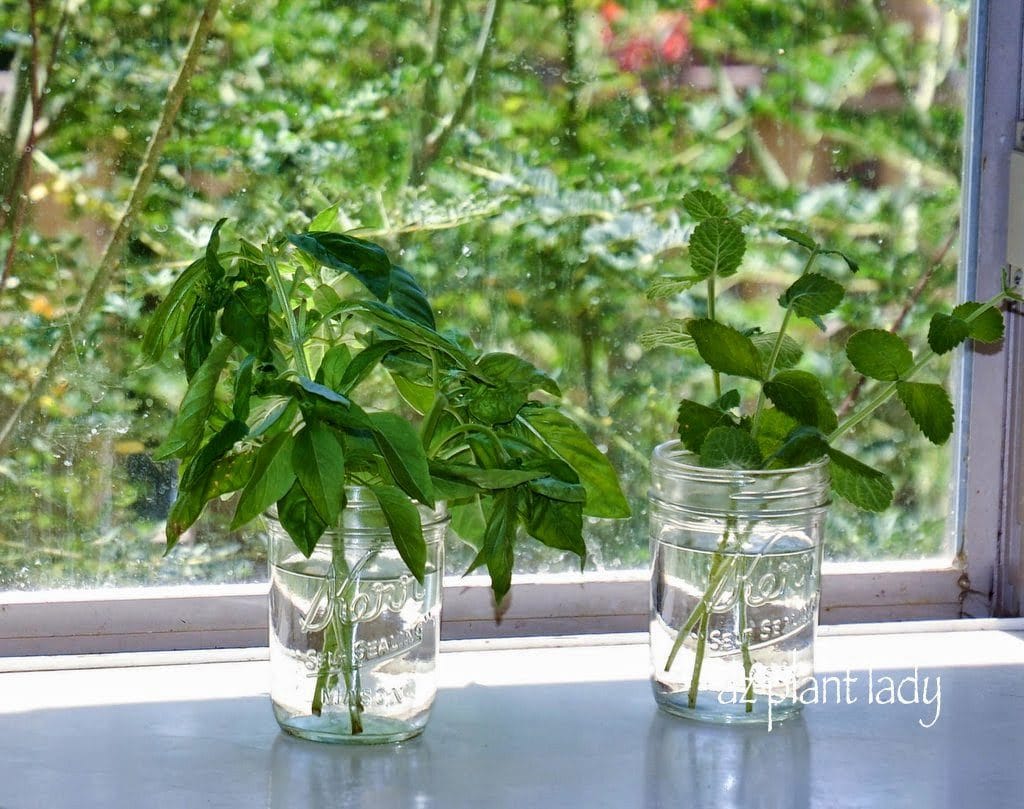
Remove the leaves from the bottom as shown, above.  Place the cuttings in a glass of water so that most of the stem is submerged in water, but take care that no leaves are in the water.

growing herbs indoors

growing herbs indoors

Place in a window with bright, indirect sun.  Change the water every other day and watch for roots to develop.  Once roots have grown 1/2 – 1 inch, transplant each cutting into a container filled with potting mix and your are done!

I told you it was easy.

growing herbs

5. Water your potted herbs when the top of the soil feels dry.

Herbs don’t like soggy soil, so it’s best to allow the top of the soil to dry out before watering deeply until the water runs out the bottom.    

An easy to tell when it’s time to water is to stick your finger into the soil till you reach your first knuckle – slightly less than an inch.  If it feels barely moist, then it is time to water again.  

6. Fertilize your herbs.

When plants are grown in pots, they need to be fertilized and herbs are no different.  You can apply organic fertilizer granules and work into the top inch of soil OR you can use an organic liquid fertilizer such as fish emulsion.    

Follow directions on the granular fertilizer package when applying and guidelines for frequency.  In general, liquid fertilizer can be applied every 2 weeks.

growing herbs

Soon you will have fresh herbs close at hand and ready to use in your favorite dishes.I recently made herbs salts from my herbs, which is fun and easy to do.  The flavor that they add to food is just delicious!

Click the links below to learn how to make:

Basil Salt

Herb Salt

For more information on how to grow herbs and how to preserve them, click on the following links:

Preserve Herbs By Freezing Them Into Ice Cubes

Preserve Herbs By Drying Them

fresh herbs

I love growing herbs in my garden and one of the reasons is that they thrive in our hot, dry summers with minimal fuss.

I must admit that I sometimes forget to make use of my fresh herbs, or sometimes I have more than I need. Some frost-tender herbs like basil don’t grow in winter in my garden – so either I have too much in the summer and almost none at all in winter.

Well, no more! Did you know that you could freeze your fresh herbs so you could use them during the winter months?

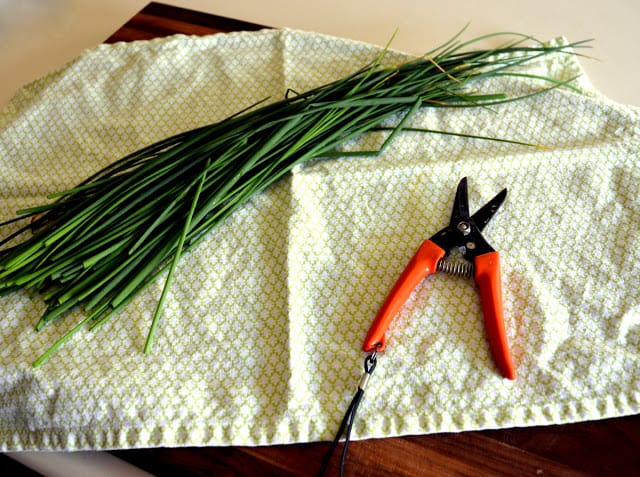
I tried this with my chives earlier this summer and it was so easy to do.

Here is how to do it:

Choose your favorite herb…

Chopping herbs

 Wash them.

chopped herbs

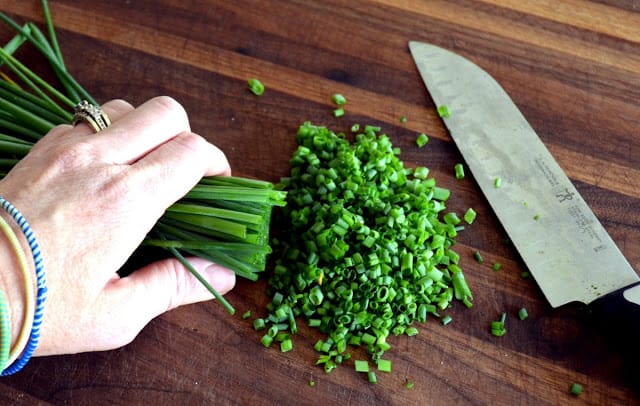
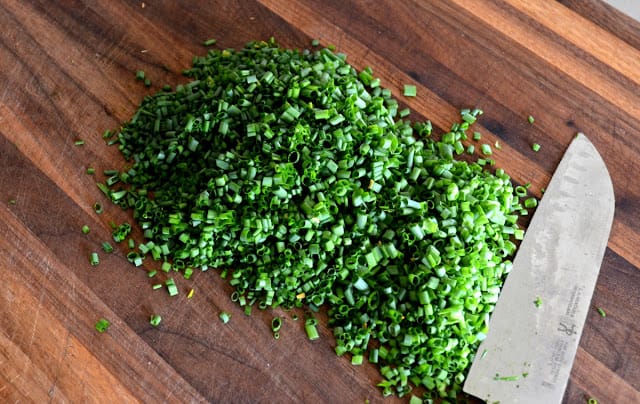
Chop them into the desired size.

chopped herbs

I just love chives.

chopped herbs

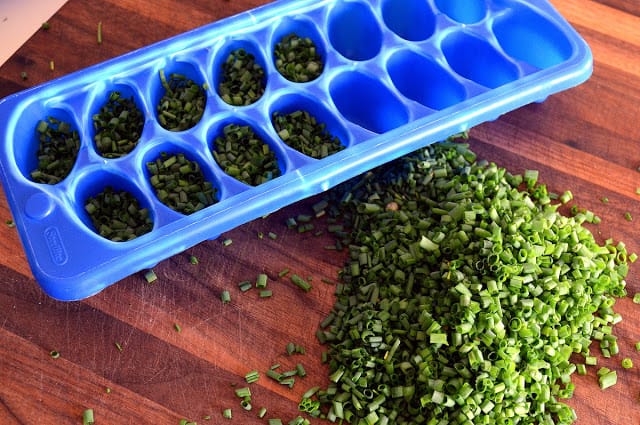
Place your chopped herbs into an ice cube tray, filling up each one about 3/4 of the way full.

Freezing herbs

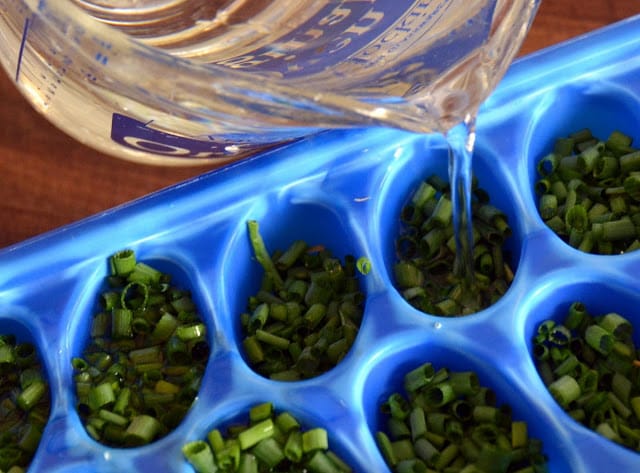
Fill up with water, taking care to allow a little room for expansion since water expands when it freezes.

Put in your freezer for a few hours.  

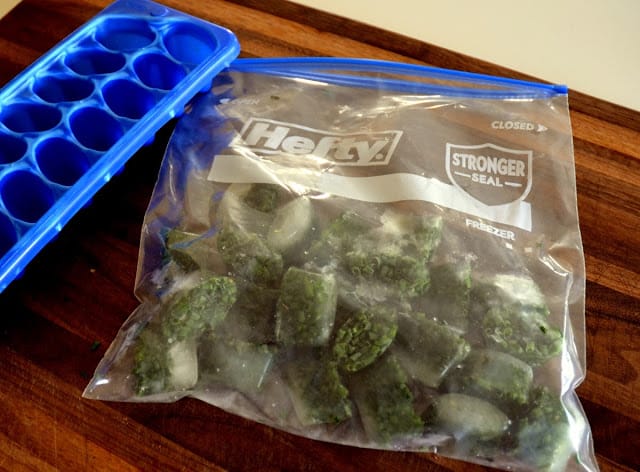
herb cubes

Freezing herbs

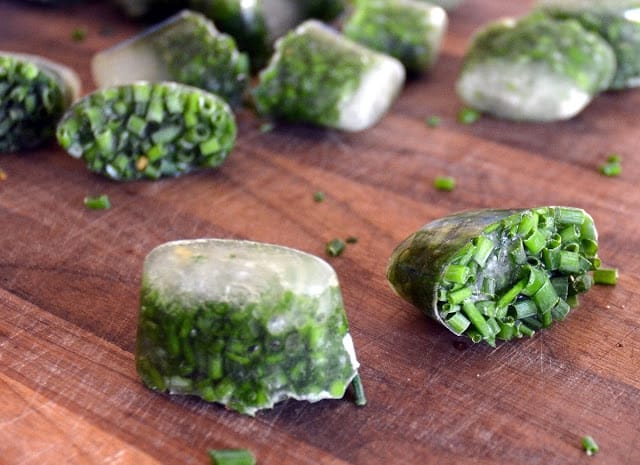
Once frozen, pop out your ‘herb cubes’ and put them in a freezer container or plastic container and store in your freezer.

herb cubes

Freezing herbs

Now, whenever you need fresh herbs when you cook, add a few ice cubes to your favorite sauce.  

**You can also freeze herbs into ice cubes using olive oil instead of water, if desired.

Another great way to preserve herbs is to dry them.I talked about how to do this in an earlier post –  “How to Grow and Dry Herbs”

I have a confession to make…

Sometimes I am a lazy gardener.  Are you shocked?  Will this revelation cause you to stop reading my blog?  

In my defense, I must say that life gets rather busy and at the end of a long day, I forgo the opportunity to do some needed garden maintenance.

However, my reluctance to perform needed maintenance has a rather beautiful benefit…

Neglected Herbs

Neglected Herbs

My herbs begin to flower in the absence of harvesting their leaves.

Now, I like growing herbs and harvest them so that I can use them both dried and fresh.

But, there are times that I don’t get out to harvest the leaves.  When herbs are allowed to grow without harvesting the leaves – they begin to flower.

My sage (above) has beautiful purple flowers, don’t you think?

Neglected Herbs

Neglected Herbs

Now, my green and purple basil plants are beginning to flower as well.

Herbs are best harvested before the begin to flower for the best taste.

So, what do you do when they start to flower?  Well, you have two options…

– You could let them flower for a couple of weeks and enjoy their beauty.

– Or you could prune them back severely and let the leaves grow back so you can harvest them.

What do you think I should do?

I recently re-planted my herb container for the cool-season.

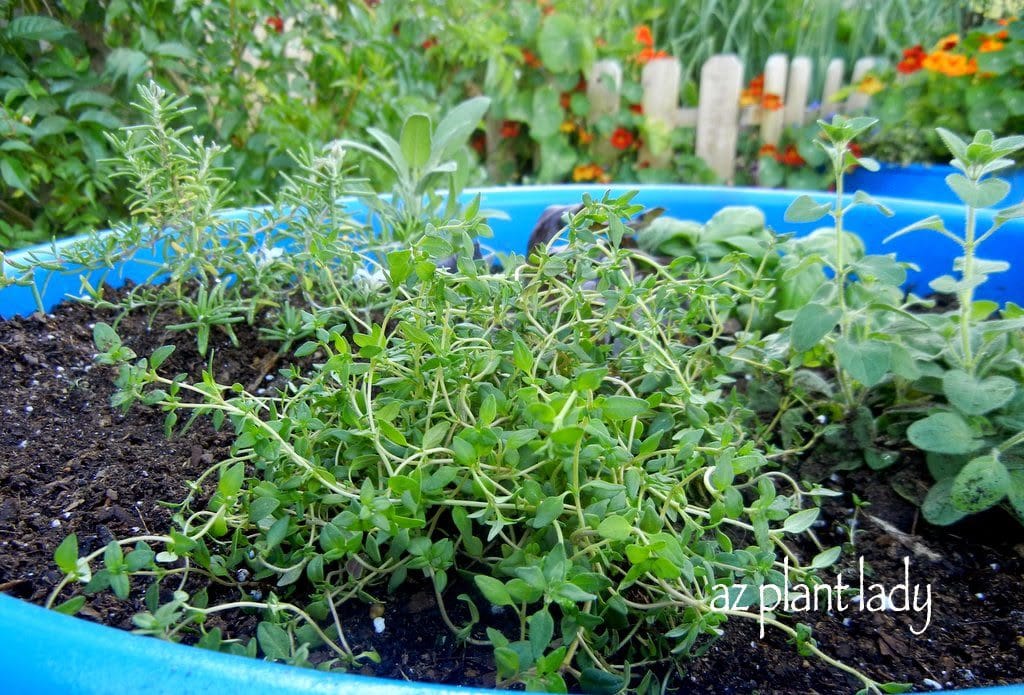
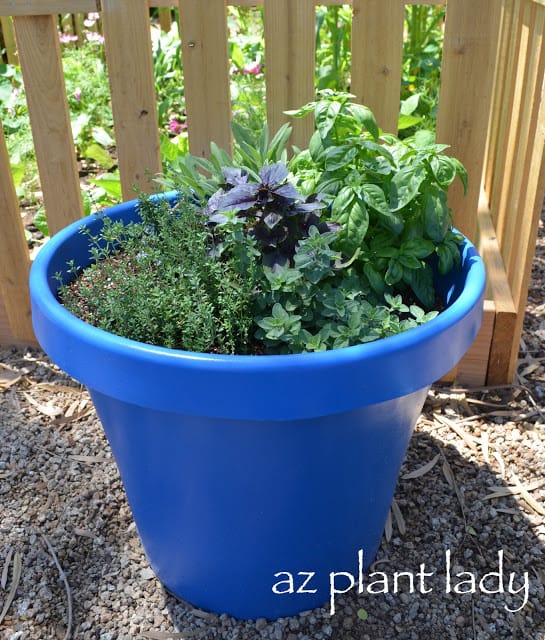
Last spring, I planted my container with rosemary, green basil, purple basil, sage, thyme and oregano. All of these herbs do well in the warm-season and I enjoyed being able to step outside the kitchen with cut fresh herbs whenever I needed them.

Herb Container

You can read the post here, to see how to grow herbs in containers.I also did a “How-To” video about this too 🙂

Okay, so now that cooler weather is on its way, I wanted to add some different herbs that would do well through the winter in my zone 9 garden.

Herb Container

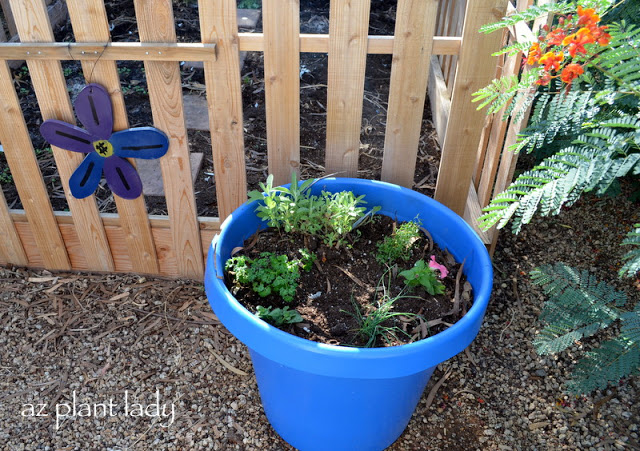
I planted Dill, Garlic, Lavender, Parsley, another Thyme and kept the Sage the I had originally planted.

My kids added some of their Petunias that their grandma bought them in the container too, which will add some nice color.

Other herbs that can handle cooler weather in USDA zones 9 and above are Cilantro, Chives, Fennel, Lemon Grass and Rosemary.

I highly recommend planting your own herb container.  It is very easy and so fun to be able to harvest your own herbs!

I’m sure you all have been waiting with baited breath for the second installment of how to grow and dry your own herbs….I know I have 😉

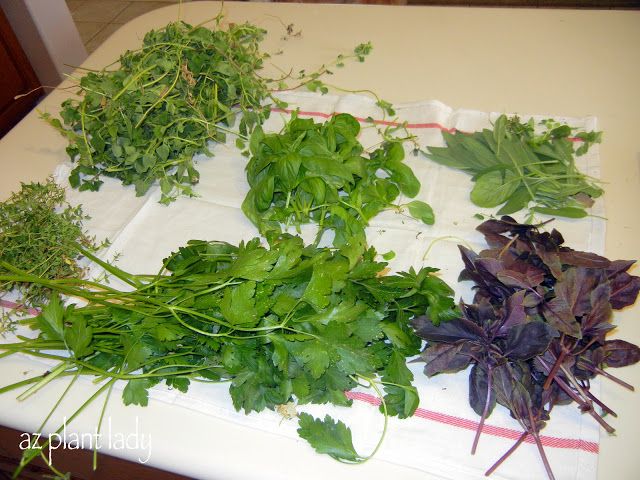
Oregano, Basil, Sage, Purple Basil, Parsley and Thyme.

Clockwise from top left – Oregano, Basil, Sage, Purple Basil, Parsley and Thyme.

Last time we talked about how to harvest and dry your herbsThe process is so easy – the ‘air’ does most of the work for you.

Once your herbs are nice and dry, it’s time to get the herbs ready for their containers.

dry your herbs

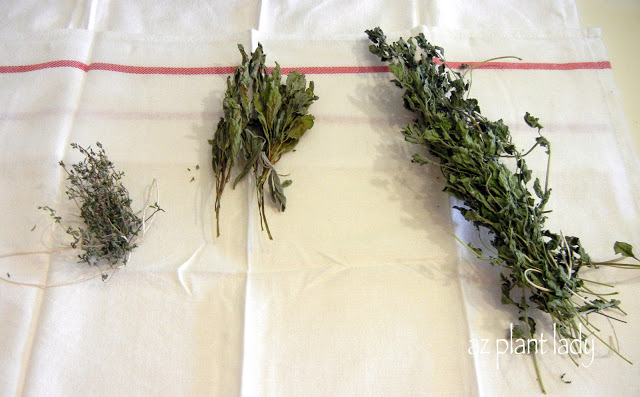
Now, I will be the first to admit that dried herbs aren’t all that pretty.

dry your herbs

Even though they aren’t all that attractive at this point, they are full of concentrated flavors that will help you create delicious food.

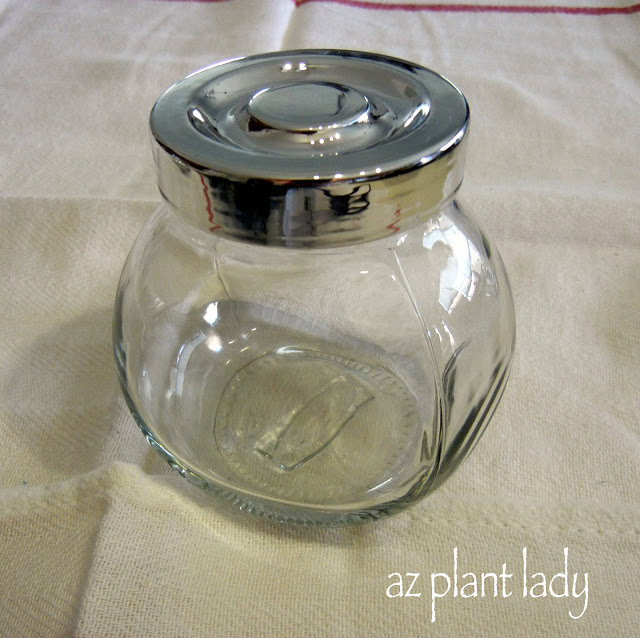
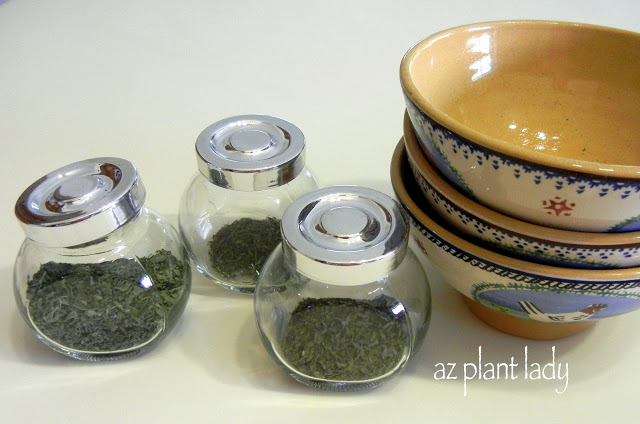
I bought inexpensive glass jars at IKEA for a $1 each in which to store my dried herbs.

jar

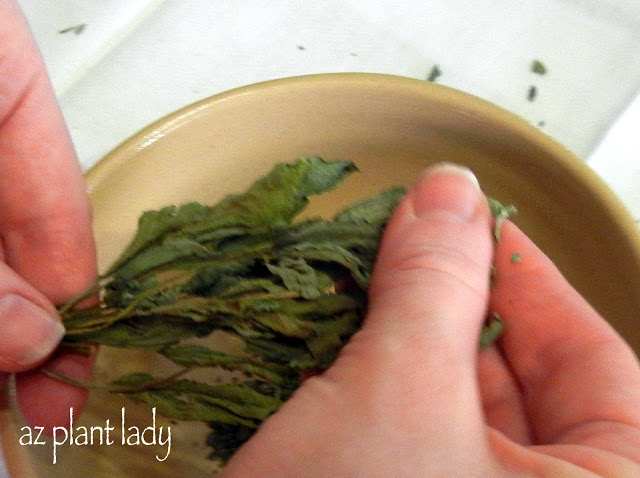
Now it is time to get the dried leaves off, without the stems.

dry your herbs

I found the easiest way to do this was to simply press the leaves between my fingers.  They came off easily, without too many stems falling in.

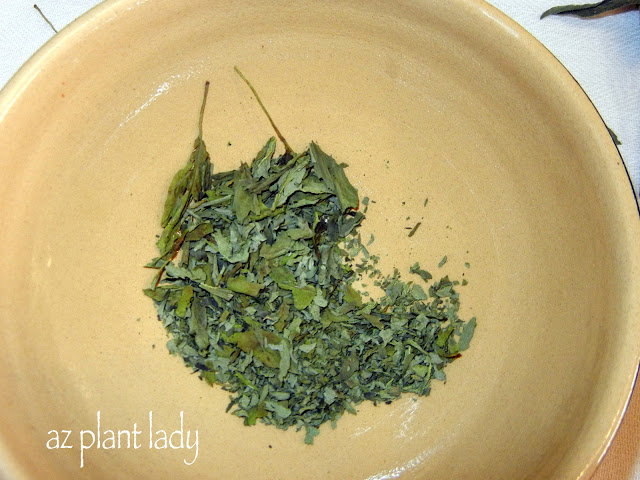
dry your herbs

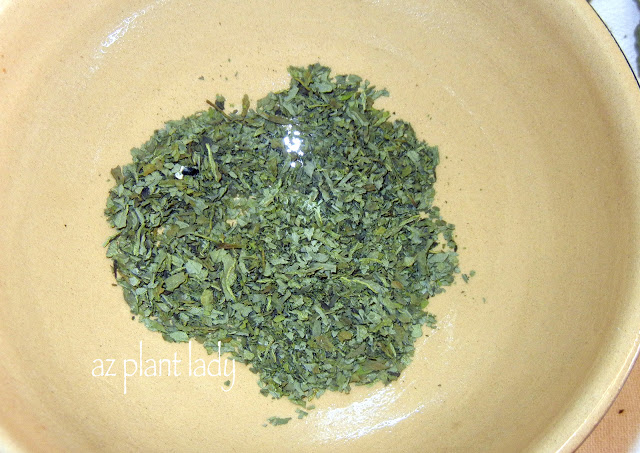
The few stems that fell in, were easy to pick out.  I then used my fingers to grind up my herbs to the desired size…

dry your herbs

All there is to do at this point is to pour the herbs into my glass jars…

Jars of Oregano, Thyme and Oregano

Jars of Oregano, Thyme and Oregano

My homegrown dried herbs are ready to use right away.  They also make great gifts.

Dried herbs should be stored in a dark, dry place (pantry or cupboard) and taste best when used within 6 months.  

*******************************

I hope your week is off to a good start.

I had two consults last week, which went very well.  In the summer, I don’t do too many consults because many people don’t want to spend a lot of time in the garden in the heat.  I actually enjoy this time of year because it is a bit of a break for me 🙂     

Do you love using herbs when you cook?  I do – especially basil and oregano. I also appreciate how easy they are to grow. 

How to Grow and Dry Your Own Herbs

I grow basil, oregano, rosemary, sage and thyme in my garden.  To be honest, I don’t use a lot of fresh herbs and I really should.  I tend to use dried herbs instead.

While I do like to use dried herbs when I cook – I don’t like to pay $3+ dollars for a tiny container.  So, instead of buying dried herbs
at the grocery store – I make my own.  

It is very easy to dry herbs and they make great and inexpensive gifts. Herbs are best when they are air-dried – which is the method that retains their flavor best.

Here is how I do it:

How to Grow and Dry Your Own Herbs

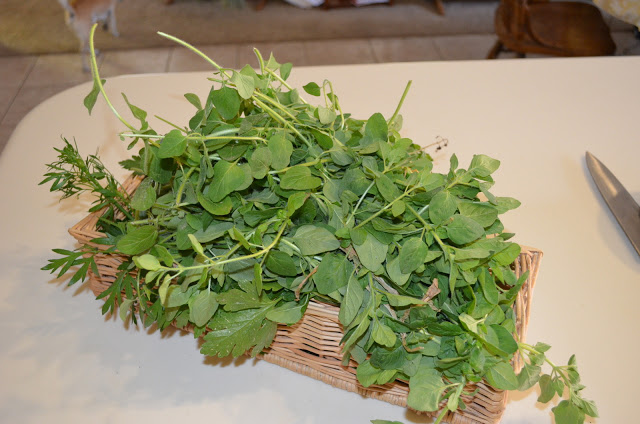
– I harvest my herbs, usually before they flower, for best flavor. In my herb container, there is basil, dill, oregano, rosemary, sage and thyme growing.    

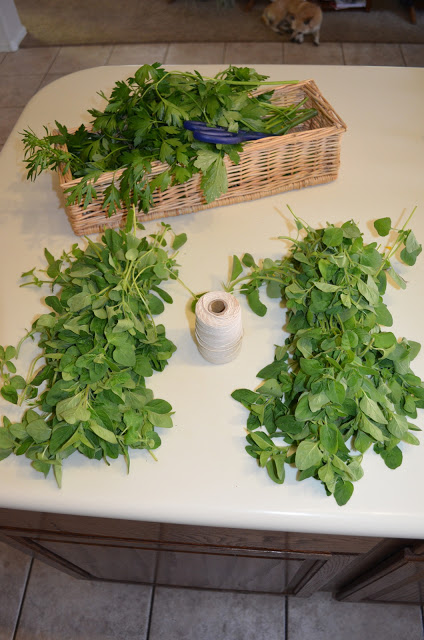
– Pick your herbs in the morning and wash and dry them.  Discard any discolored leaves.  

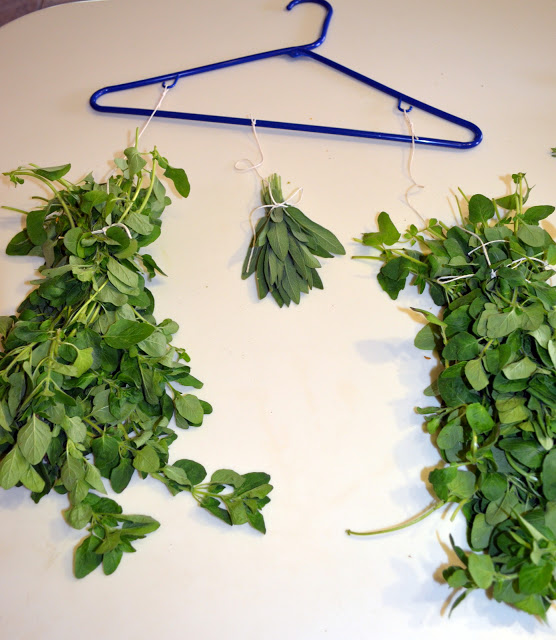
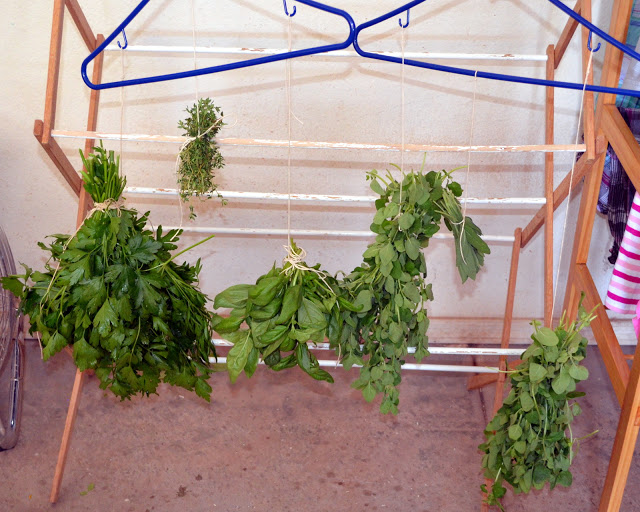
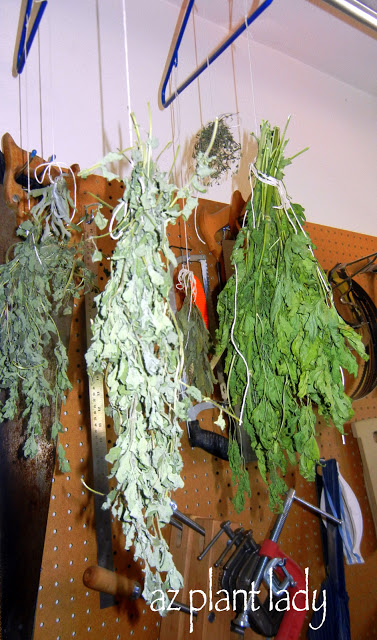
– Using string or twine, tie your herbs into small bundles (this is especially important for basil, which as lots of moisture in its leaves).  Wrap the string a few times around each bundle to keep them from falling out as they dry.

dry herbs

Bundles of Oregano

Tie each bundle to a coat hanger.

dry herbs

Bundles of Oregano and Sage

Herbs need to hung indoors to dry.  Hang them in an area out of the sun in an area with good air circulation – I used our garage.  

dry herbs

You can hang them from a clothes rack that you use for drying your clothes, or you can tie them from almost anything.  Laying herbs on paper towels and placing them by a de-humidifier to dry is another method to dry herbs.

**To protect your herbs from dust, you can place paper lunch bags over each bundle – to do this make a hole in the bottom of each lunch bag and thread the cotton string through it before attaching the string to whatever you are hanging your herbs from.  It is okay if the herbs stick out the bottom of the bag – it’s the top which need protection from dust.

Depending on where you live, drying herbs can take as little as a week in a dry climate up to 4 weeks in more humid climates.

Come back for “Part Two” to see how I how to crush and store dried herbs.

*If you are interested in growing herbs, learn how I planted my herb container here.