Tag Archive for: how to

Grow Amaryllis Outdoors in the Desert Southwest

*This blog post contains affiliate links, to make it easier for you to order supplies for growing amaryllis outside. If you click through and make a purchase, I may receive a commission (at no additional cost to you). 

Have you ever wondered what to do with your amaryllis once the flowers have faded? Instead of throwing it out, you can plant it outdoors, where it will bloom year to year, even if you live in the Desert Southwest.

Grow Amaryllis Outdoors in the Desert Southwest

Around the holiday season, amaryllis bulbs can be purchased in most grocery stores, nurseries, or online.

I have been enjoying the beautiful blooms of my amaryllis this holiday season and am grateful for the vibrant splash of color on my kitchen windowsill. Soon, the flowers will fade, and I will get it ready to transplant outside. 

Here is how to do it:

1. Cut off the faded flower, but keep the stem and leaves, which will continue to produce food for the amaryllis bulbs. Don’t worry if the stem oozes sap after cutting, this is normal. Once the stem and leaves turn yellow and die, cut them off.

2. Select an area out in the garden for your amaryllis. They will require an area that gets filtered shade or a few hours of the morning sun. It should have fertile garden soil, which can be provided by amending with potting soil.  If you have a flower bed or vegetable garden, you can plant the amaryllis in there, OR you can plant it in a container – I love this blue one.

3. Once the danger of freezing temperatures has passed, it’s time to plant. At the bottom of the planting hole, add some bulb fertilizer, following package directions. In desert climates, it’s important to bury the bulb to the top, so that only a 1/2 inch remains above the soil. New leaves will soon emerge that will add a pretty element to the garden.

4. Whenever leafy growth is present, water when the top inch of soil is dry and fertilize monthly using an all-purpose liquid fertilizer at 1/2 the recommended strength. 

5. Amaryllis typically bloom in spring when grown outdoors. After the blooms fade, remove them and allow the leaves to remain until they turn yellow and die. At this point, add a layer of mulch, leaving only a 1/2 inch peeking above the soil. Decrease the watering so that soil remains just slightly moist.

So, in a nutshell, water and fertilize when they are blooming, or leaves are growing, cut off leaves when they are dead – stop fertilizing and decrease watering.

It’s easy to see why amaryllis are a favorite flower when grown indoors and even more so if you plant them outdoors for those of us who live in the Desert Southwest.

Have you ever grown an amaryllis outside?

*Gardeners Supply provided with this amaryllis free of charge for my review. 

Preserve the Flavors of Summer With Herbs

Do you grow herbs? I do. 

Herbs are easy to grow and thrive in arid climates and shrug off the heat. I’m the first to admit that I don’t like messing around with fussy plants and so herbs fit right in with my gardening style.

my garden is overflowing with herbs

Toward the end of summer, my garden is overflowing with herbs – especially basil. I certainly have more than I can use right now, so I like to preserve my herbs in a variety of ways so that I can enjoy the fresh flavor of summer throughout the winter months.

preserving herbs

preserving herbs

One of the easiest ways to store herbs is by freezing them using olive oil or water. You can see my post on how to freeze herbs here

preserving herbs

Herb salts are a newer way to keep the fresh flavor of herbs alive. The ingredients are simple, and they are a unique way to add a delicious taste to your favorite recipes. See how easy they are to make in this blog post

preserving herbs

Finally, the most popular method for preserving herbs is to dry them. Some types of herbs are easier to dry than others, and there are different methods for drying herbs. I invite you to read my latest article for Houzz.com where it’s all you need to know about drying herbs. I hope you enjoy it!

Do you dry or freeze your herbs? Which herbs work best for you?

Books for Waterwise Gardening

Books for Waterwise Gardening

Gardening in a dry climate comes with unique challenges where water is viewed as a precious resource and needs to be used wisely. Does that mean that you cannot have a beautiful garden?  Absolutely not!  You can have an attractive outdoor space filled with beautiful plants and a vegetable plot as well with proper planning with help from these water-wise books.

Today, I would like to share my final installment for gifts for the gardener by sharing not one, but two books that are worth adding to your gardening library.  

*This blog post contains affiliate links. If you click through and make a purchase, I may receive a commission (at no additional cost to you). Thanks for your support in this way.*

Books for Waterwise Gardening

Waterwise gardening

If you are looking to create a drought tolerant landscape but are in need of ideas and guidance, look no further than The Water-Saving Garden, by Pam Penick.  

The book opens with a chapter dedicated to inspiration with several types of water wise gardens highlighted to help the reader determine which one is right for them.  Lovely, color photos of landscapes display the incredible beauty of gardens that conserve water.

Books for Waterwise Gardening

Waterwise gardening

Designing a water-saving garden entails including several elements such as contouring, permeable building materials, and more to help conserve water and Pam does a great job of talking about each type and how to incorporate into the landscape.

Books for Waterwise Gardening

Plants that are native or adapted to survive on little water are the backbone of the water-saving landscape, and most are surprisingly attractive.  A substantial list of drought tolerant plants will have you imagining how they will look decorating your outdoor space. Helpful tips for when to plant as well as alternative locations for growing plants are included within the pages of this book, and the author doesn’t stop there – she has an entire section of how to incorporate water or the appearance of water in the landscape with water features and plants.  

The Water-Saving Garden: How to Grow a Gorgeous Garden with a Lot Less Water is a book that will help readers create a water-wise landscape filled with beauty and would make a wonderful gift for the gardener in your life or yourself.  

Pam has another book, Lawn Gone, which I bought a few years ago, and it sits in a prominent place in my garden library.  It’s filled with inspiration and guidelines for a grass-free landscape.

Growing Vegetables in Drought, Desert & Dry Times: The Complete Guide to Organic Gardening without Wasting Water

I enjoy my edible gardens very much and so I was excited when Sasquatch Books provided me with a free copy of Growing Vegetables in Drought, Desert & Dry Times: The Complete Guide to Organic Gardening without Wasting Water.  I certainly wish this book had been around when I first started.  Vegetable gardening comes with its set of challenges like watering efficiently and creating a micro-climate that is favorable to growing vegetables.  This book addresses these issues and more.

Whether you are a beginner or have grown vegetables in a different climate, this book is a must have for those who find themselves living in an arid region.

successful vegetable garden

Location, location, location is perhaps the most important part of a successful vegetable garden.  Of course, not everyone has the best location and the book talks about what to take into consideration when deciding where to grow your vegetables in addition to ways to modify the dry climate to make it easier for them to grow in a dry climate.

growing vegetables in raised beds and even containers

Guidelines for growing vegetables in raised beds and even containers are provided along with how to amend the desert soil so it can sustain vegetables.  Perhaps the most informative chapters for desert gardeners are those addressing several ways to irrigate as well as a list of the best varieties of vegetables for arid climates.  Additional chapters teach how to control harmful pests and solve common problems.  

If you or someone on your gift list is new to the desert or simply want to begin gardening, both of these books are filled with inspiration and guidance.

Toilet Paper Rolls and Vegetable Seeds…

Anna's Hummingbird sitting in front of my kitchen window.

Photo: Anna’s Hummingbird sitting in front of my kitchen window.

Hummingbirds are arguably the most popular birds in our gardens.  It’s not unusual to find hummingbird feeders hanging, enticing these flying jewels to come and drink of the sweet sugar water.

Of course, there are a large number of plants that promise to lure hummingbirds into your outdoor spaces as well so that you can sit and enjoy their antics.

But, what if you don’t have much space for gardening or maybe you simply want to create a special place for hummingbirds to visit.

container hummingbird garden

Well, a container hummingbird garden may be just the solution for you.

container hummingbird garden

I am very fortunate to have hummingbirds in my Arizona garden throughout the entire year.  Early last year, I decided to create my own hummingbird haven in some old plastic pots.  I gave them each a new coat of paint and got started.

container hummingbird garden

My son and dog, Polly, came out to help me add the new plants.

container hummingbird garden

At first, the plants looked rather small and straggly.  But, I knew that it would only a matter of a few months and they would fill out and look great.

It’s been about 20 months since I planted my hummingbird containers and I am treated to the view of these tiny birds sipping from the flowers with their long tongues.

I created a short video to show people what my garden looks like now and how they can create their own hummingbird haven with only a container.  I hope you enjoy it. 

For a list of plants that I used in my containers, click here.

**What are your favorite plants that you use to attract hummingbirds?

*This blog post contains affiliate links. If you click through and make a purchase, I may receive a commission (at no additional cost to you). Thanks for your support in this way.

I love to can fruit, and so I was very excited when the publishers of The All New Ball Book Of Canning And Preserving: Over 350 of the Best Canned, Jammed, Pickled, and Preserved Recipes asked me to test a recipe from their book, free of charge, for my honest review. 

My love affair with canning began a few years ago when I made my first batch of jam, under the guidance of my mother and I have never looked back.

The inspiration for me wanting to learn how to can food came with the family farm, which had a mini-orchard filled with apple, peach, and plum trees.  Since then, I’ve made blackberry, peach, plum, and strawberry jams as well as applesauce.

apple and peach

In fact, I enjoyed canning so much, that I planted apple and peach trees in my garden.

I must admit that it took me a long time to decide what recipe to choose because all of them were so tempting.  Who wouldn’t want to make blueberry-lemon jam, grapefruit marmalade, raspberry-lemonade jam, or vanilla bean-citrus marmalade?

jam recipes

In addition to creative jam recipes, there are also many delicious recipes for preserving fruits and vegetables as well as savory selections.

jam recipes

In the end, I chose to make a variation of nectarine-sour cherry jam.  

For this recipe, you could use blueberries, blackberries, raspberries, or even strawberries in place of the sour cherries.  Because my husband and kids love blueberries, that’s what I chose.

jam recipes

Isn’t the color combination beautiful?

jam recipes

As it cooked, the jam mixture began to turn a delicious shade of purple.

Once the jam was finished cooking, I poured it into sterilized mason jars and processed it in a boiling water canner.

jam recipes

Now, I have seven jars filled with delicious jam for my morning toast.

It’s important to note that the cookbook doesn’t have a beginners section for those learning how to can and preserve fruit and vegetables – its focus is more on creative, canning recipes.

The equipment needed for canning isn’t expensive or complicated to use.

Shop Ball® and Kerr® products at FreshPreserving.com

I blogged about my first canning lesson from my mom, when we made peach jam several years ago, that you can read here.

 I’ve also written about my experience at making applesauce and blackberry jam recipes.

How about you?  Do you like to can?  What is your favorite fruit, meat or vegetable to preserve?

**I received the book, “Ball Brand, Can It Forward” for free.  However, my review and opinions are my own.**

The newest member of our animal family is unique in that he isn’t furry and just happens to carry his house on his back.

Meet "Aesop" Our Sonoran Desert Tortoise

Sonoran Desert Tortoise

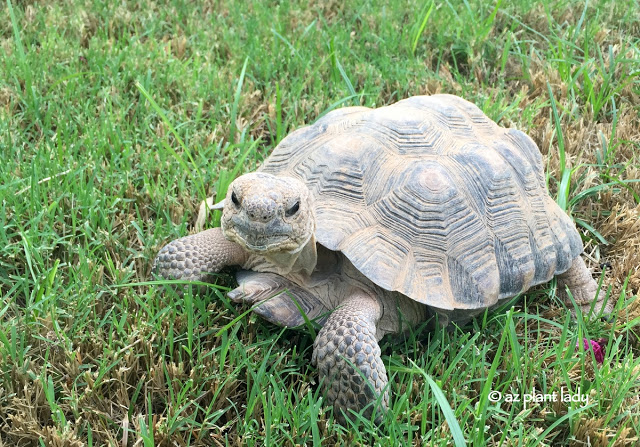
I’d like to introduce you to “Aesop”.

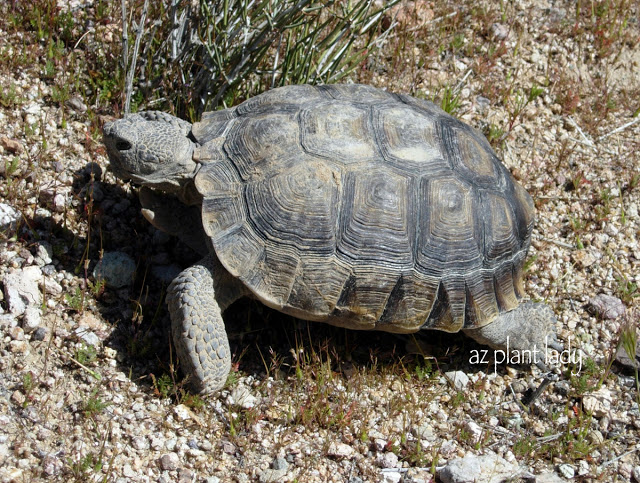
Aesop is a Sonoran desert tortoise who make their home in the deserts of the Southwest .

You may be wondering why someone would want to adopt a desert tortoise and how the process works.

As for the why, as a child, my best friend’s family had a tortoise who lived in their backyard.  His name was “Lopez”.  I always enjoyed watching him munching on grass as he slowly made his way through the backyard.

Meet "Aesop" Our Sonoran Desert Tortoise

Sonoran Desert Tortoise

In my career as a horticulturist who has spent a lot of time in the desert, I’ve come in contact with these special animals including helping one cross a busy road.

Due to loss of habitat in the desert as well captive tortoises breeding, there are many looking for homes.

My husband and I had always liked the idea of getting a tortoise, but with our dogs having free run of our backyard, it wasn’t feasible.

We recently created a dog run along our rather large side yard, so our dogs no longer have access to the backyard.  So, our dream of acquiring a desert tortoise could be fulfilled.

So how do you get a desert tortoise?

First, if you live in Arizona, California, Nevada or New Mexico, you visit your state’s Game & Fish Department’s website, where you learn about desert tortoises and then fill out an application.

Guidelines on creating a tortoise shelter is found on the website, which must be completed before you till out the application.

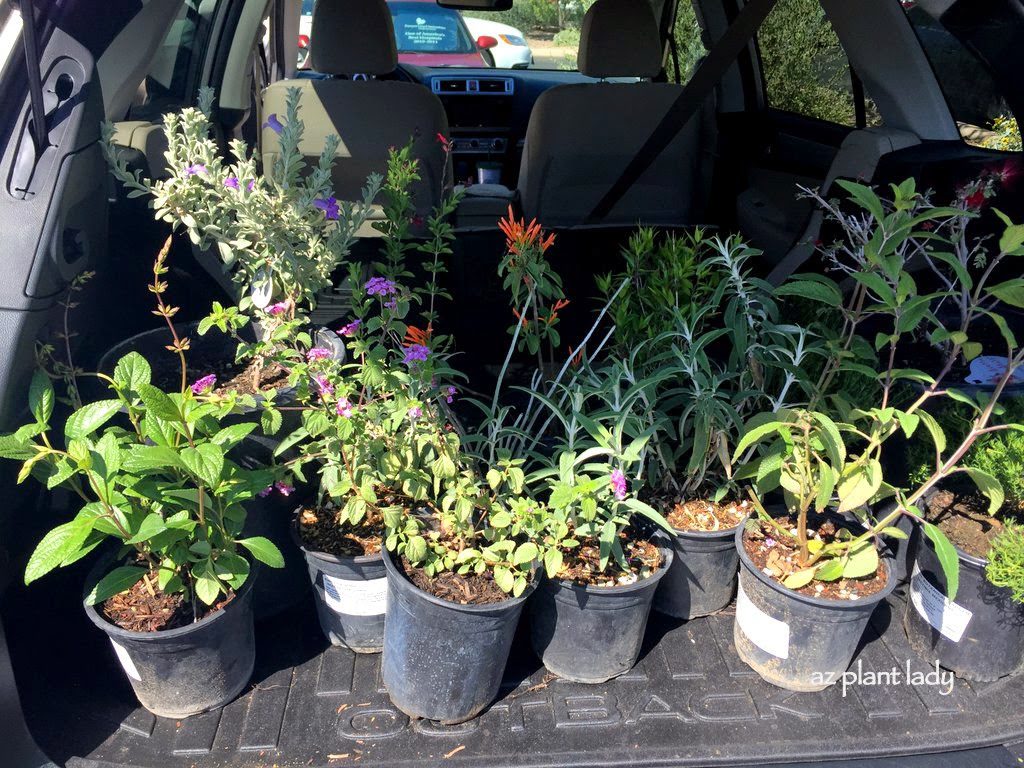
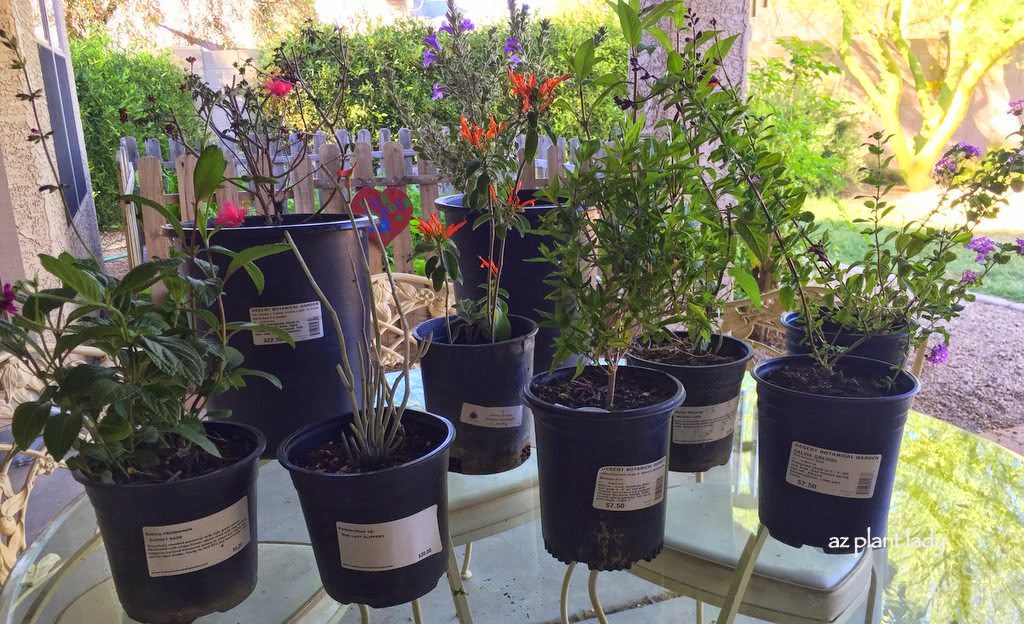
The application itself is fairly simple.  You need to take photographs of your backyard space and tortoise shelter, which you submit along with the application.

Once you are approved, you are invited to pick up your new tortoise.  

desert tortoise adoption facility

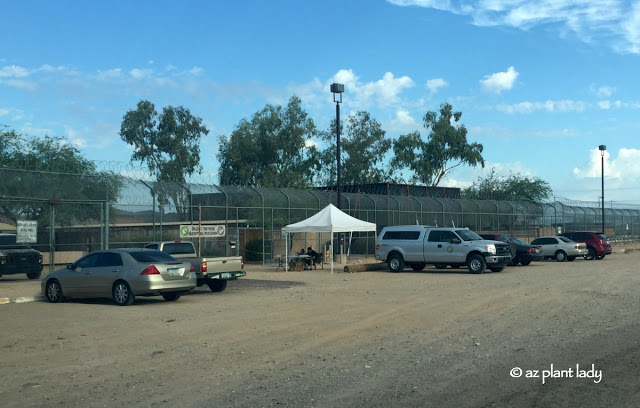
My husband, daughter and I headed out to the nearest desert tortoise adoption facility, which for us was at the Arizona Game & Fish Department’s facility off of Carefree Highway in Phoenix.

*There are several other adoption facilities throughout other areas in Arizona and other Southwestern states. 

desert tortoise adoption facility

We arrived on an adoption day where they were trying to have 50 desert tortoises adopted.

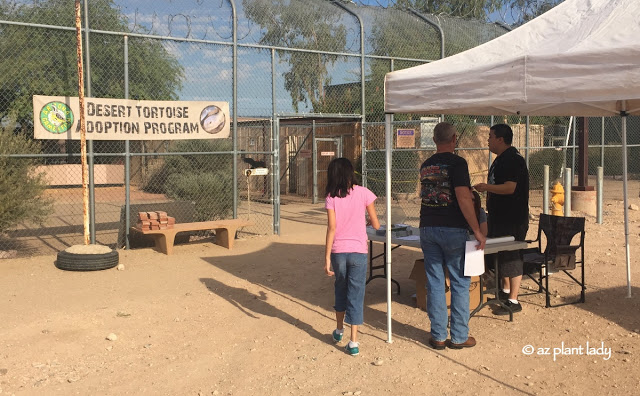
We showed them our application, gave a donation and went inside the gates.  

adult tortoises

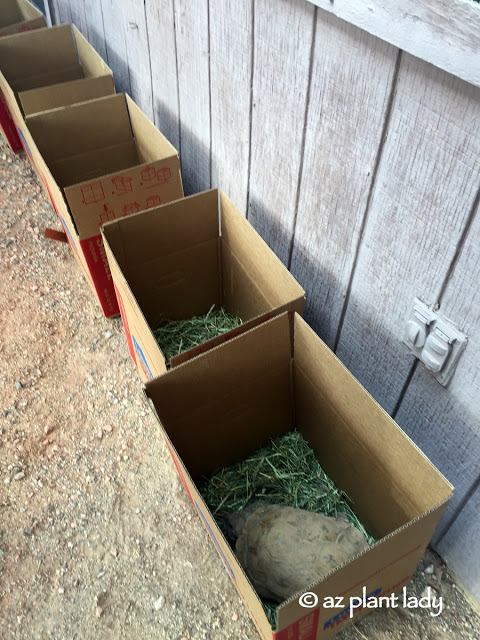
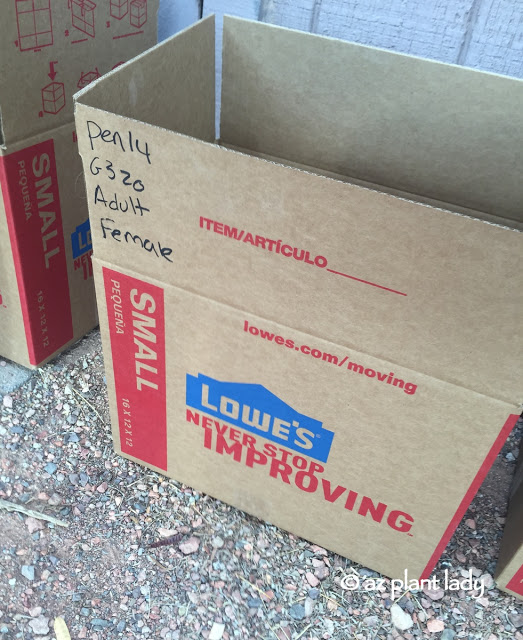
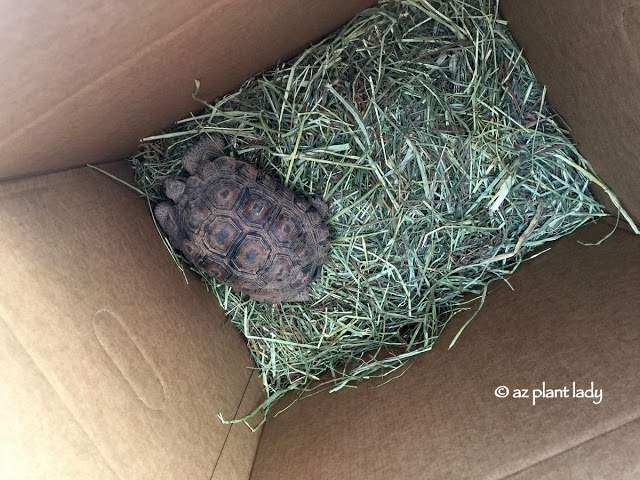
There were several adult tortoises, sitting in boxes just waiting for someone to pick them and take them home.

But, we passed them by so that we could see the baby tortoises.  

several young tortoises

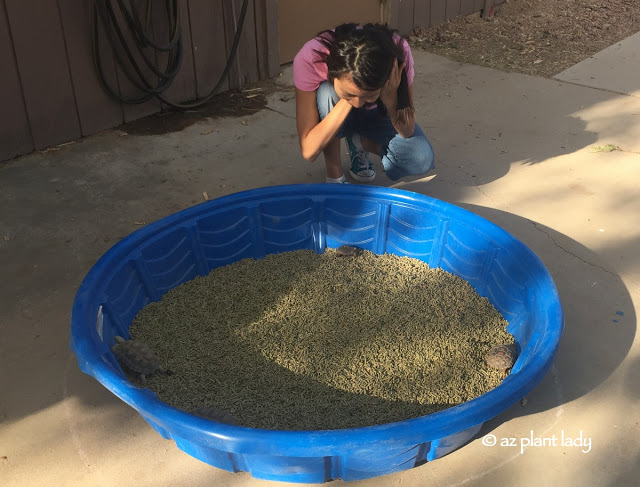
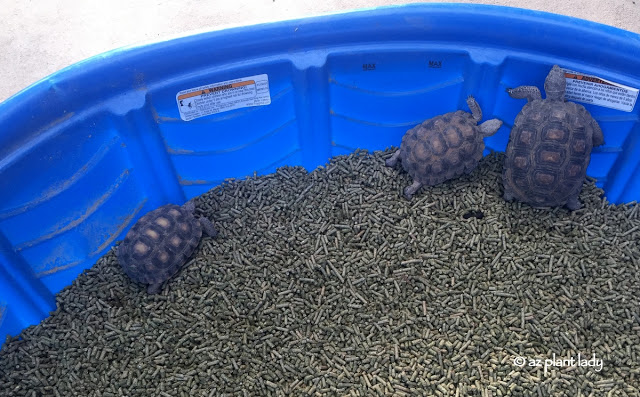
There were several young tortoises walking around in a plastic swimming pool

Meet "Aesop" Our Sonoran Desert Tortoise

The smaller tortoises in this photo were about 3-years old.

Meet "Aesop" Our Sonoran Desert Tortoise

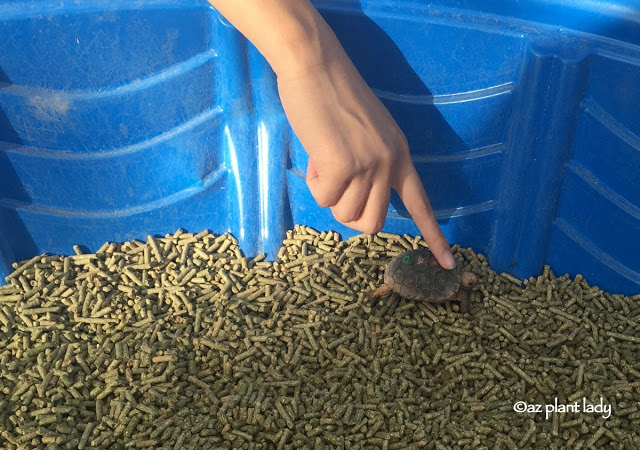
This tiny tortoise was the size of a cookie and was 1-year old.

We weren’t in the market for a baby tortoise, since our new home for our tortoise was not enclosed and we were afraid that they would get lost.

It was fun to see them though and get a better understanding on how slowly these reptiles grow.

 adult tortoises inside.

We walked back to the row of boxes to examine the adult tortoises inside.

Meet "Aesop" Our Sonoran Desert Tortoise

There were a few young females, which we decided against since they can carry sperm for up to 4 years and we didn’t want the chance of having baby tortoises.

Meet "Aesop" Our Sonoran Desert Tortoise

And another tortoise who had three legs.  He got along fairly well on his three limbs and we asked whether he was a male or female.

Meet "Aesop" Our Sonoran Desert Tortoise

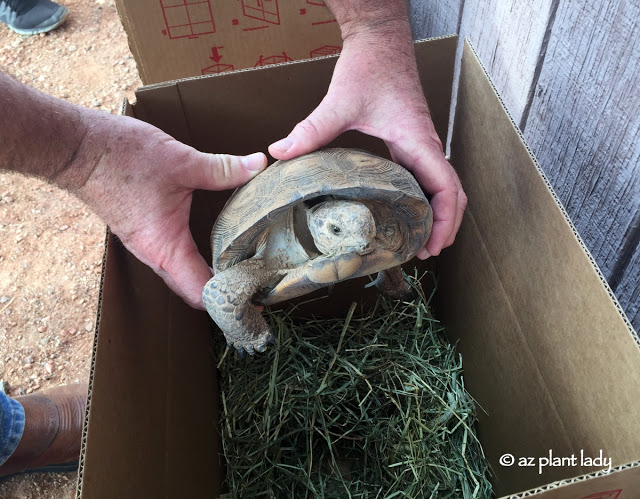
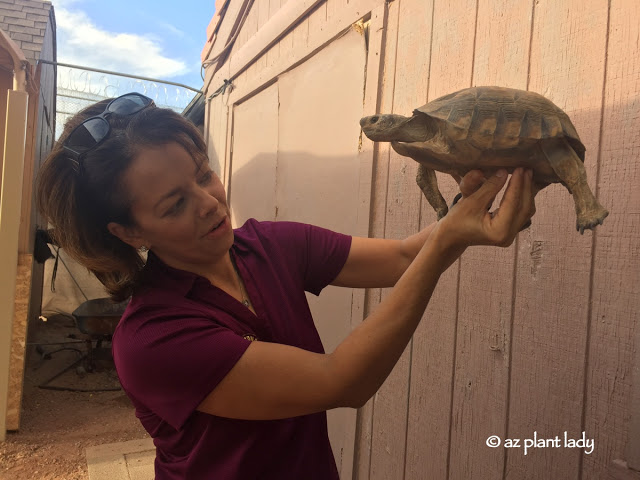
At that time, we were given a lesson on how to tell the difference between males and females.

Meet "Aesop" Our Sonoran Desert Tortoise

The underside of males are slightly concave while females had a flat underside. This tortoise was a male.

While we liked this one very much, we were worried that the may have trouble navigating the concrete curbing around our lawn, filled with Bermuda grass, which is a favorite food of desert tortoises.

Meet "Aesop" Our Sonoran Desert Tortoise

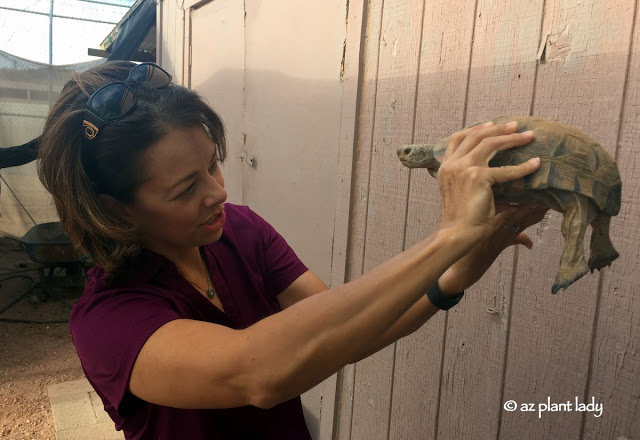
As we moved down the row of tortoises, we finally found one that was perfect.

male tortoise

This male tortoise was a good size and was very active…for a tortoise 😉

desert tortoise
desert tortoise

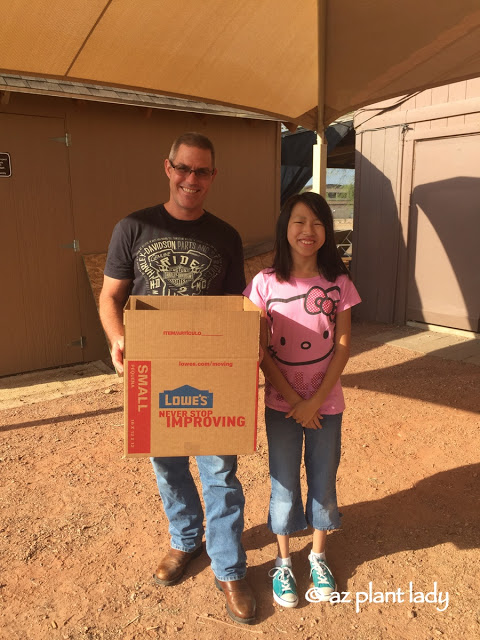
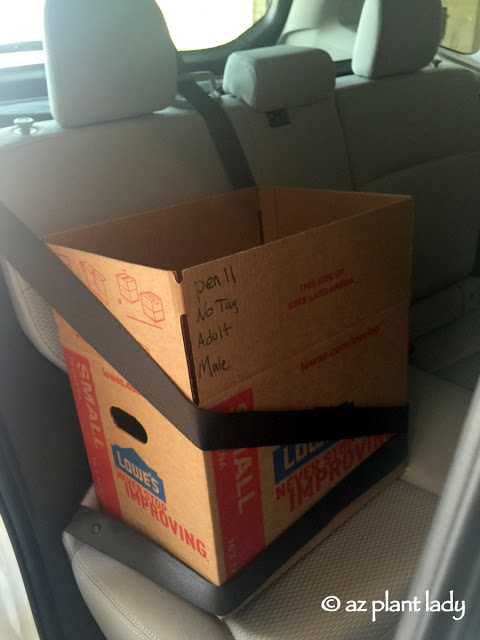
We took our tortoise and loaded him up in the car.

I don’t know who was more excited, my husband or my daughter, Gracie.

When you adopt a desert tortoise, you don’t ‘own’ them.  You are caretakers and aren’t allowed to take them outside of the state where you adopted them from.

Tortoises live up to 100 years, so people often hand them down to friends of family members.  Of course, you can always take them back to the facility where you adopted them from.

Aesop his new home

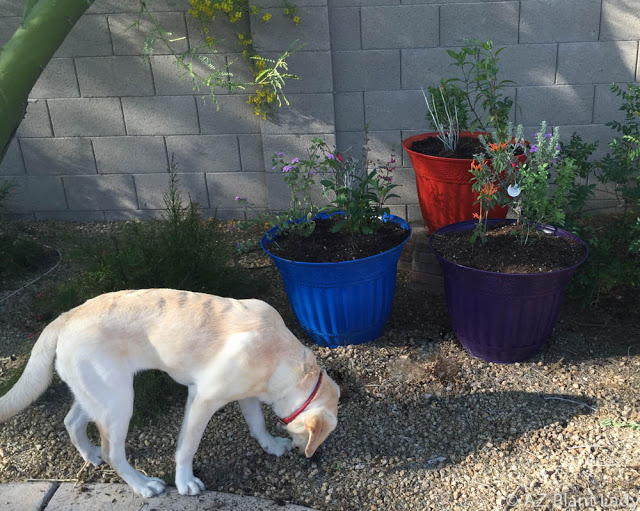
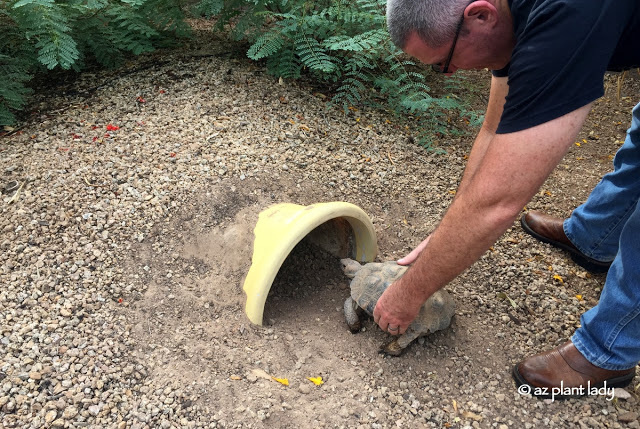
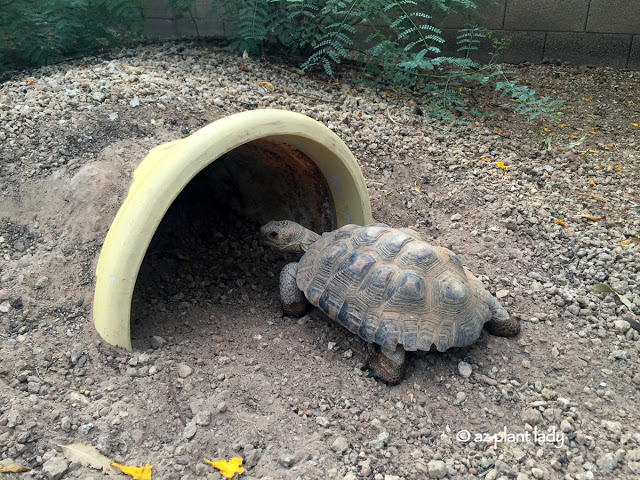
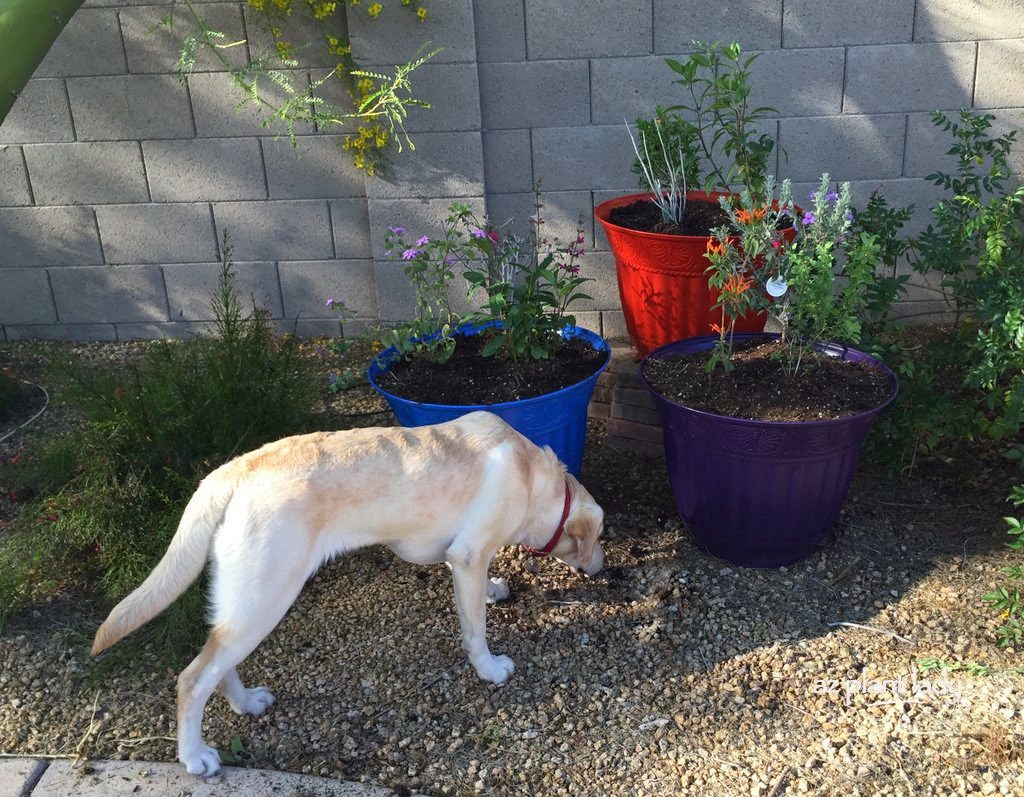
Once we arrived home, we showed Aesop his new home.

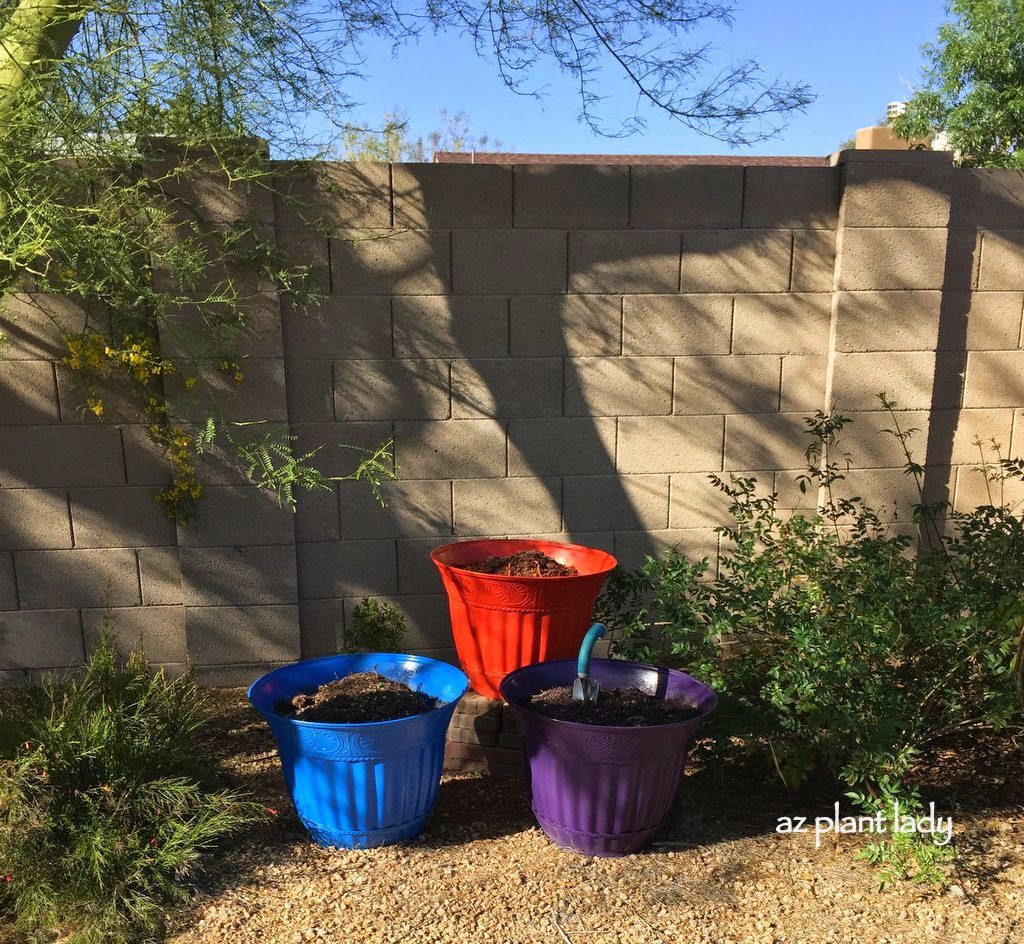
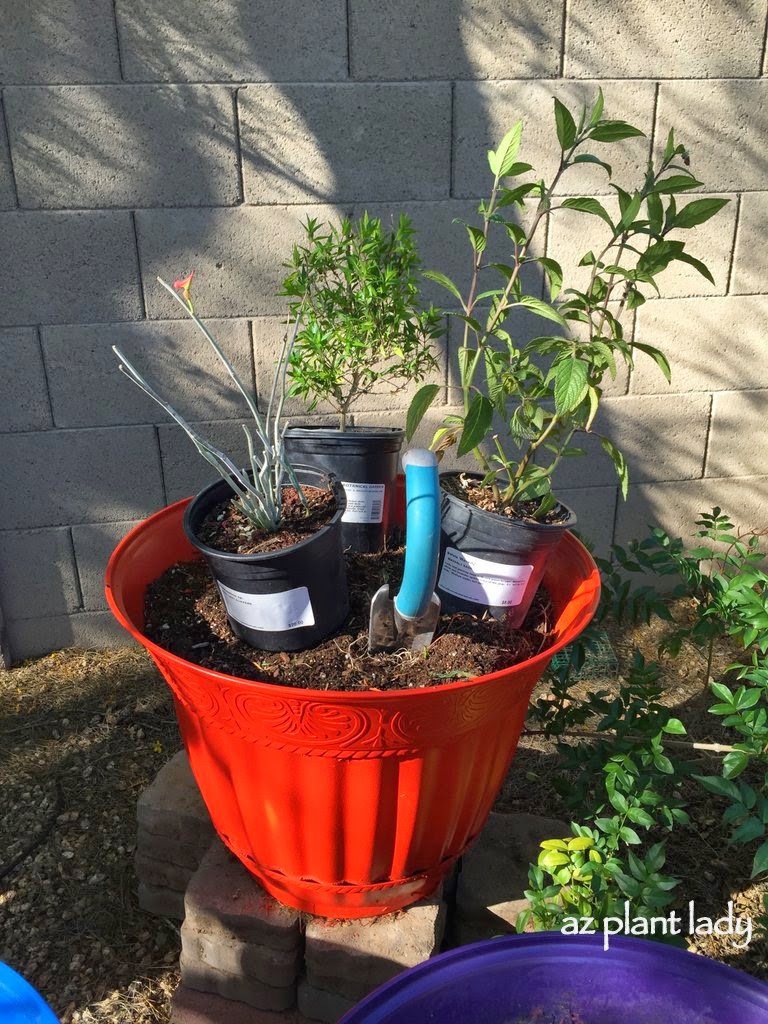
We created it out of an old plant container that we cut in half and buried with several inches of soil, which helps to insulate it against extreme cold and heat.

Aesop his new home

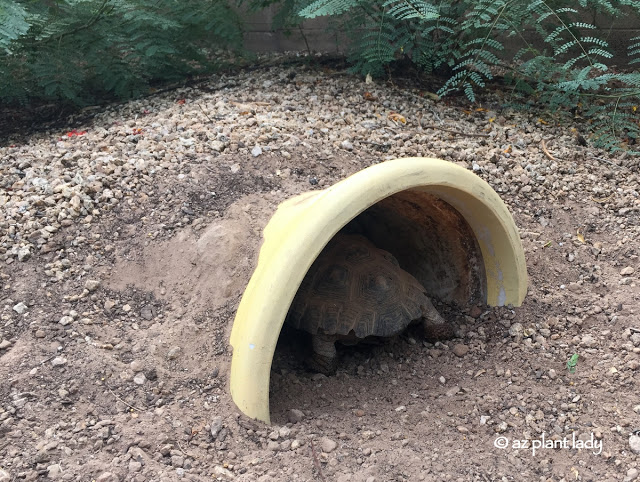
Aesop was curious about his new home.

Aesop his new home

We decided to name him “Aesop” in a nod to Aesop’s fable, “The Tortoise and the Hare.”

Aesop his new home

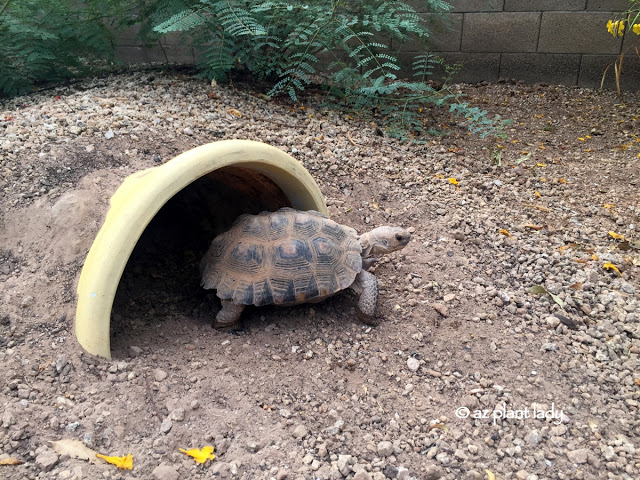
After a minute of looking in his shelter, Aesop headed out to explore his new habitat and then wWe stood and watched him slowly walk around.

Aesop his new home

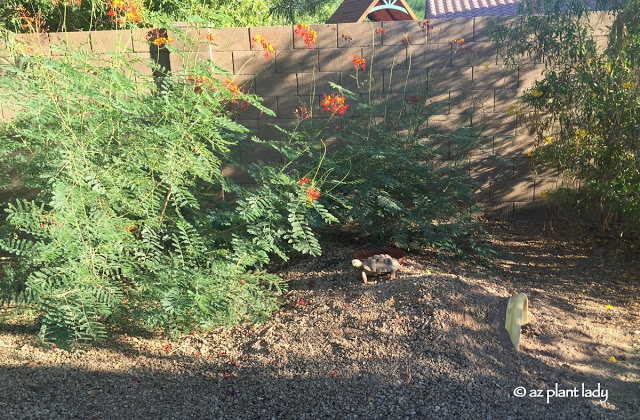
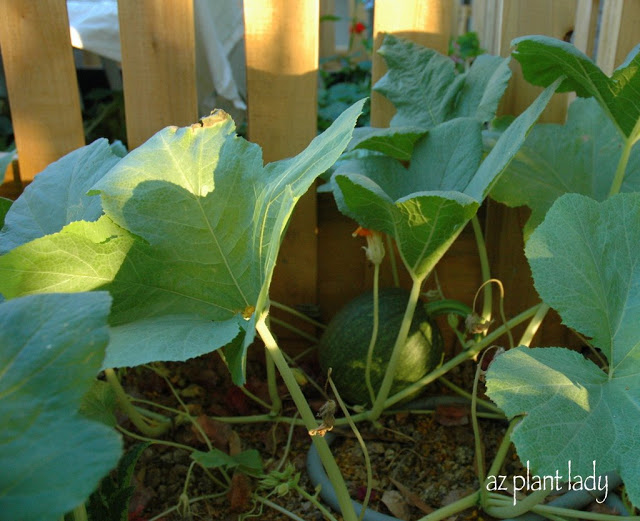
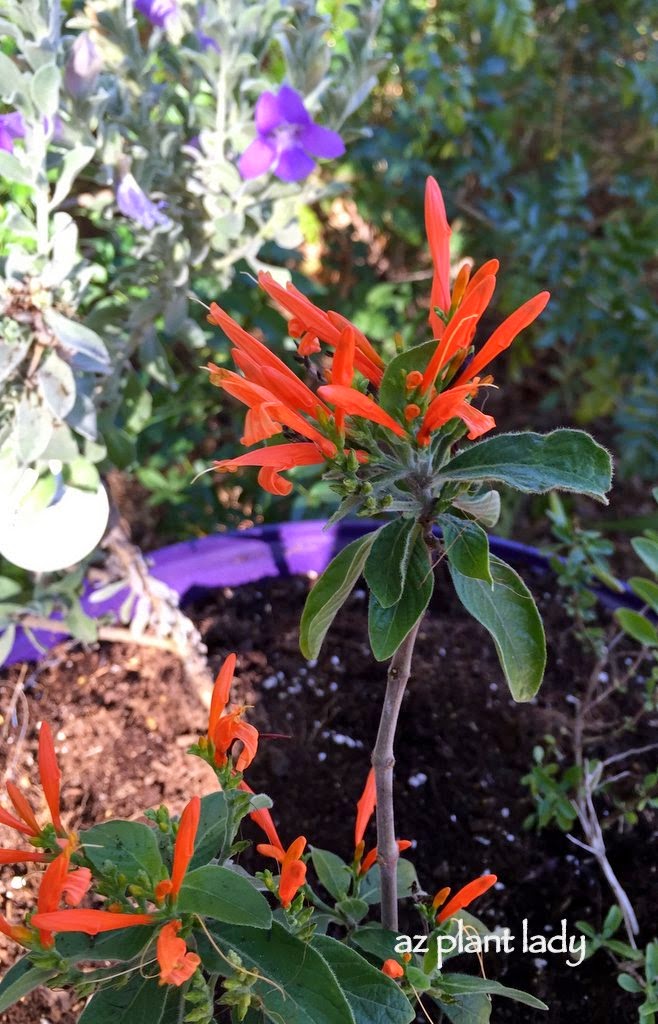
He nibbled on a few red bird-of-paradise leaves as he walked by.

walk on our lawn

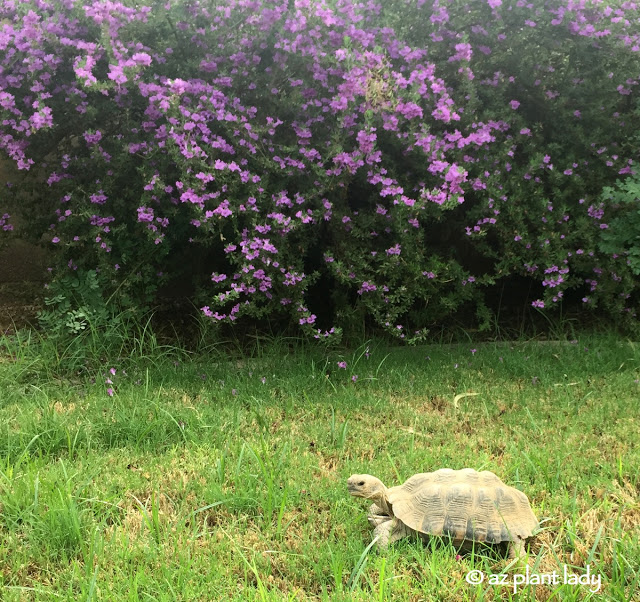
Grass is a favorite food of tortoises and he was happy to walk on our lawn.

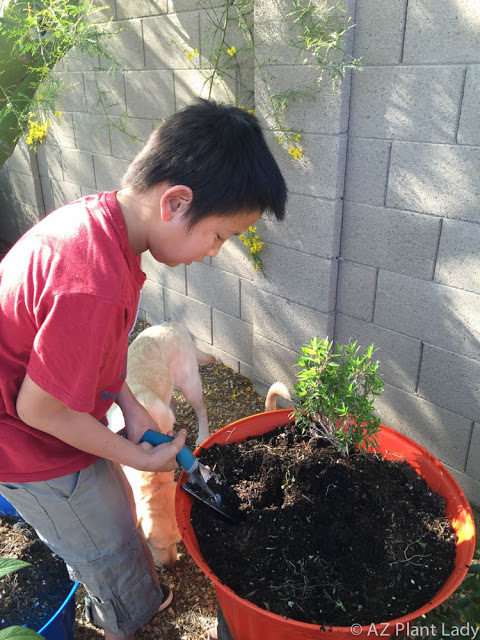
**The unevenness of our lawn is a rather recent development since our 13-year old son is learning how to mow.  As you can see, he has a bit more practicing to do before he gets it right.

Sonoran Desert Tortoise

Sonoran Desert Tortoise

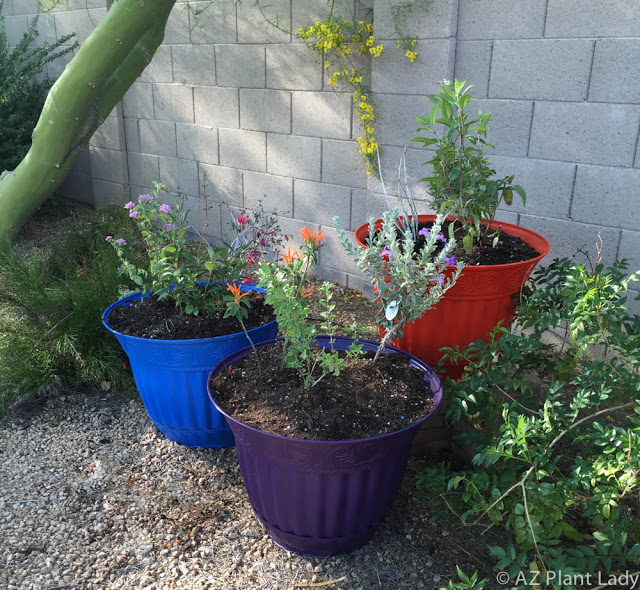
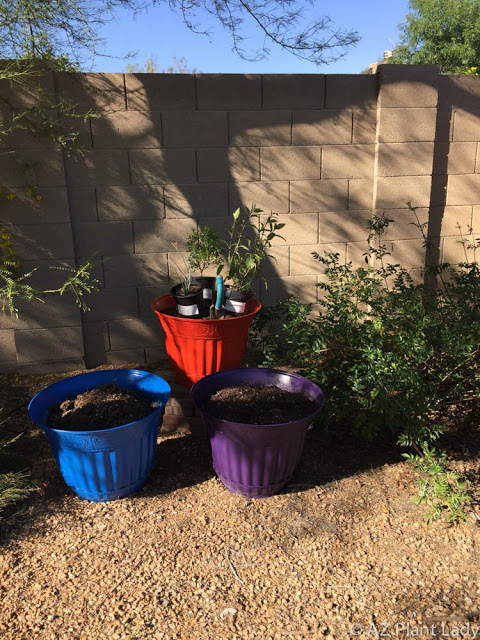
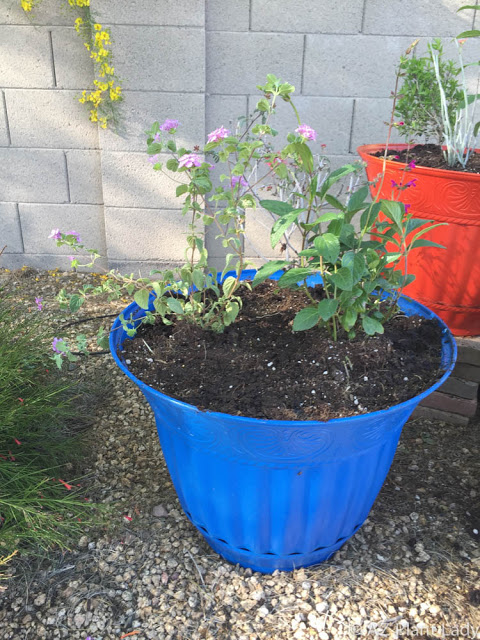
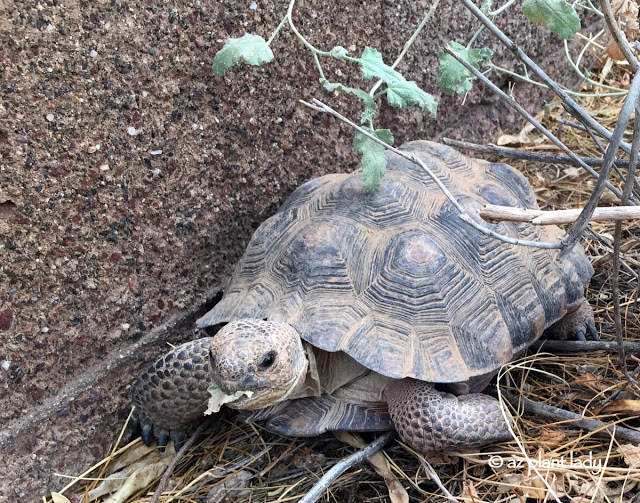
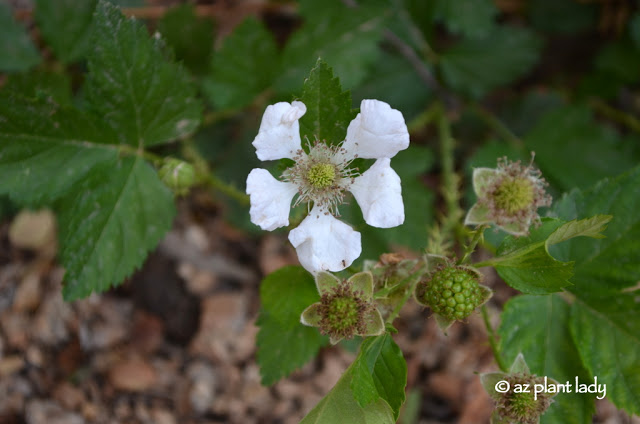
Exploring the areas against our block wall, Aesop soon found my globe mallow (Sphaeralcea ambigua), which is found on lists of plants that they like.  Our desert willow will also provide him with some of his favorite flowers too.

In the 3 days since we adopted him, he had spent a lot of time exploring the entire backyard including the patio and the areas underneath our shrubs and vines.

In the morning and late afternoon, we see him grazing on our lawn, taking a stroll on the patio before heading to his favorite spot…

Sonoran Desert Tortoise

Underneath our purple lilac vines, where he likes to spend the night.

We have fun walking outdoors and looking for him to see where he is.

In October, Aesop will hibernate until spring, but in the meantime, we will enjoy the privilege of hosting one of these desert animals.

**For more information on desert tortoise care and how to adopt them, click here.**

Have you ever seen a desert tortoise or know someone who has one?

Have you ever grown pumpkins?

The first pumpkin I ever grew

The first pumpkin I ever grew.

Right now, pumpkins are of three things growing in my summer vegetable garden alongside peppers and basil.

In June, I planted 4 different types of pumpkins – Cinderella (an old fashioned looking pumpkin), Lumina (a white pumpkin), Rouge Vif d’Etampes (a French heirloom pumpkin) and some seeds from an unknown heirloom pumpkin I bought at the store last year.

Male pumpkin flower

Male pumpkin flower

The pumpkin vines are growing nicely and the male flowers have begun to appear.

Pumpkins have both male and female flowers – the male flowers appear about 2 weeks ahead of the female flowers.

Lumina pumpkin

Lumina pumpkin

I’ve had both successes and some failures growing pumpkins.  Last year, I planted a Lumina pumpkin, which was so beautiful.

This summer, I decided to dedicate my entire potager vegetable garden to growing pumpkins.

Why an entire vegetable garden you may ask?

growing pumpkins

My first attempt at growing pumpkins began in my smaller vegetable garden, located just off of my back patio.

I remember being so excited when my pumpkin seedling grew its first pair of ‘true’ leaves.  

growing pumpkins

But, what I had not prepared for was how wide it would grow – a lesson on why reading the label on the seed packet is important.

My young pumpkin seedling soon outgrew my little vegetable garden and in fact, most of its growth extended outside of the garden.

I patiently (not)! waited for signs of a young pumpkin to form.

young pumpkin growing

You can imagine how thrilled I was at finding this young pumpkin growing a couple of weeks later.

vegetable garden

The only issue was that it was growing outside of my vegetable garden.

The Summer Vegetable Garden: Pumpkins!

To be honest, I didn’t really care – there was plenty of room for it and it seemed happy perched on top of my garden hose.

The Summer Vegetable Garden: Pumpkins!

It grew fairly rapidly and soon its green color lightened to a beautiful orange.

pumpkin

As you can see, it wasn’t a large pumpkin – smaller varieties are easier to grow in the home garden.

White 'Lumina' pumpkin hidden underneath the leafy vines

White ‘Lumina’ pumpkin hidden underneath the leafy vines.

My hope for this year’s crop is that I will soon find young pumpkins growing underneath the huge leaves of my pumpkin vines.

How about you?

Have you ever grown pumpkins?

What types?

Any helpful tips you’d like to share?

********************************

On a personal note, I’ve been knocked flat by a virus – neverending cough, sore throat, headache, aches, fever, etc.

I’ve always found it surprising to get a flu-like illness in the middle of summer and not during the cold winter months, which actually works better for me since I my work tends to slow down in summer.

After 7 days, I am slowly getting better and am  thankful for the timing of my illness.  Next week – July 31st – August 2nd, I’ll be a presenter at the annual Hummingbird Festival and it would be almost impossible to give two separate 1-hour presentations with the current condition of my throat right now.

Sorry for complaining, I have a bad case of cabin fever, but my body isn’t up for doing much of anything except for a 10 minute walk this morning through my gardens to see how they are doing – but that felt wonderful!

I hope you are staying healthy this summer!

Blackberries, Jars and a Young Helper

Do you grow fruit in your garden?  

For those of us who live in warm, southern climates, you’ll often see a citrus tree or two in the growing in the backyard.  

While I do have a lemon and orange tree growing in my garden, that is just the beginning of my fruit crop.  I also have a pair of apple and peach trees that generously provide us with fruit in late spring.    

The final fruit crop that I grow isn’t found on a tree but rather on bushes.  

Blackberries, Jars and a Young Helper

Ever since I was a child in Southern California, I have loved blackberries.  We had a line of blackberry bushes growing along the back wall of our suburban home and it was often a race between us and our dog ‘Smitty’ to see who would get to them first.  

Now, I have my own blackberry bushes growing in my side garden, which are located right behind my apple trees.  

While I enjoy eating fresh fruit, I also like to make jam so that I can enjoy the fruits of my garden throughout the entire year.  

Last month, I made several batches of peach jam and last week, it was time to make my first batch of blackberry jam.    

It took a few weeks to get all of the blackberries picked from the bushes.  The reason for this is that not all the berries ripened at once, so we would freeze them after picking until the entire bush was clean of berries.

Blackberries, Jars and a Young Helper

My 13-year-old son asked if he could help me make the jam.  I was pleasantly surprised that he would want to help me, but I will take any opportunity I can to spend time with my son.

Blackberries, Jars and a Young Helper

We gathered supplies – canning jars with lids, sugar, powdered pectin and a canner.  

The first step involved mashing the blackberries in a large pot before adding the powdered pectin.

Blackberries, Jars and a Young Helper

The blackberry mixture had to be heated to a high temperature until it began to boil.

Blackberries, Jars and a Young Helper

Then it was time to add the sugar.  Jam takes a lot of sugar, but I don’t like mine overly sweet, so I decreased the amount of sugar by 1 cup.

It helps to have the sugar pre-measured before boiling the fruit mixture.

Blackberries, Jars and a Young Helper

After adding the sugar, we needed to heat the mixture back up to boiling.  It was nice to have a helper, since you have to stir the entire time.  Once it begins to boil, you have to let it continue for 1 minute before taking off the heat.  

Take a couple of minutes to scoop off any foam that accumulated on the top of the blackberry jam before filling sterilized jam jars.

blackberry jam

We carefully added the hot blackberry jam mixture into the jam jars.  It smelled so good that we were tempted to try some, but decided against it since we didn’t want to burn our mouths.

blackberry jam

Using the handy magnet utensil that came with my canning kit, I carefully put on the lids.  

At this point, you can allow the jam to cool and then enjoy it on toast or English muffin.  But, you will need to refrigerate the jam unless you want to preserve it by processing it by water bath canning.

blackberry jam

A hot water canning bath involves submerging the jars of jam in boiling water for several minutes.  This will preserve the blackberry jam and allow it to last over a year on the pantry shelf.  

Canning kits include a large pot, metal insert, funnel, magnet utensil for lids and tongs.  They are relatively inexpensive and can be found at Walmart or Amazon.  I have even seen them in my local Ace Hardware store.

blackberry jam

After a 10-minute boiling water bath, the jam was ready to be taken out carefully with tongs.    

We let them sit overnight to cool before eagerly tasting the fruits of our labors.    

It is hard to compare the delicious taste of homemade jam that was made from fruit from your own garden.  In fact, I find myself tempted to make a second piece of toast just so I can enjoy some more delicious blackberry jam.  

Of course, you don’t have to grow your own fruit to be able to make jam – simply buy some fruit at your local grocery store or farmers market.  Earlier this month, I saw 1/2 pint containers of blackberries on sale for 97¢.  

While I make jam every year, this was the first time I’ve made blackberry jam and I can’t wait until next year to make some more.  

Thankfully, I have eleven jars to last me through the next year.  

***********************  

Want to learn more about canning?  

If you are lucky, maybe your grandmother, mother, or aunt can teach you.  5 years ago, my mother taught me how to make jam and I’ve never stopped.

If you don’t have anyone to teach you, a simple Google search can help you find a class offered nearby or you can learn how to online.

Do you like butterflies?

It’s hard to find anyone who doesn’t.  The sight of a butterfly makes us pause whatever we were doing and take a few moments to observe their fragile beauty.

Desert Botanical Garden's butterfly

Kids are even more entranced by butterflies.  Every year, I take my kids to visit the Desert Botanical Garden’s butterfly exhibit where they can view them up close.

Butterfly Gardening

What if you could attract more butterflies to your garden?  It’s not hard to do.

Butterfly Gardening

Adding plants to your garden that attract butterflies is also a great way to add both beauty to your outdoor space.    

We are fortunate that there are countless plants that make butterfly gardening in the Southwest garden both fun and rewarding.

adult butterflies love lots of flowers

Like most of us, adult butterflies love lots of flowers.

Butterfly Gardening

While I enjoy seeing butterflies visiting my own garden, I’ve also had the privilege of designing a butterfly and hummingbird garden alongside a golf course a few years ago.

Butterfly Gardening for the Southwest Garden

It’s so enjoyable to walk through the winding path and sit underneath the shade of palo verde trees and see the butterflies fluttering nearby.

Butterfly Gardening for the Southwest Garden

So, would you like to create a garden that attracts butterflies?    

You don’t have to do one on a large scale, adding a few plants or creating a container filled with butterfly-attracting plants is fun and easy to do.

Butterfly Gardening for the Southwest Garden

To get started, here is a great resource with lists of plants that will attract butterflies to your Southwest garden.  In addition, there is also a handy photographic guide to help you identify the butterflies who visit your garden.  

**Do you have any plants in your garden that butterflies seem attracted to?**

Does the idea of attracting hummingbirds to your outdoor space appeal to you?

It’s hard to find anyone who wouldn’t welcome these colorful visitors.

The best way to attract hummingbirds is to have a garden filled with their favorite nectar plants, but what if you don’t have a garden space or any room for additional plants?

What can you do to attract hummingbirds besides hanging out a hummingbird feeder?

Create your own hummingbird container garden!

Imagine a pot filled with one or more plants that are irresistible to hummingbirds. A container takes up little room and enables you to attract hummingbirds to your garden whether your outdoor space is an acre or a small apartment balcony.  

Creating a Hummingbird Container Garden

Hummingbirds always seem to be flitting around my garden and they love to perch up high in my cascalote tree.

I recently set out to create three different hummingbird container gardens in my backyard.

The reason that I decided to do this was that I was asked by the Hummingbird Society to be a speaker at the Sedona Hummingbird Festival this summer. The topic of my presentation will be teaching people how to create their own hummingbird container garden. So, I thought that it would be a fun project to create my own.

Many people rely solely on hummingbird feeders to attract hummers because they don’t have enough garden space. My hope is that I can show them that they can have a mini-hummingbird garden despite their limited space.

I must admit, that I love it when I have to buy plants for a project. So, I headed out to the Desert Botanical Garden’s spring plant sale.  

Creating a Hummingbird Container Garden

I had a wish list of nine plants that I wanted to use and I was thrilled to find them all.

vegetables and flowers

The pots that I decided to use were repurposed.  They used to be located next to my vegetable garden where I would plant a mixture of herbs, vegetables and flowers in them.

The problem was that my 7-month-old puppy, Polly, kept eating the edible plants out of them. So I decided to use them for non-edible plants in hopes that she would leave them alone.

I had bought the pots 3 years ago – they were on sale at Walmart for $5 each. I had painted them using spray paint that was suitable for use on plastic.

For my portable hummingbird garden, I moved the pots to an area that receives filtered shade underneath my ‘Desert Museum’ palo verde tree. I also gave them a new coat of paint to freshen up the colors.

To add height and definition, I raised the orange pot by placing it on some leftover step stones.

attracting hummingbirds

Each container was to have 3 different plants.  I had some fun deciding on the combinations for each pot.

For the orange container, I decided to plant a succulent mini lady’s slipper(Pedilanthus macrocarpus), Mexican fire (Anisacanthus quadrifidus var. wrightii) and Waverly sage(Salvia ‘Waverly’).

I confess that I have never grown any of these plants in this container before, which makes this project even more fun.

While I have grown the regular-sized lady’s slipper,  I didn’t know there was a mini variety until I saw it at the sale and I knew that I just had to have it – it would be a perfect size for a container. (One thing that I love about the Desert Botanical Garden’s plant sales is that you can often find unusual or rare types of plants).

Mexican fire will bloom spring through fall, producing red flowers. I don’t have any experience growing this shrub at all, so this project will be a learning experience.

The salvia, ‘Waverley’ sage, has white and lavender flowers, which are beautiful. Like most salvias, it will do best in filtered shade in the desert.

Polly is checking out what we were doing

Polly is checking out what we were doing.

My son, Kai, was excited to help out with the project. He decided that the orange pot would be his so he wanted to add the plants himself.

Blue Bells(Eremophila hygrophana), Mexican honeysuckle(Justicia spicigera) and red autumn sage(Salvia greggii).

Next up was my purple pot.  In it went Blue Bells(Eremophila hygrophana), Mexican honeysuckle(Justicia spicigera) and red autumn sage(Salvia greggii).

Blue Bells is a relatively new plant on the scene and this Australian native flowers all year long and has evergreen foliage.  I have used it a lot in recent designs but this is the first one in my own garden.

Autumn sage has always been a favorite of mine – especially in areas with filtered shade where their red flowers will decorate the landscape fall through spring.

Mexican honeysuckle had been my go-to choice for shady areas where its bright green leaves and orange flowers look great all year.  After 17 years as a horticulturist, there is finally one in my landscape.  

Sierra Star(Calliandra 'Sierra Star'), garnet sage(Salvia chiapensis) and purple trailing lantana(Lantana montevidensis)

The blue pot contains a newer plant variety, an unknown and an old favorite.

Sierra Star(Calliandra ‘Sierra Star’), garnet sage(Salvia chiapensis) and purple trailing lantana(Lantana montevidensis) made up the last trio.

Sierra Star is a hybrid with two famous parents – pink fairy duster(Calliandra eriophylla) and Baja fairy duster(Calliandra californica). It blooms throughout the year, producing reddish-pink flowers.  I have used in several new designs and am so excited to have it in my garden.

Garnet sage is another salvia that I am looking forward to learning more about. It has lovely magenta flowers and attractive foliage.

Some people may be surprised to learn that purple trailing lantana attracts hummingbirds, but you’ll find it on most hummingbird plant lists and I’ve seen them feed from lantana before.  

attracting hummingbirds

As with all container plantings, I used a high-quality planting mix.

As I stepped back to admire my work,

attracting hummingbirds

Unfortunately, someone else decided to come and admire my hard work too.

attracting hummingbirds

I admit that I haven’t had much trouble with dogs eating my plants until Polly and her sister Penny came along.

attracting hummingbirds

My hope is that after she gets used to them, the newness will wear off and she will learn to ignore them.

Until then, we put up a temporary barrier.

attracting hummingbirds

Thankfully, the barrier won’t keep the hummingbirds away. In my experience, it takes a few days for them to notice new plants (and hummingbird feeders).

I’ll keep you updated as to how my hummingbird container does and will take photos along the way that I can use in my upcoming presentation.