Heat proof garden plans are easy to put together. Forecasts of a heatwave in the desert may seem a rather foreign concept when temperatures in summer are routinely over 100 degrees. However, when temps are predicted to be 110 degrees and over, plants in landscapes that normally handle hot weather without complaint, can suffer.
Mastering the Art of Creating a Heat-Proof Garden
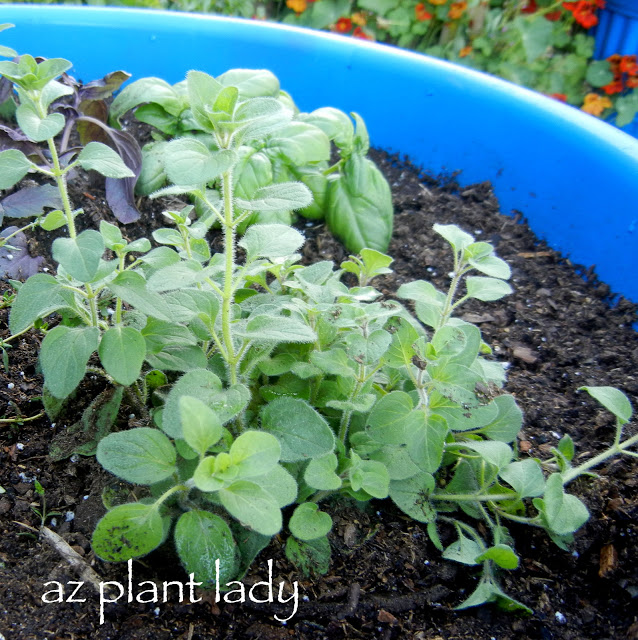
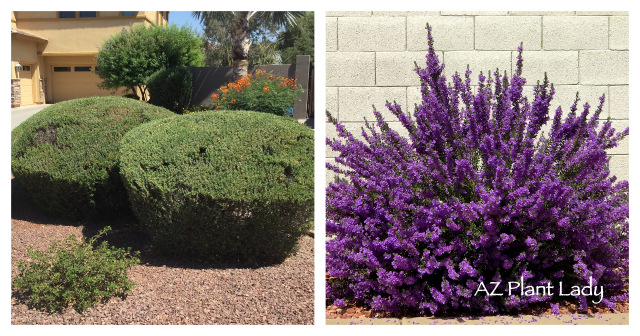
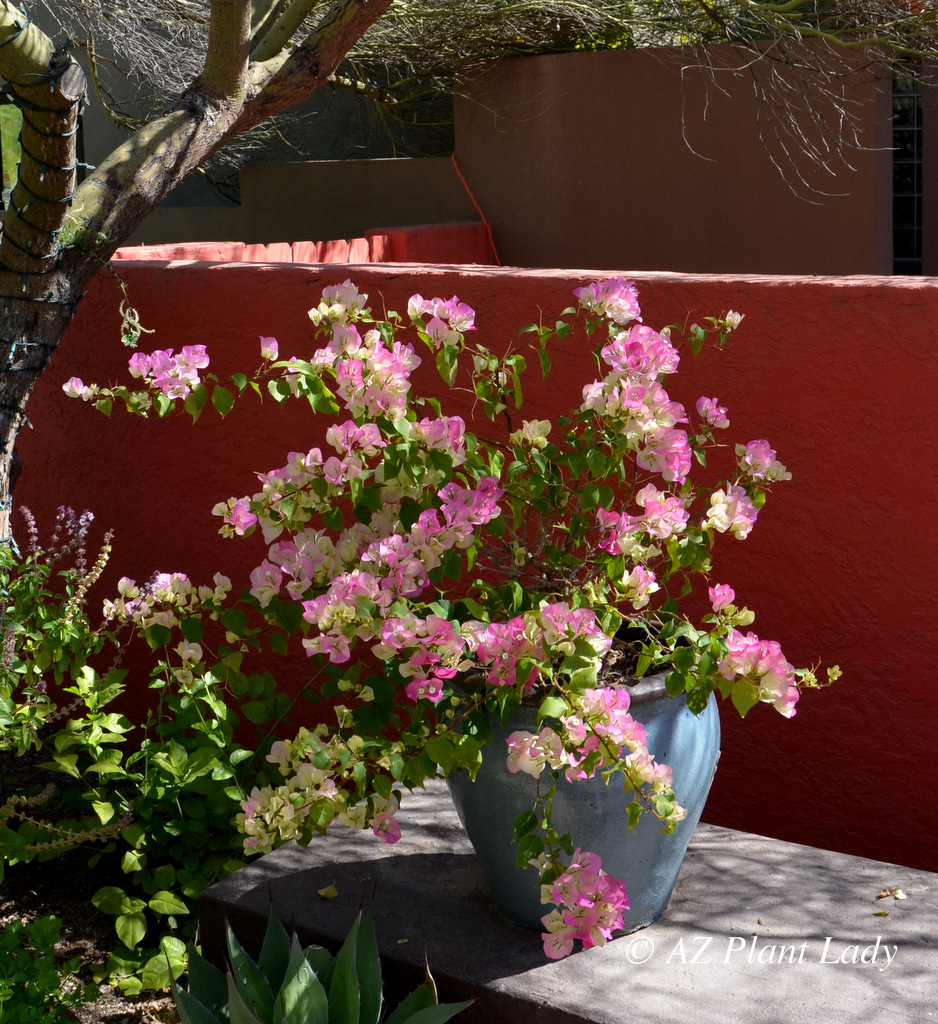
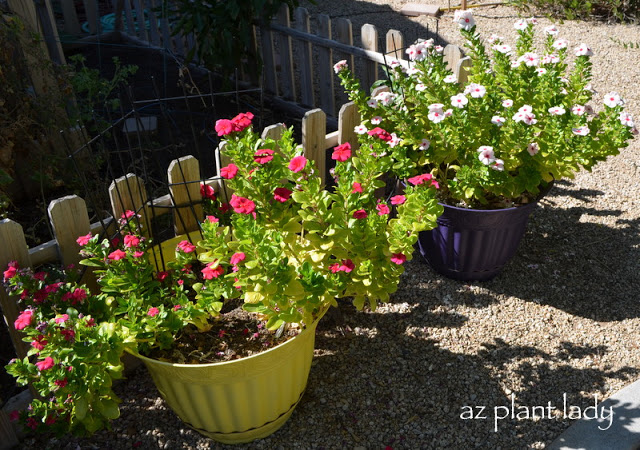
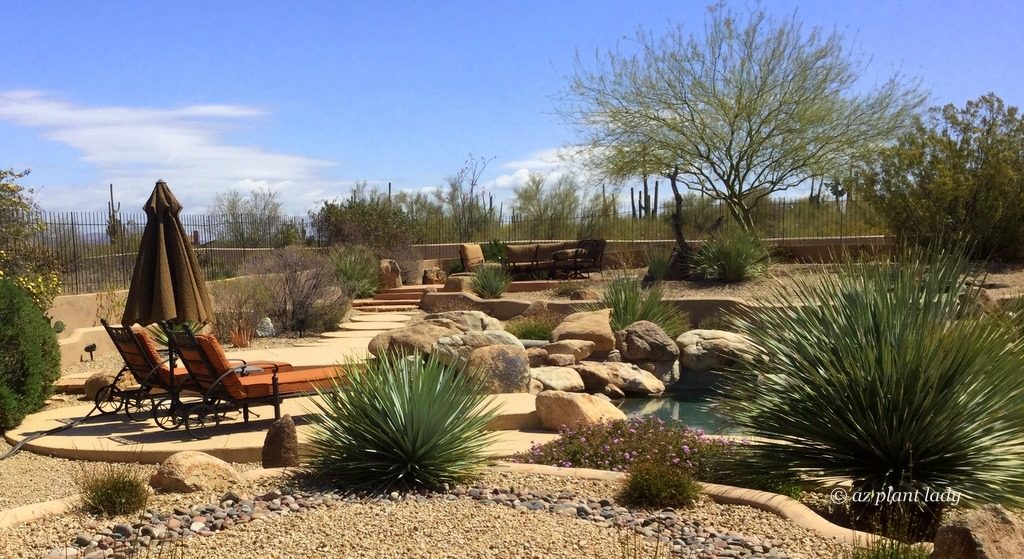
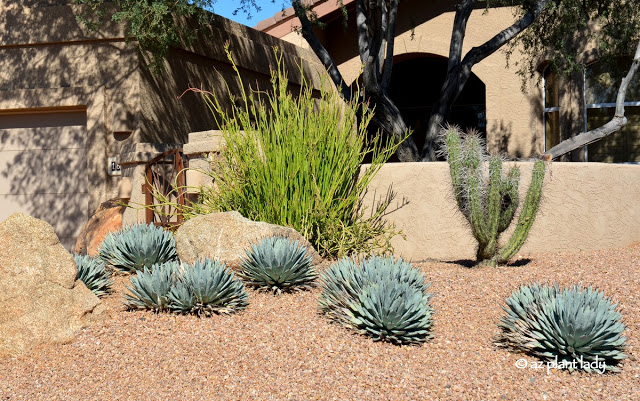
preparation for heat proof garden
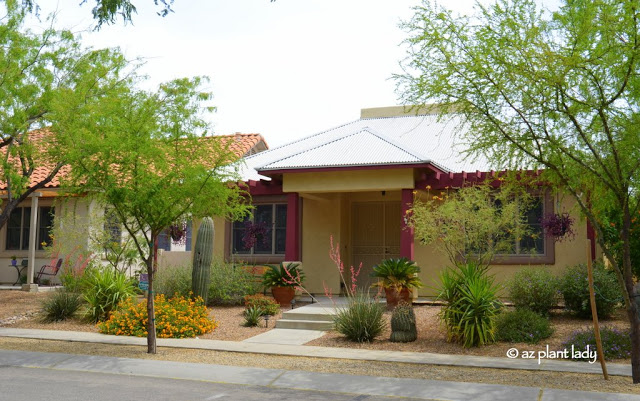
Preparation is Key: Heat-Proofing Your Landscape
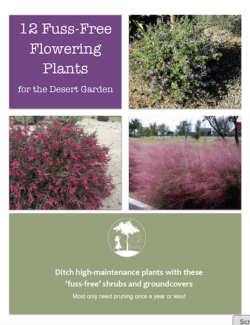
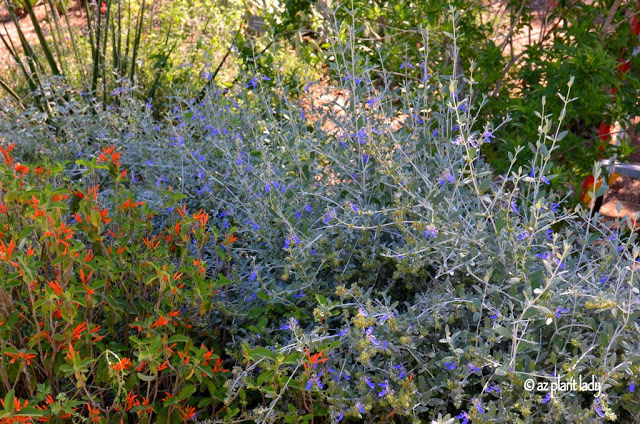
The best preparation for heat-proofing your landscape begins before summer. Plant fuss free plants that really handle the expected heat well. However, with the imminent arrival of a heatwave, here are two tips that will help your plants survive.
1. Strategic Watering for Extreme Heat
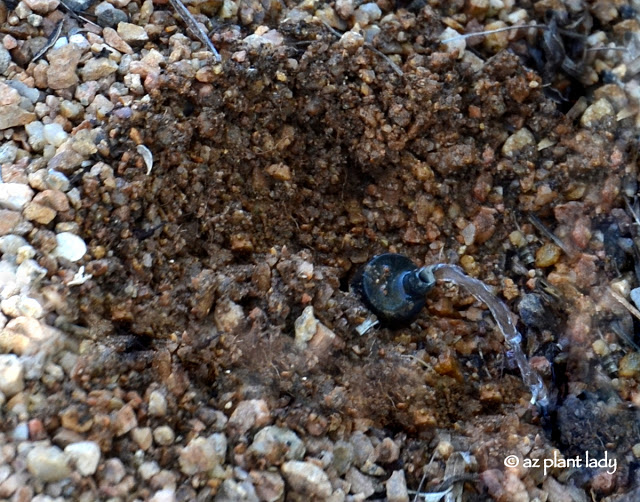
Provide extra water by irrigating shrubs and groundcovers in the early morning hours for an extra 1/2 hour when temperatures are forecast over 115 degrees.
Plants can uptake water more easily in the early morning as opposed to being watered during the day. During the heat of the day, plants have to devote much of their resources to handle the stress of the heat and cannot uptake water efficiently. Therefore, it’s best to water early in the morning so that they are replenished with water and ready to face the excessive evaporation that will occur with temperatures over 115 degrees.
*It’s important not to overwater plants, so if the heatwave lasts more than three days, skip a day between providing extra water.
2. Shielding Plants from Intense Sun during Heatwaves
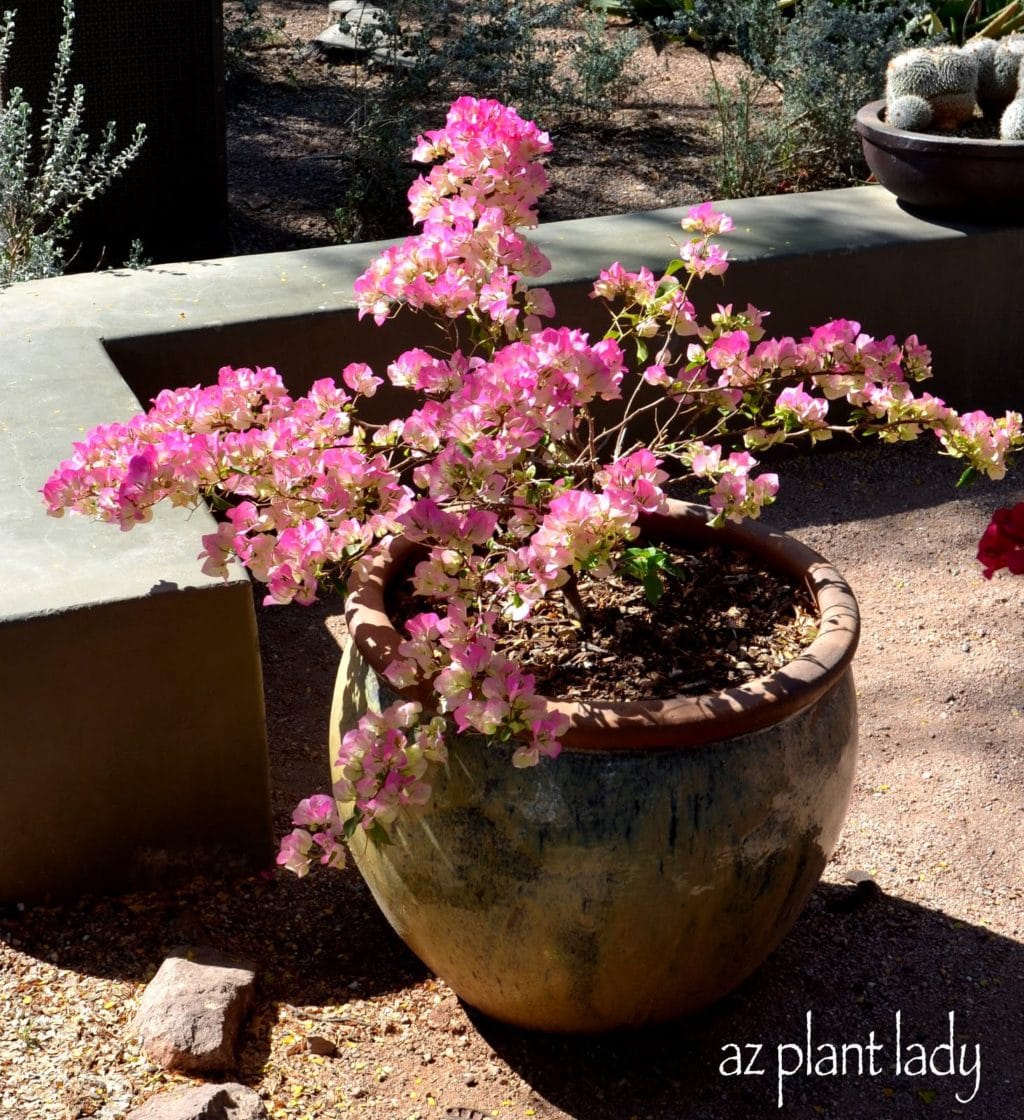
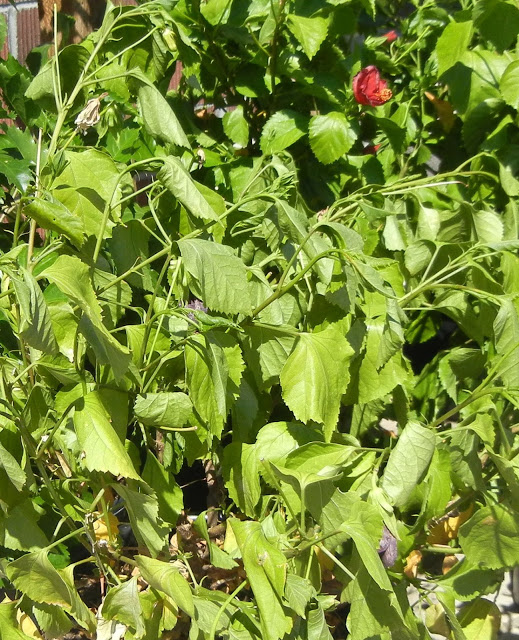
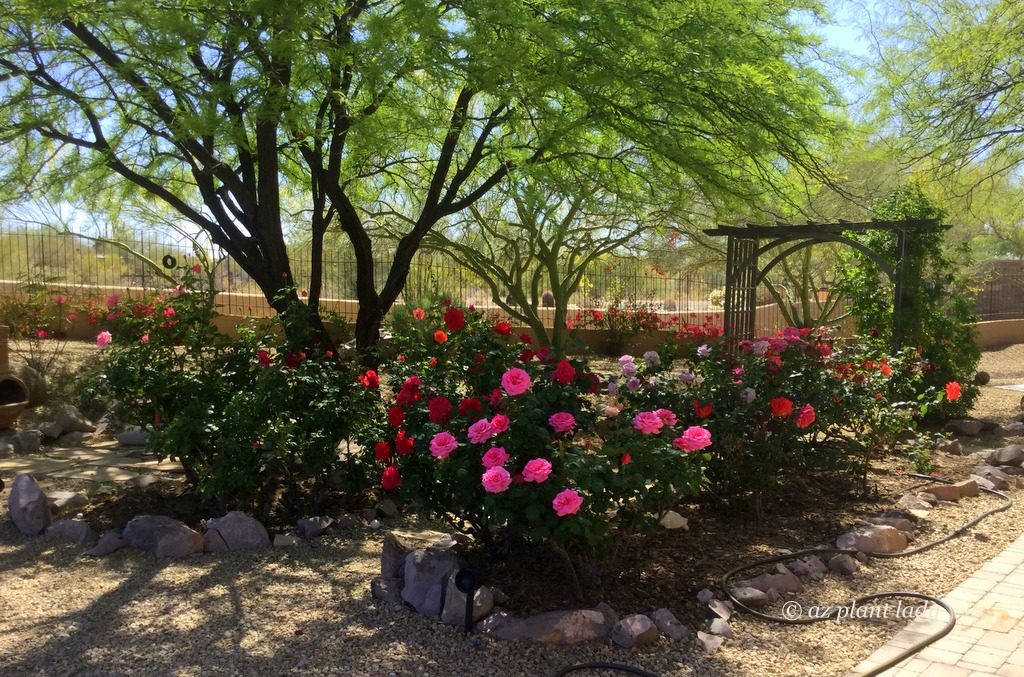
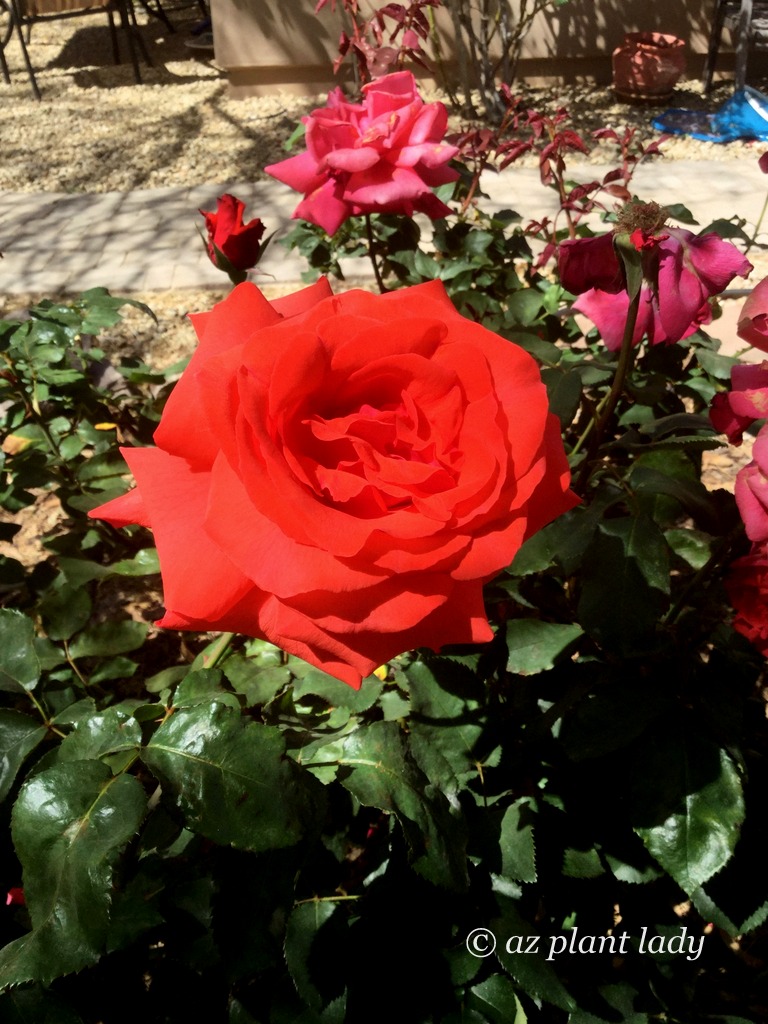
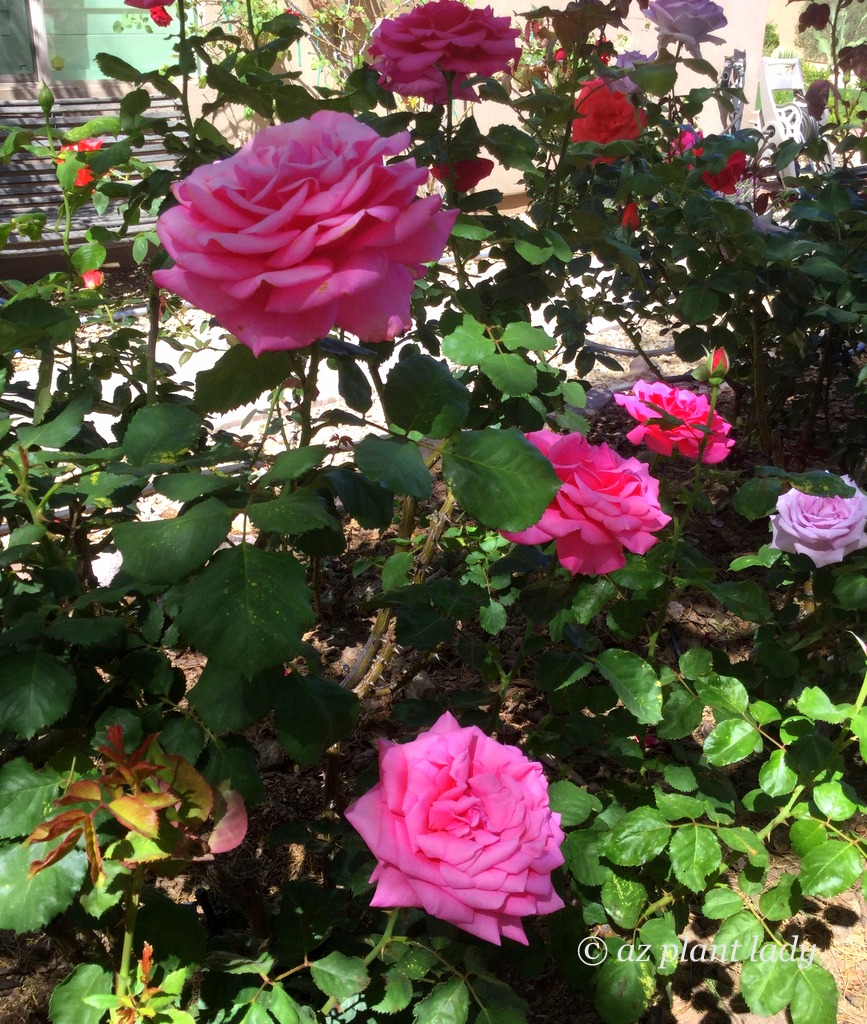
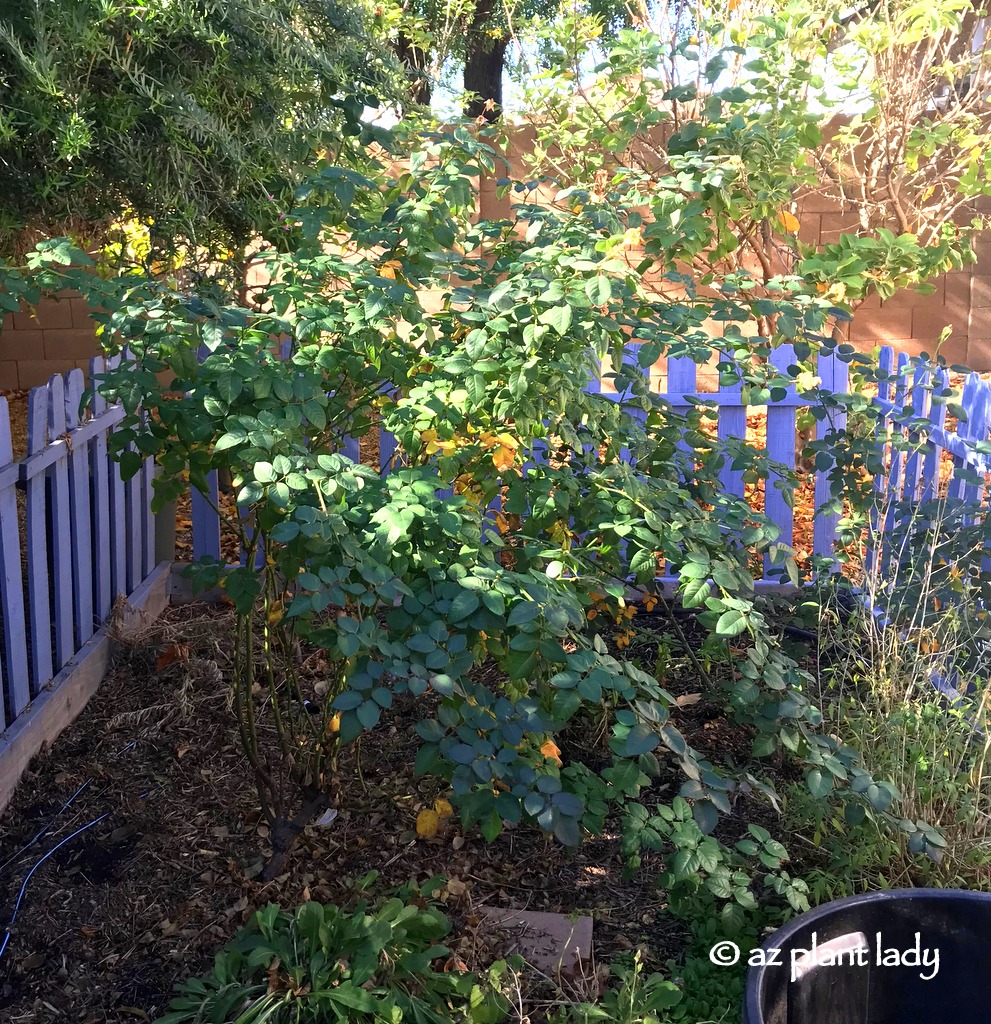
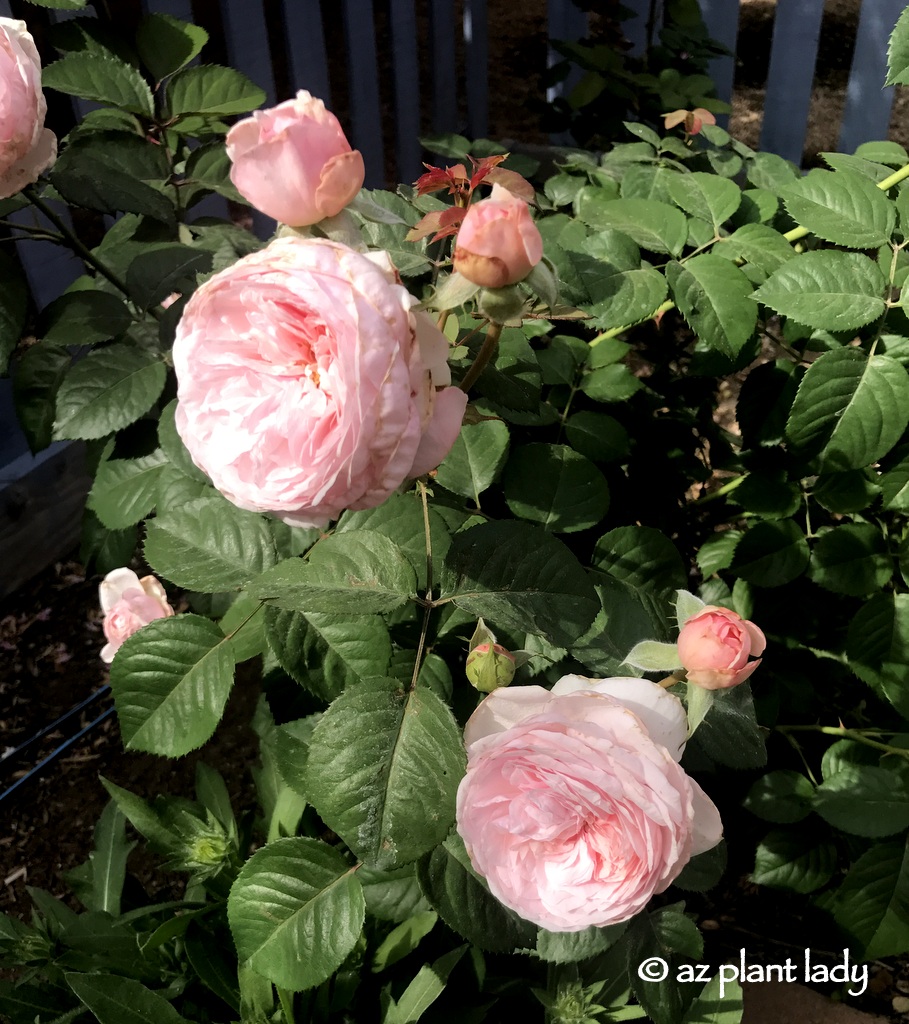
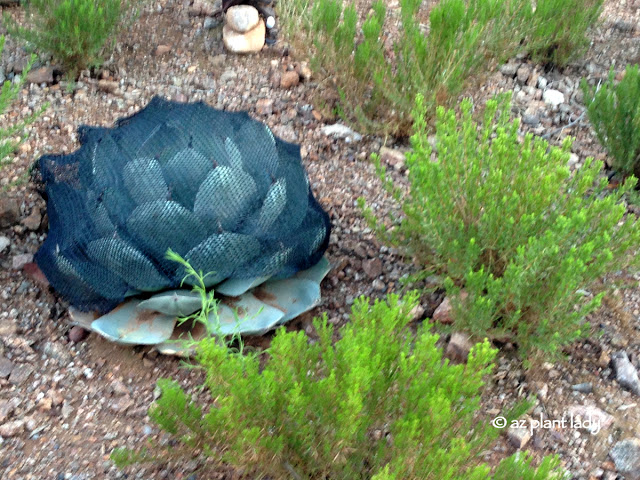
Provide temporary shade for heat susceptible plants such as hibiscus or roses.
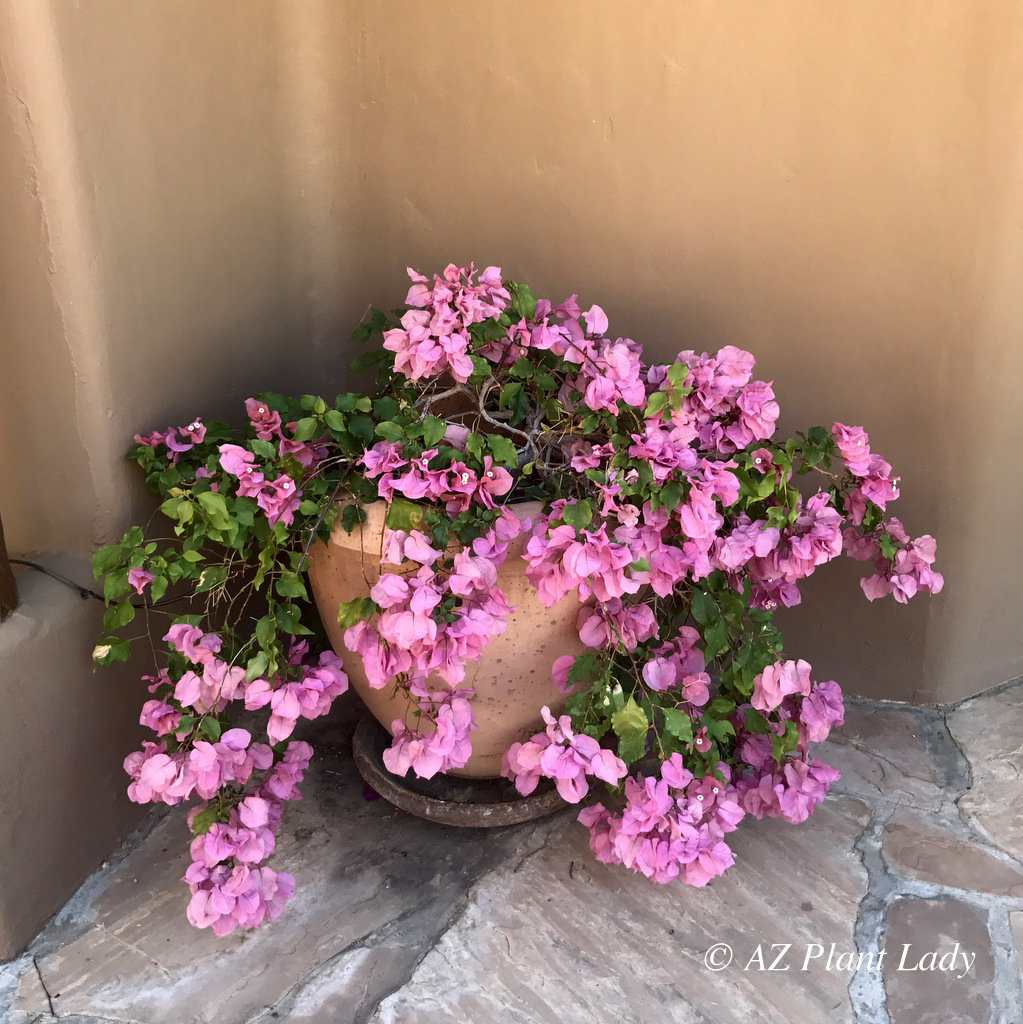
The sun’s intense rays are even more focused during a heatwave and can cause stress to the plant itself, including sunburn damage. This is especially true for plants that receive hot, western sun or in areas that receive reflected heat.
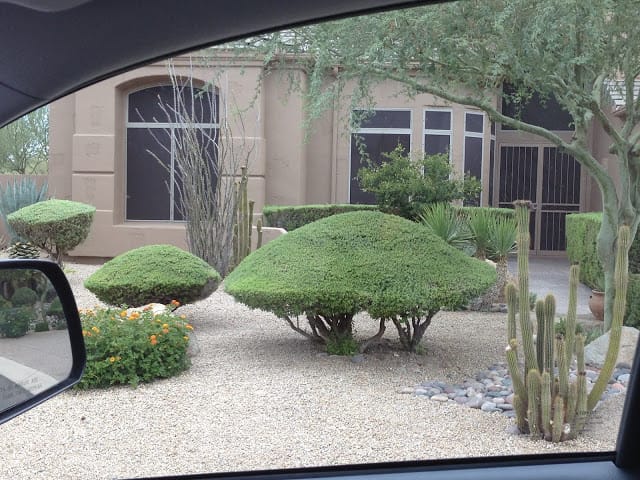
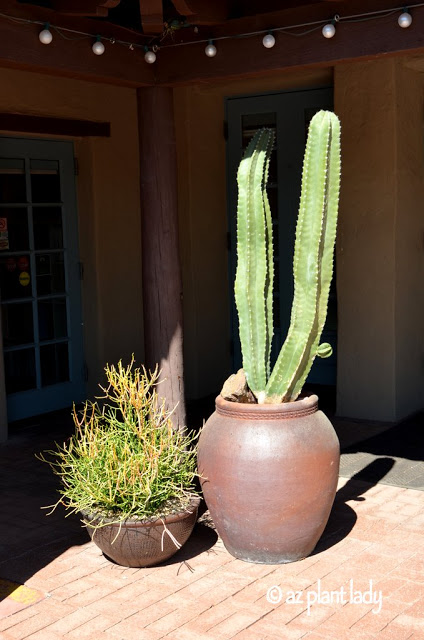
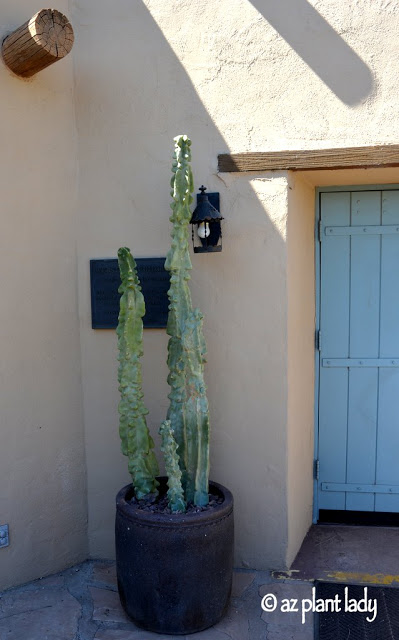
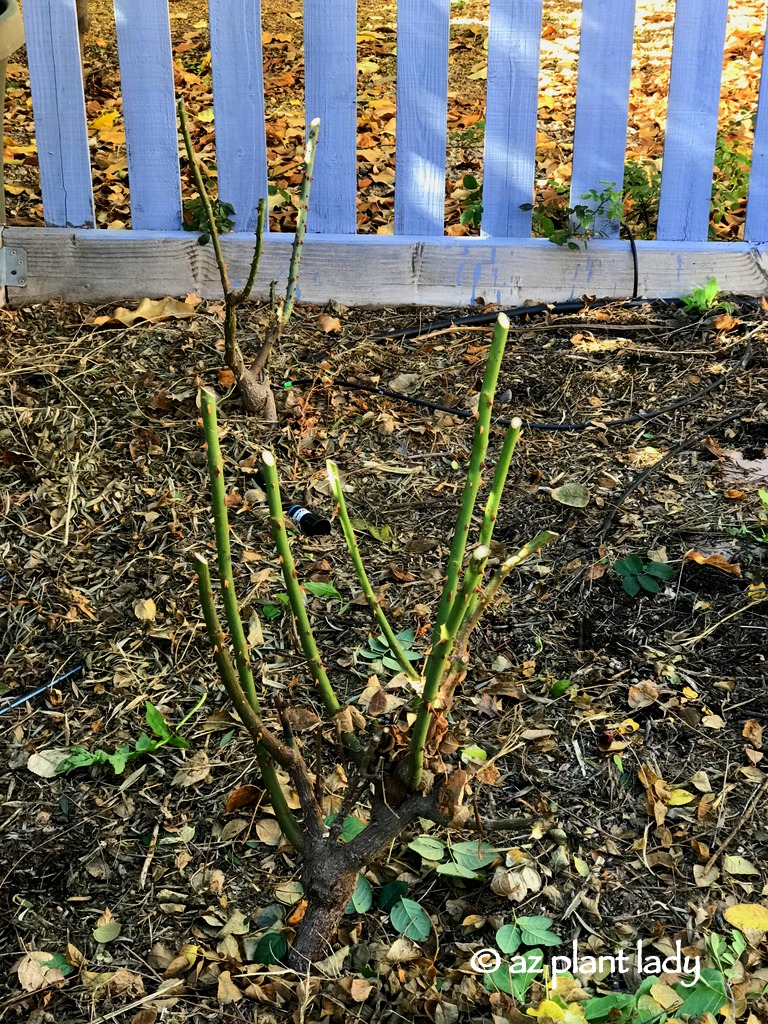
For shrubs and groundcovers, leaves may wilt and turn brown in response to a heatwave. Even cactus and other succulents can suffer sunburn or other heat stress, which often reveals itself as yellowing.
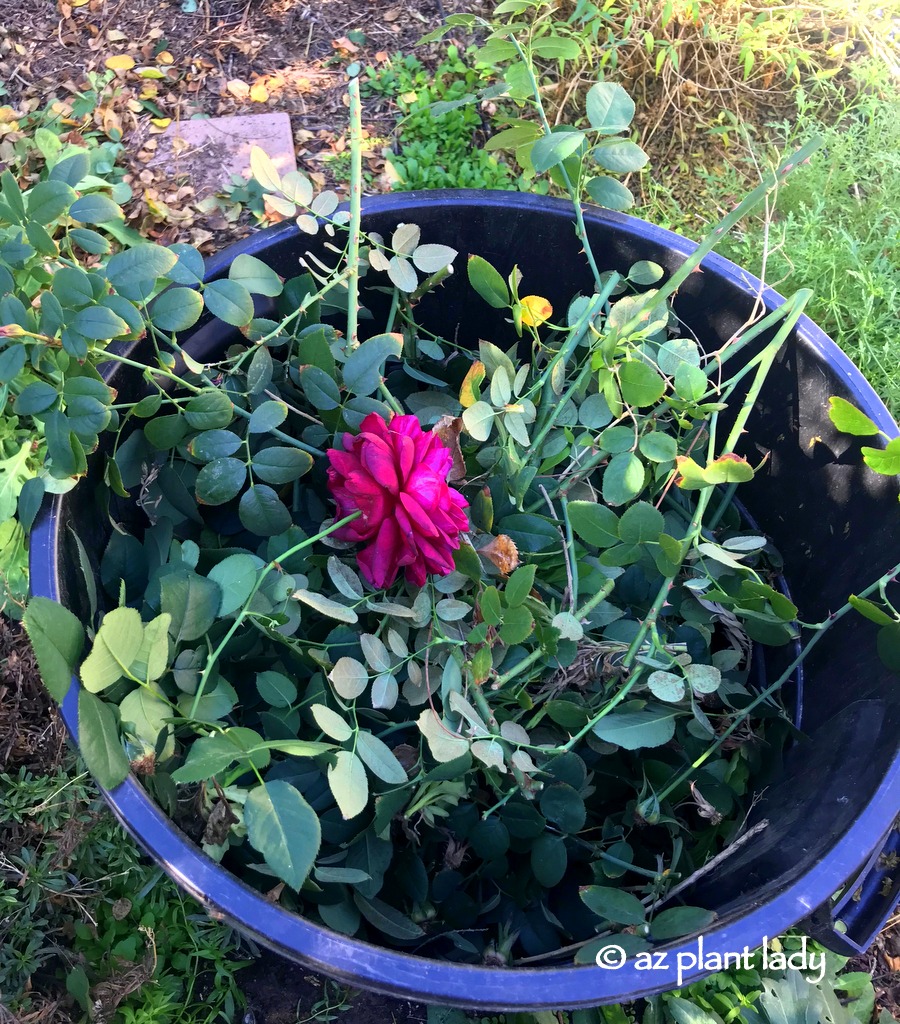
Temporary shade can be provided using sections of shade cloth.
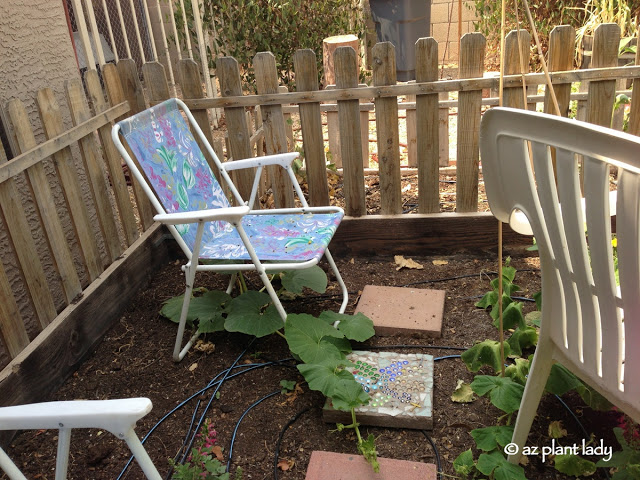
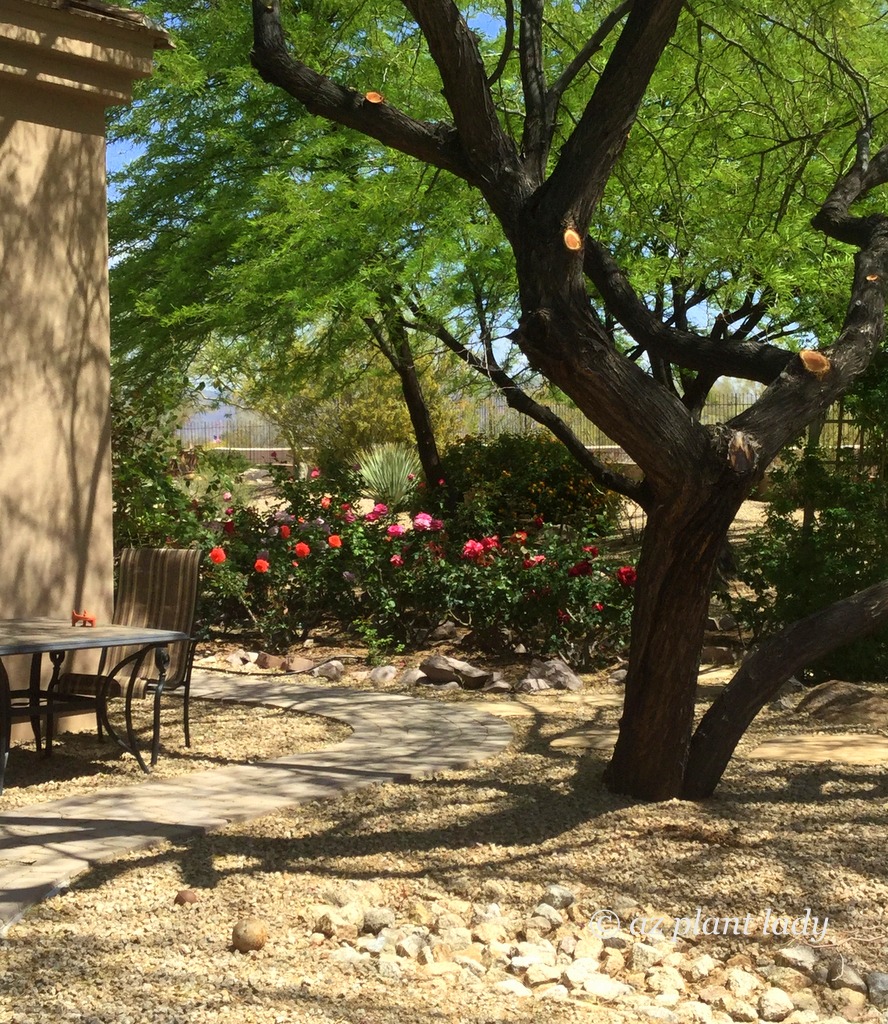
In a pinch, a lawn chair can work to add a welcome spot of shade for a plant.
Old sheets tied to posts, chairs or trees can also provide temporary shading until the heatwave subsides.
3. Evening Cooling: Misting Your Way to Resilience
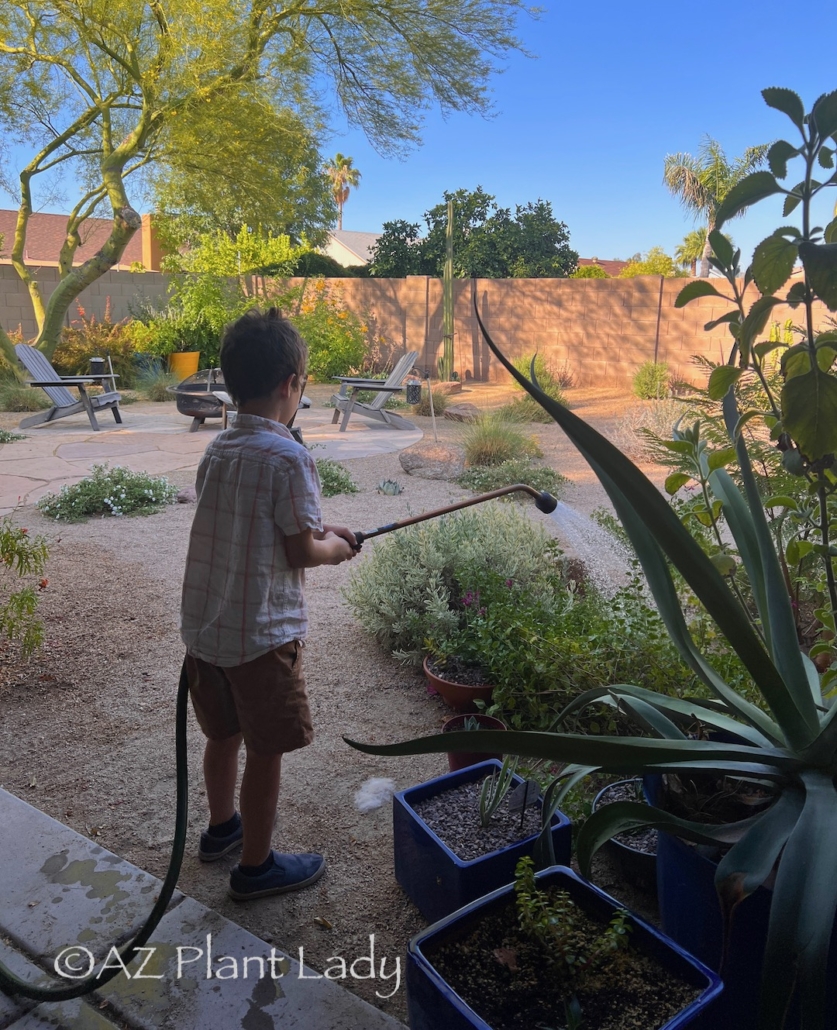
Lightly mist plants in the evening to cool them off. A light sprinkle of rain does wonders for cooling things off. However, when monsoon rains aren’t forecast, a light sprinkle of water from your hose can provide temporary cooling for your plants. Additionally, this helps to increase humidity levels, which is helpful to prevent them from our dry climate.
Note, when you do this, the goal isn’t to water the plants at the base, but rather to wet the foliage. Be sure the sun has set before misting your plants as the water can intensify the sun’s rays. I like to use this rain wand to mist my plants – it also is great for container watering.
Managing Heat Waves
Heatwaves can be particularly challenging to endure, both for humans and the flora around us. These periods of intense heat and elevated temperatures can induce discomfort and stress for plants, which can ultimately affect their health and vitality.
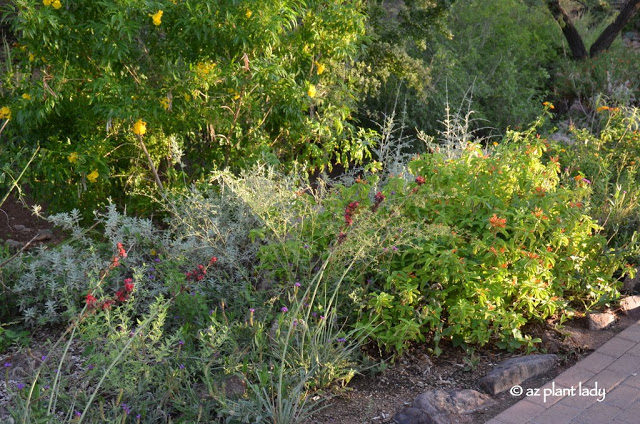
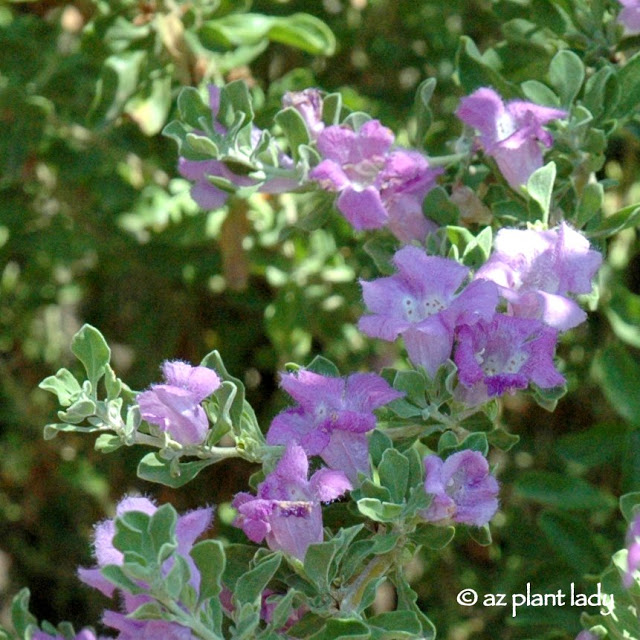
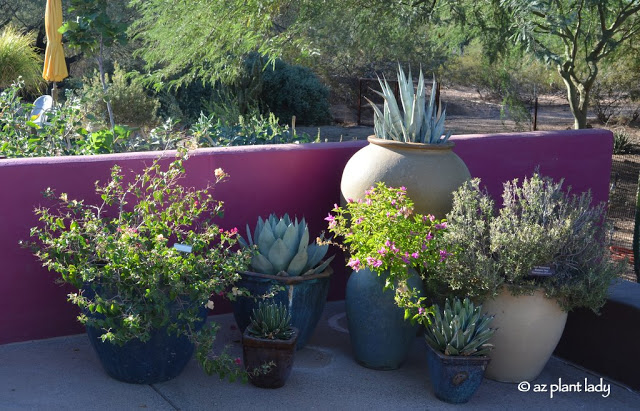
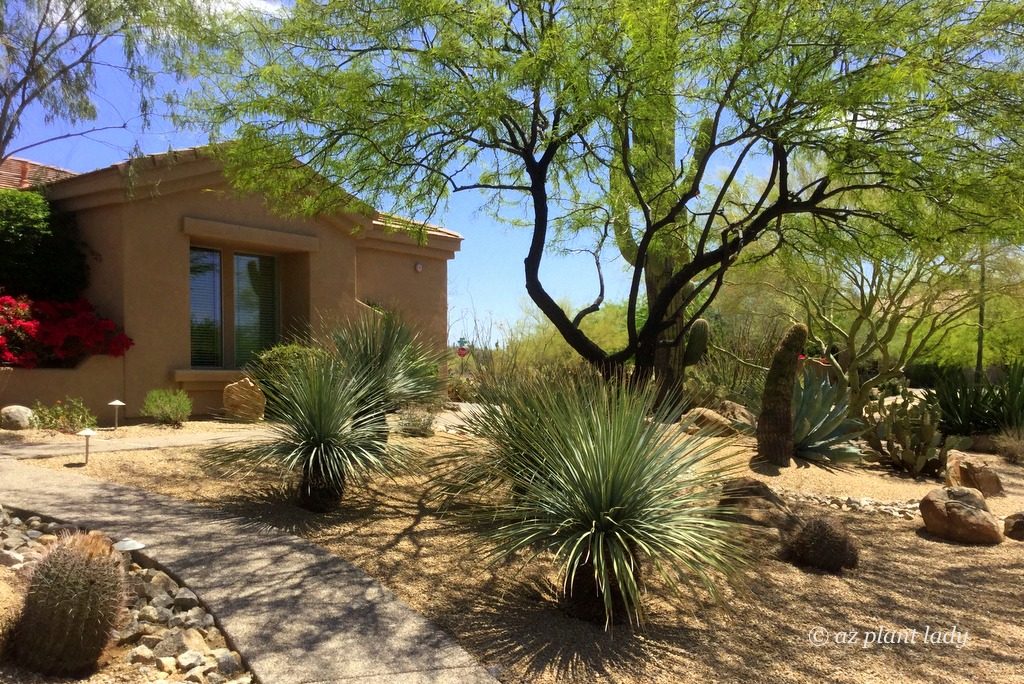
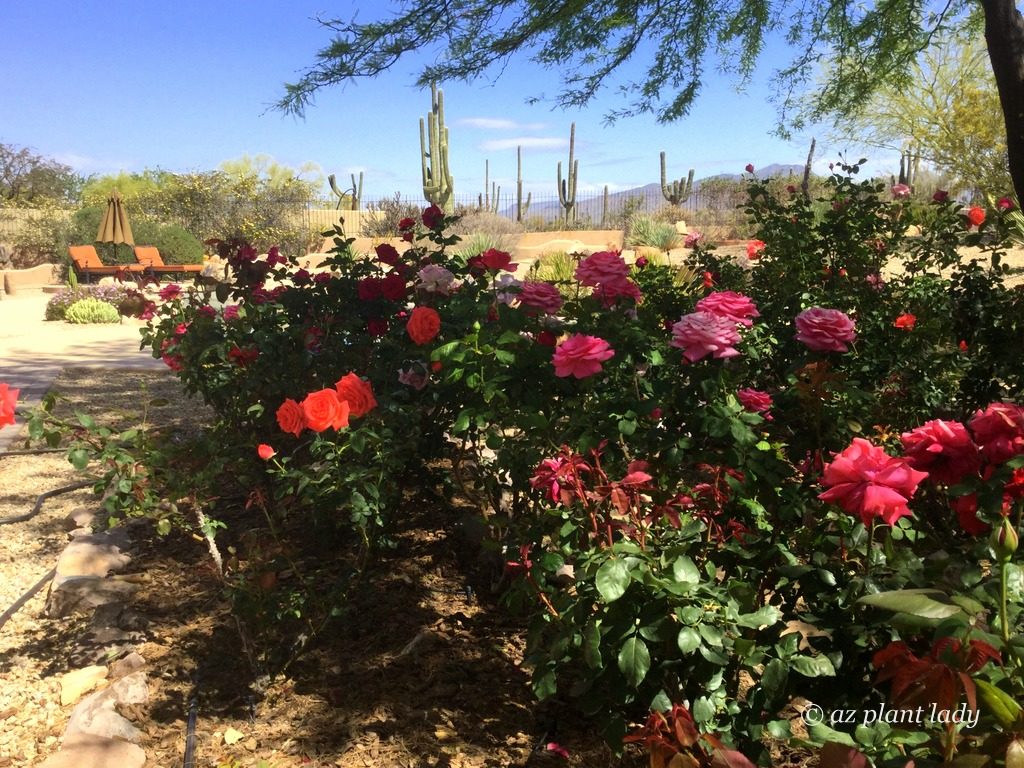
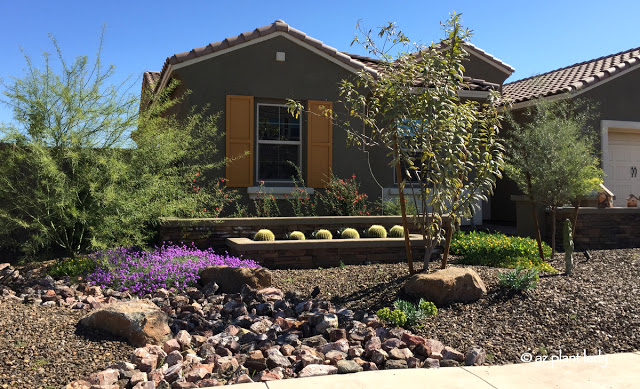
However, the key to effectively managing heatwaves lies in proactive preparation. Implementing strategic measures in advance can significantly mitigate their adverse effects. One of the most prudent approaches involves thoughtful planning, where the selection of native plants that are adapted to the local climate becomes crucial. Native plants are naturally better equipped to handle extreme heat and drought conditions.
Stay Cool Indoors: Coping Personally in the Heat
When faced with a scorching heat wave, keeping your plants cool is important, but keeping yourself cool is a top priority. Here are four strategies to help you stay refreshed:
- Stay Hydrated: Drink ample water throughout the day to keep your body well-hydrated. Proper hydration helps regulate body temperature and prevents heat-related health issues.
- Embrace Air Conditioning: Seek refuge in air-conditioned spaces, whether at home, work, or public places like shopping centers or libraries. If AC is unavailable, use fans to circulate air and create a cooling effect.
- Dress Wisely: Opt for lightweight, loose-fitting clothing made from breathable materials. Light colors reflect sunlight, reducing heat absorption and allowing your body to release heat more efficiently.
- Time Outdoor Activities: Plan outdoor activities during the cooler parts of the day, such as early morning or late afternoon. Avoid midday sun, when temperatures peak. If you need to be outside, use hats, sunglasses, and sunscreen to shield yourself from the sun’s direct impact.
In the meantime, my favorite tip to escape the heat is by hibernating indoors as much as possible 🙂
Want to learn more about how to create, grow, and maintain a heat-resilient garden? Check out my new book!