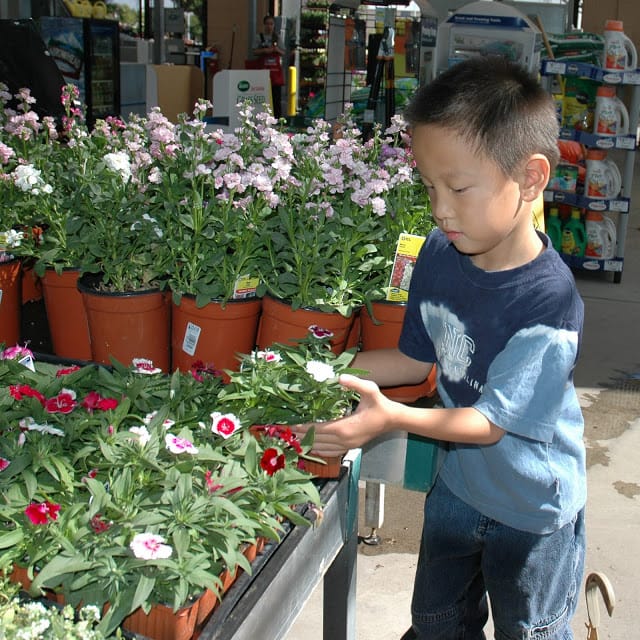
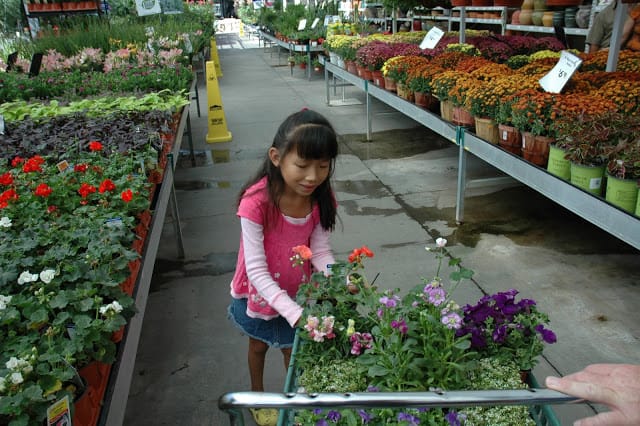
Each year, around the end of August, I walk into the plant section of our local home improvement store just to look at the colorful, flowering annuals
While I may be sorely tempted, I don’t buy any; I just like to look.
BUT, I know that I am in trouble when the majority of the nursery shelves is covered in a sea of winter annuals – I feel like a kid in a candy store. The vibrant colors and scents are almost intoxicating – to me anyway.
In the past, when I managed landscapes on golf courses, I would come to the store in our work truck and load countless flats of annuals for planting around the golf courses and the other buildings. I loved planning ahead of time what I would plant and the color combinations that I would use.
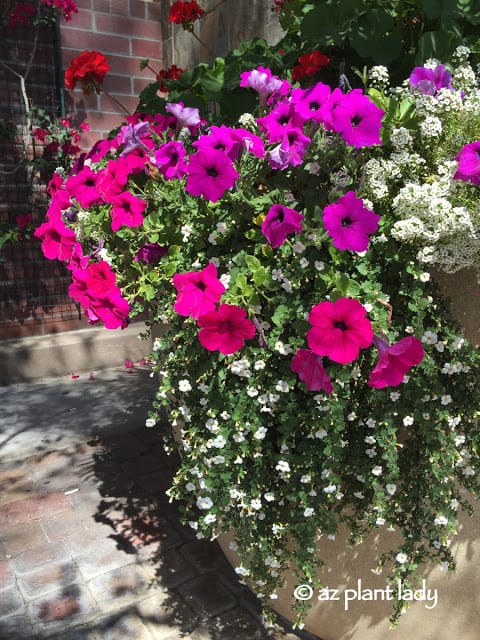
Petunias, bacopa, and alyssum
In the low desert, winter annuals typically show up in the nurseries around late August, and it is so easy to get caught up in the excitement of fall being just around the corner along with the promise of cooler weather. So before you know it, you buy a bunch of flowers and run home and plant them. The problem is, is that it is often still too hot for them to survive.
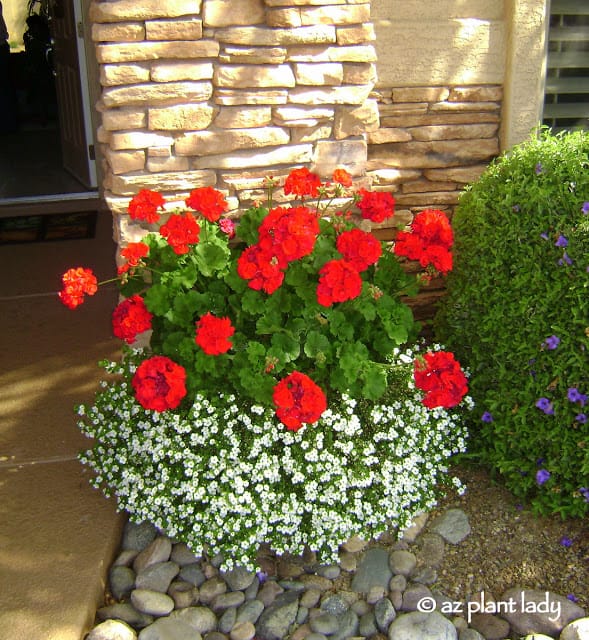
Red geraniums with bacopa
For years, I would tear out the summer annuals around the golf courses and plant winter flowers in late September, usually with good results. Of course, I would have to be vigilant and replace a few plants that would fall victim to the warm September temperatures, but overall they did fine.
That is until one year when we had higher than usual temperatures in early October. The flowers kept dying despite my best efforts. Each day on my way to work, I would have to stop by the nursery to buy replacement plants. This got kind of old after 2 – 3 weeks and I would have to go from store to store to find the same kind of flowers that I needed.
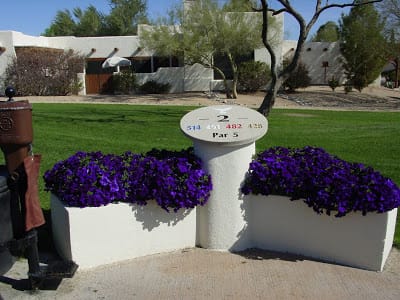
Blue Petunias
So, I learned my lesson – no matter what, we would not plant winter annuals until late October. I mean, it was silly to pull out the summer annuals in September when they still looked great. I think people want to get a jump start on winter flowers because it makes us feel like the weather is cooler when it isn’t. So unless you want to make extra visits to your local nursery, WAIT until mid-October.
Now, since I no longer manage landscape areas, I am only responsible for my annual pots. Last year I planted hot pink geraniums with alyssum, and they did very well. In the past, I have tried the following combinations with good results:
– Yellow Snapdragons with Blue (Deep Purple)
– Petunias and White Alyssum
– Red Geraniums with White Alyssum
– Hot Pink Geraniums with Lobelia
– Yellow Pansies with Lobelia
– Light Blue Pansies and Alyssum
– White Snapdragons with Pink Petunias and Lobelia
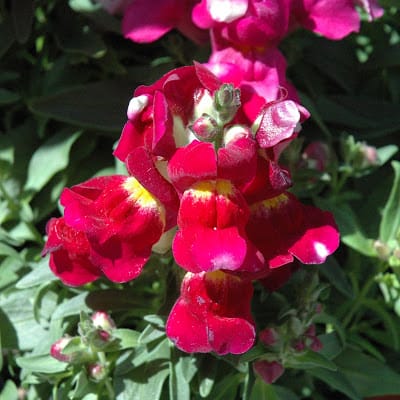
Snapdragon
PLANTING:For containers (pots), I use a planting/potting mix, which is specially formulated for containers – not potting soil, which can become soggy.
If you are planting annuals in the ground, then I add compost or potting soil to the existing soil at a ratio of about 1 part compost to 1 part existing soil.
If you do not have a compost pile at home, you can buy bagged compost at your local nursery. Add slow-release fertilizer, following directions on the label. Plant your winter annuals, making sure that they have enough space between them to grow.
CARE: Water twice a day. I usually water in the morning and maybe late in the afternoon as the plants are becoming established (about two weeks). You can then water once a day or every 2 – 3 days, depending on the weather.
In a managed landscape setting, I would also fertilize weekly with a liquid fertilizer to promote maximum blooming. At home, I usually fertilize every other week.
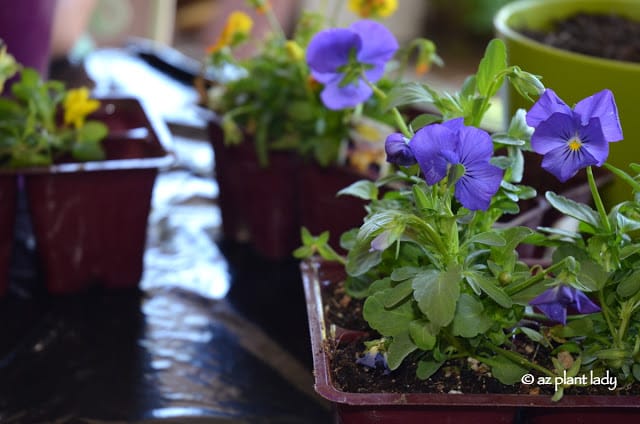
Viola
Now that we are in the second half of October, I am ready for planting winter annuals in my garden. I have been thinking about planting violas. I have not planted them since I was a little girl and I did notice some beautiful ones at the nursery back in August. Those violas are probably dead from the heat of late August.
Hopefully, they will have some new ones in now that it is really time to plant!
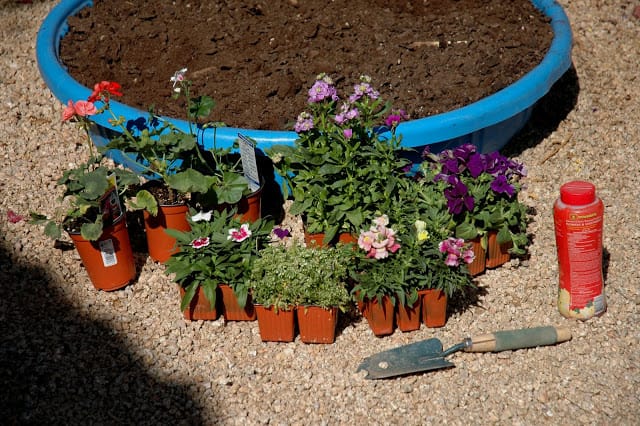
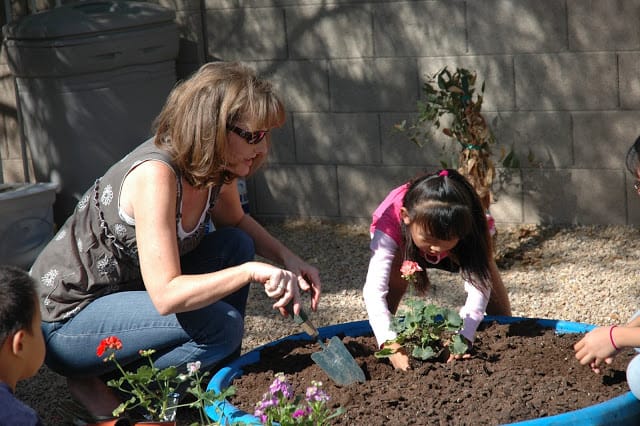
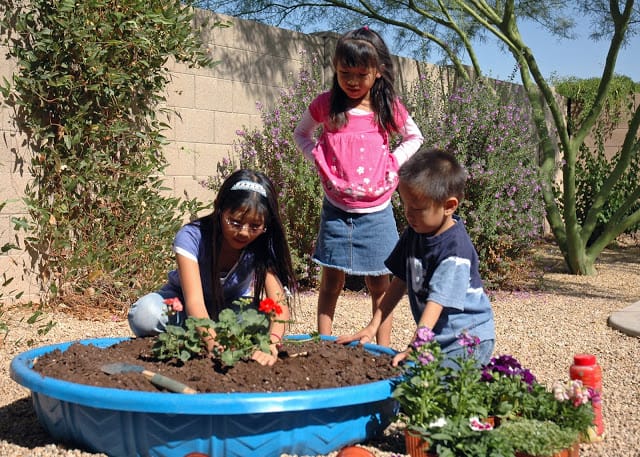
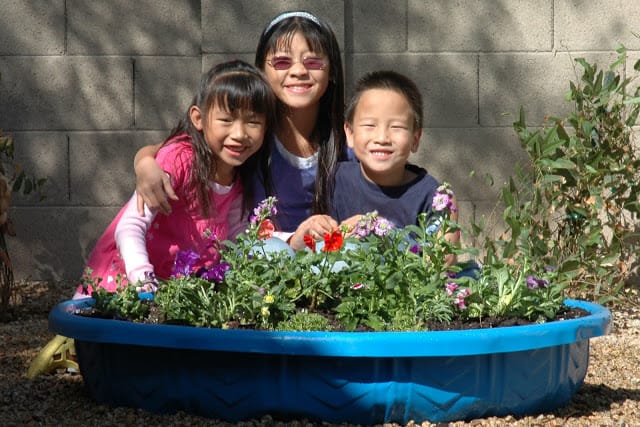
A Children’s Flower Garden in a Kiddie Swimming Pool